

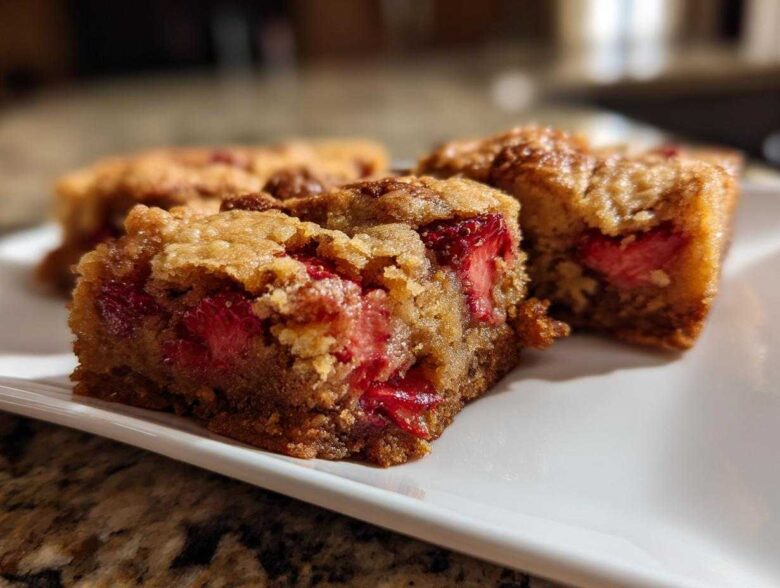
Listen, sometimes you just need a dessert bar that hits different, right? You’re tired of the same old chocolate chip routine. That’s why, when I discovered how to pair the deep, nutty warmth of perfectly browned butter with the bright, sweet pop of fresh strawberries, my baking world completely changed. Seriously, this **Brown Butter Strawberry Blondies** recipe took my love for simple bar cookies to a gourmet level!
Brown butter sounds fancy, I know, but it’s totally doable—it’s just taking the time to toast those milk solids until they smell like toasted hazelnuts. My first few attempts were either burnt or just plain butter, but I finally cracked the code on catching that sweet spot.
This recipe is your roadmap to achieving that incredible chewy interior we all crave in a blondie, while making sure those juicy strawberries don’t turn the whole pan into a soggy mess. Trust me, you want these beauties on your summer dessert table. We’ll get those nutty flavors singing and those berries perfectly placed. You can even check out how I use this same technique in my brown butter chocolate chip cookies if you’re getting obsessed!
Why You Will Love These Brown Butter Strawberry Blondies
Friend, I wouldn’t waste your time with a recipe that isn’t truly special. These aren’t just any bars; they are an experience! Here’s why you need to stop what you’re doing and make a batch right now:
- The Flavor Depth is Unreal: Browning the butter unlocks this amazing, nutty complexity that plain butter just can’t touch. It pairs shockingly well with the sweet, slightly tart burst from the strawberries. It’s gourmet in a 9×9 pan, honestly!
- Texture Perfection: I’ve dialed in the sugar ratio here so you get that ideal combination of chewy edges and a slightly fudgy center. No cakey blondies on my watch!
- So Simple, But Looks Fancy: You only have to wait for the butter to brown, and the rest is just mixing. But when you pull this pan out of the oven? Everyone will think you spent all day fussing over them.
- Perfect for Summer Baking: It’s a fantastic way to use up beautiful seasonal strawberries in a baked good that isn’t pie or cake. Easy, handheld, and delicious warm or cold!
Essential Ingredients for Perfect Brown Butter Strawberry Blondies
Okay, getting the right ingredients is half the battle, especially when we are doing something special like browning the butter! Before you even turn on the stove, lay everything out. This is what you need for a full yield of 16 amazing bars:
- 1 cup (2 sticks) unsalted butter (This is what we transform into gold!)
- 1 1/2 cups packed light brown sugar (Use light brown sugar for that perfect chewiness and caramel note.)
- 1/2 cup granulated sugar
- 2 large eggs, room temperature (Don’t skip this! Room temp eggs mix in smoother with the fat, giving you a better, non-curdled batter.)
- 1 tablespoon vanilla extract
- 1 3/4 cups all-purpose flour
- 1 teaspoon baking powder
- 1/2 teaspoon salt
- 1 cup fresh strawberries, chopped into small pieces
I always keep my butter out on the counter for an hour before I start melting it. I also love seeing how other bakers balance sweetness, like in my maple cookies—it inspires me! But for these blondies, stick to the sugar ratios above for the best chew.
Ingredient Notes and Substitution Guidance
Since we are dealing with fruit in a bar cookie, we have to be smart about moisture! That’s the secret to avoiding those soggy bottoms.
First, about the strawberries: Fresh is best, hands down. You want them firm and chopped small—think little bite-sized jewels, not giant slicks of fruit. If you absolutely must use frozen, make sure you thaw them completely and pat them ridiculously dry with paper towels before you move on to the next step. Frozen strawberries hold onto way too much water!
Here’s the non-negotiable trick for keeping your Brown Butter Strawberry Blondies from leaking moisture: take those little chopped strawberries and toss them gently with about one teaspoon of the flour measured for the recipe. This light coating helps keep them suspended in the batter and stops them from bleeding water onto the bottom layer as they bake. It’s simple science, and it works like a charm!
Mastering Browned Butter for Your Brown Butter Strawberry Blondies
Okay, if you take one lesson away from this whole tutorial, let it be how to nail the brown butter step. This is where we move past basic baking and get into something truly special. Don’t get scared; it’s totally intuitive once you know what to look for!
Pop your butter (two sticks, nice and unsalted) into a light-colored saucepan. I stress light-colored because you *need* to see those milk solids turning brown! Keep the heat on medium. At first, it melts and starts to bubble a lot—that’s just the water cooking off. Keep stirring gently. Soon, that foam will subside, and you’ll see little brown specks start clinging to the bottom. That smell! It’s going to change from regular creamy butter smell to this incredibly rich, nutty fragrance, kind of like toasted caramel almonds. That is your cue!
The second you smell that nuttiness—and I mean seconds later—yank the pan off the heat and immediately pour the hot butter, brown bits and all, into a heatproof bowl. If you leave it in the hot pan, it keeps cooking and burns! Now, let it sit on the counter for about 10 minutes until it’s just warm, not searing hot. Wait—why the cooling? Because if you dump your sugar into scorching hot butter, it melts instantly, and you lose the creaming power you need later for that chewy-fudgy texture. Cooling it slightly lets you incorporate the sugar properly for the best structure later. It’s a crucial little pause!
You can read more deep dives on this fun transformation in my full guide for baking with browned butter, but honestly, mastering this first step is 90% of the work for these incredible blondies!
Step-by-Step Instructions for Chewy Strawberry Blondies
Alright, buckle up! This is where we bring all those amazing brown butter smells and those beautifully coated strawberries together. Remember, the key here is gentle handling. We want chewy, not tough, so every stir counts!
First things first: Get your oven fired up to 350°F (175°C). Then, line that 8×8 inch baking pan with parchment paper. I always leave two sides hanging over like little handles; this makes lifting the entire baked block out later a breeze later—no stressing over stuck corners!
- Take that slightly cooled brown butter you made (it should still be liquid but not hot enough to sizzle when you touch it). Whisk in both the light brown sugar and the granulated sugar until they’re fully combined into that rich, sandy mixture.
- Now beat in your room temperature eggs, one at a time. Make sure the first one is fully incorporated before adding the next one. Stir that vanilla in until everything looks smooth and glossy. This is where you build the foundation for that gorgeous, fudgy chewiness.
- In a separate bowl, just quickly whisk your flour, baking powder, and salt together. We’re just marrying those dry elements so they mix evenly.
- This is important: Add the dry ingredients to your wet mixture. Mix this on the lowest speed, or honestly, just fold it in by hand with a spatula. Stop mixing the moment you see the last streak of flour disappear. I mean it! Overmixing the flour develops gluten, and that gives you cake instead of a dense blondie. We’re making Chewy Strawberry Blondies, not fairy cake!
- Finally, gently fold in those flour-tossed strawberry pieces. Don’t beat them in; just coax them until they look distributed throughout the batter.
- Scrape the whole gorgeous, fragrant batter into your prepared pan and spread it out evenly. You can find a great tutorial on creating a little shimmer on top of this strawberry bar recipe if you want to get artsy, but just spreading it flat works perfectly too!
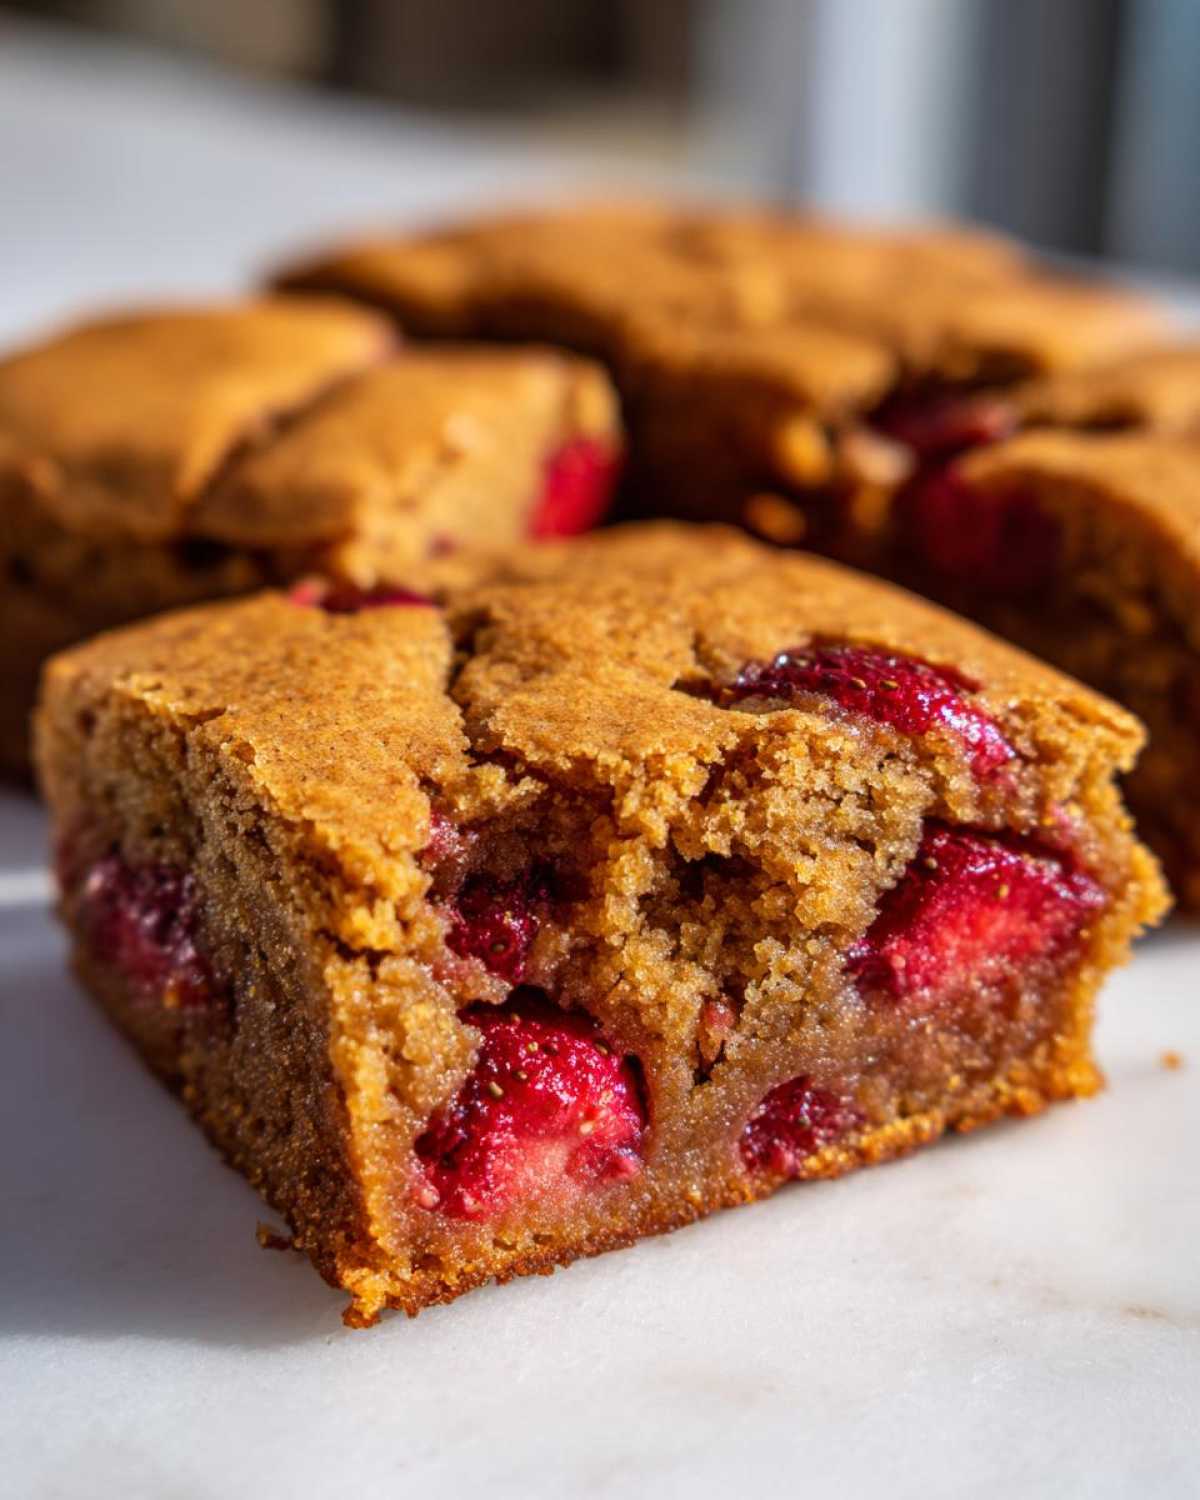
Bake for about 30 to 35 minutes.
Achieving the Right Texture in Your Brown Butter Strawberry Blondies
Texture is everything in a bar cookie, right? If they’re too cakey, I’m out! The reason these come out perfectly chewy is that big dose of brown sugar we used. Brown sugar is hygroscopic, meaning it holds onto moisture better than white sugar, which locks in that chewiness as it bakes.
When checking for doneness, ditch the paper towel trick you use for regular cookies. Press lightly on the middle edge—it should feel set. The real test is the toothpick: You absolutely want to pull it out and see little moist crumbs clinging to it. If the toothpick comes out totally clean and dry, your blondies are probably already overbaked and will be dry later. If the toothpick is streaked with wet batter? Uh oh, put it back in for three more minutes!
One last golden rule for texture authority: You must let them cool completely, maybe even chill them for an hour before you even think about cutting them. If you cut them warm, they turn into a gooey, melted puddle, even if they were baked perfectly. Patience rewards you with clean squares!
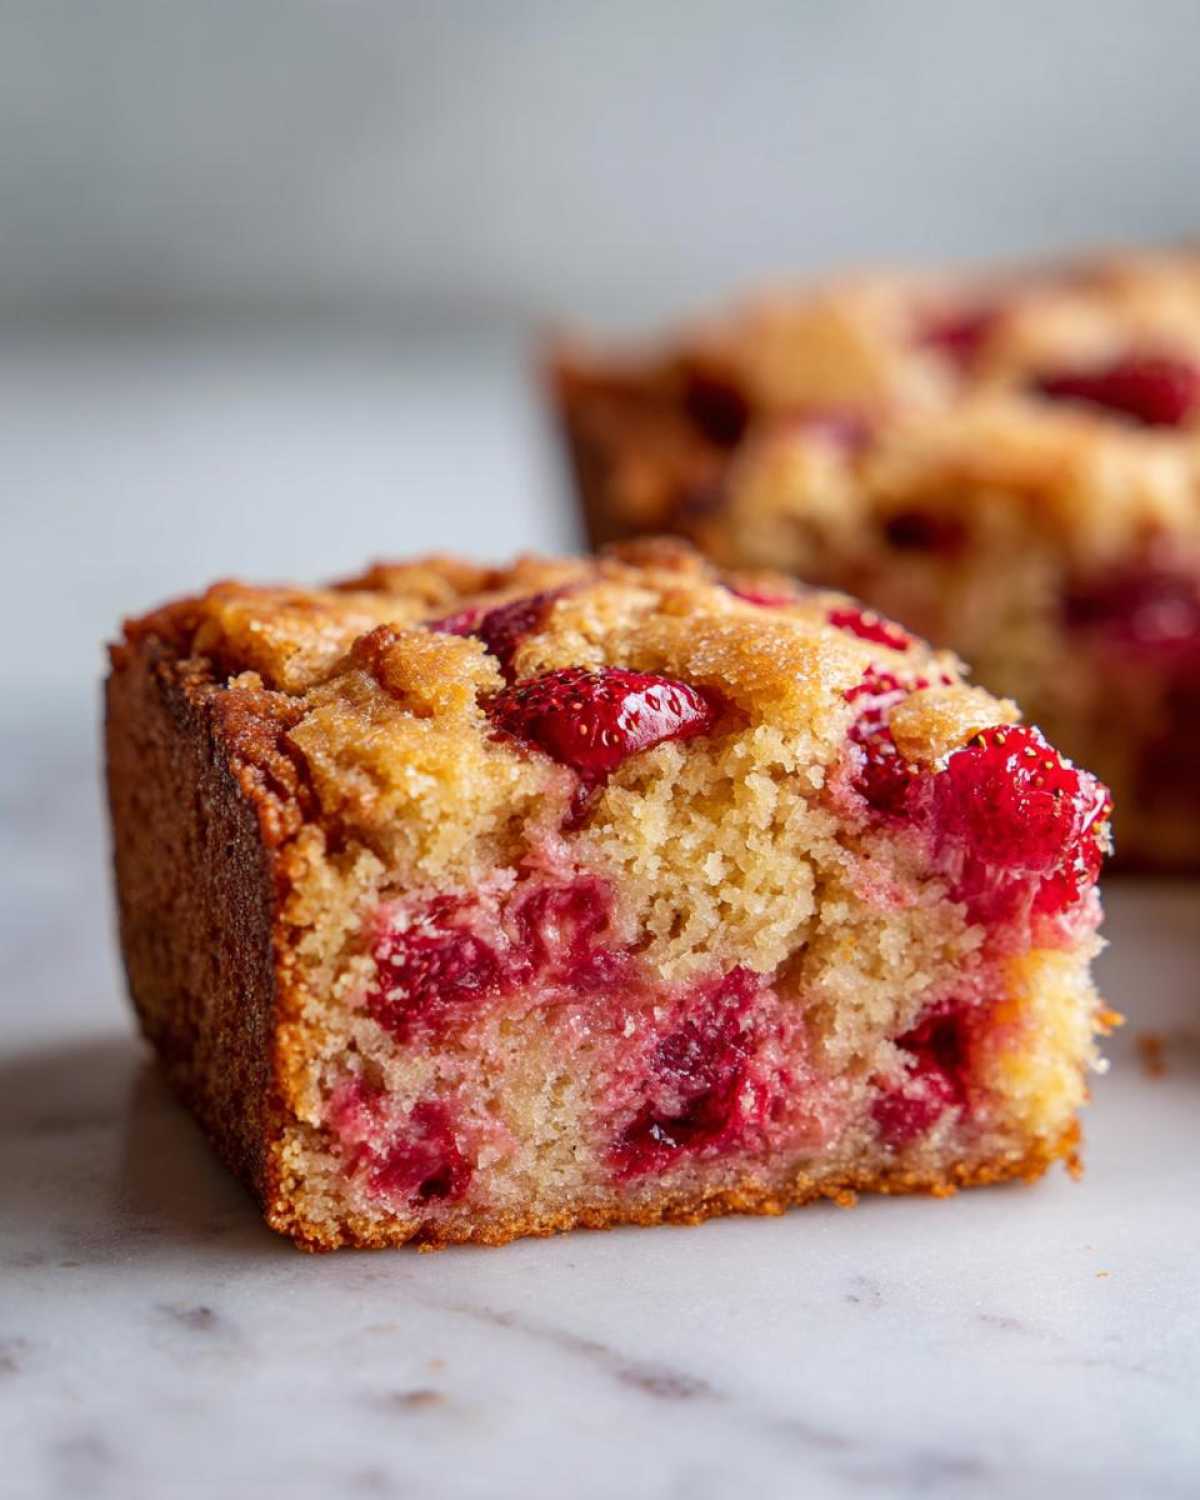
Tips for Success with Gourmet Brownies with Fruit
We’ve got the flavor base set, and we know how to handle those sneaky strawberries, but let’s talk about taking these Gourmet Blondies With Fruit from delicious to show-stopping. These little extras are what separates a good bake from one that people beg you for the recipe later!
Remember what I mentioned earlier about preventing the strawberries from sinking to the bottom and weeping water everywhere? Seriously, don’t skip that step! Toss those small pieces of strawberry with just a tiny bit of the measured flour before folding them into the batter. That light dusting gives the fruit little sticky grips so they stay suspended through the batter during baking. It keeps the whole bar structured and prevents those soggy patches.
Now, if you’re feeling extra confident and want to show off a little, let’s talk presentation. Since these blondies are already so rich and nutty, adding a little visual brightness really pays off. You can create a beautiful swirl effect!
Here’s the trick: Before you put the main batter into the pan, take out maybe a quarter cup of that beautiful batter and put it in a small bowl. Then, take about a quarter cup of good quality, thick strawberry jam—the kind with actual fruit chunks—and gently mix it into that *reserved* batter. It won’t look pretty in the bowl; it’ll look stripey and thick.
Dot dollops of that jammy batter mixture randomly over the top of the plain batter that’s already spread in your pan. Then, grab a butter knife or a skewer and lightly swirl the knife through the top layer just a couple of times. Don’t over-swirl! You want defined ribbons of bright red jam contrasting with the golden brown butter base. It looks incredible when it bakes up!
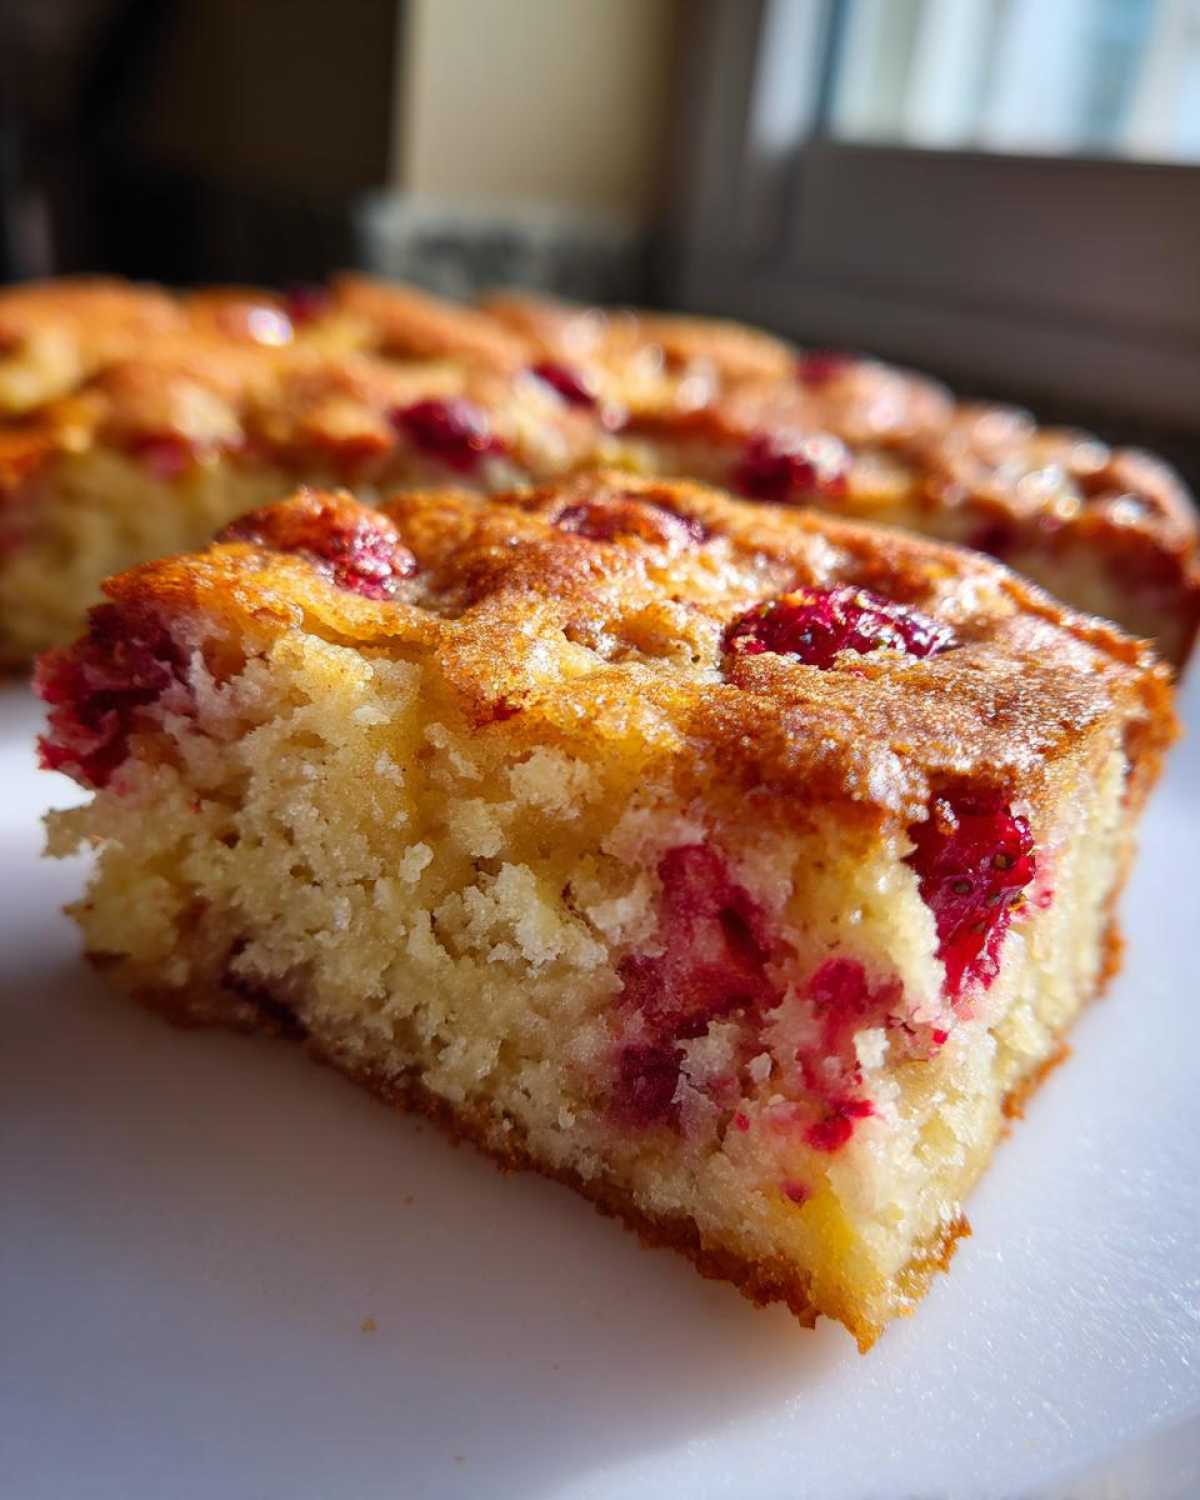
If you’re looking for other ways to incorporate fruit into bar cookies and keep things intact, you should definitely check out my cranberry crumble bars recipe; the technique for keeping berries happy is similar across all fruit bars!
Storing and Reheating Your Brown Butter Strawberry Blondies
Okay, you’ve successfully navigated the world of brown butter and managed those strawberries—now we have to make sure these gorgeous treats last! Luckily, because we used that brown sugar and got the bake time just right, these blondies are pretty resilient, but a few simple steps will keep them tasting like they just came out of the oven.
The absolute number one rule for keeping any blondie or brownie fresh is cutting down on air exposure. As soon as these bars are completely, 100% cool—and I mean cool all the way through, not even slightly warm in the middle—it’s time to tuck them in.
Wrap them snuggly! I find that if I stack them, I put a small piece of parchment paper between each square before I place them into a sturdy, airtight container. This stops them from sticking together, which is super convenient for grabbing one quick snack later. You want to aim for room temperature storage. Keep them on your counter, or maybe in a cool pantry, but skip the fridge!
Why no fridge? Cold air dries out baked goods like crazy! They might seem safer in there, but the cold pulls the moisture right out. If you store them correctly in an airtight container, they should stay delightfully fresh and chewy for a solid four to five days. I’ve had batches last a week, but honestly, mine never make it that long!
Giving Them That Fresh-Baked Pop
So it’s day three, and you’re craving that warm, gooey center again. You can definitely reheat these! If you just pop a whole container in the microwave, you’ll end up with a hot, sweaty mess, so portion control is key here.
Take just one brownie square—just one!—and zap it for about 8 to 10 seconds in the microwave. Eight seconds is usually my sweet spot. This isn’t enough time to dry it out, but it’s just enough heat to melt those beautiful brown butter fats just slightly, making the whole thing feel soft, gooey, and absolutely fresh again. It brings back the smell of the nutty butter big time!
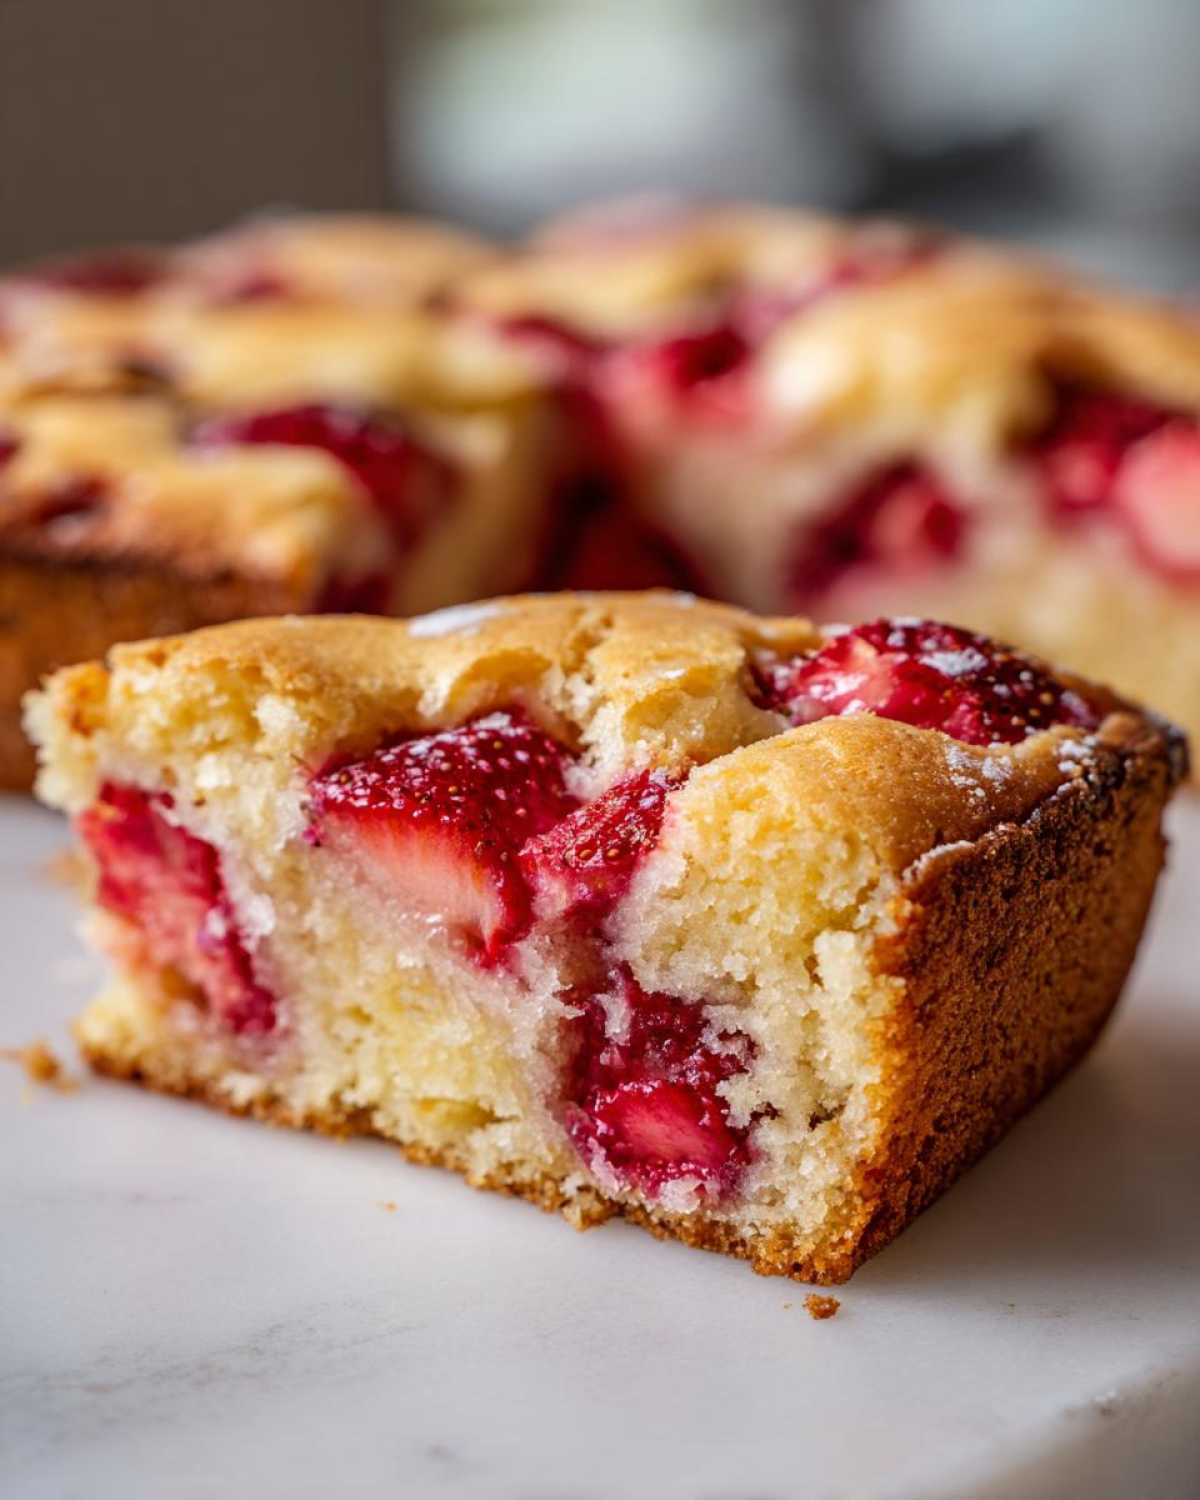
If you want an even *nicer* warm-up, try wrapping that single square loosely in a tiny bit of foil and popping it into a toaster oven for about three minutes at a low setting, like 300°F. This warms them through beautifully without making them soggy. But really, 8 seconds in the microwave saves the day when you’re in a hurry!
Frequently Asked Questions About Brown Butter Strawberry Blondies
I know, I know! Even with the best recipe, sometimes questions pop up when you’re in the middle of baking. It happens to me all the time! Here are a few things folks ask me most often when they are whipping up these Brown Butter Strawberry Blondies or trying out other fudgy brownie variations.
Can I use frozen strawberries instead of fresh ones?
Yes, you totally can, but you have to treat them right! If you skip the prep, they will leak water everywhere and make your blondies soggy. Remember what I said? Thaw them completely first—I usually put them in a small colander over a bowl in the fridge overnight. Then, you absolutely must pat them dry with paper towels until you think you’re going to squeeze the life out of them! Do the flour toss right before folding them in, and you’ll be fine!
How can I make these fudgier instead of chewy?
Ah, the great texture debate! Chewiness usually comes from using a higher ratio of brown sugar to white sugar, which these already lean into, and making sure you slightly underbake them. To push them toward fudgy, decrease the baking time by about 2-4 minutes. Pull them when the toothpick still has wet-looking batter streaks, not just moist crumbs. They will firm up beautifully as they cool, giving you that dense, rich fudge feel. It’s all about how long you’re willing to wait for that fudgy blondie variation!
What is the best way to store these homemade brown butter desserts?
These are best stored just like any good bar cookie: airtight, at room temperature, and away from heat or sunshine. Don’t put them in the fridge or they get hard! I slice mine after they’ve cooled completely, slip a piece of parchment between each one, and seal them up tight. If you want to keep them for a week, consider freezing them! Wrap individual squares in plastic wrap, then aluminum foil, and they freeze perfectly. Just thaw on the counter for an hour.
My brown butter turned black! What did I do wrong?
Oops! That means you went past nutty and landed squarely in burned territory. It happens super fast, which is why I always use a light-colored pan—it lets you see those beautiful brown bits forming before it’s too late. If that happens, you have to dump that batch out and start over with fresh butter. You really can’t salvage burnt milk solids; they just taste bitter! Don’t stress, though; you’ll be a pro by the second batch!
Nutritional Estimates for Homemade Brown Butter Dessert
Alright, let’s talk real talk for a minute. Because these are made with real butter, real sugar, and all that gloriousness, they are certainly a treat and not, say, an everyday salad. But hey, every bite of this Homemade Brown Butter Dessert is worth it, and it’s always good to have a general idea of what we’re dealing with, right?
Here are the estimated nutritional facts based on the recipe yielding 16 squares. You should know that this is just a guideline! If you use a different brand of flour or your strawberries are massive, things can shift a bit. This is just my best educated guess for our wonderful Brown Butter Strawberry Blondies!
- Serving Size: 1 square
- Calories: 250
- Sugar: 25g
- Sodium: 100mg
- Fat: 14g
- Saturated Fat: 9g
- Carbohydrates: 30g
- Protein: 3g
See? A perfect square for a perfect coffee break! Just remember this isn’t precise math; think of it as a friendly approximation rather than a scientific breakdown. If you’re looking for ways to tweak macros without sacrificing flavor, sometimes swapping out a fraction of the sugar for a sugar substitute can work, though I’ve never played around with that for this Brown Butter Blondie Recipe—I like mine the traditional, rich way!
For more context on how different ingredients affect the final count, sometimes looking at guides for general baking staples helps, like the breakdown I did over on my easy one-pot beans and rice recipe can give you an idea of how ingredient density matters in calculations. But mostly, just enjoy these!
Share Your Brown Butter Blondie Creations
Now for the fun part! You’ve done the baking, you’ve nailed the brown butter, and you’ve managed to keep the strawberries from staging a soggy rebellion. Seriously, give yourself a high-five right now! These Brown Butter Strawberry Blondies are one of those recipes that just begs to be shared.
I absolutely live to see your creations! My blog is all about building a community of home bakers who aren’t afraid to try something a little unique—and a brown butter fruit bar definitely fits that bill. So, after you’ve let them cool completely and you’ve sliced everything into perfect squares, I want to see what you made!
Don’t Forget to Rate the Recipe!
If these chewy, nutty bars made your week, please jump back up to the top of the page and leave a rating! Those stars really help other bakers know that this recipe is tested and true. The more ratings we get, the more confident people feel about trying something new like browning their butter!
Tag Me on Social Media
If you snap a picture—and you absolutely should, because mine always look gorgeous with that contrast of strawberry pink against the dark, nutty blonde base—please tag me! I share reader photos all the time over on my social channels. Use the hashtag #BrownButterStrawberryBlondies so I can easily find your fantastic work. Seriously, show off those clean cuts and those gorgeous flecks of brown butter!
I love seeing how you adapt things or just seeing the finished product in your own kitchen! If you’re looking for other fun bakes or just want to browse what’s new on the site, you can always jump over to my main blog roll!
Happy baking, friends. I hope these become a summer staple for you just like they are for me!
PrintBrown Butter Strawberry Blondies
A recipe for chewy blondies featuring the nutty depth of brown butter combined with fresh strawberries.
- Prep Time: 15 min
- Cook Time: 35 min
- Total Time: 50 min
- Yield: 16 squares
- Category: Dessert
- Method: Baking
- Cuisine: American
- Diet: Vegetarian
Ingredients
- 1 cup (2 sticks) unsalted butter
- 1 1/2 cups packed light brown sugar
- 1/2 cup granulated sugar
- 2 large eggs, room temperature
- 1 tablespoon vanilla extract
- 1 3/4 cups all-purpose flour
- 1 teaspoon baking powder
- 1/2 teaspoon salt
- 1 cup fresh strawberries, chopped into small pieces
Instructions
- Melt the butter in a light-colored saucepan over medium heat. Continue cooking, stirring occasionally, until the butter foams, then subsides, and brown bits form at the bottom. The butter will smell nutty. Immediately pour the brown butter into a heatproof bowl to stop cooking. Let it cool for 10 minutes.
- Preheat your oven to 350°F (175°C). Line an 8×8 inch baking pan with parchment paper, leaving an overhang on two sides for easy removal.
- Whisk the brown sugar and granulated sugar into the slightly cooled brown butter until combined.
- Beat in the eggs one at a time, mixing well after each addition. Stir in the vanilla extract.
- In a separate bowl, whisk together the flour, baking powder, and salt.
- Gradually add the dry ingredients to the wet ingredients, mixing on low speed or by hand until just combined. Do not overmix.
- Gently fold in the chopped strawberries.
- Spread the batter evenly into the prepared baking pan.
- Bake for 30 to 35 minutes, or until the edges are set and a toothpick inserted near the center comes out with moist crumbs attached (not wet batter).
- Let the blondies cool completely in the pan on a wire rack before lifting them out using the parchment overhang and cutting them into squares.
Notes
- To prevent sogginess, gently toss the chopped strawberries with one teaspoon of flour before folding them into the batter. This helps absorb excess moisture.
- For a fudgier texture, slightly underbake by about 3 minutes. For a chewier texture, ensure you use brown sugar as the primary sweetener.
- If you want a visual swirl, reserve 1/4 cup of the batter, gently fold 1/4 cup of strawberry jam into the reserved batter, and dollop it over the main batter before baking. Swirl lightly with a knife.
Nutrition
- Serving Size: 1 square
- Calories: 250
- Sugar: 25
- Sodium: 100
- Fat: 14
- Saturated Fat: 9
- Unsaturated Fat: 5
- Trans Fat: 0
- Carbohydrates: 30
- Fiber: 1
- Protein: 3
- Cholesterol: 60