

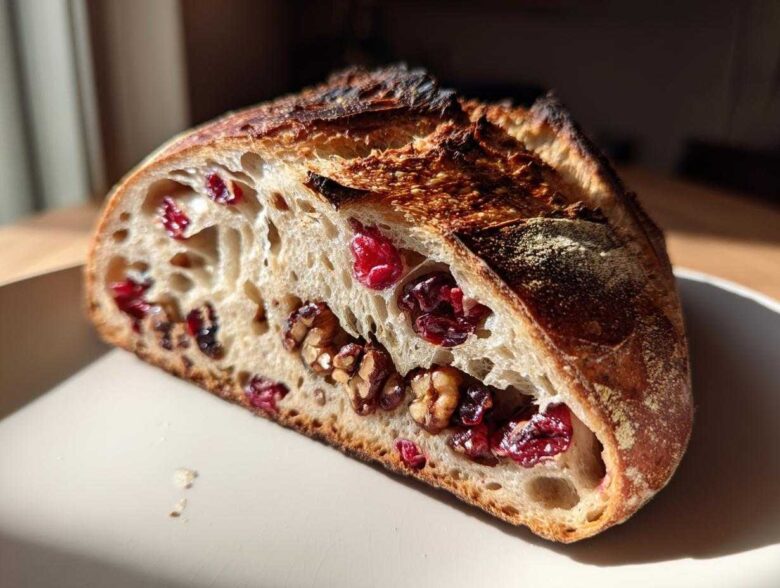
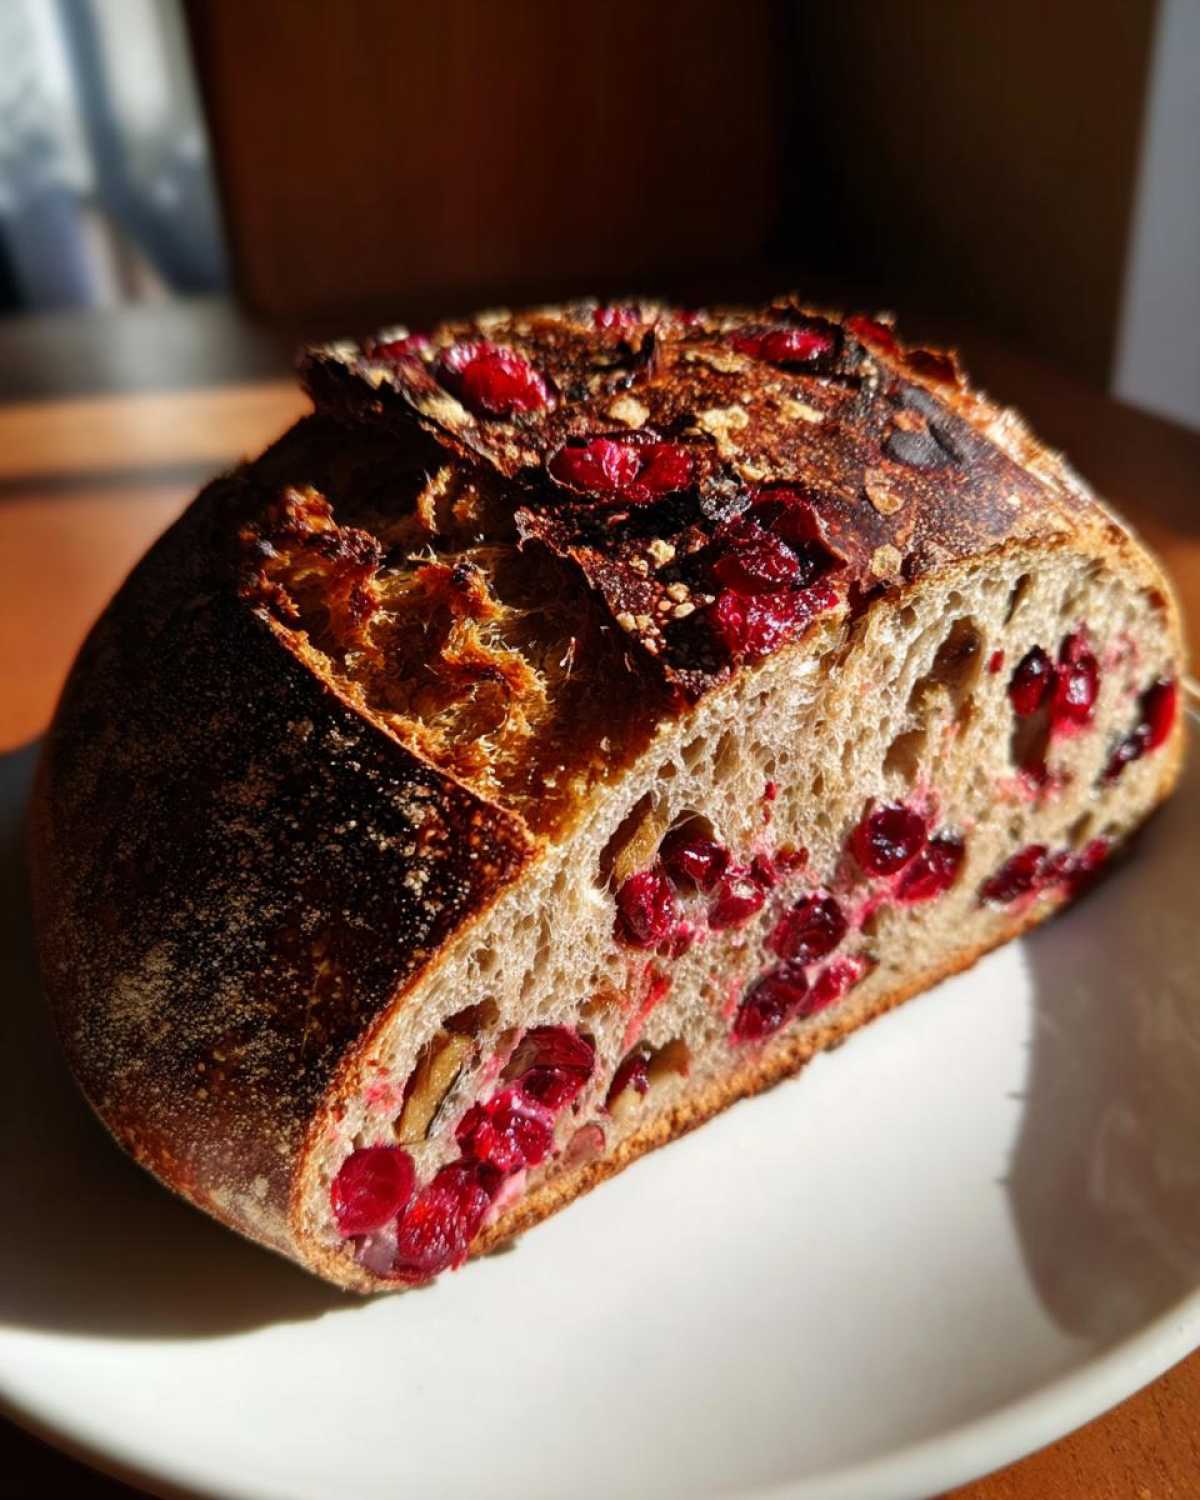
Oh my gosh, you guys have got to stop buying that stuff from the store! Nothing beats the smell of fresh bread baking, right? And seriously, when the holidays roll around, I live for a good loaf sitting on the counter. That’s why I’m sharing my absolute favorite **No-Knead Artisan Cranberry Walnut Bread** recipe with you today. Don’t let the word ‘artisan’ scare you; this thing basically makes itself! It has that incredible, slightly chewy crust, but the inside is so soft and tender, packed with tart cranberries and rich, crunchy walnuts. I whip this up every single year for Christmas morning breakfast, and it’s always the first thing gone. Seriously, trust me on this—it’s the easiest bread you’ll ever make, but it tastes gourmet!
You can find more great breakfast ideas over here if you’re looking for something to go with this amazing loaf! Check out these breakfast goodies!
Why This No-Knead Cranberry Walnut Bread Recipe Works (E-E-A-T)
The reason this loaf is so reliable, even for brand-new bakers, is the long, slow fermentation time. We aren’t doing any hard work here; the yeast does all the heavy lifting during that overnight rest! That’s what creates the beautiful open structure and that rustic crust you see on bakery loaves. Plus, that subtle cinnamon warms up the tart cranberries just perfectly, making a cozy bite every time.
It’s truly tested; I’ve made this version dozens of times! If you’re looking for more tips on getting started with doughs, I have a great guide right here on beginner bread baking.
Key Benefits of Our Cranberry Walnut Bread Recipe
- It’s seriously low effort—just mix and wait! Minimal hands-on time, maximum flavor.
- You get that amazing rustic crust paired with a surprisingly soft, tender interior crumb.
- It holds up wonderfully, making it perfect for wrapping up as a festive gift or serving at brunch.
- The hint of cinnamon makes the whole house smell incredible during the colder months.
Gathering Ingredients for Artisan Cranberry Walnut Bread
Okay, ingredient wise, this is where we set ourselves up for success. Since this is a no-knead bread, every single component needs to be right because we aren’t forcing the gluten structure later! Don’t panic; the list isn’t long, but precision matters, especially with the water temperature for our lazy yeast.
We’ll need our basics first:
- 3 cups of good all-purpose flour—no need for fancy bread flour here!
- Salt, because bread without it is sad bread, so we need 1 1/2 teaspoons of that.
- Just 1/4 teaspoon of instant yeast. Seriously, that’s all we need for that long, slow rise.
- And the liquid: 1 1/2 cups of warm water. And listen closely, friends, the water needs to be between 105 and 115°F. Too cold and the yeast sleeps; too hot and we kill it off. Let it sit for just a moment so it feels warm but not steaming hot on your wrist!
Essential Components for Your Cranberry Walnut Bread
Now for the fun stuff that makes this a holiday staple! These are what we fold in gently later on:
- You will want 1 cup of dried sweetened cranberries. They plump up beautifully in the steam!
- Don’t skimp on the nuts—1 cup of walnuts, chopped coarsely. We want some serious crunch in every slice.
- For that cozy backdrop flavor, 1 teaspoon of ground cinnamon is non-negotiable. It just pulls everything together.
- And if you are feeling fancy, a tablespoon of granulated sugar sprinkled right on top before baking gives you a gorgeous, shimmery, crackly top crust!
Step-by-Step Instructions for No-Knead Cranberry Walnut Bread
This is the best part because you get to walk away! Our work is almost done after the initial mix. We are trusting science and time here. Remember, we’re aiming for that rustic, crackly crust that only a ripping hot Dutch oven can deliver, so pay close attention to that preheat step later on!
If you want to see how I get a similar crust on my crusty Italian loaf, check out my tips here: my homemade crusty bread method.
Mixing and the Long Rest for Perfect Cranberry Walnut Bread Dough
First things first, mix your dry things in a big bowl. Then dump in the warm water and just use a wooden spoon until it’s all shaggy and looks messy—a ‘shaggy dough’ is what the pros call that blob, and it’s perfect. Cover that bowl tight with plastic wrap. Now, you wait. Seriously, 12 to 18 hours is the magic window. When you come back, the dough should have doubled, and you’ll see tons of bubbles on the surface. That’s when you know the yeast was happy!
Incorporating Fruit and Nuts into Your Cranberry Walnut Bread
Gently scrape that bubbly dough onto a lightly floured counter. Now, sprinkle your cranberries, walnuts, and that cinnamon right on top. The key here, and I mean *key*, is folding. Don’t punch it! You need to gently fold the dough over itself just a few times until the mix-ins are barely mixed in. We want to keep all those beautiful air pockets! Once they are loosely incorporated, shape it into a rough ball. Let it sit covered again for just 30 more minutes while your oven gets screaming hot.
Baking the Artisan Cranberry Loaf in a Dutch Oven
About 20 minutes before that second rest is up, put your Dutch oven AND its lid inside the oven and crank it to 450°F (232°C). That pot needs to be lava hot! Carefully take the heavy pot out—watch your hands!—and gently drop your dough ball inside. I sometimes dust the bottom with cornmeal first for extra texture. Pop the lid on and bake for 30 minutes. This steamy environment helps your bread puff up big time! After 30 minutes, pull the lid off and bake uncovered for another 15 to 20 minutes until the crust is a deep, beautiful golden brown. Then, pull it out and let it cool completely before slicing. Patience rewards you!
Tips for a Perfect Cranberry Walnut Bread Crust and Crumb
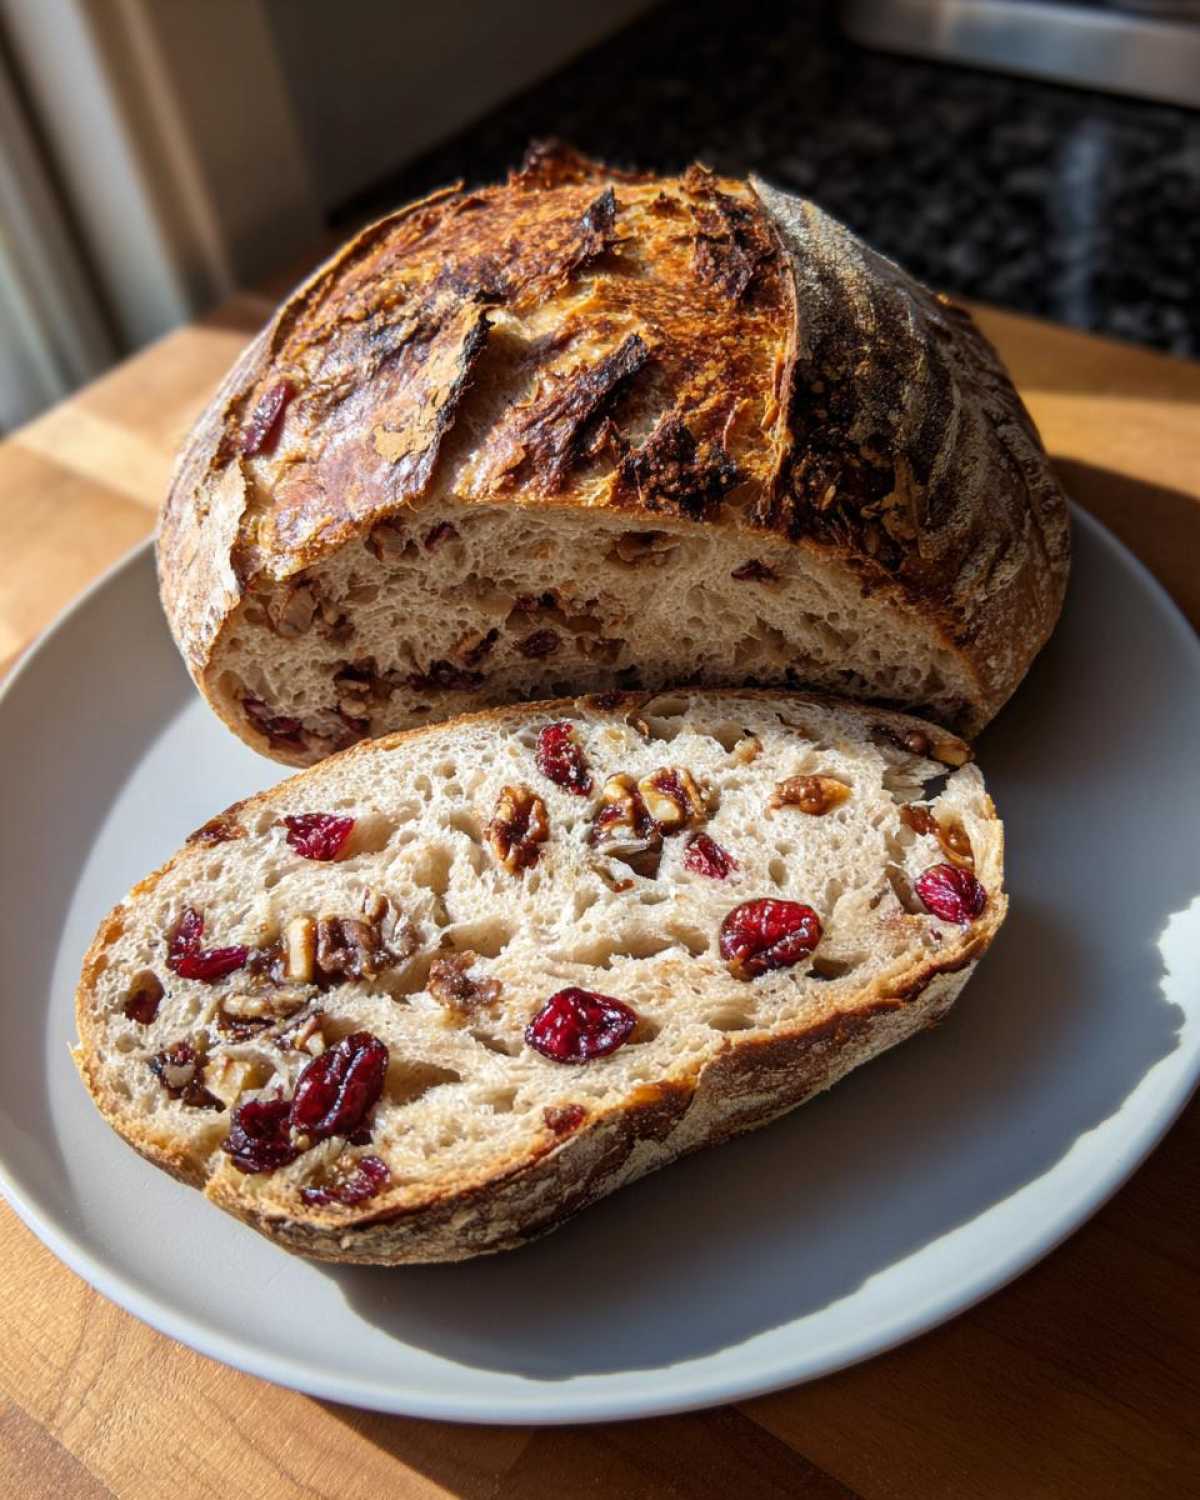
Listen, the magic handshake of this loaf is the contrast between that rustic, almost crackly crust and the wonderfully tender interior. If you follow the Dutch oven steps, you’re 90% there, but texture sometimes requires a little finesse, especially when dealing with fruit and nuts.
If you want that super chewy, artisan-style crust—the kind that sings when you slice it—you cannot skip the 30 minutes of covered baking. That trapped steam is what allows the cell walls in the bread to expand fully before the crust sets hard. It’s like giving your bread a perfect sauna before sending it out!
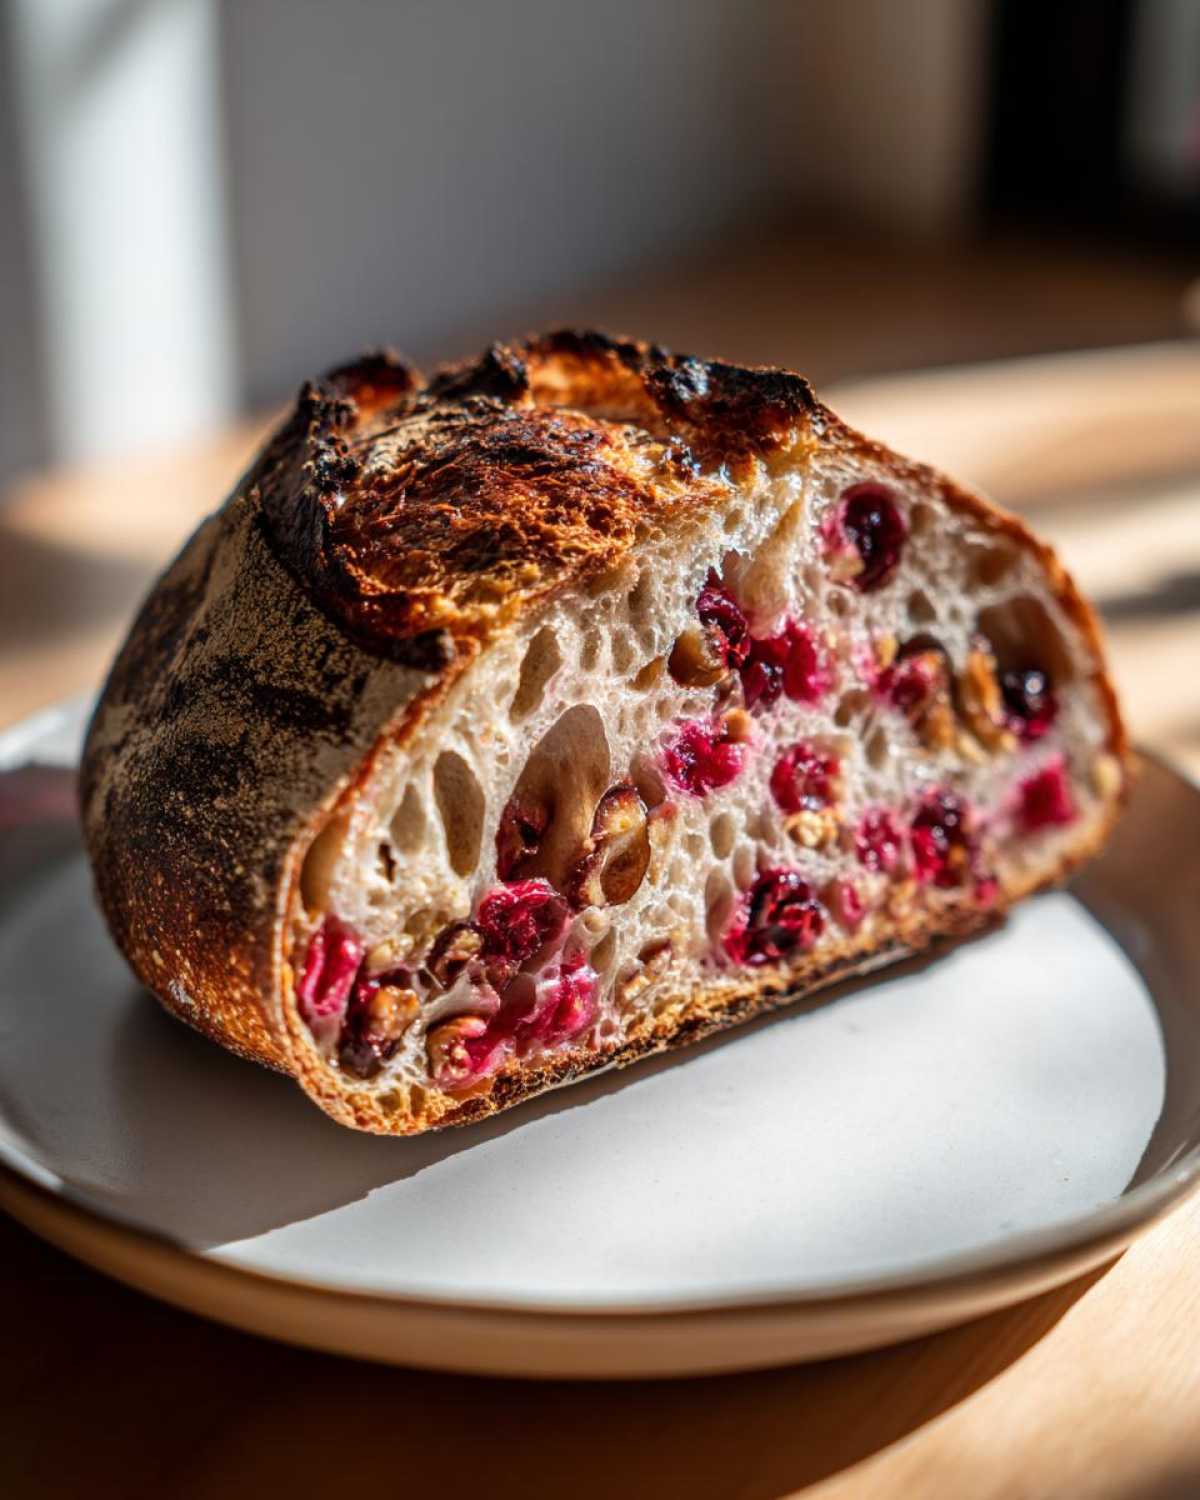
Now, for the crumb. If you find your dough is just too sticky and starts feeling less like dough and more like thick soup when you go to fold in the cranberries and walnuts, don’t panic and don’t add more flour! That means your dough is very hydrated, which is great for moisture, but tricky to handle. Just use slightly damp hands—not floured hands—when you fold. It’s messy for about five seconds, but it beautifully preserves those airy bubbles that guarantee a soft interior. I learned that trick watching my neighbor bake sourdough; it’s a game-changer!
If your baking goal leans more toward a softer crust—maybe you’re serving this to little ones or just prefer less crunch—I have a little hack detailed in the notes, but essentially, you just pull the bread out of the hot pot for the last 10 minutes of baking. It lets the surface dry out less harshly. You can read more about moisture management in recipes like this moist coconut cake; the principles of steam and fat are similar!
Ingredient Notes and Substitutions for Cranberry Walnut Bread
So you’re missing an ingredient? Don’t worry, that never happens in my kitchen either! It’s good to know how adapting your ingredients will affect this beautiful loaf. While this is meant to be a classic **cranberry walnut bread recipe**, a few swaps are definitely manageable, though they might shift the texture slightly.
Let’s talk about those mix-ins first. Walnuts or pecans? Go for pecans if that’s what you have! Pecans are a bit softer, so you’ll get a slightly buttery crunch instead of a hard snap, but nobody is going to complain about having nuts in their bread. Real talk, fresh cranberries are amazing, but they are super tart and really need that sugar to balance out, so if you use fresh, maybe bump that optional topping sugar up to a tablespoon or two.
If you are out of instant yeast, double-check your package, but active dry yeast usually works if you proof it first in that warm water for about 10 minutes until it gets foamy before adding it to the flour mixture. If you wait too long, you’ll need to add a tiny bit more flour later because the extra proofing time can sometimes affect the hydration.
Making a Moist Cranberry Bread Variation
I always stress about things drying out, especially yeast breads. If you want to ramp up that softness and add a little richness, you can try swapping out 1/4 cup of the plain water for whole milk. The recipe notes mention this, and I really encourage it sometimes when I’m planning to have this for brunch!
Why does this help? Milk has natural fats and sugars that dough loves. It coats the flour particles a little better than just water does, which helps inhibit gluten development just enough to keep the crumb softer when it bakes. It gives you a subtly richer flavor too, leaning it more towards a slightly sweet yeast bread rather than a super lean artisan one. Just don’t use cold milk; keep it warm, just like you would the water, so you don’t shock that precious yeast!
Serving Suggestions for Your Rustic Winter Bread
Once this loaf is completely cooled—and trust me, slicing it warm is a mistake you only make once!—it truly shines on its own, but it loves a good companion. Because we’ve hit that perfect spot between tart and nutty, the accompaniments can be simple, letting the bread do the heavy lifting!
If you are serving this as the centerpiece for your holiday breakfast or brunch spread, it looks gorgeous just sitting on a simple wooden board. A thick smear of good quality, slightly salted butter melting into those nooks and crannies? Perfection. It’s simple, classic, and lets the cinnamon and walnuts really pop.
For something a little creamy, a generous spread of plain cream cheese is wonderful. If you want to elevate that just a bit, try mixing in a whisper of honey or orange zest into the cream cheese before you put it out. That little bit of brightness plays so nicely against the dried cranberries.
I also love serving slices alongside a hot drink, maybe even dipped! Think about serving it next to some rich maple cookies—I have a fantastic brown butter maple cookie recipe where the maple syrup notes just sing alongside this rustic loaf. It turns a simple coffee break into a whole special occasion! Honestly, this bread makes any ordinary morning feel like a celebration.
Storage and Make Ahead Holiday Bread Tips
One of the best parts about this style of bread is that it’s fantastic for making ahead, which honestly saves my sanity during busy holiday weeks. We all love the idea of a fresh, steamy loaf, but sometimes you just need to bake it Tuesday for Saturday breakfast, right? Luckily, this **cranberry walnut bread** stores beautifully, but there’s one rule you absolutely cannot break: it has to be completely, 100% cool before it goes anywhere near plastic wrap or foil.
If there is even a hint of warmth left inside, that steam gets trapped, and we go from a crisp artisan crust to a soggy, sad situation faster than you can say ‘walnut crunch bread’! Let it spend proper time cooling on a wire rack—we aren’t rushing this final phase!
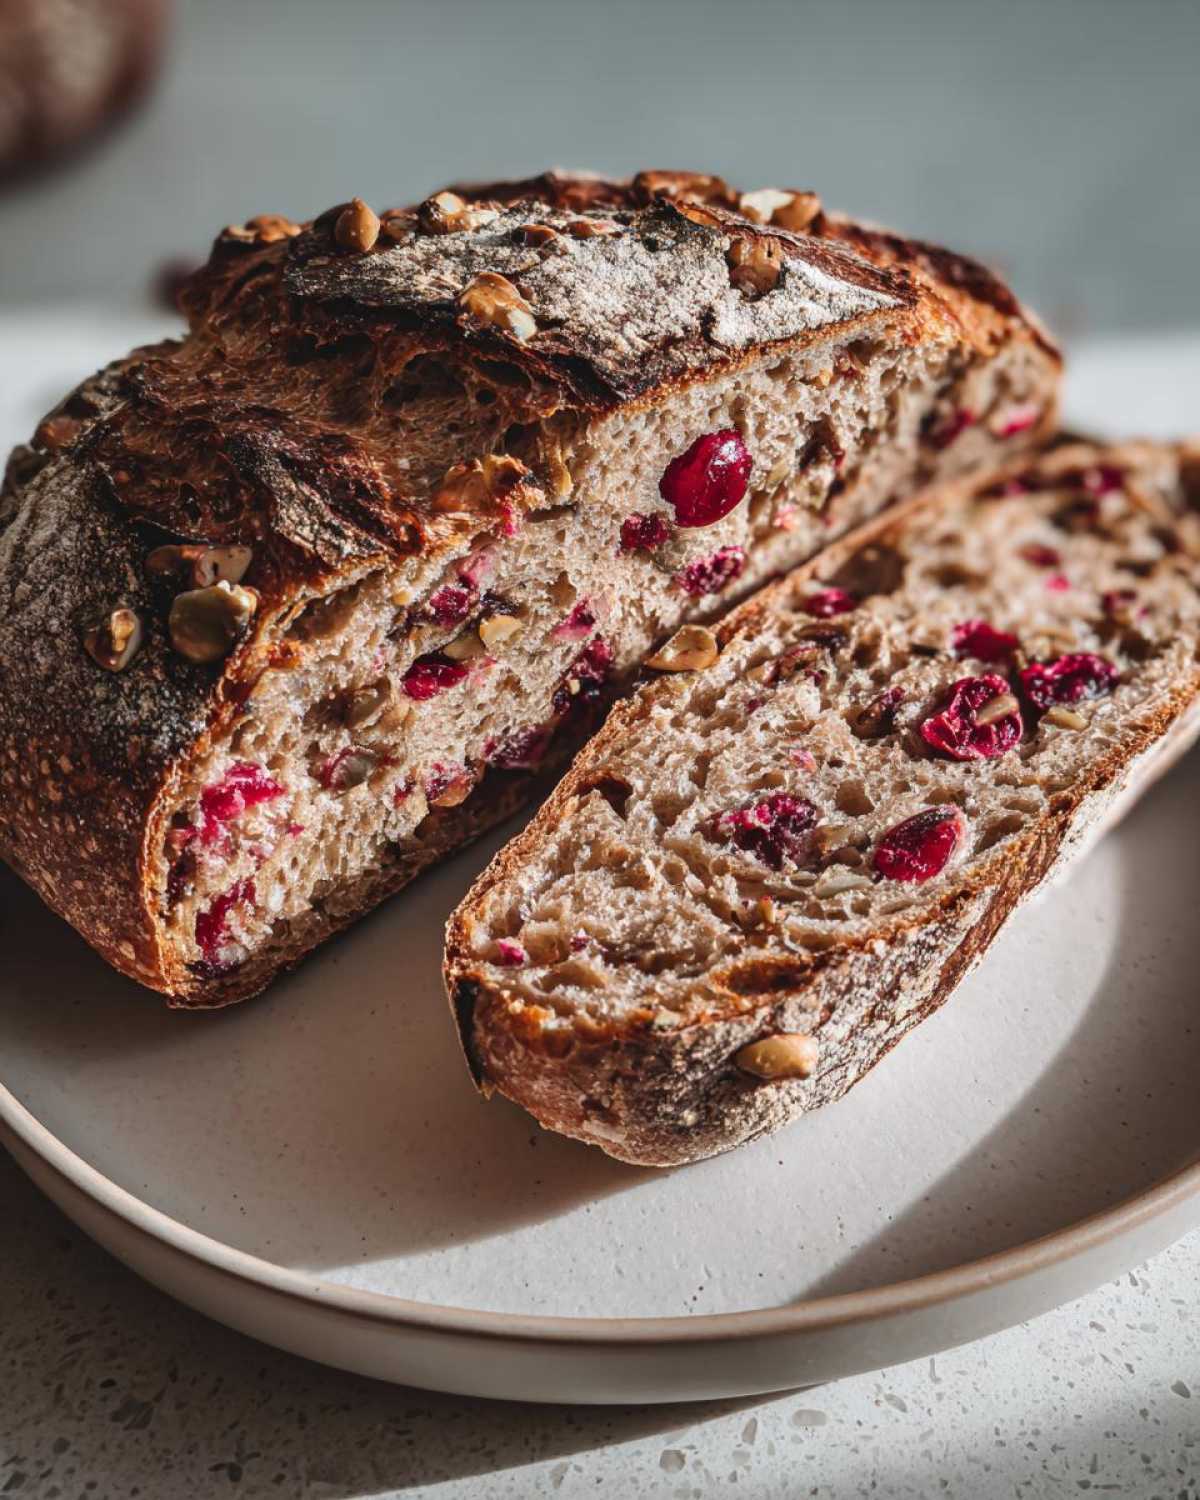
For short-term keeping, just wrap the cooled loaf tightly in plastic wrap, then slide it into a large Ziploc bag. It stays perfectly soft and fresh at room temperature for about three or four days. I like using a sharp serrated knife to slice off what we need each morning.
When it comes to freezing, this loaf is a superstar! This addresses that ‘make ahead holiday bread’ stress perfectly. You wrap it tightly—I mean *tightly*—first in plastic wrap, and then I always add a final layer of aluminum foil. This double-wrap system prevents freezer burn and keeps all that lovely cinnamon aroma locked in. Slice it first, if you prefer, which makes reheating individual portions super easy.
You can just let the frozen loaf thaw overnight on the counter wrapped up, or if you’re in a hurry, you can refresh slices in a warm oven for about five minutes. If you want more strategies for getting ahead of the holiday baking chaos, I wrote a whole piece about that for you right here on make-ahead techniques!
Frequently Asked Questions About Cranberry Walnut Bread
I get so many messages after people try this loaf for the first time, and sometimes folks have little hiccups! Don’t you worry if you run into trouble; almost every issue comes down to one or two simple things we can fix right away. This is truly a forgiving recipe, but let’s tackle the common snags head-on so you get that perfect **walnut crunch bread**!
Can I make this a quick cranberry bread recipe instead?
That’s a great question, especially if you need something faster than the 18-hour wait! The big difference is that this one is a sweet yeast bread, which requires that long rest time for the structure to develop the artisan crust. If you need something instantly, you’ll want to look for a true quick cranberry bread recipe, which uses baking powder or soda instead of yeast. While I adore this slow-fermented loaf, sometimes you just need speed! If you’re looking for non-yeast options, I have loads of tips on the mechanics of quick bread baking to speed things up.
What temperature should the water be for the yeast?
This is probably the most important technical question for this method! Since we are relying on that small amount of instant yeast over many hours, we need to wake it up gently. Your warm water absolutely needs to be between 105°F and 115°F. If you don’t have a thermometer, it should feel warm, but definitely not hot, when you stick your finger in it. If it’s too hot—say, over 125°F—you’ll unfortunately kill the yeast, and your dough won’t bubble up overnight. We need that long, cozy nap time for the dough to work its magic!
How do I get that beautiful rustic look on my artisan cranberry loaf?
The rustic look comes from two main things! First, that long, slow rise builds up so much internal gas that the dough balloons beautifully in the oven. Second, and most importantly for the look, is that screaming hot Dutch oven. When you drop the dough into that blazing-hot pot, the trapped steam bursts the surface of the bread, which creates those natural fissures and cracks we associate with an **artisan cranberry loaf**. Don’t forget to put the lid on for the first half of baking—that’s where the steam comes from!
Troubleshooting Common No-Knead Cranberry Walnut Bread Issues
If you wake up after 18 hours and your dough looks exactly the same—flat and sad—I am so sorry, but you likely had old yeast or water that was too cold! Yeast is a living thing, and if it’s sluggish, it won’t do its job. If your dough looks great but you just can’t seem to get the walnuts distributed evenly when you fold them in, that’s a handling issue, not an ingredient issue. Remember, gentle folding is key to keeping things airy. If you over-mix when adding the nuts, you deflate the gases, and your beautiful loaf turns into a dense brick. Be patient when folding!
Sharing Your Homemade Cranberry Walnut Bread Experience
Now that you’ve got this incredible, rustic loaf cooling on your counter, I just want to know everything! Did the no-knead method blow your mind? I still can’t believe how little I actually *did* to create that gorgeous crust.
Please, please, please, come back here and leave a star rating for this **cranberry walnut bread recipe**! It really helps other bakers know this is the real deal and worth the wait. I live for reading your comments—tell me if you made a special holiday variation, maybe using pecans instead of walnuts, or if you decided to use that hint of orange zest in the glaze I mentioned earlier!
If you snap a picture of that beautiful, crackly top dusted with sugar, I would absolutely love to see it on social media! Tag me so I can share the love for homemade bread. Connecting with you all and seeing your baking adventures is honestly the best part of running this little blog, and you can always dive deeper into all the other kitchen fun over at the main blog page!
PrintNo-Knead Artisan Cranberry Walnut Bread
Make a rustic, flavorful cranberry walnut bread using a simple no-knead method. This loaf features a tender crumb, tart cranberries, and crunchy walnuts, perfect for holiday breakfasts.
- Prep Time: 15 min
- Cook Time: 50 min
- Total Time: 13 hours 5 min
- Yield: 1 loaf
- Category: Breakfast
- Method: Baking
- Cuisine: American
- Diet: Vegetarian
Ingredients
- 3 cups all-purpose flour
- 1 1/2 teaspoons salt
- 1/4 teaspoon instant yeast
- 1 1/2 cups warm water (about 105-115°F)
- 1 cup dried sweetened cranberries
- 1 cup chopped walnuts
- 1 teaspoon ground cinnamon
- 1 tablespoon granulated sugar (for topping, optional)
Instructions
- In a large bowl, whisk together the flour, salt, and yeast.
- Add the warm water and mix with a wooden spoon until just combined into a shaggy dough. Do not overmix.
- Cover the bowl tightly with plastic wrap and let it rest at room temperature for 12 to 18 hours. The dough should become bubbly and increase in volume.
- Gently scrape the dough onto a lightly floured surface. Sprinkle the cranberries, walnuts, and cinnamon over the dough. Fold the dough over itself a few times to incorporate the fruit and nuts without deflating the air too much.
- Shape the dough into a rough ball. Cover it with a clean kitchen towel and let it rest for another 30 minutes.
- About 20 minutes before the second rest ends, place a Dutch oven with its lid inside your oven. Preheat the oven to 450°F (232°C).
- Carefully remove the hot Dutch oven from the oven. Dust the bottom lightly with cornmeal if desired. Gently lift the dough using the towel and place it into the hot Dutch oven. Sprinkle the top with optional sugar.
- Cover the Dutch oven and bake for 30 minutes.
- Remove the lid and continue baking for another 15 to 20 minutes, or until the crust is deep golden brown.
- Carefully remove the bread from the Dutch oven and cool completely on a wire rack before slicing.
Notes
- For a moister interior, you can substitute 1/4 cup of the water with whole milk.
- If you prefer a softer crust, remove the bread from the Dutch oven for the last 10 minutes of baking and place it directly on the oven rack.
- This bread freezes well once completely cooled. Wrap tightly in plastic wrap and then foil.
Nutrition
- Serving Size: 1 slice
- Calories: 280
- Sugar: 12
- Sodium: 320
- Fat: 6
- Saturated Fat: 1
- Unsaturated Fat: 5
- Trans Fat: 0
- Carbohydrates: 52
- Fiber: 2
- Protein: 8
- Cholesterol: 0