

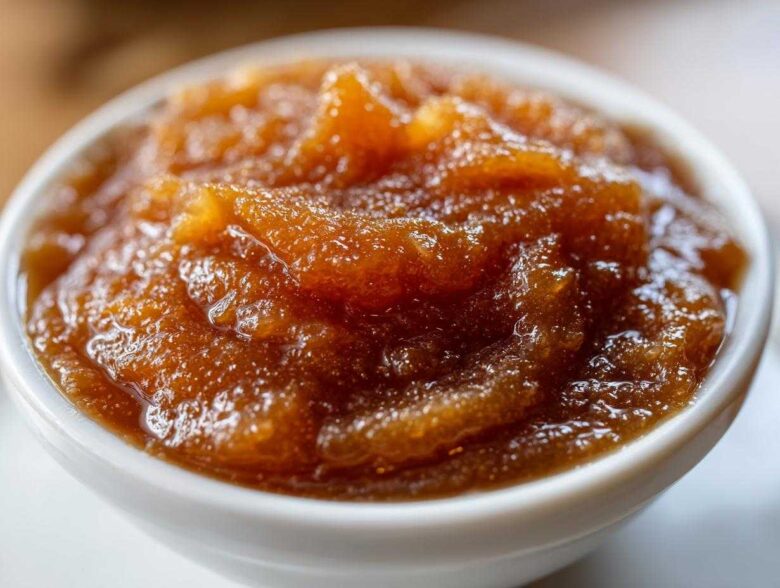
When those first crisp winds blow and the kitchen starts smelling like cloves and cinnamon, you know it’s time to preserve that gorgeous autumn flavor! If you’re looking for the absolute easiest way to capture that taste in a jar, I’ve got you covered. This pear butter? It’s practically magic because the slow cooker (Crockpot!) does ninety percent of the work. Seriously, I just chop and dump, and then I walk away for hours.
There is just nothing better than making your own fruit butter from scratch. It’s richer, less sweet, and you control every single spice that goes into the jar. This recipe is my tried-and-true method for yielding that incredibly rich, thick spread every single time. You can find out a little more about my kitchen philosophy over at my thoughts on cooking, but right now, let’s get those pears cooking!
Why This Slow Cooker Pear Butter Recipe Works So Well
Moving beyond the stovetop can feel like cheating, but trust me, the slow cooker is your best friend when making fruit butters! This is truly the most easy pear butter method out there because once you get the ingredients in there, the machine takes over. No stirring every ten minutes!
- It’s completely hands-off for most of the cooking time—set it and forget it!
- The low, steady heat really deepens the spice profile, making it taste like it cooked all day (even when you started late).
- It breaks down the pears so completely that you get that gorgeous, homogenous texture without fighting the mixture on the stove.
Achieving Silky Smooth Pear Butter
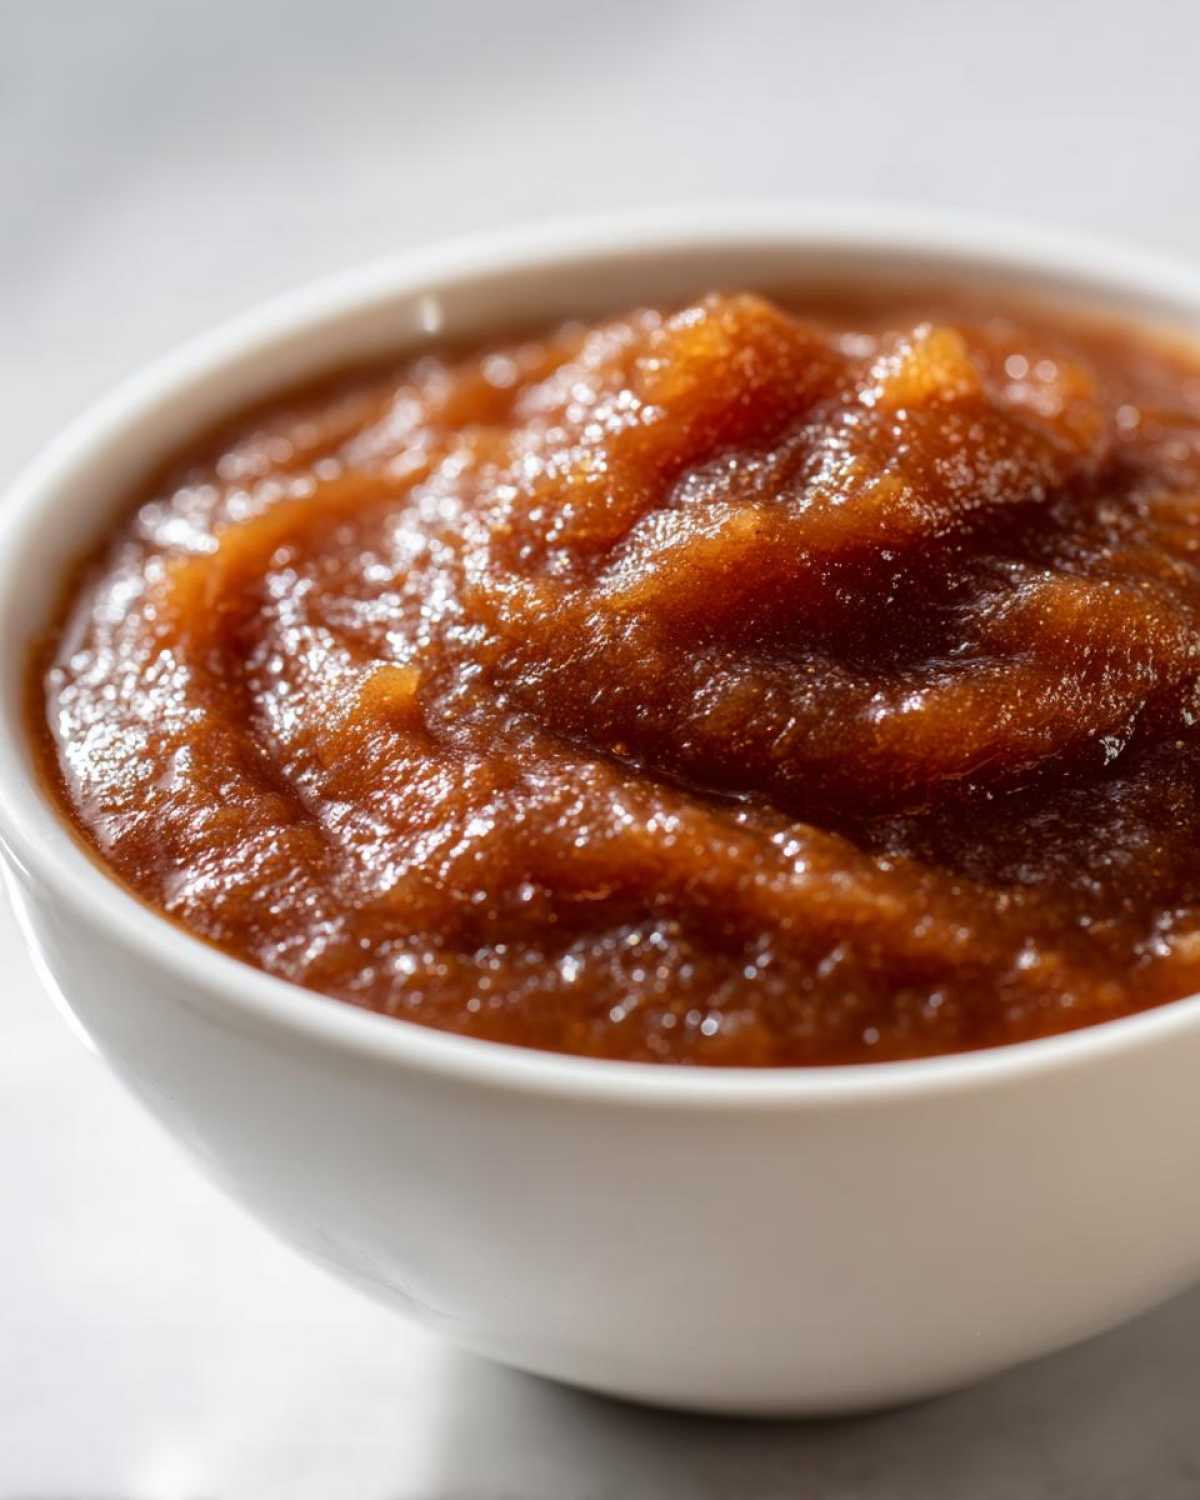
That long, slow simmer is the secret weapon here. When you cook the pears low and slow, the cell walls break down so tenderly that when you blend it, you don’t get that slightly grainy texture you sometimes get from quick cooking. We are aiming for lusciously smooth, almost like velvet, which this method totally delivers!
Gathering Ingredients for Your Homemade Pear Butter Recipe
Okay, let’s talk about what you need to gather for this incredible batch of fall preserves. Don’t stress over grabbing fancy spices; we’re keeping this real, but we have to be specific about the fruit and sugar!
You’ll start with a huge pile of ripe pears—we need about four pounds of them after they’re peeled and cored. Then, add one cup of apple cider, a half cup of brown sugar that’s nicely packed down, and a quarter cup of regular white sugar. For that warm, cozy background flavor, grab two teaspoons of cinnamon, half a teaspoon of cloves, and a pinch of nutmeg. Finally, a little vanilla extract and lemon juice for brightness!
Ingredient Notes and Substitutions for Perfect Pear Butter
The fruit selection is super important for a good batch of pear butter. I always insist on using firm pears—Bosc or Anjou are my favorites because they hold their shape just enough during the initial cook before totally melting down. If you can’t find apple cider, don’t panic!
You can easily substitute it with plain water, but throw in just a tiny splash of apple cider vinegar. That little bit of acid really helps cut through the sweetness and brightens up the overall flavor profile of the finished spread. It’s a little trick I learned to make sure my fall fruit preserves never taste flat!
Step-by-Step Instructions for Slow Cooker Pear Butter
This is where the magic truly happens without you having to babysit a pot on the stove for hours! We are layering flavors and letting the low heat do the heavy lifting. Remember, the key here is *patience*; rushing this step makes a watery butter, and we want thick, luxurious goodness!
First, just dump everything raw—the quartered pears, the apple cider, both sugars, and all those gorgeous spices like cinnamon and clove—right into your slow cooker insert. Give it a good stir to make sure everything is cozy. Then, you just set it and forget it! If you’re running errands, set it to low for 6 to 8 hours. If you’re home and impatient (that’s me!), you can use the slow cooker turkey breast recipe technique for timing and crank it to high for about 3 to 4 hours until those pears are ridiculously tender.
Cooking and Blending the Spiced Fruit Butter Base
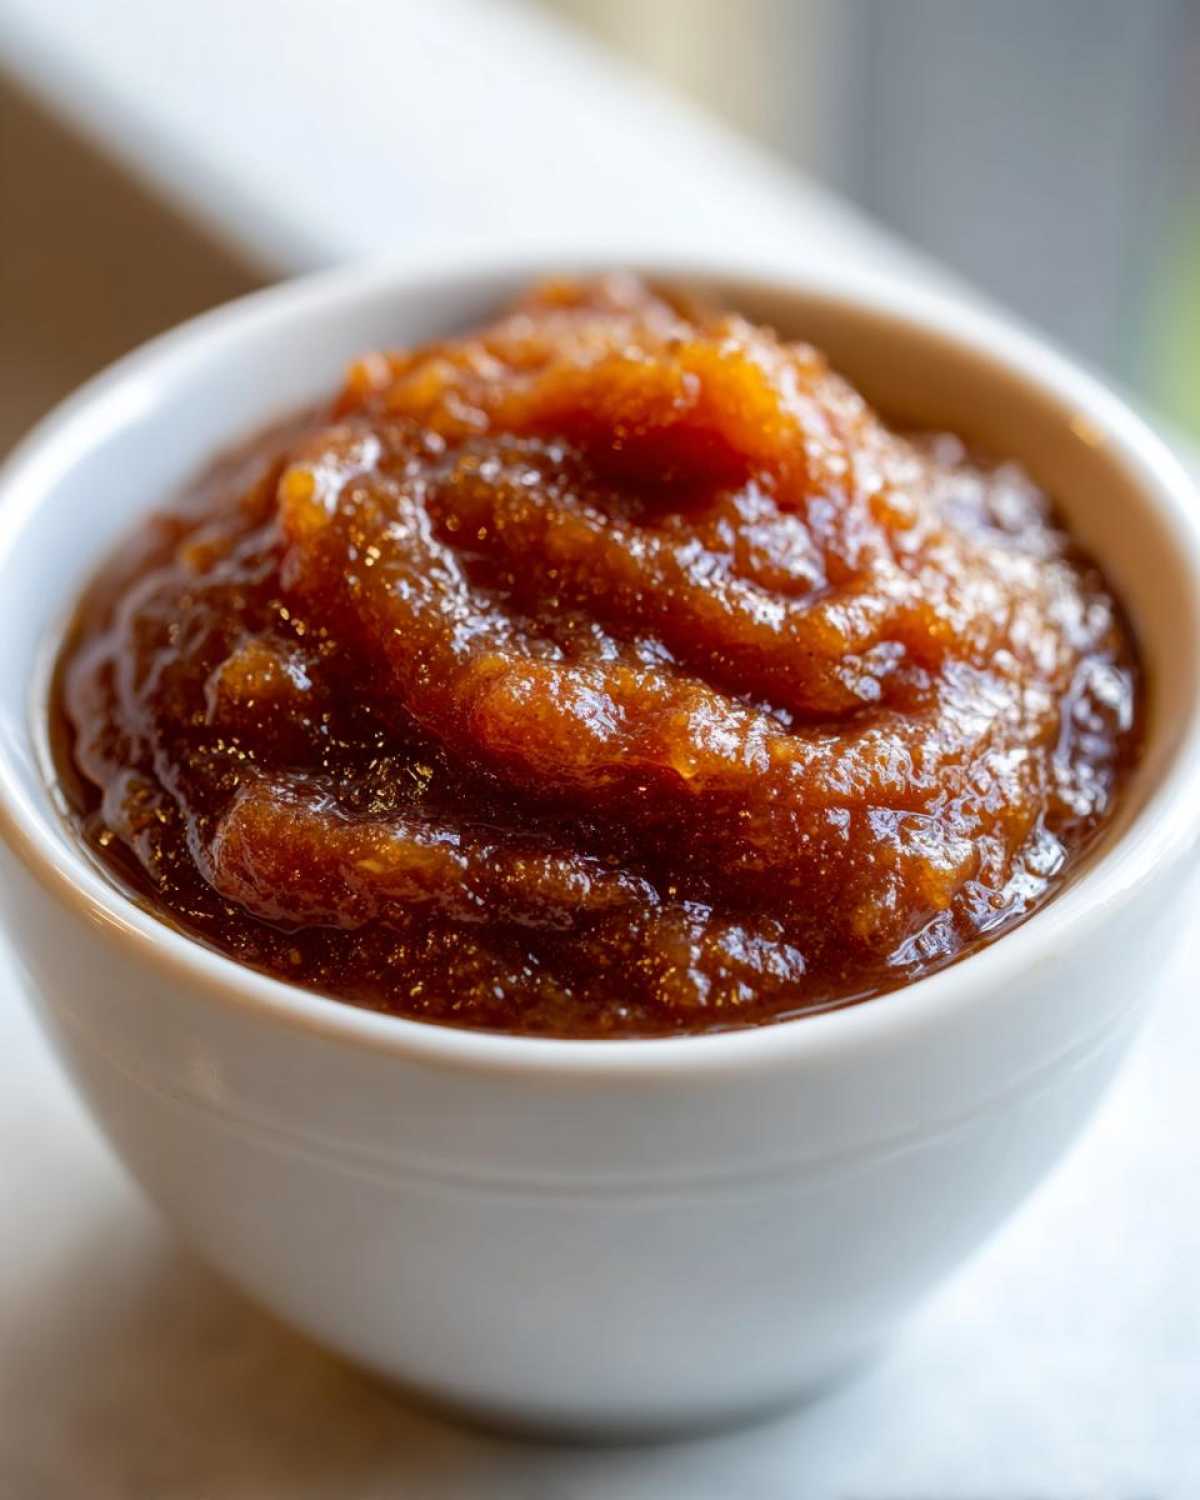
The goal of that initial long cook is to make the pears practically dissolve. You’ll know they are ready when you can mash them easily between your fingers. Once they are *very* soft, you carefully transfer that whole glorious mess—pears, cider, and all—to whatever you use for blending. An immersion blender right in the pot works great if you don’t want to juggle hot liquid!
Process that mixture until it’s perfectly smooth. It should look like a lovely, slightly chunky applesauce at this point. Then, pour that liquid gold right back into the clean slow cooker basin. This base mixture is what creates that incredible spiced fruit butter profile we are chasing!
Thickening Your Vanilla Spiced Pear Butter
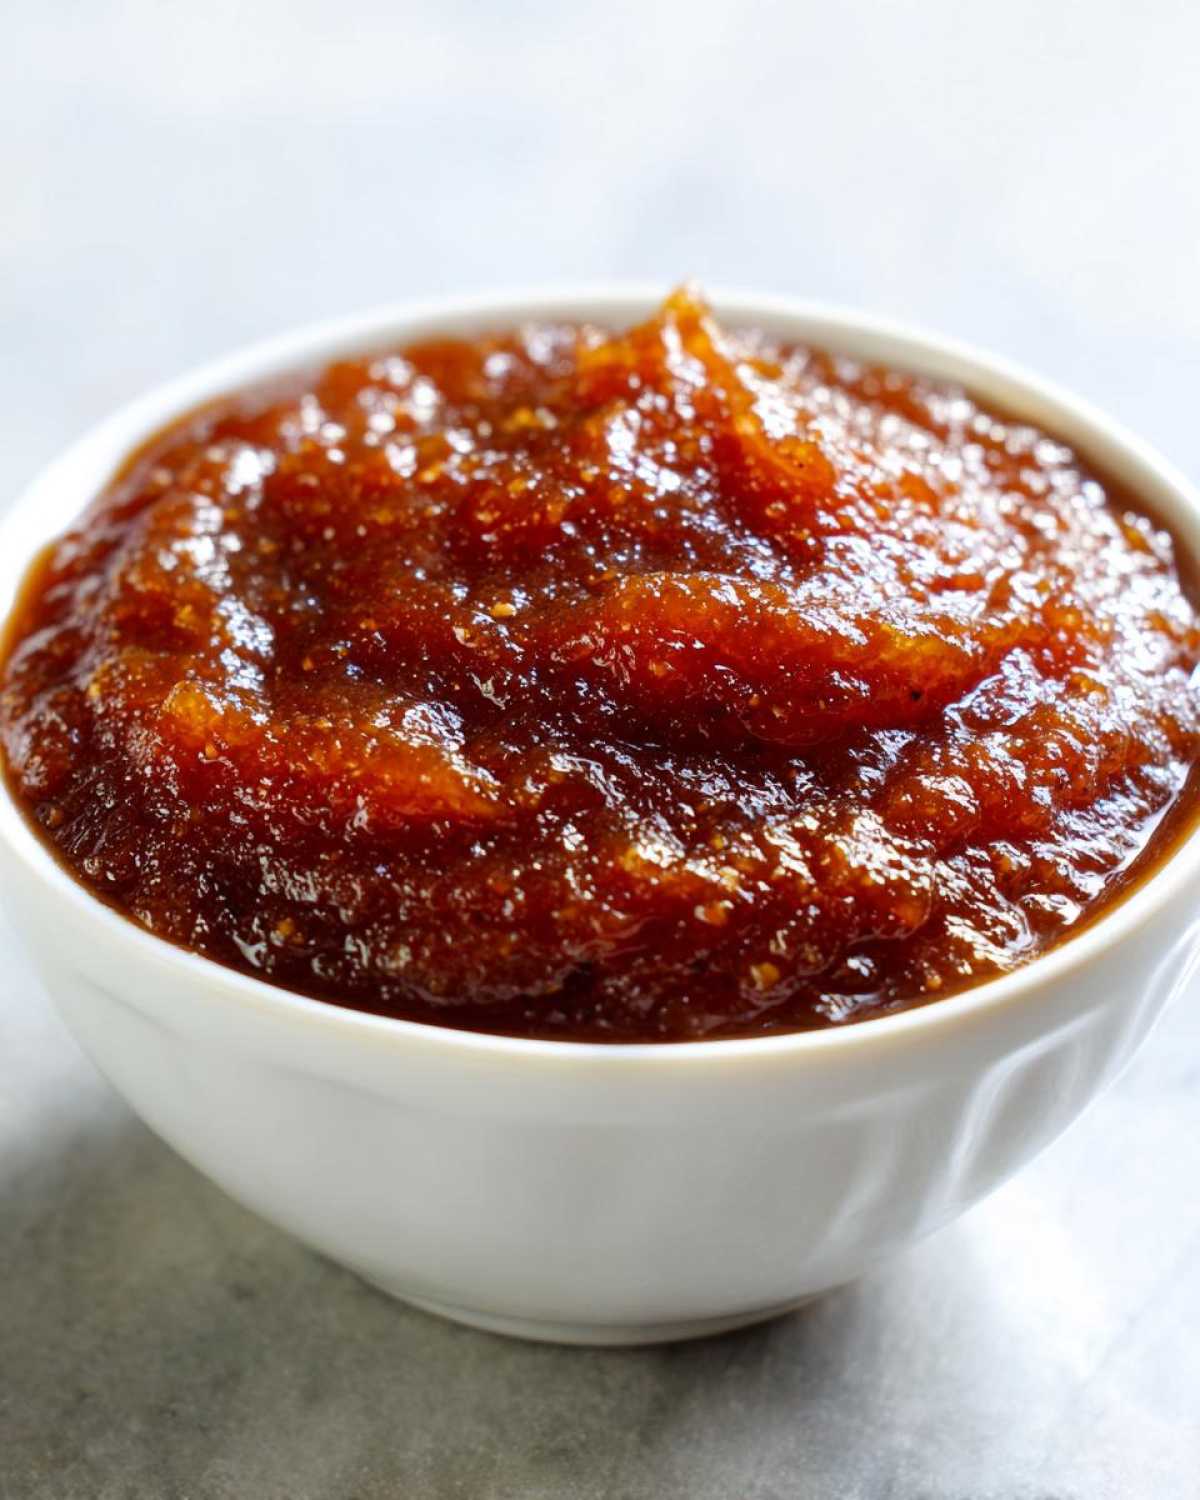
Now we concentrate the flavor and get that perfect spreadable consistency. Stir in your vanilla extract and that little bit of lemon juice—the acid helps keep the color bright! Then, this is important: take the lid off! You need to let that steam escape so the moisture evaporates. Cook it uncovered on high for another hour or two, stirring every 15 minutes or so.
Stop when the mixture clings thickly to the back of your spoon. If you drag your finger across the back of the spoon and the line stays clear, congratulations, you have achieved perfect pear butter concentration!
Canning Pear Butter Instructions for Long-Term Storage
Wow, you made it this far and you have this amazing, thick, spiced butter! If you don’t eat it all right now (which is a serious temptation, I know), you absolutely need to know how to preserve it properly. Making sure your jars are sealed right builds so much trust in your pantry skills!
We are going to use a basic boiling water bath method here because this fruit butter is acidic enough for it to be safe. First things first: get your jars ready. You need to sterilize your jars and keep them hot. I often just keep them sitting in simmering water on the back burner.
When your pear butter is hot off the stove—and I mean piping hot—ladle it carefully into those hot, sterilized jars. Don’t smear the rims! If you get any butter on the rim, wipe it clean immediately with a clean cloth dipped in a little vinegar. You must leave exactly 1/4 inch of space at the top; that’s called headspace, and it’s crucial for sealing.
Wipe those rims clean again, secure your lids and rings fingertip tight only, and then carefully put them into your boiling water canner. You need to make sure the water fully covers the jars by at least an inch. These specific canning pear butter instructions say you process them for 10 minutes.
If you live up high, you have to adjust that time, so make sure you check the guidelines for your altitude! After 10 minutes, turn off the heat, remove the lid, and let the jars sit in the hot water for another 5 minutes before taking them out to cool on a towel. You’ll hear that satisfying *pop* as they seal! It’s the best sound in the kitchen, right? For more detailed preservation tips, you can check out how I handle canning salsa—the jar prep is the same!
Tips for Making the Best Old Fashioned Pear Butter
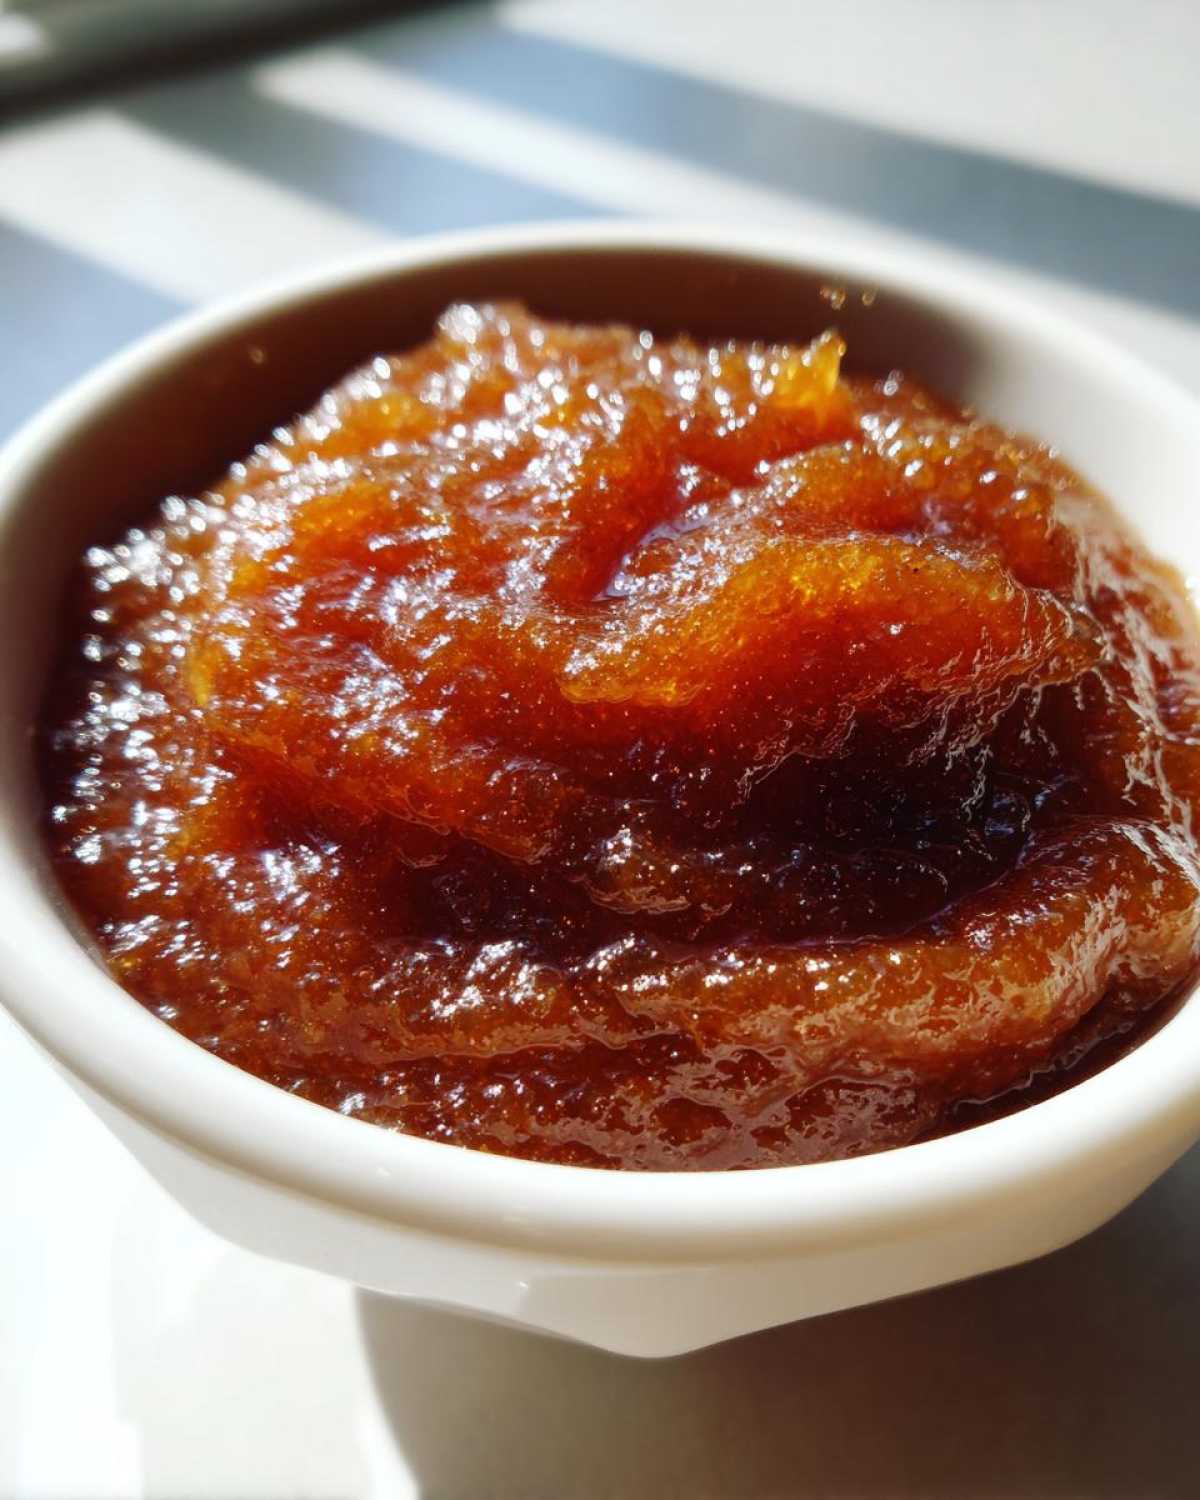
Even though the slow cooker does most of the work, adding a few old-fashioned touches guarantees you get the deepest flavor possible from your fruit. We want this spread to taste like cozy autumn memories, not just sweet pears!
Flavor concentration is key. If you feel like your mixture is still a bit runny after the final unsupervised cook time, don’t be afraid to transfer it back to a heavy-bottomed pot on the stovetop. Bring it to a gentle simmer over medium-low heat (no boiling, we don’t want to scorch it!) and let it reduce until it thickly coats the back of a spoon. This stovetop finish is faster if you’re impatient, taking maybe an hour after blending, compared to the cooker’s two hours.
This process guarantees you maximize the intensity of your pear butter, making it perfect for gifting or spreading on everything!
Troubleshooting Common Pear Butter Issues
We all run into kitchen hiccups, even with the ‘set-it-and-forget-it’ method! Don’t toss that pot of fruit—we can almost always fix it.
If your butter is somehow still too thin after the final cook time, just go back to applying gentle heat uncovered as I mentioned above. Continuous, gentle evaporation is your friend until it clings properly.
Now, if you end up with a slightly gritty texture, it usually means your pears weren’t as ripe as you thought, or maybe your blender just wasn’t strong enough. Don’t worry! You just need to blend it again, but this time, pour the mixture back into the blender in smaller batches. This gives the blades more cutting surface and helps break down those tiny tough pieces. A high-speed blender makes this step almost instantaneous, producing the silkiness we are looking for.
Serving Suggestions for Your Autumn Spread Recipe
Okay, so you’ve got your jars sealed, or maybe you just pulled a small batch out of the slow cooker this morning because you couldn’t wait. Now what do you *do* with this glorious, spiced, autumn wonderfulness? The possibilities are endless, but let’s start with the basics because that’s where this spread really shines!
Obviously, this is the perfect butter for toast and pancakes. If you’re using it on toast, make sure the bread is still warm so the butter just melts right in—it’s heaven! But for pancakes, wow. Forget plain syrup for a minute. Top your stack of fluffy pancakes (I use my recipe for thick and tall pancakes, by the way!) with a big dollop of this butter and watch it melt like a dream.
But don’t stop at breakfast! We’re talking gourmet breakfast toppings and beyond. Think of this as a fantastic replacement for apple butter in almost any recipe. You can swirl a big spoonful into plain Greek yogurt or cottage cheese for an instant flavor boost. It’s amazing mixed into oatmeal, too. I even use it as a base layer on shortcakes before piling on fresh whipped cream.
The holidays are coming, and this autumn spread recipe travels well. Try brushing a little bit over chicken or pork chops right before you take them out of the oven—the brown sugar and spices caramelize beautifully. Honestly, once people taste this straight from the jar, they won’t look at store-bought preserves the same way again!
Storage and Reheating Instructions for Pear Butter
You’ve worked hard to get that beautiful spread, so let’s talk about keeping it perfect! Storage is totally different depending on whether you sealed your jars properly or if you just made a small, immediate batch for the fridge. You want to treat these totally differently!
If you successfully went through the water bath canning process—cheers to you!—those sealed jars are shelf-stable. As long as the seal is intact (you know, that satisfying *pop* you heard when they cooled!), they are good to go in a cool, dark pantry for up to a year. I usually mark the lid with a sharpie and the date so I don’t forget!
For anything that hasn’t been canned, or if you open a jar, it needs to chill out in the refrigerator immediately. Kept cold and covered tightly, that delicious homemade fruit butter will usually stay fresh and delicious for about three weeks. Just make sure you’re using clean spoons every time you dip in so you don’t introduce any weirdness to the batch.
If you pull a jar out of the fridge that’s been chilling for a week and you want that warm, comforting texture back right away? Reheating is super simple. You don’t need to put the whole jar in the microwave, of course. Just scoop out the amount you want into a small microwave-safe bowl and zap it for about 15 to 20 seconds. It softens right up, ready for dipping toast!
Frequently Asked Questions About Making Pear Butter
Can I add apples to this recipe, or is it strictly pear butter?
Oh, absolutely! If you’re looking for an apple pear butter recipe, I highly recommend it. Pears and apples behave a little differently when they cook down, so the texture might vary slightly, but the flavors are phenomenal together. I usually swap out about a third of the pears for firm apples, like Honeycrisp or Granny Smith.
If you decide to go this route, I highly suggest checking out my easy stovetop homemade applesauce recipe notes, as apples tend to release a bit more liquid than pears do, so you might need that extra time to reduce your mixture in the slow cooker uncovered!
What’s the fastest way to do this if I don’t want to use the Crockpot?
You can definitely make this a stovetop recipe if you’re in a rush! This addresses the question of how to make pear butter from scratch without using the electric cooker. After you blend your very soft cooked pears, instead of putting them back in the slow cooker, transfer them to a large, heavy-bottomed pot.
Cook them over medium-low heat. You need to stir this constantly for about an hour to an hour and a half until it’s super thick. It’s more hands-on, but it gets the job done much faster overall than the 8-hour low setting!
What is the best type of pear to use for this homemade pear butter recipe?
This is a fantastic question because the wrong pear yields a gritty texture! Avoid the really soft, juicy pears meant for eating raw, like Bartlett that are overripe. You want pears that hold their shape slightly during the initial slow cooking. My go-to choices for the absolute best traditional results are firm Bosc or slightly firm Anjou pears. They break down beautifully but still give you that desired rich thickness without turning to total mush too fast.
Do I have to add the vanilla extract if I’m just making a small batch for the fridge?
Nope, you don’t *have* to, but I really, really suggest it! The vanilla extract adds a background note that really rounds out the spices, turning it into that signature vanilla spiced pear butter flavor profile. If you skip the vanilla, you might find the flavor a little flat, even though the scent is lovely. It’s a small addition that packs a huge flavor punch for your fall preserves!
Estimated Nutritional Data for This Pear Butter
I always feel a little bit bad sharing the nutritional breakdown because honestly, while this is a natural fruit spread, it still contains sugar! But knowledge is power, right? You know exactly what you’re putting into your jars when you make this from scratch.
Based on the measurements in the recipe, here is what you’re generally looking at for a standard serving size of two tablespoons:
- Calories: About 75 per two tablespoons
- Total Sugars: Around 18 grams
- Carbohydrates: Roughly 20 grams
- Fat: Zero! (Isn’t that nice? All that richness without the actual fat.)
- Protein: Usually 0 grams
- Sodium: Very low, around 1 mg
Now, here is the crucial bit that I need everyone to remember: these numbers are just estimates. That’s because if you use a sweeter brand of apple cider, or if you pack your brown sugar a little tighter than I do, those numbers will shift a tiny bit. Use this as a great guideline, but please take it with a grain of salt—or maybe a grain of cinnamon!
PrintSlow Cooker Spiced Pear Butter
Make a rich, spiced pear butter using your slow cooker. This recipe yields a smooth spread perfect for toast or pancakes and includes instructions for water bath canning.
- Prep Time: 30 min
- Cook Time: 8 hr
- Total Time: 8 hr 30 min
- Yield: About 4 half-pint jars
- Category: Preserves
- Method: Slow Cooking
- Cuisine: American
- Diet: Vegetarian
Ingredients
- 4 lbs ripe pears, peeled, cored, and quartered
- 1 cup apple cider
- 1/2 cup packed light brown sugar
- 1/4 cup granulated sugar
- 2 teaspoons ground cinnamon
- 1/2 teaspoon ground cloves
- 1/4 teaspoon ground nutmeg
- 1 teaspoon vanilla extract
- 1 tablespoon lemon juice
Instructions
- Place the prepared pears, apple cider, brown sugar, granulated sugar, cinnamon, cloves, and nutmeg into the slow cooker.
- Stir the ingredients to combine them well.
- Cook on low for 6 to 8 hours, or on high for 3 to 4 hours, until the pears are very soft.
- Carefully transfer the cooked mixture to a blender or use an immersion blender to process until completely smooth.
- Return the smooth puree to the slow cooker. Stir in the vanilla extract and lemon juice.
- Cook uncovered on high for another 1 to 2 hours, stirring occasionally, until the mixture has thickened significantly and coats the back of a spoon.
- If canning, ladle the hot butter into sterilized pint or half-pint jars, leaving 1/4 inch headspace. Wipe rims clean.
- Process jars in a boiling water bath canner for 10 minutes, adjusting for altitude. Remove jars and let them cool completely.
Notes
- For a quicker method, you can cook the softened pears on the stovetop over medium-low heat, stirring frequently until thick, which takes about 1 to 1.5 hours after blending.
- If you do not want to can the butter, store cooled leftovers in an airtight container in the refrigerator for up to 3 weeks.
- Use firm, ripe pears like Bosc or Anjou for the best flavor and texture.
Nutrition
- Serving Size: 2 tablespoons
- Calories: 75
- Sugar: 18
- Sodium: 1
- Fat: 0
- Saturated Fat: 0
- Unsaturated Fat: 0
- Trans Fat: 0
- Carbohydrates: 20
- Fiber: 1
- Protein: 0
- Cholesterol: 0