

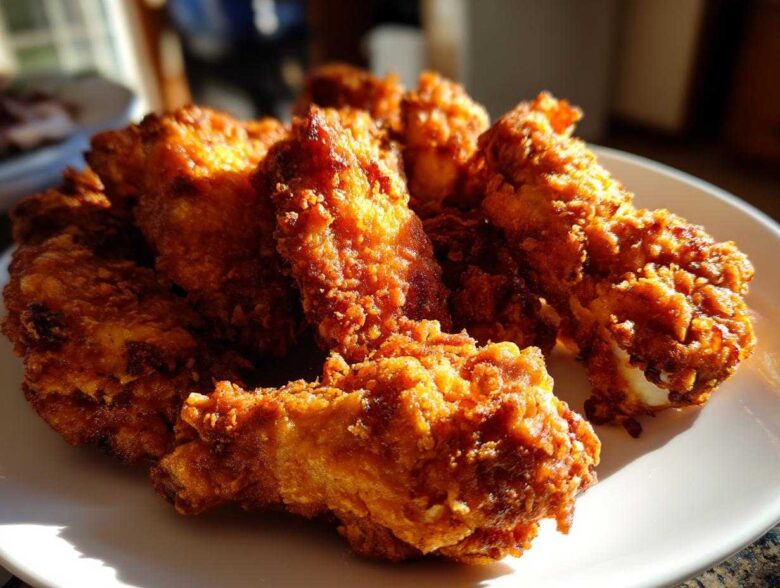
Oh, the heartbreak of opening the oven door only to find wings that look more boiled than baked! If you’ve ever fought the good fight against soggy skin, trust me, I get it. Amina still teases me about the batch I almost threw out during our first year here because I skipped a crucial pre-oven step. But forget the messy deep frying forever! I’m David, and I promise you, using one humble pantry staple—baking powder—is the absolute secret for achieving truly crispy baked chicken wings. They come out shatteringly crunchy on the outside while staying impossibly juicy inside. This method is pure magic, giving you all the flavor and texture you crave without the oil splatter. These are hands-down the best oven baked wings you’ll ever pull from your own oven.
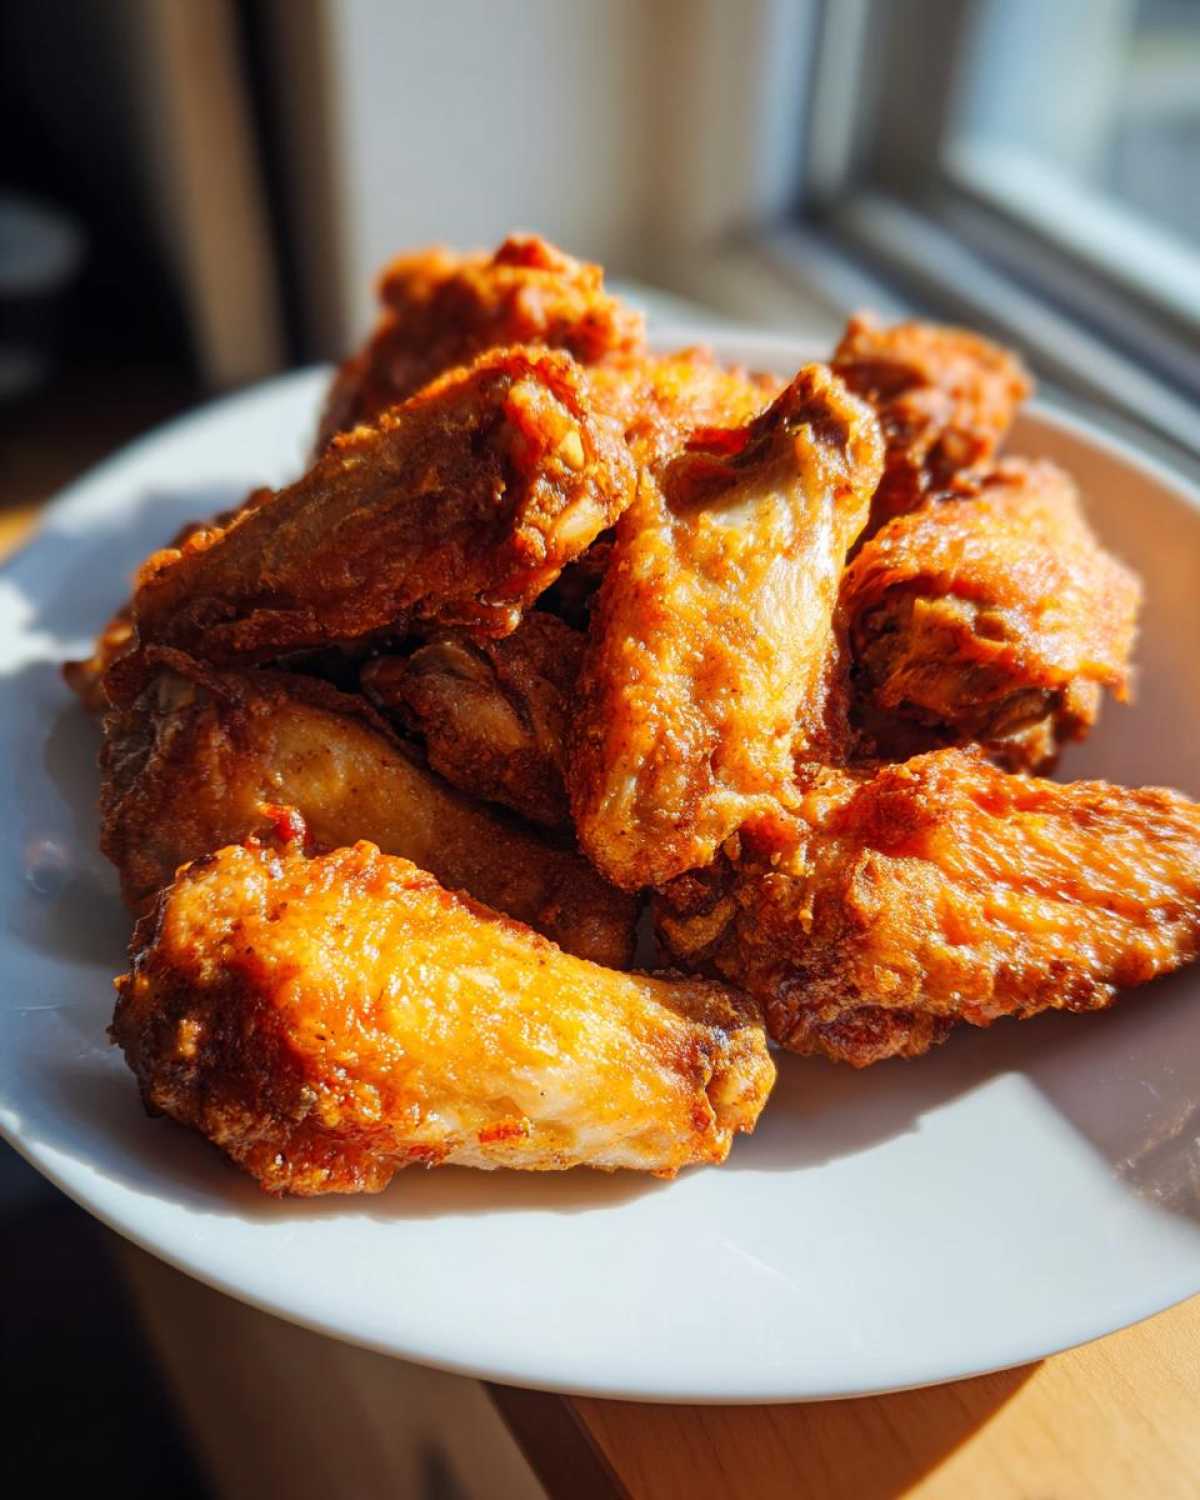
Why You Will Achieve Ultimate Crunch with Crispy Baked Chicken Wings
I adore texture, and that’s why this method is my go-to. People think getting that deep-fried crunch means standing over a vat of hot oil, but that’s just not true if you know the trick! The hero here is the baking powder. It raises the pH level of the chicken skin just enough, which helps dry out the skin surface and promotes the best possible browning reaction during baking. It’s simple kitchen chemistry, folks! If you want to explore other super-crunchy methods, you might want to check out Amina’s thoughts on the double-fry technique for her Korean Fried Chicken, but this oven method beats it for pure ease.
- It bypasses the need for deep frying, keeping things healthier and way cleaner.
- You get superb, even browning—a beautiful golden color every time.
- This technique ensures you get those coveted crispy baked chicken wings that stay crunchy even when sauced.
Quick Prep for Crispy Baked Chicken Wings
Listen, I know you’re hungry now, not later. That’s why I love this recipe so much; the prep time is barely anything! You only need about 15 minutes to get these wings seasoned, tossed, and into the oven where the magic happens. No hours spent marinating or fussing about. Just seasoning and high heat!
Ingredients Needed for Truly Crispy Baked Chicken Wings
When it comes to getting that perfect crunch, clarity in ingredients matters! I always pull out my measuring spoons for this part. It’s vital you use the right stuff here, especially that leavening agent. We aren’t using baking soda, remember—it has to be baking powder for the necessary skin-drying power. If you’re looking for a great marinade for other cuts, check out my zesty chicken marinade recipe sometime! For these wings, here is exactly what you need:
- 2 lbs chicken wings (flats and drumettes separated – we want them uniform!)
- 1 tablespoon baking powder (and I mean baking powder, not baking soda—this is crucial!)
- 1 teaspoon salt
- 1 teaspoon garlic powder
- 1 teaspoon onion powder
- 1 teaspoon paprika
- 1/2 teaspoon black pepper
- Optional: Your favorite sauce for tossing after baking (for that final, saucy flavor burst).
The Essential Steps to Perfect Crispy Baked Chicken Wings
Okay, friend, this is where the real work happens—but don’t let the word ‘essential’ scare you! This isn’t complicated, but we have to be methodical about moisture. Think of the oven as your deep fryer’s clean, slightly safer cousin; it needs a clear runway to work its magic. If you skip patting them truly dry, or if you bake them too close together, you’re guaranteeing sogginess. We are aiming for crispy baked chicken wings here, so follow these steps exactly. If you’re looking for a sticky alternative after the crunch is set, check out my go-to honey garlic chicken thighs recipe!
Preheating and Setting Up Your Crispy Baked Chicken Wings Station
First things first: Crank that oven up to 425°F (220°C). High heat is our friend! Now, don’t just grab a sheet pan. We need airflow underneath the wings—this is non-negotiable for crispiness. Line a sturdy baking sheet with foil just to save yourself scrubbing later (trust me on the foil!), but crucially, you must place a wire cooling rack on top of that foil. This setup lets the heat circulate all around the wing instead of just steaming the bottoms against the metal. That circulation is what gives you that all-over crunch.
Coating and Arranging for Maximum Crisp
In a separate bowl, mix up all those dry seasonings with the baking powder. Once they’re well blended, toss your completely dry wings into that bowl. Toss them until they look dusty and evenly coated—every single nook and cranny should have that white film on it. Then, arrange them on that wire rack we set up. They need to be in a single layer, separated by at least half an inch. If they are touching, they will steam each other, and you won’t get those beautiful crispy baked chicken wings we promised!
Baking Times and Flipping for Even Browning
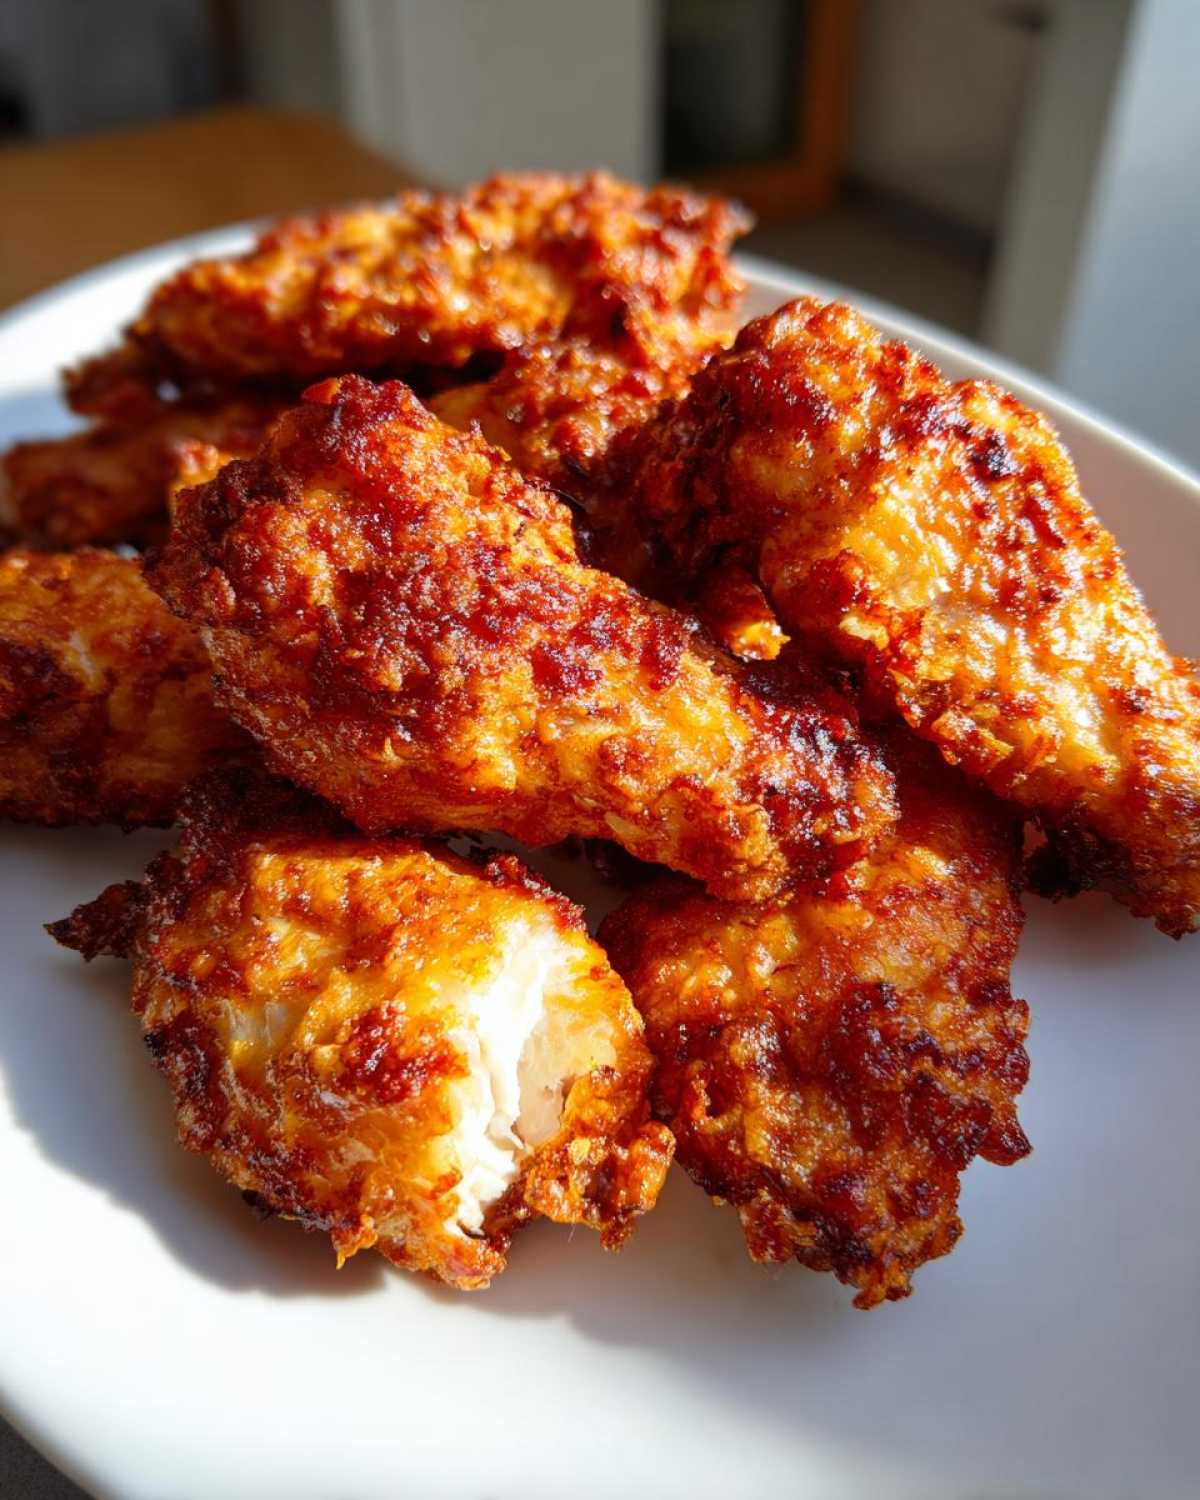
Time to bake! Set your timer for 20 minutes. When that buzzer goes off, pull them out. Carefully flip every single wing over. Back into the oven they go for another 20 to 25 minutes. You’re looking for a deep golden brown, almost mahogany color. If they look good but you want that extra shatter, quickly switch the oven to the broil setting for the last 60 seconds—but watch them like a hawk! One second too long and they’ll burn, which is why others who skip that last second move to sauce immediately, like they do in this Buffalo style baked wings recipe link I came across.
Expert Tips for Next-Level Crispy Baked Chicken Wings
I’ve spent many weekends experimenting when I’m craving that satisfying crunch, trying to tame the heat of the oven to mimic a fryer. Listen, if you want truly fantastic crispy baked chicken wings, you can’t rush the prep work. This isn’t just some arbitrary step; it’s crucial for texture supremacy! When Amina and I first moved here, we tried skipping this step once because we were rushing to get dinner on the table before a big football game. We ended up with wings that were kind of pale and chewy bits mixed into chewy bits. Never again! While we are talking about perfect endings, make sure to check out my classic apple cobbler recipe for dessert later!
The Secret to Dry Skin Before Coating
Seriously, get yourself a big wad of paper towels and pat those wings until you think they squeak. I mean it—get them *completely* dry. The baking powder needs dry surface area to work its magic and create that fantastic crust while baking. If there’s any lingering moisture, the powder just turns into a damp paste, and that’s when you end up with a sad, soggy coating instead of the crunch you deserve. If you plan on just keeping the flavor simple, you can toss these hot wings with a little extra spice blend right after they come out, kind of like the method they use over at Recipes Xpert for a perfectly dry rub finish.
Saucing Your Crispy Baked Chicken Wings After Baking
This is the part where people often ruin a perfect batch of crispy baked chicken wings! Seriously, don’t even think about tossing these beauties in your favorite Buffalo or BBQ sauce while they are still raw or even halfway through cooking. If you do that, the moisture from the sauce soaks right into that beautiful, hard-earned crust we built with the baking powder. We need that crunch to hold up!
The rule is simple: Sauce them hot, right out of the oven. As soon as those wings come off the rack, drop them straight into a clean, large bowl. Toss them gently but thoroughly with your warmed-up sauce until every piece is coated. If you’re going for a dry finish—which I sometimes do when I’m experimenting with new spice rubs—just toss those hot wings immediately with a little extra seasoning mix. That residual heat helps adhere the spices perfectly. If you’re looking for a sticky, sweet, saucy option that works great with this crunch base, you’ve got to try my honey garlic chicken recipe sometime; just use that sauce right at the end of baking here!
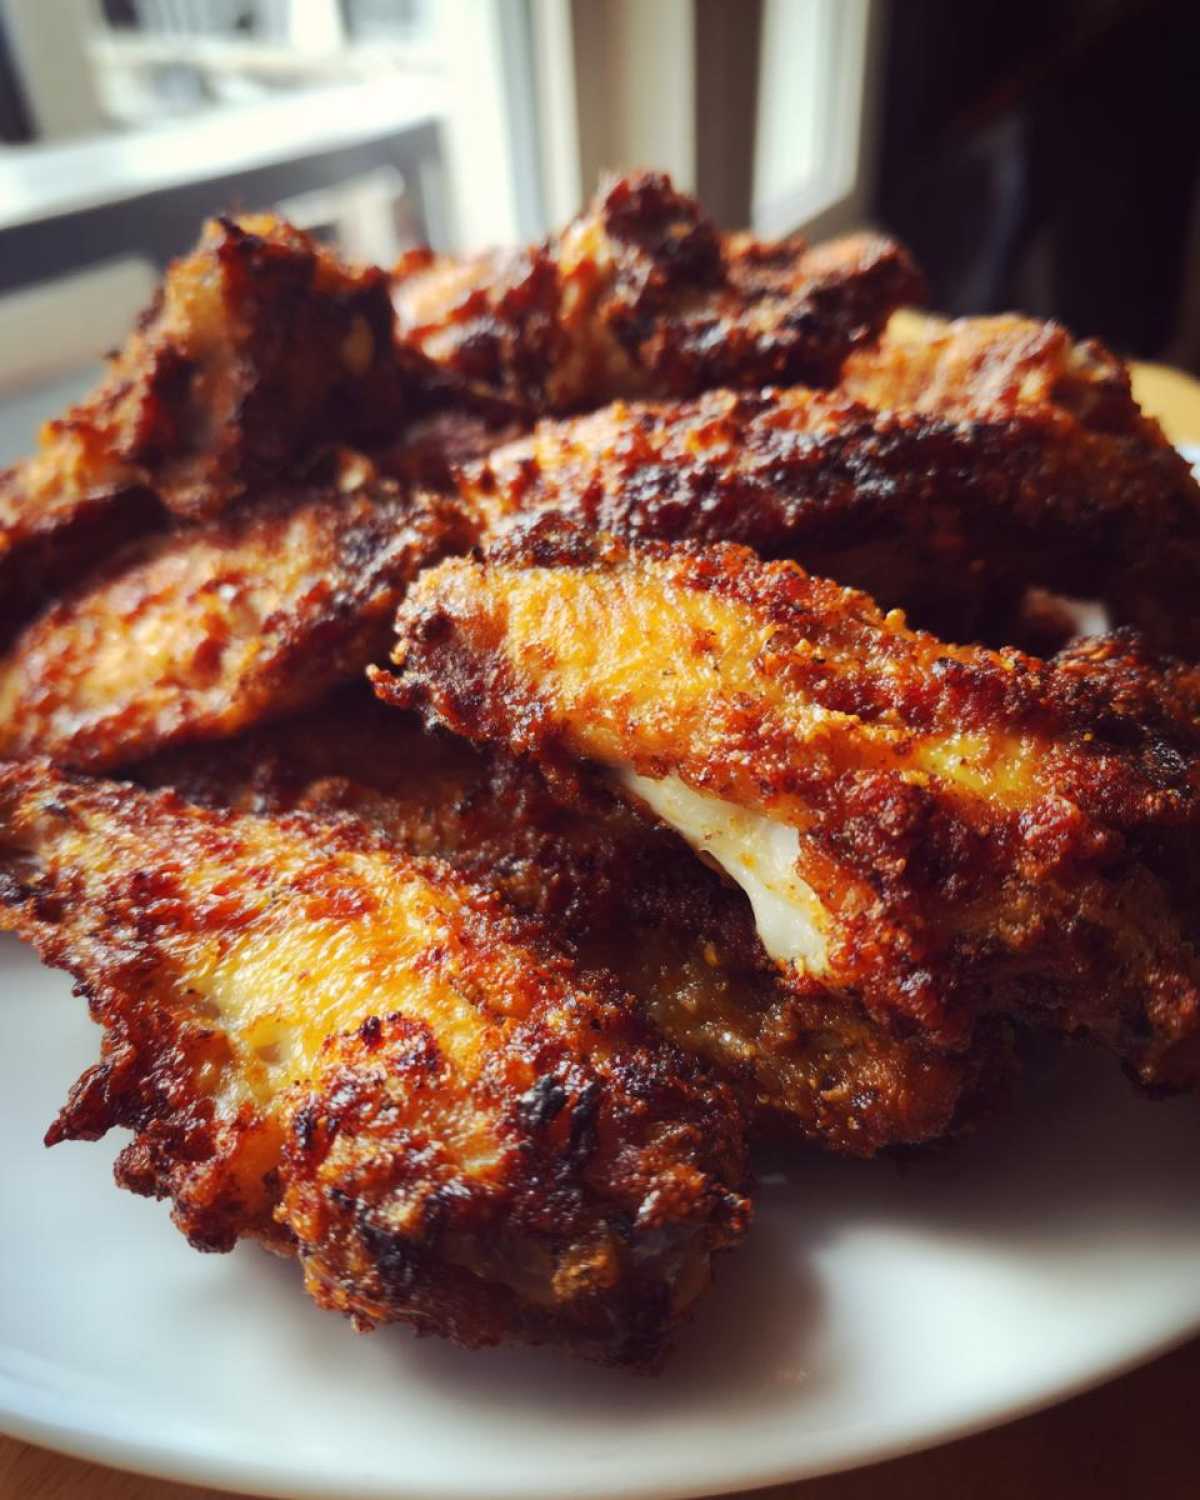
For those who love that classic Buffalo kick, make sure your sauce is ready to go so you can get them coated fast. The heat transfers the flavor wonderfully, and while the sauce will soften the crispiness just a tiny bit, it’s a worthwhile sacrifice for that intense Buffalo taste. If you want to see how to make a homemade sauce to go with these, check out the great recipe option over at Yeast Kitchen!
Storage and Reheating Instructions for Crispy Baked Chicken Wings
Look, if you have leftovers, I salute you—but we need a plan to keep that crunch alive! You absolutely cannot, I repeat, *cannot* rely on the microwave here. That’s the fastest way to turn your beautiful, crispy baked chicken wings into rubbery disappointments. When chilling them, try to store them in a container that isn’t completely airtight, or even place a small paper towel in with them to absorb any excess condensation that forms overnight. That small step by Amina really helps!
When you’re ready for round two, the oven or an air fryer is your savior. Pop them back onto a clean wire rack (if you have it) in a 375°F oven for about 8 to 10 minutes. Maybe even a quick blast under the broiler for 2 minutes if you’re feeling brave. That high, dry heat brings that glorious texture right back! If you want a great side dish to go with your reheated batch, I highly recommend my easy one-pot beans and rice when you need something fast.
Serving Suggestions for Your Oven Baked Wings
So, you’ve got this perfect, crunchy batch of oven baked wings. What now? You can’t just eat them standing over the counter, right? (Okay, maybe you can, I won’t judge!) But seriously, since these are so fantastic as an appetizer or a game-day snack, you need some supporting players on that platter.
Keeping in line with the healthier vibe we baked into this recipe—since we skipped the deep fryer—I like to balance the richness with fresh, bright flavors. Think about what Amina always serves on the side when we have friends over. It’s usually something crisp and cooling to counteract the heat of a Buffalo sauce or the savory spices.
- Grab some crisp celery and carrot sticks. They aren’t just fillers; they are the perfect crunchy, cool companion for dipping!
- A simple, tangy blue cheese dressing or a creamy ranch is mandatory for dipping. I think Amina has a homemade ranch recipe somewhere that makes even the vegetables taste exciting.
- If these are serving as more of a main dish, throw together a light, acidic side salad to cut through the richness of the chicken skin. Something with a sharp vinaigrette works wonders.
- For a really fun spread, make sure you have a classic sweet treat waiting for dessert—you absolutely have to try my moist classic carrot cake recipe next!
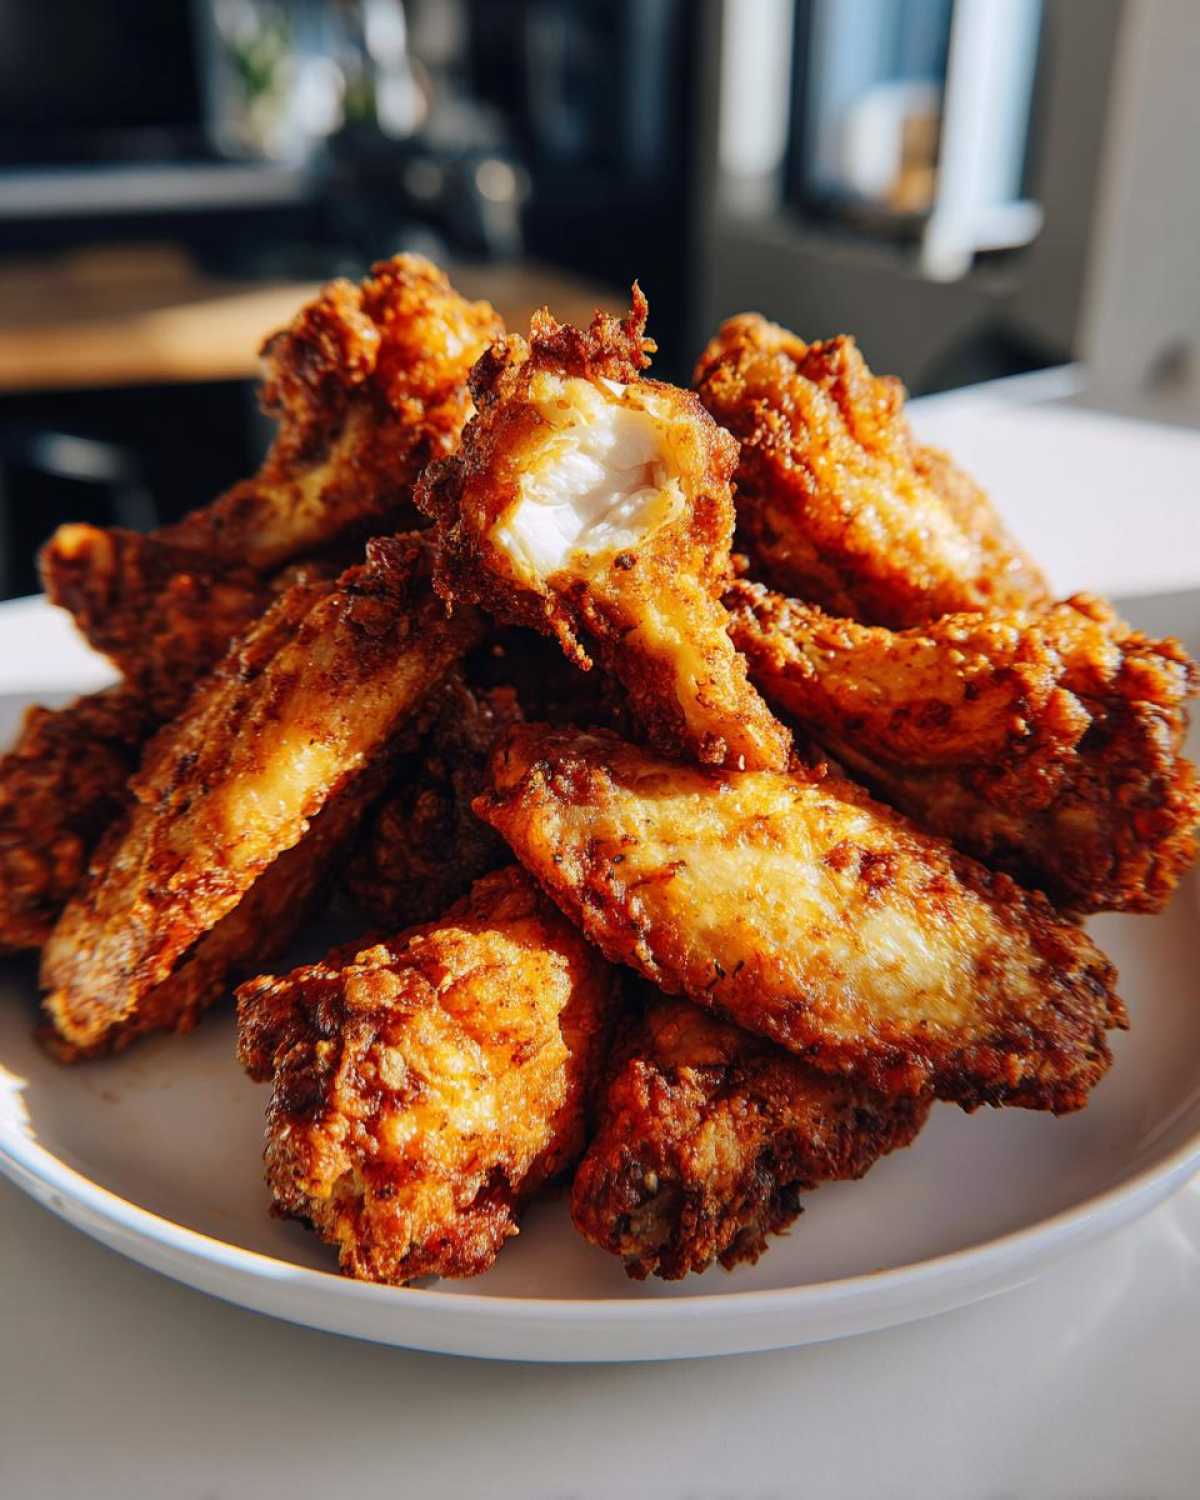
The goal is to have a platter that offers texture and temperature contrast. You get the hot, savory crunch of the wing, followed by the cool, sharp relief of the dip or the raw veggies. Delicious!
Frequently Asked Questions About Crispy Baked Chicken Wings
I know when I’m cooking something new, my brain immediately floods with ten different questions! It’s the same way Amina is when she tries a new spice blend—she needs to ask every ‘what if’ scenario first. Here are the main things folks always ask me when they are trying to master crispy baked chicken wings in the oven without frying.
Can I use baking soda instead of baking powder?
Please don’t! This is important. Baking soda is a different beast entirely—it’s much stronger and leaves a terrible metallic taste on the chicken skin if you use the same amount. Baking powder is designed to give us that beautiful, mild lift and drying action we need to get the skin perfectly brittle. Stick to the baking powder for the best crispy baked chicken wings experience!
What if I don’t have a wire rack? Can I just put them on foil?
You can, but you’re guaranteeing sogginess on the bottom half! The air circulation underneath is what makes these truly crispy. If you absolutely cannot find a rack, you can try flipping them very frequently—maybe every 10 minutes instead of waiting for the full 20. But honestly, a cheap cooling rack is worth the investment; you can find them everywhere. If you need to know more about general cook times, check out the details over at What Molly Made.
Can I bake them at a lower temperature?
You *can*, but then they stop being crispy baked chicken wings and start being chewy baked chicken wings! We need that high 425°F heat to render the fat quickly and crisp up that skin before the meat overcooks. Lower temps just dry them out without the satisfying crunch. For a nice dessert after all that savory goodness, you should definitely bookmark my easy classic apple cobbler recipe!
Do I have to use all those spices listed, or can I skip some?
You can absolutely adjust the spice quantities if you want more garlic or less pepper, that’s the fun of cooking! But please don’t skip the paprika; it really helps give you that deep golden color we are looking for. The salt and baking powder are the non-negotiables for texture and flavor, respectively, when aiming for the best crispy baked chicken wings.
Estimated Nutritional Data for Crispy Baked Chicken Wings
Now, I know some of you count calories, and some of you count wings (me!), so I wanted to give you the rundown on what you can expect nutritionally from this recipe. Remember, this is David talking, so take these numbers as a helpful starting point! Because we skipped the deep fryer and relied on the awesome power of baking powder, these wings are much lighter than traditional fried versions. Amina packed these with good protein, which is what always keeps me feeling satisfied after a big batch.
These estimates are based on using 4 servings (about 4 wings per person) and assuming you either don’t sauce them or use a very light, low-sugar sauce. If you dunk them in a heavy, sugary glaze, those numbers will definitely change!
- Serving Size: 4 wings
- Calories: 280
- Fat: 18g
- Saturated Fat: 5g
- Unsaturated Fat: 13g
- Trans Fat: 0g (And we love that!)
- Protein: 26g (Hello, muscle fuel!)
- Carbohydrates: 1g
- Fiber: 0g
- Sodium: 450mg
- Cholesterol: 95mg
See? That’s why I call this a healthier alternative to the deep-fried stuff you get at the bar. Amazing flavor, satisfying protein, and you can still enjoy them knowing exactly what you’re putting into your body. It’s all about balance, just like everything Amina teaches me about life!
Share Your Crispy Baked Chicken Wings Success
That’s it! You’ve done it—you’ve mastered the magic of the baking powder trick and pulled out the most perfectly crispy baked chicken wings! Now, Amina and I are dying to know how they turned out for you.
Please leave a rating below—five stars if you loved the crunch! Tell us in the comments what sauce you used, or if you discovered a new spice combination we should try next time. We love hearing from our Spoonful Snap family. If you need anything at all, don’t hesitate to reach out via our contact page!
PrintGet Truly Crispy Baked Chicken Wings Without Deep Frying

Follow this simple oven baking method using baking powder to achieve shatteringly crispy baked chicken wings that are juicy inside. This is the secret to ultimate crunch without the messy deep frying.
- Prep Time: 15 min
- Cook Time: 45 min
- Total Time: 60 min
- Yield: 4 servings
- Category: Appetizer
- Method: Baking
- Cuisine: American
- Diet: Low Fat
Ingredients
- 2 lbs chicken wings (flats and drumettes separated)
- 1 tablespoon baking powder (not baking soda)
- 1 teaspoon salt
- 1 teaspoon garlic powder
- 1 teaspoon onion powder
- 1 teaspoon paprika
- 1/2 teaspoon black pepper
- Optional: Your favorite sauce for tossing after baking (e.g., Buffalo sauce)
Instructions
- Preheat your oven to 425°F (220°C). Line a baking sheet with foil for easier cleanup, then place a wire cooling rack on top of the baking sheet. This setup allows air to circulate around the wings for maximum crispiness.
- Pat the chicken wings completely dry using paper towels. Removing surface moisture is key to getting that perfect crunch.
- In a medium bowl, combine the baking powder, salt, garlic powder, onion powder, paprika, and black pepper. Mix the dry ingredients well.
- Add the dried chicken wings to the bowl. Toss them thoroughly until every piece is evenly coated with the spice and baking powder mixture.
- Arrange the coated wings in a single layer on the wire rack, ensuring there is space between each wing. Do not overcrowd the rack.
- Bake for 20 minutes.
- Flip each wing over. Return the pan to the oven and bake for another 20 to 25 minutes, or until the skin is deeply golden brown and very crispy.
- Remove the wings from the oven. If you are using sauce, place the hot wings in a clean bowl and toss immediately with your desired sauce until coated.
- Serve your extra crispy baked chicken wings right away with dipping sauces.
Notes
- Baking powder is the secret ingredient; it helps dry out the skin and promotes browning, giving you that deep-fried texture without the oil.
- For the absolute crispiest results, you can switch the oven to the broil setting for the last 1 to 2 minutes, watching carefully to prevent burning.
- If you prefer a dry rub finish instead of sauce, toss the hot wings with extra spices immediately after removing them from the oven.
Nutrition
- Serving Size: 4 wings
- Calories: 280
- Sugar: 0.5
- Sodium: 450
- Fat: 18
- Saturated Fat: 5
- Unsaturated Fat: 13
- Trans Fat: 0
- Carbohydrates: 1
- Fiber: 0
- Protein: 26
- Cholesterol: 95