

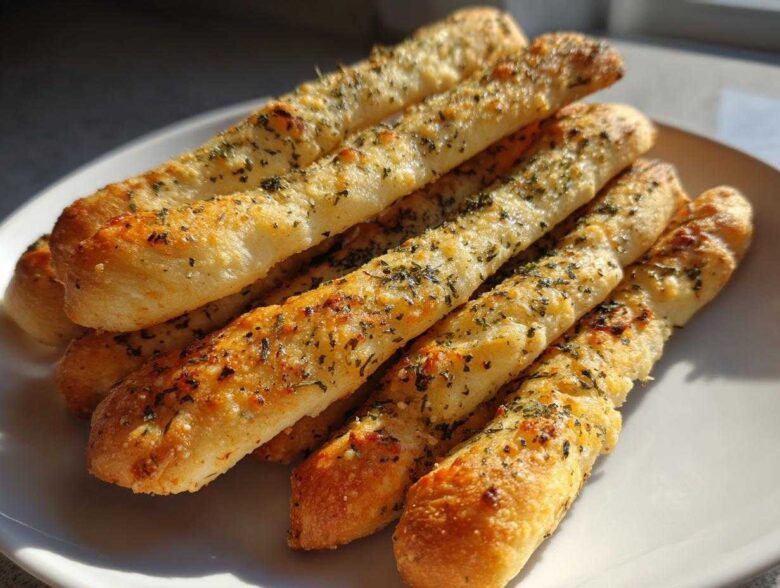
Oh, my heart! There are few things more comforting than hot bread arriving at the table when you’re out for a big Italian dinner, right? But honestly, those fluffy, slightly sweet, buttery sticks are so hard to let go of once you bring them home. When David and I first moved here, that craving for *that* specific flavor—soft, chewy, and drowning in garlic butter—hit hard. So, I went straight to my grandmother’s old techniques because she knew how to make bread do magic tricks.
I spent weeks perfecting this formula because I wanted something better than takeout, something truly special for our table. Trust me when I say we cracked the code. This recipe for homemade **breadsticks** isn’t just good; it’s the ultimate soft & chewy Olive Garden Copycat experience. If you love that melt-in-your-mouth feeling mixed with savory garlic, you have to try this. You can read a little more about how we bring our favorite memories to life in our kitchen over at our story page!
Why These Soft Breadsticks Are Better Than Takeout (The Ultimate Breadsticks Experience)
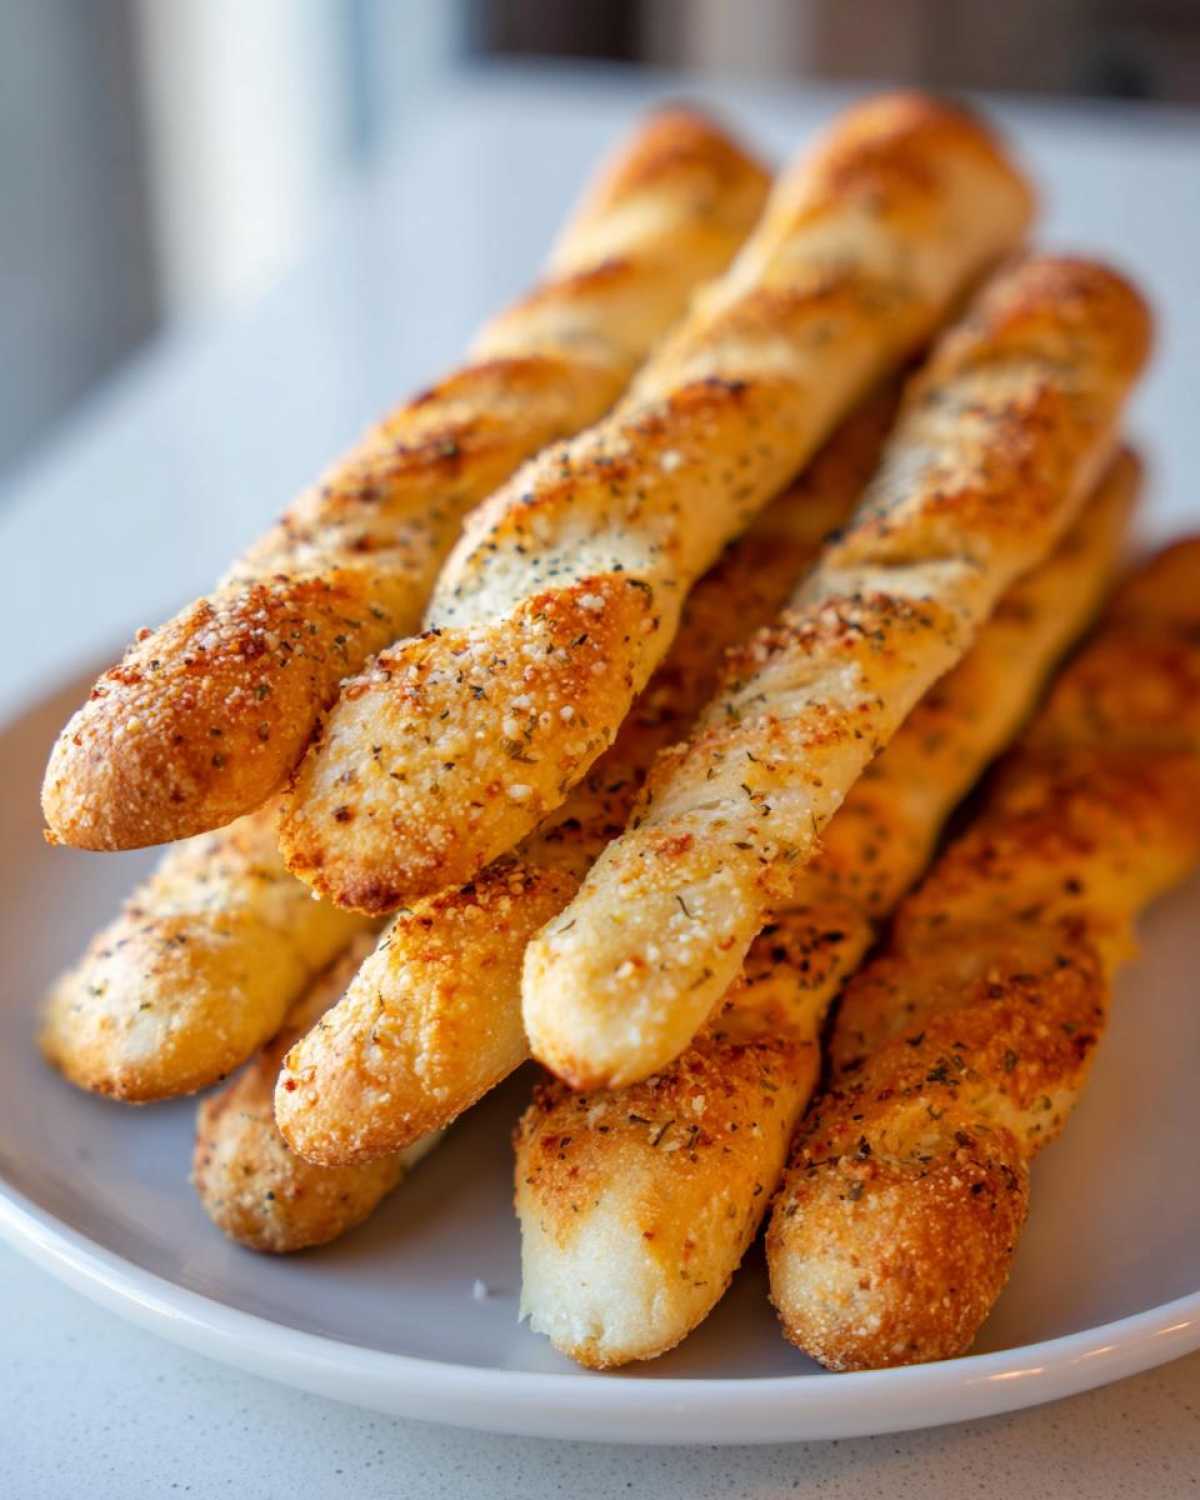
I know, I know, saying something is “better than the restaurant” is a bold claim! But when it comes to these, I truly mean it. We nailed the texture here. You get that gorgeous interior that stays fluffy, never dry. We aren’t aiming for crusty Italian breadsticks; we want those pillowy soft breadsticks that beg for a dipping sauce.
Achieving Restaurant Style Breadsticks Texture
The secret to that incredible, almost squishy chewiness is all in two things: the yeast activation temperature and giving the dough the time it needs to develop. We use warm water—not too hot, or you kill your yeast!—and a good, solid knead. That handwork creates the gluten structure that traps the air, giving you those beautiful, airy pockets when they bake up.
The Secret to Perfect Garlic Parmesan Breadsticks Topping
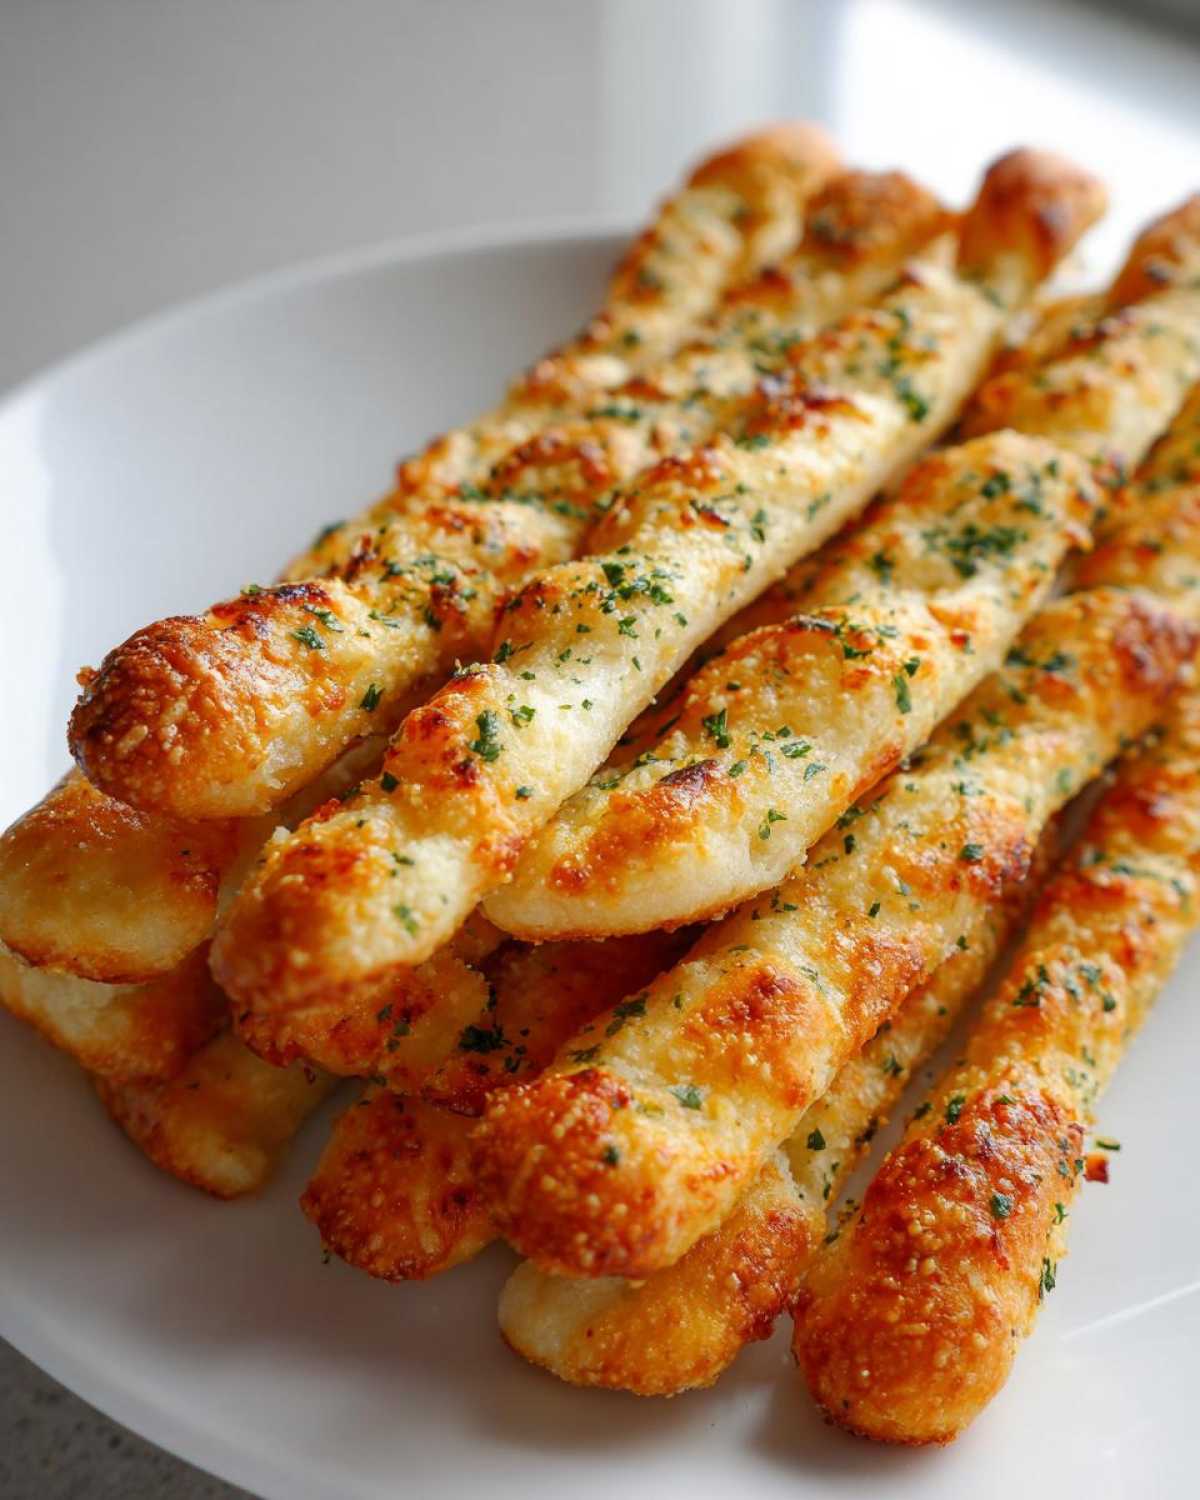
Listen, the dough is important, but the topping? That’s the showstopper. Once they come out of the oven, we drench these **breadsticks** in melted butter loaded with fresh garlic and seasoning. Then, the final flourish: a snowfall of Parmesan cheese! This Garlic Parmesan Breadsticks topping adheres perfectly while the sticks are still piping hot. You won’t get this level of savory richness just ordering them in a basket!
Gathering Ingredients for Your Homemade Breadsticks Recipe
Alright, friend, here is where we gather our tools! For the most amazing soft **breadsticks** you’ve ever tasted, you can’t just throw things in—we need accuracy, especially with the yeast and the flour. This recipe is split into two parts: the dough that gets all soft and chewy, and that glorious topping that makes everyone reach for seconds.
Don’t skimp on the quality here; it truly makes a difference between a good side dish and an unforgettable one. Seriously, if you can measure accurately, you can nail this whole thing.
For the Homemade Dough Recipe
- 1 1/2 cups warm water (and listen to me, it *must* be between 105–115°F, that’s the sweet spot for the yeast to wake up!).
- 2 1/4 teaspoons active dry yeast.
- 2 tablespoons granulated sugar (to feed that yeast!).
- 4 cups all-purpose flour, plus more for dusting (Measure your flour carefully—don’t pack it down! Too much flour makes for stiff breadsticks, and we want them soft!).
- 1 teaspoon salt.
- 1/4 cup olive oil, plus more for greasing the bowl.
For the Buttery Breadsticks Topping
This is where the restaurant-style flavor explodes. We want rich, aromatic flavor here, not that stuffy dried-out garlic powder from the back of the cupboard.
- 1/2 cup (1 stick) unsalted butter, melted until smooth.
- 4 cloves garlic, minced super fine. Fresh minced garlic is non-negotiable for the best Garlic Breadsticks Recipe flavor, trust me on this.
- 1 teaspoon dried Italian seasoning.
- 1/2 cup grated Parmesan cheese (use the good stuff, grated finely!).
Step-by-Step Instructions for Olive Garden Breadsticks Copycat
Alright, let’s get our hands dirty! This process is straightforward once you understand that dough loves warmth. Don’t rush the yeast, and don’t rush the rise. That’s the secret to the ultimate restaurant-style chewiness. We’re going to walk through this together, step by step, so you can have amazing homemade **breadsticks** on your table tonight!
Mixing and Kneading the Breadsticks Dough
First things first: wake up that yeast! In a big bowl, mix your warm water (remember that temperature zone!), sugar, and yeast. Give it about five to ten minutes until it gets nice and foamy on top—that tells us it’s ready to go to work. Then, add 3 cups of flour, the salt, and the olive oil. Mix it until it looks messy, then start adding the last cup of flour bit by bit until the dough starts pulling away from the sides of the bowl. Dump it onto a lightly floured spot on your counter. Now, you must knead! Push, fold, turn for a solid five to seven minutes until the dough feels wonderfully smooth and elastic. You should feel the texture change completely under your palms.
The Rise Time for Soft Breadsticks
Once you have that perfect elastic ball, find an oiled bowl, tuck your dough inside, and cover it up tight. Here’s where patience pays off! Set the bowl somewhere warm—maybe on top of your stove if the pilot light is on, or just in a sunny spot. You need these **Soft Breadsticks** to rise for a good hour to an hour and a half, or until they’ve completely doubled in size. Don’t poke it too much! Let the ingredients do their thing.
Shaping and Baking Your Appetizer Bread Sticks
When your dough looks big and happy, gently punch the air out—no need to be aggressive! Preheat your oven to 400°F (200°C) and line a baking sheet with parchment paper; I like to use parchment for these because they can be sticky. Divide your dough into 12 even piles. Now, roll each one into a long, thin strip, aiming for something about 10 to 12 inches long. Lay all your beautiful **breadsticks** onto the sheet, leaving a little space between them so they bake evenly. Pop them in the hot oven for just 10 to 14 minutes until they are just barely turning golden brown.
Applying the Final Buttery Breadsticks Finish
This step must happen *immediately*! Literally, pull the tray out of the oven and start brushing. While they were baking, you should have whisked together that melted butter, the minced garlic, and the Italian seasoning. Brush every single breadstick generously—this is what makes them soak up all that flavor! Right after the butter bath, sprinkle everything thoroughly with that grated Parmesan cheese. We love seeing that cheese catch on the butter while the sticks are still piping hot.
If you want some great dipping sauce ideas to go with these, I have a fantastic recipe for a quick homemade garlic aioli that is dynamite with these sticks! For more inspiration on making perfect dough at home, check out this excellent recipe guide from a friend of ours here.
Tips for Perfect Chewy Breadsticks Every Time
Making these copycat **breadsticks** is fun, but getting that perfect texture—the one that makes you reach for just one more before dinner is over—takes a tiny bit of know-how. Remember, we are aiming for that soft, bendable chew, not a hard roll! If you follow these little tricks, you’ll be churning out restaurant-quality appetizer bread sticks every time. It really does turn this whole process into a foolproof Quick Bread Recipe.
My favorite tip for ensuring maximum softness is related to the baking sheet itself. Don’t overcrowd the pan! If the breadsticks are packed too tightly, they steam against each other instead of baking evenly. You want that little bit of air circulation so they turn golden brown on top while staying delightfully pillowy inside. This results in phenomenal **Chewy Breadsticks**.
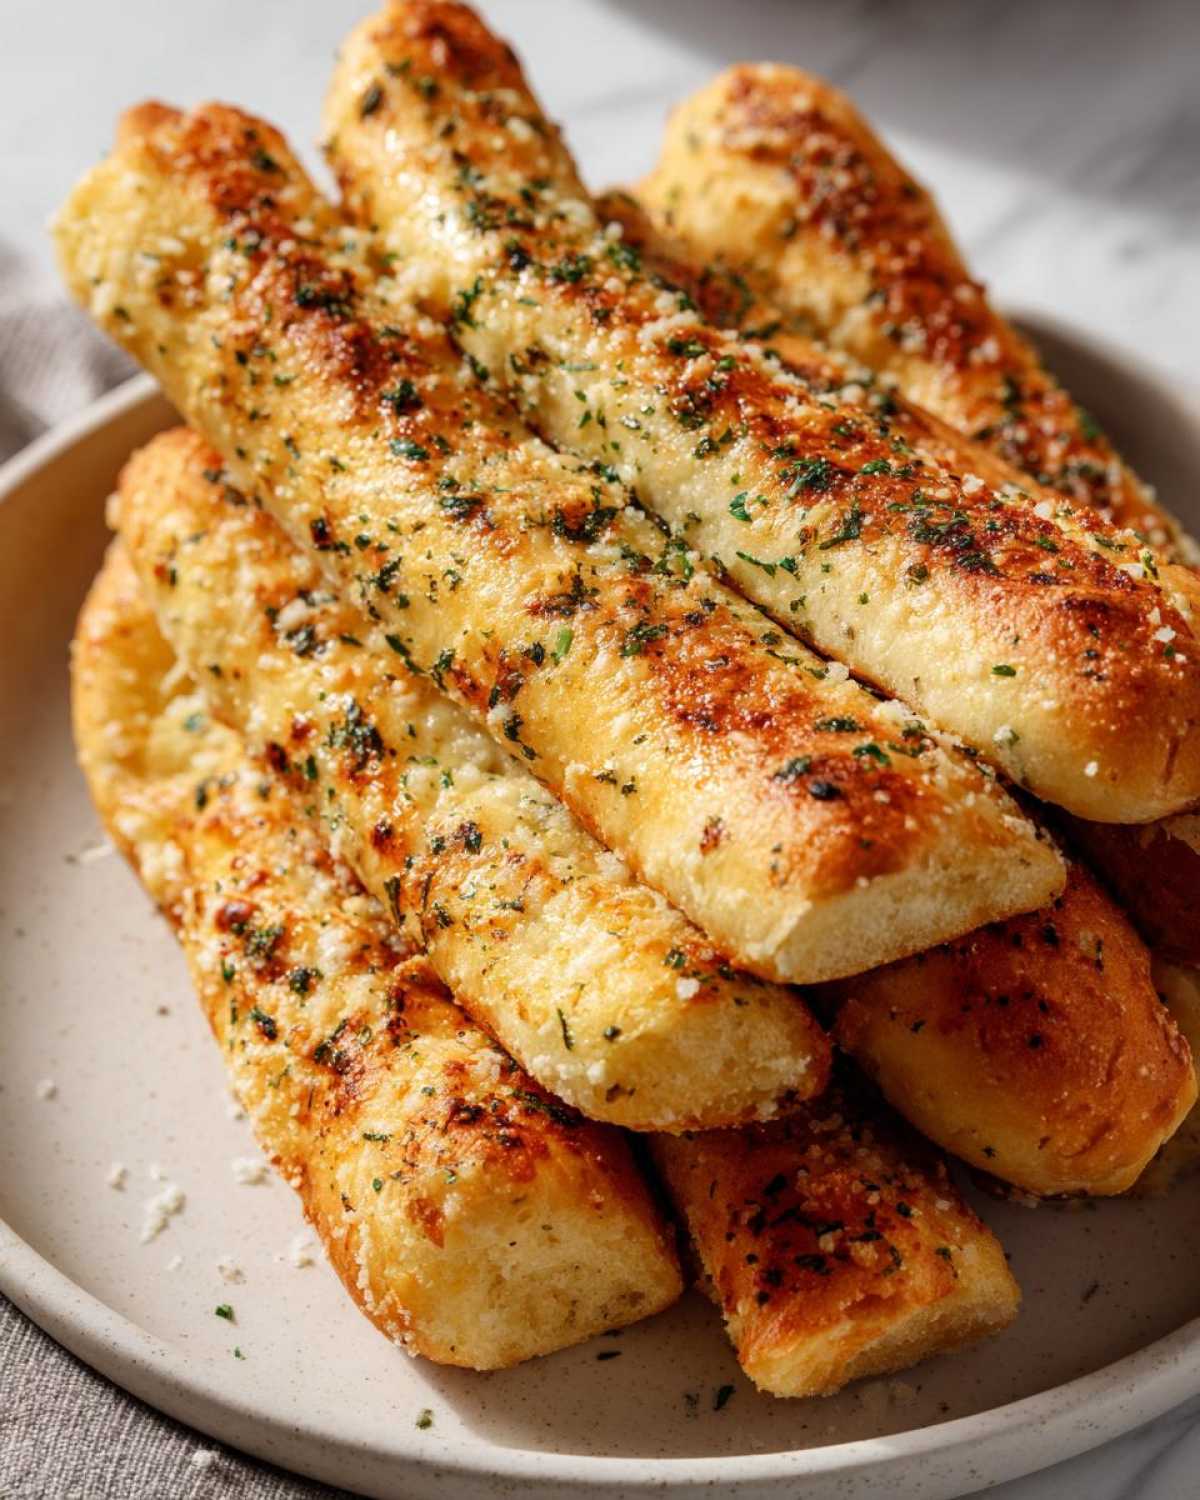
Also, keep that butter topping mixing bowl ready to go right next to the oven. The second those breadsticks come out, they need that garlic butter immediately to soak in and lock in the moisture. Delaying that step by even two minutes is the difference between buttery and soggy breadsticks. If you’re looking for other things you can make in minutes, you might love my easy apple cobbler recipe!
For anyone who wants to see how a few minor adjustments can really elevate the flavor profile of a restaurant classic, this recipe mentioned by our friends over at Savory by Lily is another great benchmark, check out their tips here.
Variations: Making Cheesy Breadsticks or Italian Breadsticks
Okay, so you know we have the classic Garlic Parmesan ones down, right? But since craving is rarely satisfied with just one flavor profile, we have to talk about throwing in some optional extras. If your family is like mine, we always have someone asking for extra cheese added to everything! These simple tweaks turn our basic soft **breadsticks** into something truly customizable.
If you are wanting to make fantastic **Cheesy Breadsticks**, this is incredibly easy. Just make sure you have some good low-moisture mozzarella ready to go. You’re going to wait until the very end of the baking time. About three minutes before those sticks look done, pull them out, sprinkle that lovely mozzarella all over the tops—don’t be shy!—and slide them back in until it’s beautifully melted and bubbly. Watch them closely so the butter doesn’t burn!
For a slightly different, more herby take, you can easily create **Italian Breadsticks**. Instead of sticking to just our standard Italian seasoning in the butter mixture, try swapping it out or adding things like dried oregano and a pinch of crushed red pepper flakes. That little bit of heat cuts through the richness wonderfully. If you want to explore other crazy cheese-stuffed ideas, check out my recipe for ultimate cheesy stuffed garbage bread—it’s unbelievable!
Storage and Reheating Instructions for Your Breadsticks
Now, let’s talk strategy. If you’re making a huge batch of these—which I always do because David never stops at one—you need to know how to keep them perfect for later. Luckily, these breadsticks are quite resilient, but we want them soft and chewy the second time around, not stiff like day-old torpedoes!
The number one rule for storage is letting them cool completely *before* you wrap them up. If you wrap them while they are still warm, all that trapped moisture turns into a sad, soggy mess. Once they are totally cool, wrap them tightly in plastic wrap, maybe even foil too, and keep them at room temperature for two days max. If you need longer, you can definitely make the dough ahead and freeze it—I have great tips on freezing dough for make-ahead meals that work perfectly for these, you can see them right here.
Reheating is where the magic comes back! Don’t even think about microwaving these; it turns them rubbery fast. The best way is in the oven or, even better, the air fryer if you have one. Set your oven to about 350°F (175°C) and lay the cooled sticks on a baking sheet just for about 5 minutes. If you want that *extra* buttery flavor back, you can melt a teaspoon of butter and brush it on right before reheating. They come out warm, soft, and tasting like they just came out of the oven the first time!
Serving Suggestions for These Dinner Side Dish Bread Sticks
These incredible **breadsticks** are never just a side; they are the main attraction! Because they are so buttery and savory, they pair perfectly with nearly anything hearty. Forget boring dinner rolls; these are the ultimate **Dinner Side Dish Bread** you need on your table.
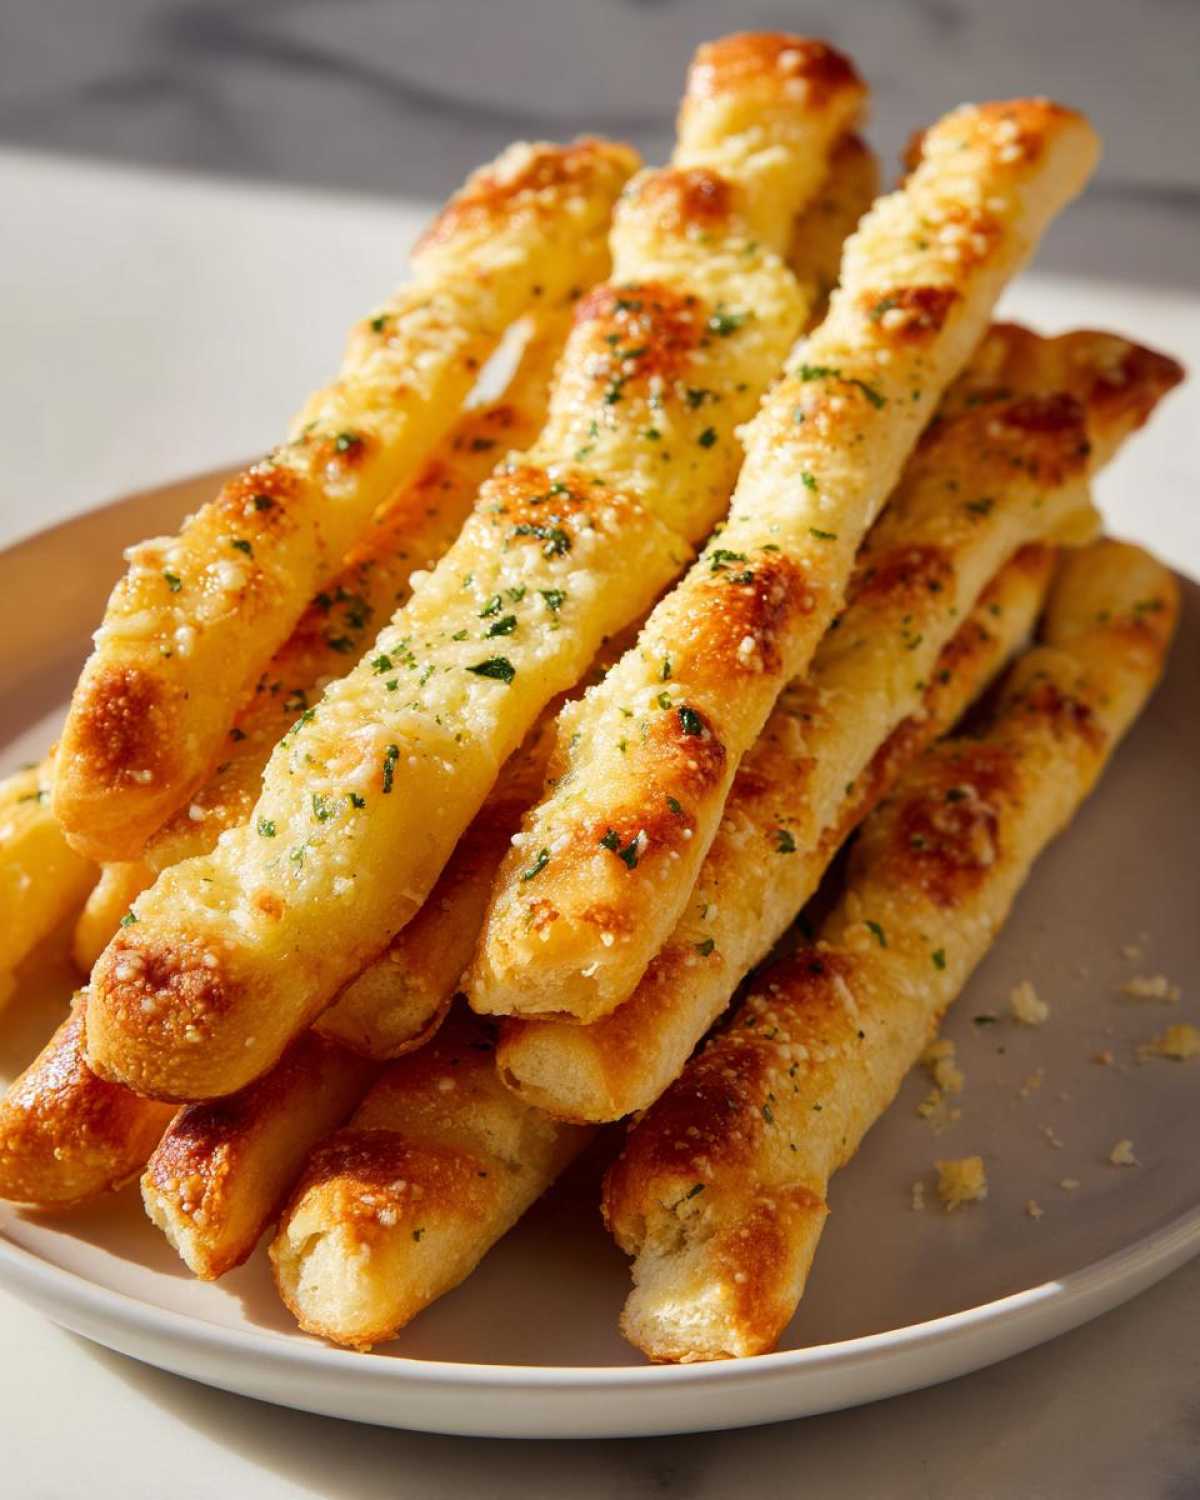
Of course, they are essential for soaking up every last drop of sauce when you’re having pasta (spaghetti is my favorite!). But honestly, they are just as wonderful alongside a big bowl of chunky, comforting soup. David loves dipping them into my famous crockpot cowboy soup—it’s the best combination! For more great pairing ideas, check out this collection of ways to use homemade sticks over at Quick & Cozy Meals here.
Frequently Asked Questions About Making Breadsticks
I get so many questions after people try this recipe, which just tells me how much everyone loves soft **breadsticks**! Dealing with yeast dough can sometimes feel a little intimidating, but don’t worry, these answers should clear up any last-minute worries so you can get baking!
Can I skip the first rise for these breadsticks?
Oh goodness, please don’t! If you skip that first long rise, you will end up with something closer to a biscuit than a soft, chewy breadstick. That initial rest time is when the yeast is building all the flavor and those wonderful gluten strands are creating the structure needed for that airy lift. Seriously, give it the hour it asks for!
What if I want Mozzarella Breadsticks?
That’s such a wonderful idea! If you wanted to make **Mozzarella Breadsticks**, you just need a little patience at the very end of the baking process. Refer back to the ‘Variations’ section for the full detail, but basically, you pull the sticks out a few minutes before they are fully done, throw on your shredded mozzarella, and let the heat melt it into gooey perfection before you add that delicious garlic butter topping!
If you’ve got other questions about dough sticking or maybe swapping out the flour, head over to our main blog page—you might find the answer there, or feel free to drop us a line!
Nutritional Estimates for Homemade Breadsticks
You know I always have to throw a little caveat in here because we are using real butter, real oil, and a generous amount of that glorious Parmesan cheese! While these **breadsticks** are just heavenly comfort food, all that love does add up a bit. I always say, if you’re going to treat yourself to restaurant-style sides, you might as well make them from scratch because you know exactly what went into them!
The nutrition listed below is just an estimate based on breaking down the recipe yield of 12 sticks. If you roll yours thinner, or if you load up more heavily on the garlic butter topping—and honestly, who wouldn’t?—your numbers will shift a little. This is just a rough guide so you can bake with confidence and joy!
- Serving Size: 1 breadstick
- Calories: About 180
- Fat: Around 8g
- Carbohydrates: Roughly 23g
- Protein: About 4g
That 4g of protein paired with the high flavor makes these feel substantial, which is why having just one is never an option! Remember, this is delicious homemade food, so enjoy it as the treat it is!
Share Your Soft and Chewy Breadsticks Creations
That’s it! You’ve done it! You’ve made **breadsticks** that smell like sunshine and taste like Friday night—and maybe even better than that place we all love! I am genuinely so excited for you to dunk these into your favorite sauce or just eat them straight off the cooling rack. Seriously, don’t let this recipe disappear into the cookbook abyss!
When you make these, please, please let us know how they turned out! Leave a rating and tell me in the comments if you tried the cheesy variation or if you stuck to the classic garlic butter. Seeing your success stories—and maybe a photo of how perfectly golden your first batch of Soft and Chewy Breadsticks turned out—is honestly the best part of running this blog.
David and I love seeing your kitchen adventures! Snap a picture and tag us on social media so we can share your amazing work. If you ever have any questions during the process, don’t hesitate to reach out through our contact page. We’re here to cheer you on and help you keep that flavor magic alive!
PrintThe Ultimate Soft & Chewy Olive Garden Copycat Breadsticks with Garlic Parmesan Butter
Make restaurant-style breadsticks at home! This easy recipe delivers soft, chewy breadsticks topped with rich garlic parmesan butter, just like your favorite Italian chain.
- Prep Time: 20 min
- Cook Time: 15 min
- Total Time: 1 hour 35 min
- Yield: 12 breadsticks
- Category: Appetizer
- Method: Baking
- Cuisine: Italian American
- Diet: Vegetarian
Ingredients
- 1 1/2 cups warm water (105-115°F)
- 2 1/4 teaspoons active dry yeast
- 2 tablespoons granulated sugar
- 4 cups all-purpose flour, plus more for dusting
- 1 teaspoon salt
- 1/4 cup olive oil, plus more for greasing
- 1/2 cup (1 stick) unsalted butter, melted
- 4 cloves garlic, minced
- 1 teaspoon dried Italian seasoning
- 1/2 cup grated Parmesan cheese
Instructions
- Activate the yeast: In a large bowl, combine the warm water, sugar, and yeast. Let it sit for 5 to 10 minutes until foamy.
- Mix the dough: Add 3 cups of the flour, salt, and 1/4 cup of olive oil to the yeast mixture. Mix until combined. Gradually add the remaining flour until a shaggy dough forms.
- Knead the dough: Turn the dough out onto a lightly floured surface. Knead for 5 to 7 minutes until the dough is smooth and elastic.
- First rise: Lightly grease a large bowl with olive oil. Place the dough in the bowl, turning to coat. Cover the bowl with plastic wrap or a clean towel and let it rise in a warm place for 60 to 90 minutes, or until doubled in size.
- Shape the breadsticks: Preheat your oven to 400°F (200°C). Line a large baking sheet with parchment paper. Gently punch down the risen dough. Divide the dough into 12 equal pieces. Roll each piece into a long, thin strip, about 10 to 12 inches long and 1 inch thick. Place the breadsticks on the prepared baking sheet, leaving a small space between them.
- Second rise (optional): Let the shaped breadsticks rest for 15 minutes while the oven finishes preheating.
- Bake: Bake for 10 to 14 minutes, or until the breadsticks are lightly golden brown.
- Prepare the topping: While the breadsticks bake, combine the melted butter, minced garlic, and Italian seasoning in a small bowl.
- Finish and serve: Immediately after removing the breadsticks from the oven, brush them generously with the garlic butter mixture. Sprinkle evenly with the grated Parmesan cheese. Serve warm.
Notes
- For extra soft dinner rolls texture, brush the dough lightly with melted butter before the second rise.
- If you want cheesy breadsticks, sprinkle mozzarella cheese over the tops during the last 3 minutes of baking before adding the garlic butter.
- You can make the dough ahead of time and refrigerate it for up to 2 days; let it come to room temperature before shaping.
Nutrition
- Serving Size: 1 breadstick
- Calories: 180
- Sugar: 1
- Sodium: 250
- Fat: 8
- Saturated Fat: 4
- Unsaturated Fat: 4
- Trans Fat: 0
- Carbohydrates: 23
- Fiber: 1
- Protein: 4
- Cholesterol: 15