

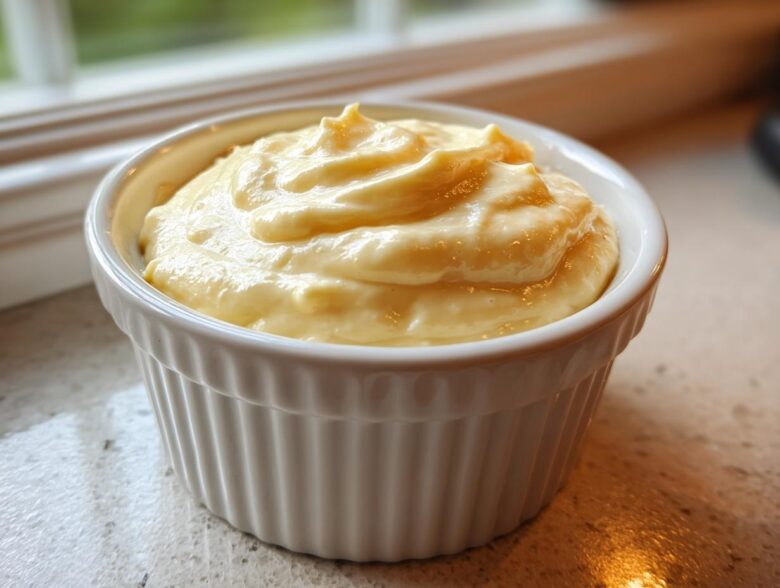
I don’t know about you, but I think the difference between a mediocre meal and the absolute best meal often comes down to one thing: the dipping sauce. Forget those sad, gloppy jars from the supermarket! Ever since I finally mastered making my own creamy, restaurant-quality garlic aioli right on my counter, I haven’t looked back. Wow, when I first tried to emulsify that oil—it looked like scrambled eggs!—but I kept at it, and now I whip up this ultimate easy 5-minute homemade garlic aioli whenever I need a simple, incredibly flavorful sauce. Learning the secrets behind great spreads is part of what we do here at our kitchen. Trust me, you need this in your rotation.
Why This Homemade Garlic Aioli Recipe Works (Experience & Expertise)
This isn’t just another condiment recipe; this is my go-to method for achieving that perfect, thick, slightly pungent jarred sauce you only get at a great bistro. The best part is that it’s ridiculously fast! We’re using simple pantry staples, but treating them with respect is what separates this from boring mayonnaise. I want you to feel confident that when you make this batch, it’ll be smoother and taste brighter than anything store-bought.
Achieving Restaurant Style Aioli Texture
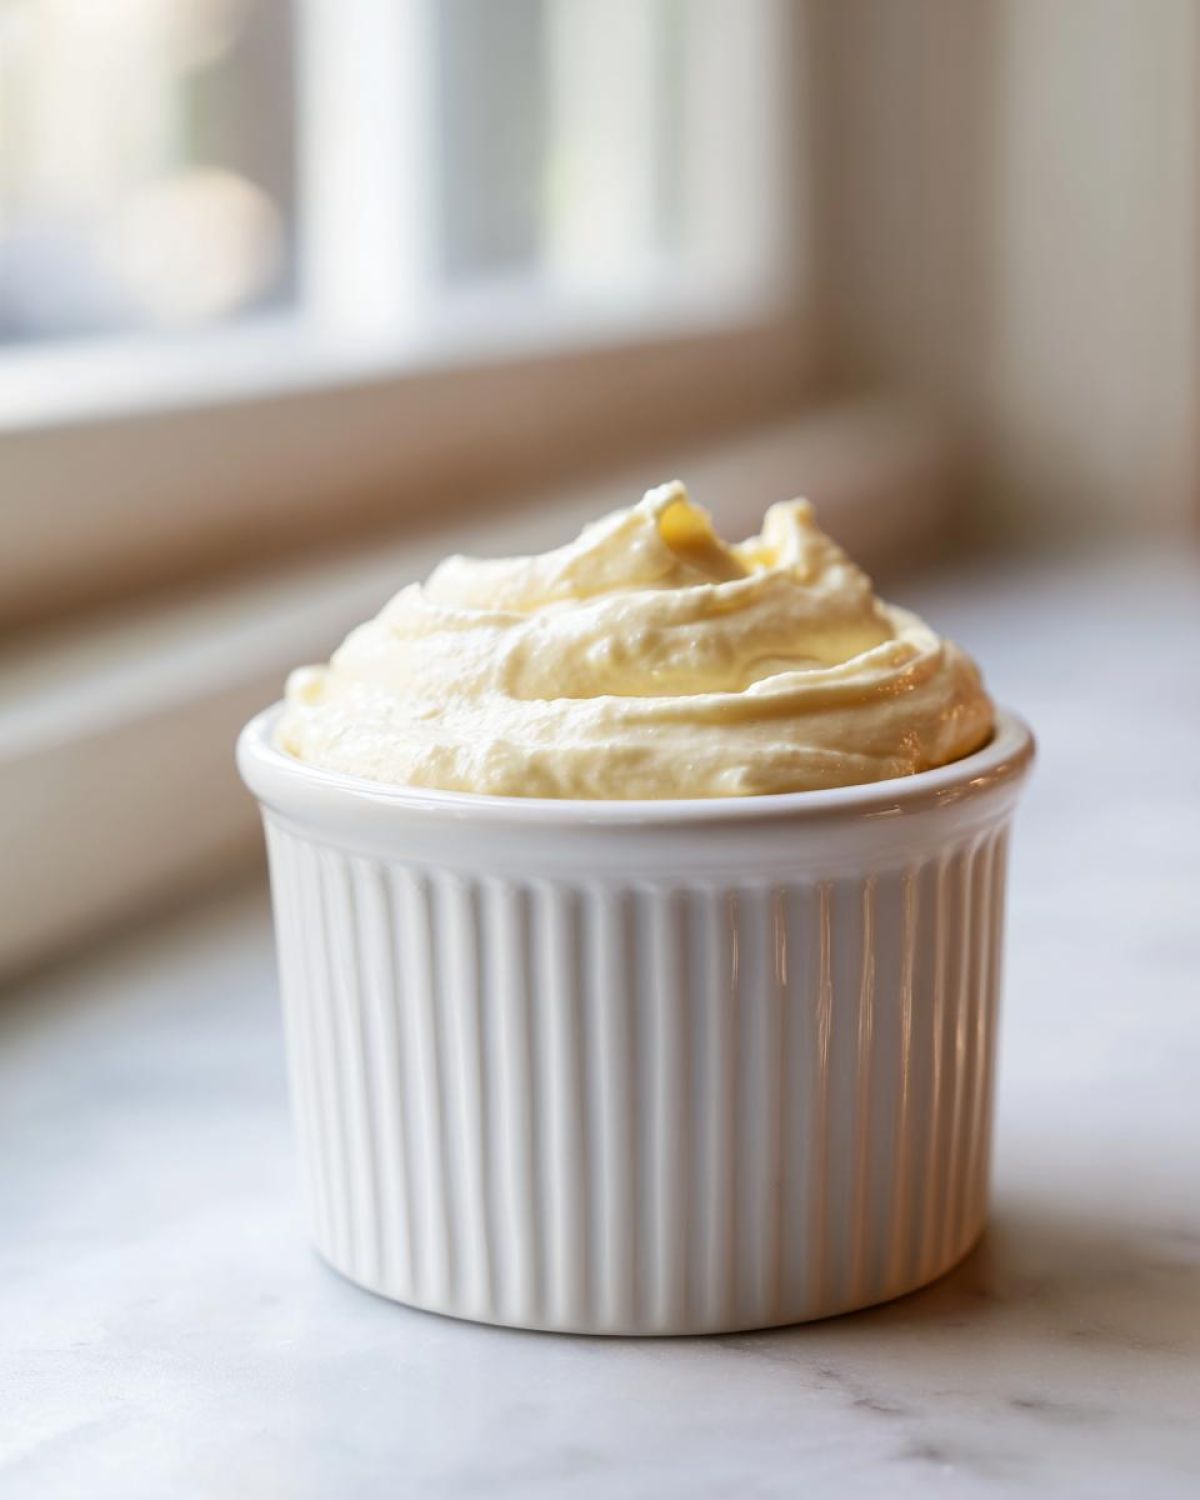
The gold standard for any good homemade garlic aioli is that silky, rich texture, and that comes down to one thing: emulsification. It’s just a fancy word for forcing oil and water (lemon/egg) to become friends! You absolutely must add that oil drop by agonizing drop when you first start. If you rush this crucial step, you end up with oily, separated sadness. Whisk vigorously! Keep that whisk flying until you see that thick, luxurious creamy aioli dip starting to form. It’s totally worth the arm workout.
The Secret to Bold Fresh Garlic Sauce Flavor
If you want a truly powerful, bold taste, you can’t just toss in a smashed chunk of garlic. That’s what separates the pros from the amateurs! We need maximum oils and flavor compounds released from the clove. I actually prefer grating the garlic right onto my plate with a microplane before adding it to the yolk mixture. This breaks it down so finely that it basically melts into the sauce, giving you that incredible kick of fresh garlic sauce without any sharp, crunchy bits when you dip your fries.
Ingredients for the Ultimate Easy 5-Minute Homemade Garlic Aioli
Okay, gather your tools because this garlic aioli comes together so fast! You’ll need just one large egg yolk—make sure it’s room temperature, seriously, it helps everything combine beautifully. We’re also using Dijon mustard and a little pinch of salt to help stabilize things. The star, of course, is the garlic, which needs to be minced super finely or even grated. Then, the main bulk comes from about one cup of a light, neutral oil.
Ingredient Notes and Substitutions for Garlic Aioli
Let’s talk oil choices for your homemade garlic aioli. You must use something neutral like refined canola or grapeseed oil. Don’t try olive oil unless you want a very aggressive, bitter flavor profile! Remember that room-temperature egg yolk? It’s crucial for that smooth, thick texture we’re aiming for. If you’re panicked about raw eggs, I totally get it. Just quickly make the alternative batch by whisking 1 cup of good quality mayonnaise with the garlic and lemon juice instead. That mayo-based aioli is incredibly fast and still delicious!
How to Prepare Perfect Garlic Aioli from Scratch
Now for the exciting (and slightly nerve-wracking) part: making it! Grab your whisk and put on some good music because you need to maintain a steady rhythm here. First, ditch your bowl into a damp towel—it keeps it from sliding all over the counter while you work. Get that egg yolk, Dijon, lemon juice, salt, and that finely minced garlic all mixed up until they look like a happy, slightly yellow paste. If you’re worried about the raw egg aspect, remember that I have a great recipe for a Caesar dressing that skips the raw egg, but for true aioli, we stick to the classic here!
Here is where you earn your chef badge: the oil addition. You must, I mean, absolutely *must*, add the oil drop by agonizing drop. Seriously, hold the oil bottle way up high and let just one single drop fall at a time. Whisk like you’re trying to churn butter! Don’t increase the flow until that mixture looks noticeably thicker and pale. Once you have about a quarter of the oil incorporated and it’s stabilized, you can breathe a little, and switch to a very thin, steady stream. Keep that whisking consistent until every drop of oil is gone and you’ve got thick, luscious sauce! I always finish by tasting and maybe adding just a splash of hot water if it looks a bit too stiff for dipping.
The Quick Mayo Based Aioli Dip Method
If you’re staring down the barrel of being five minutes late for dinner and don’t have time for the classic emulsification dance, I have your back. This is my secret weapon when I need a super quick dipping sauce. Forget the egg yolk and whisking the oil! Instead, jump straight to using 1 cup of good quality mayonnaise as your base. Just quickly whisk in your very finely minced garlic, lemon juice, and salt until it’s all combined smoothly. That’s it! You instantly have a fantastic mayo based aioli that is ready to slather on burgers or serve alongside seafood. It’s less authentic, sure, but when you need flavor *now*, it’s perfect.
Troubleshooting: Fixing Broken Homemade Garlic Aioli
Oh, the dreaded moment: you whisked away happily, but suddenly your beautiful mixture has turned into oily sludge. Don’t panic, and please, whatever you do, don’t throw it out! Every single cook who’s ever made a proper emulsion has had a batch break apart. It nearly always happens when the oil was added too quickly right at the start, which is totally forgivable when you’re excited about making homemade garlic aioli. The secret to rescuing this mess is actually very simple but requires a clean bowl and a fresh start.
Here is the trick I learned that saved me ruinous batches every single dinner party: grab a new, small, totally clean bowl. Put one fresh egg yolk in there and start whisking it gently. Now, very slowly, drizzle that broken, oily mess into the fresh yolk while whisking constantly. That new yolk acts as the perfect anchor, grabbing all the stubborn oil that refused to emulsify before. It sounds too easy, but I promise, within a minute or two, you’ll have that gloriously thick, creamy garlic aioli back again!
Versatile Uses for Your Flavorful Aioli Spread
Honestly, once you have a batch of this heavenly garlic aioli ready to go, you’ll wonder how you ever lived without it! It’s so much more than just a dip. I find myself using this flavorful aioli spread on everything in the fridge. Think about ripping open a burger—slather a thick layer of this on the bun instead of plain mayo, and suddenly you have a gourmet sandwich! It’s an incredible partner for grilled chicken or even drizzled over roasted asparagus right before serving. You can even try it alongside some garlic parmesan zucchini noodles!
This really is the most versatile cream sauce you can keep in your fridge for quick flavor boosts. If you’re feeling adventurous, stir in a little hot sauce for a fiery kick, maybe something like the flavors you find in my Sriracha honey garlic wings! This sauce elevates everything it touches.
The Best Aioli for Fries and Dipping
Okay, we have to talk about the fries, though, because this is undeniably the best aioli for fries you will ever eat. The strong garlic flavor cuts right through the rich potato goodness. If you are using this specifically for dipping, I sometimes add just one tiny extra squeeze of lemon juice right at the end. That little bit of extra tang makes them absolutely addictive for dipping. Seriously, make a double batch, because they disappear fast!
Storage and Keeping Your Garlic Condiment Recipe Fresh
Since we made our ultra-flavorful garlic aioli using a fresh, raw egg yolk, we absolutely have to treat it with respect when storing it. You can’t just leave this beautiful sauce sitting out! Pop your finished batch into a clean, airtight jar or container right away. It needs to chill in the refrigerator, always.
Because we used that raw egg, this is technically a delicate garlic condiment recipe. You need to plan on using it up within about 3 to 5 days max. Any longer than that, and I start getting nervous about serving it, even though it tastes amazing! Keep it covered tightly so it doesn’t pick up any smells from the other things in your fridge. Now go enjoy that fresh batch of homemade garlic aioli ASAP!
Frequently Asked Questions About Making Garlic Aioli
I always get so many questions about this recipe because people are often intimidated by making their own creamy sauces from scratch! But once you see how easy it is, you’ll understand why I preach about this garlic aioli all the time. Here are the main things people ask when they’re trying to get that perfect consistency and flavor for their homemade batch.
Can I make garlic aioli without raw egg yolk?
Absolutely! If you’re squeamish about using raw egg, or maybe you just ran out of yolks—no problem at all. That’s why I included the super simple cheat version where you use one cup of good quality mayonnaise as your base instead of starting with the yolk and oil. You just whisk that mayo together with the garlic, lemon, and salt, and you have an instant, rich, creamy aioli dip ready to go!
How long does homemade garlic aioli last?
This is so important, especially since this classic version relies on that fresh egg yolk! Because we are working without heat, you really need to treat this homemade garlic aioli like you would any fresh mayonnaise. I always advise keeping it tightly sealed in the fridge and using it up within about five days maximum. If you use the mayo-based version, it usually lasts a tiny bit longer, but 5 days is a safe bet for the best flavor and safety!
How do I get a tangier lemon garlic sauce?
I love that you’re thinking about tailoring the flavor! If you want this to lean a bit more toward a sharper, zingier condiment rather than a purely rich sauce, you definitely have a couple of options. My favorite way to adjust the flavor is simply by adding a little more fresh lemon juice right at the very end, tasting as I go. If you want something slightly different than just more lemon, try whisking in half a teaspoon of good quality white wine vinegar when you add your lemon juice. Voila! Instant tangy lemon garlic sauce that wakes up roasted vegetables beautifully.
Nutritional Estimates for Garlic Aioli
I know some of you are just here for the flavor—and trust me, more flavor is always the answer! But for those of you keeping track, I wanted to share some quick estimates for this amazing garlic aioli. Now, please listen close: these numbers are just an educated guess based on the standard yield of about 1 cup of sauce, divided into 8 servings. Since we’re using pure oil, the fat content is naturally going to be higher, but remember that’s where the beautiful, smooth texture comes from! Always check my full disclaimer page if you have serious dietary concerns.
If we base the estimates on a two-tablespoon serving size, here’s what you can generally expect from this incredibly fresh batch of homemade garlic aioli:
- Calories: Around 180 calories
- Fat: About 20 grams (most of that good unsaturated kind!)
- Protein: Just a little boost, maybe 1 gram
- Carbohydrates: Almost zero, thankfully!
See? Not bad at all for something that tastes this luxurious and can instantly upgrade any meal. It confirms why this is the best aioli for fries—pure, delicious, high-fat satisfaction!
Share Your Experience Making This Easy Garlic Sauce Recipe
Whew! We did it! We turned simple pantry staples into an absolutely divine, restaurant-quality garlic aioli. Honestly, my favorite part of sharing these family-style recipes is hearing from you about how they worked in your own kitchens. Did you manage to keep that whisk moving fast enough? Did you add too much oil at the beginning? Tell me everything!
I truly hope this became your new favorite easy garlic sauce recipe. Did you use it for dipping steak fries, smearing on those perfect lunchtime sandwiches, or maybe even dolloping over grilled shrimp? I want to see your creations! Drop a rating right below with stars—it helps everyone else see just how simple and fantastic this recipe is.
If you have any other uses for this amazing garlic condiment recipe that I haven’t mentioned, please share them in the comments. Every time someone tells me they finally succeeded in getting that perfect emulsion without breaking the sauce, I feel like I’m right there in the kitchen with them! If you need to get in touch with any specific questions that weren’t covered, you can always reach me directly via the contact page. Happy dipping!
PrintEasy 5-Minute Homemade Garlic Aioli

Make creamy, restaurant-quality garlic aioli quickly using simple ingredients. This versatile sauce is perfect for dipping fries or spreading on sandwiches.
- Prep Time: 5 min
- Cook Time: 0 min
- Total Time: 5 min
- Yield: About 1 cup
- Category: Condiment
- Method: Whisking/Emulsifying
- Cuisine: French/Mediterranean
- Diet: Vegetarian
Ingredients
- 1 large egg yolk
- 1 teaspoon Dijon mustard
- 1 teaspoon fresh lemon juice
- 1/2 teaspoon salt
- 1 clove garlic, minced very finely or grated
- 1 cup neutral oil (like canola or grapeseed)
- 1 tablespoon hot water (optional, for thinning)
Instructions
- Place the egg yolk, Dijon mustard, lemon juice, salt, and minced garlic into a medium bowl.
- Whisk these ingredients together until they are well combined and slightly pale.
- Begin adding the oil very slowly, drop by drop, while whisking constantly and vigorously. This slow addition is crucial for emulsification.
- Once about one quarter of the oil is incorporated and the mixture thickens, you can increase the oil stream to a thin, steady drizzle, still whisking constantly.
- Continue adding the oil until all of it is incorporated and the mixture is thick and creamy.
- If the aioli is too thick, whisk in 1 tablespoon of hot water until you reach your desired consistency.
- Taste and adjust salt or lemon juice if needed.
Notes
- For a quicker, mayo-based version, skip steps 1-3 and combine 1 cup of good quality mayonnaise with the garlic, lemon juice, and salt, then whisk until smooth.
- Use a food processor or immersion blender for faster emulsification, but add the oil very slowly.
- If the aioli breaks (separates), whisk a fresh egg yolk in a clean bowl and slowly whisk the broken mixture into the new yolk.
Nutrition
- Serving Size: 2 tablespoons
- Calories: 180
- Sugar: 0 g
- Sodium: 150 mg
- Fat: 20 g
- Saturated Fat: 2 g
- Unsaturated Fat: 18 g
- Trans Fat: 0 g
- Carbohydrates: 0 g
- Fiber: 0 g
- Protein: 1 g
- Cholesterol: 45 mg