

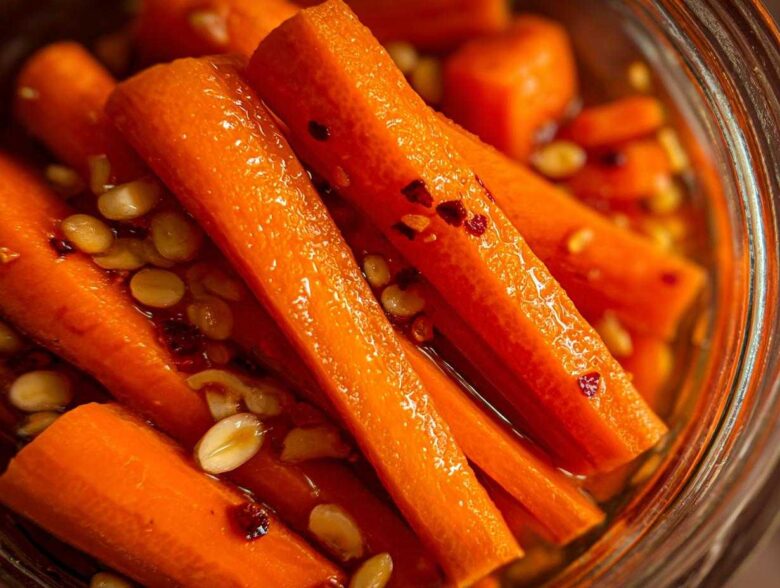
If you’re anything like me, you’ve been staring at those sad little carrot sticks in your fridge, wondering how to make them taste like the zesty, crunchy topping on your favorite tacos or deli sandwich. Well, stop wondering! I’ve cracked the code on the ultimate **easy pickled carrots** that deliver that restaurant-quality punch in just a few hours. Forget complicated canning equipment; this is my foolproof refrigerator method. Trust me when I say my brine ratio—lots of vinegar with just enough sugar—is what keeps these crisp. We’re making **pickled carrots** ready to eat before dinner is over! Once you taste this flavor, you’ll never go back to plain carrots again. You can even check out my thoughts on balancing flavors over in my carrot cake post; it’s all about the right ratios!
Why You Will Make These Quick Pickled Carrots Recipe
Why bother when you can have restaurant-quality flavor lightning fast? Honestly, these are the best! You won’t believe how simple these **quick pickled carrots** are, and they stay perfectly crisp. I’ve tweaked that brine so many times to try and mess it up, but nope—it just stays amazing!
- Speedy setup: You’ll have **crunchy pickled carrots** ready to eat in literally just a couple of hours.
- Maximum Crunch: I swear by not over-packing the jar; that’s my secret to never getting soft pickles.
- Perfect Balance: They are super tangy but have enough sugar so they aren’t startlingly sour.
- No Fuss: Since these are **refrigerator pickles carrots**, you don’t need to worry about sterilization or dealing with that hot water bath!
The Essential Ingredients for Perfect Pickled Carrots
Okay, pinning down the brine is what makes or breaks these **pickled carrots recipe**. It’s a short list, which is why every single thing counts! Don’t try to cheat the salt, please. I learned that the hard way years ago when I was experimenting with a disastrous early cake batch—ratios matter, even in pickling!
Here is what you need for one standard pint jar:
- One pound of carrots. You need to peel these, and then cut them either into perfect little coins or nice, sturdy sticks.
- The liquid base: one cup of plain white vinegar and one cup of water.
- For balance: two tablespoons of granulated sugar and one tablespoon of kosher salt. Don’t reach for table salt; the kosher kind dissolves cleaner!
- Flavor bombs: one teaspoon of whole black peppercorns, two cloves of garlic that you just smash lightly with the side of your knife, and half a teaspoon of those red pepper flakes. Feel free to toss in more flakes if you want them spicy!
How to Make Easy Pickled Carrots Using the Refrigerator Method
This is where the real magic happens, and it’s so much faster than you might think! Don’t sweat the process; we’re keeping this super casual. The key to fantastic **pickled carrots** is making sure the brine is perfectly balanced *before* it meets the vegetables. I always have my jar ready to go right next to the stove. It’s a quick dance, done in under 20 minutes of active time! If you want to see how I balance flavors in other recipes, you can check out my latest things happening over on the main blog page before we dive in. Just follow these simple steps and get ready for seriously tangy results.
Step 1: Preparing the Carrots and Jar
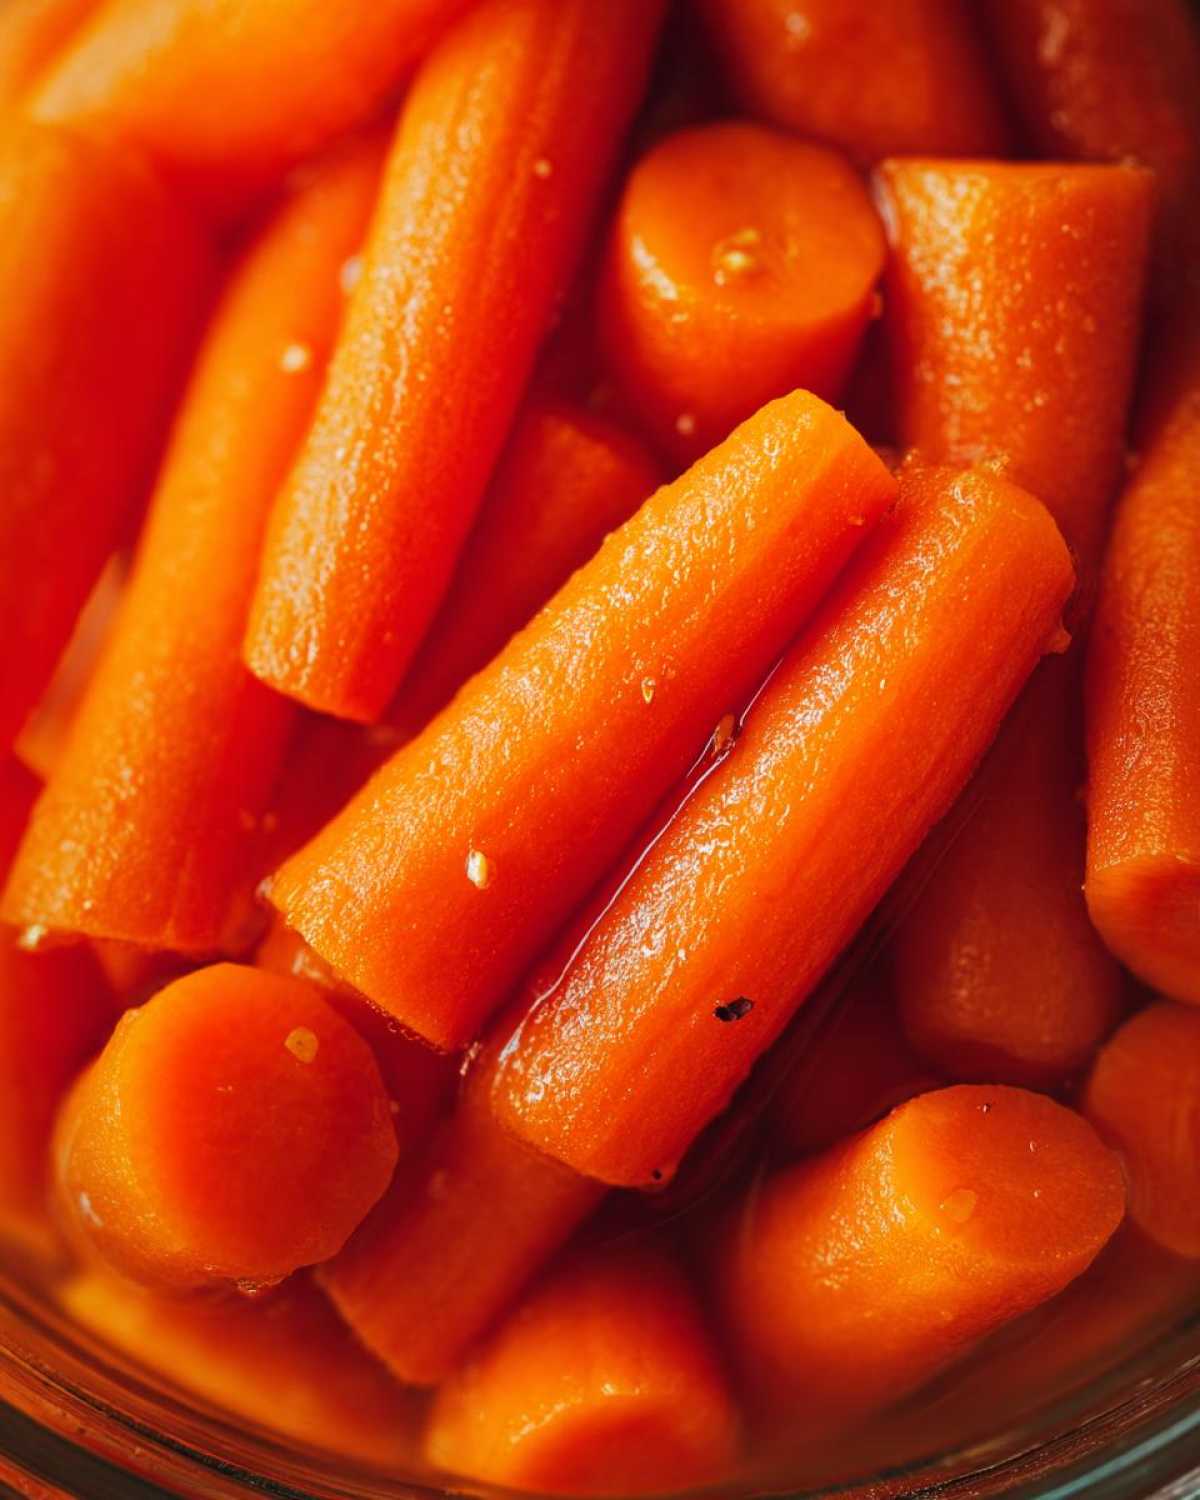
First things first: we need uniform carrots so every bite pickles nicely. Wash, peel, and then cut your carrots. I love thin coins because they grab the flavor fast, but sticks are great too! Shove them tightly—but not so tight you can’t pour liquid—into a clean pint jar. Make sure your jar is spotless. We aren’t using fancy preservation techniques here, so a clean start is important.
Step 2: Creating the Tangy Brine for Pickled Carrots
Time to wake up that flavor! Grab a small saucepan. Toss in the vinegar, water, sugar, salt, peppercorns, smashed garlic, and those fiery red pepper flakes. Put that right on the heat. You must bring this mixture to a rolling boil. Why? Because the sugar and salt have to dissolve completely into that vinegar water base. Keep stirring until it’s perfectly clear. Right when the solids disappear, kill the heat immediately. That’s the end of the cooking part for these **pickled carrots**.
Step 3: Combining and Cooling the Homemade Pickled Carrots
Carefully pour that hot brine right over your packed carrots. Watch them! Make sure that brine covers every single bit of carrot. If you have liquid left over, that’s fine, stop pouring before you get too close to the rim—leave about half an inch of space empty at the top. Now, this is crucial for texture: let the jar sit uncovered on the counter for about 30 minutes to cool down a little bit. Once it’s just warm to the touch, slap that lid on tight and send your **homemade pickled carrots** straight to the fridge. Patience only needed for two hours now!
Tips for Achieving Crunchy Pickled Carrots
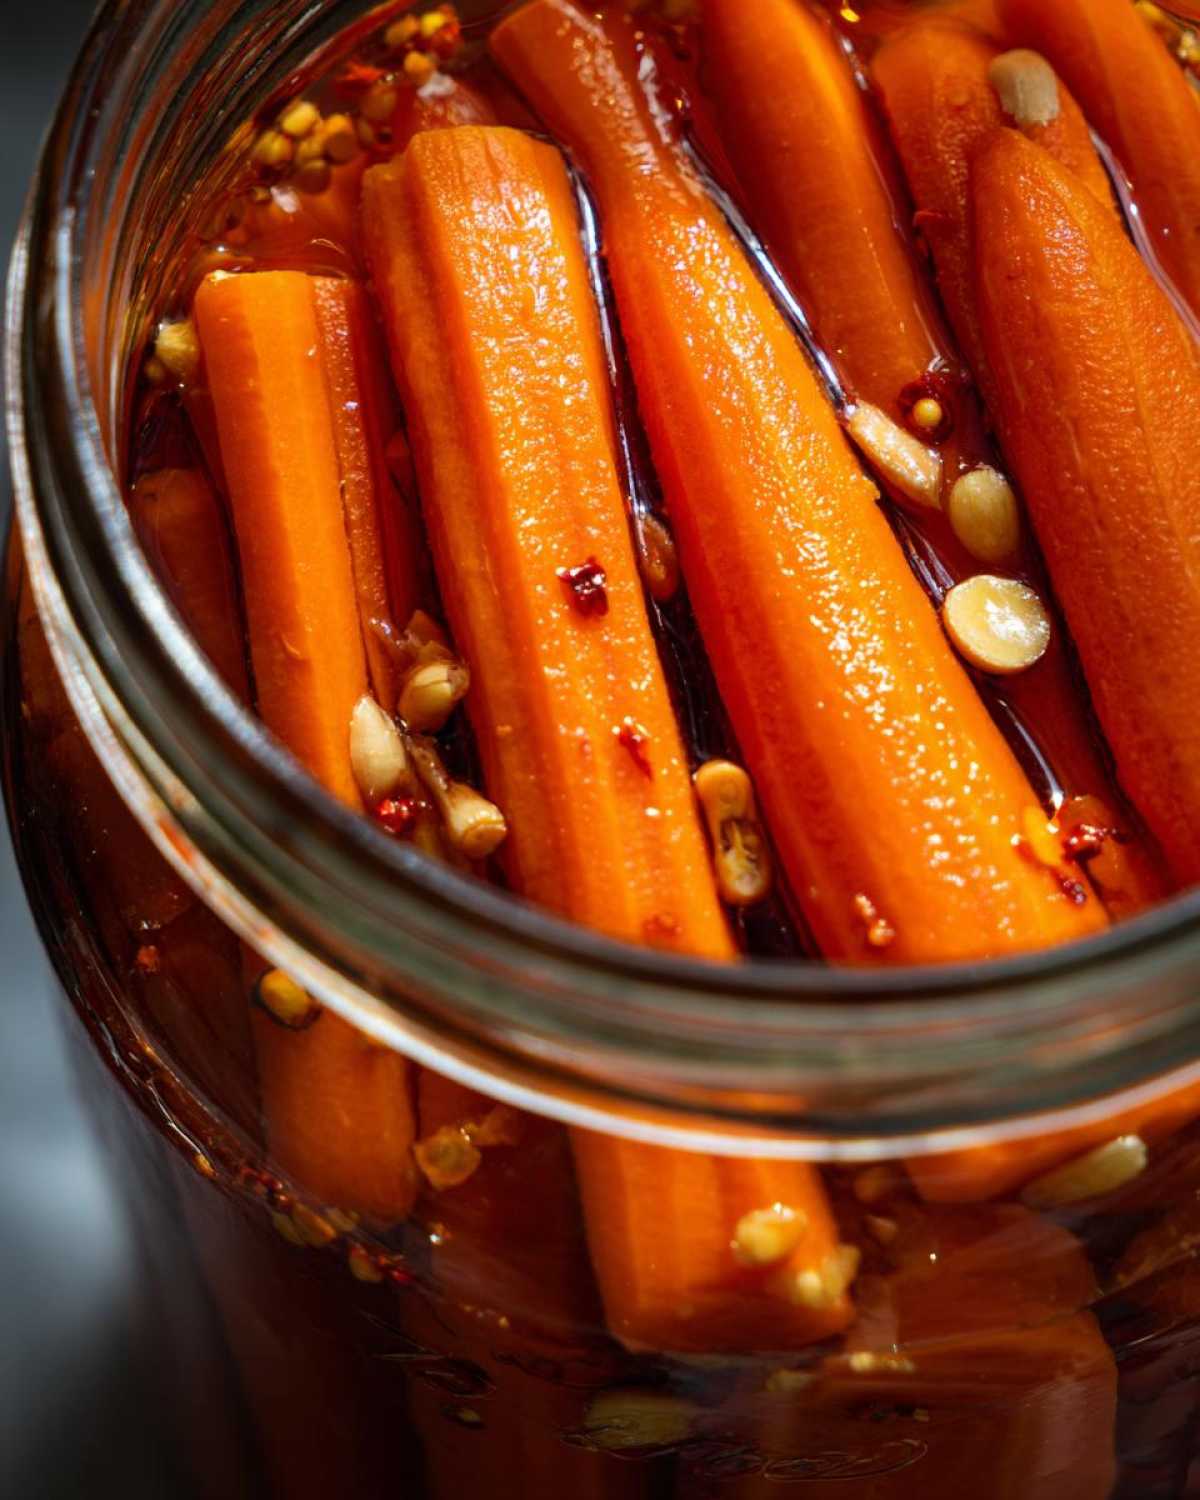
If you want that perfect, satisfying *snap* when you bite into your carrot, pay close attention. Achieving truly **crunchy pickled carrots** isn’t just dumb luck; it’s about respecting the vegetable! First, always use carrots that are firm and fresh. If they are limp when you buy them, they’ll be limp when you pickle them—no magic brine can fix that, sorry! You want that refrigerator snap.
Also, don’t try to cram too many flavor extras in there, like tons of herbs or extra vegetables, because that impacts the space for the liquid. You need that brine swimming around them to keep them crisp! I’ve seen people try using apple cider vinegar here, but for maximum crunchiness, stick to plain white vinegar for this basic recipe. It’s less complex in flavor, which lets the carrot shine, and it’s reliable for texture. Speaking of textures, if you’re looking for something warm and cozy after all this pickling excitement, you have to try my apple cobbler recipe. Sometimes you just need a soft dessert after all the crunch!
Flavor Variations for Your Pickled Carrots
Now that you have the absolute best base recipe—seriously, these are my go-to **pickled carrots**—it’s time to play around! The beauty of the refrigerator method is how easily you can pivot the flavor profile based on what you’re craving or what you have on hand. You can turn them into a snack, a side dish, or the perfect topping for a weekend taco spread. If you’re looking for that authentic Mexican vibe, this is where we make the shift.
You can easily adapt this recipe to mimic those amazing, bright Mexican or Taqueria-style pickles. If you love that slightly herbaceous, savory note, try adding a small bay leaf and half a teaspoon of dried Mexican oregano right into your hot brine mixture before you pour it over the carrots. It completely changes the game!
And hey, if you’re still hungry for flavor after this, you might want to swing by and check out my thoughts on using brown sugar in my apple cobbler recipe—it’s all about layering. But back to the pickles!
Creating Spicy Pickled Carrots
We already put in a little heat with the standard red pepper flakes, but for those who like things really smoking, you can bump it up! Don’t just add more flakes; try slicing a small serrano pepper or even half a jalapeño very thinly and tossing those right into the jar with the garlic. The key here is that the spice infuses into that vinegar brine, making the entire jar fiery. Be careful when handling those peppers; wash your hands well right after slicing them, or everything you touch afterward might get a little burn. It makes phenomenal **spicy pickled carrots**!
Dill Pickled Carrots Addition
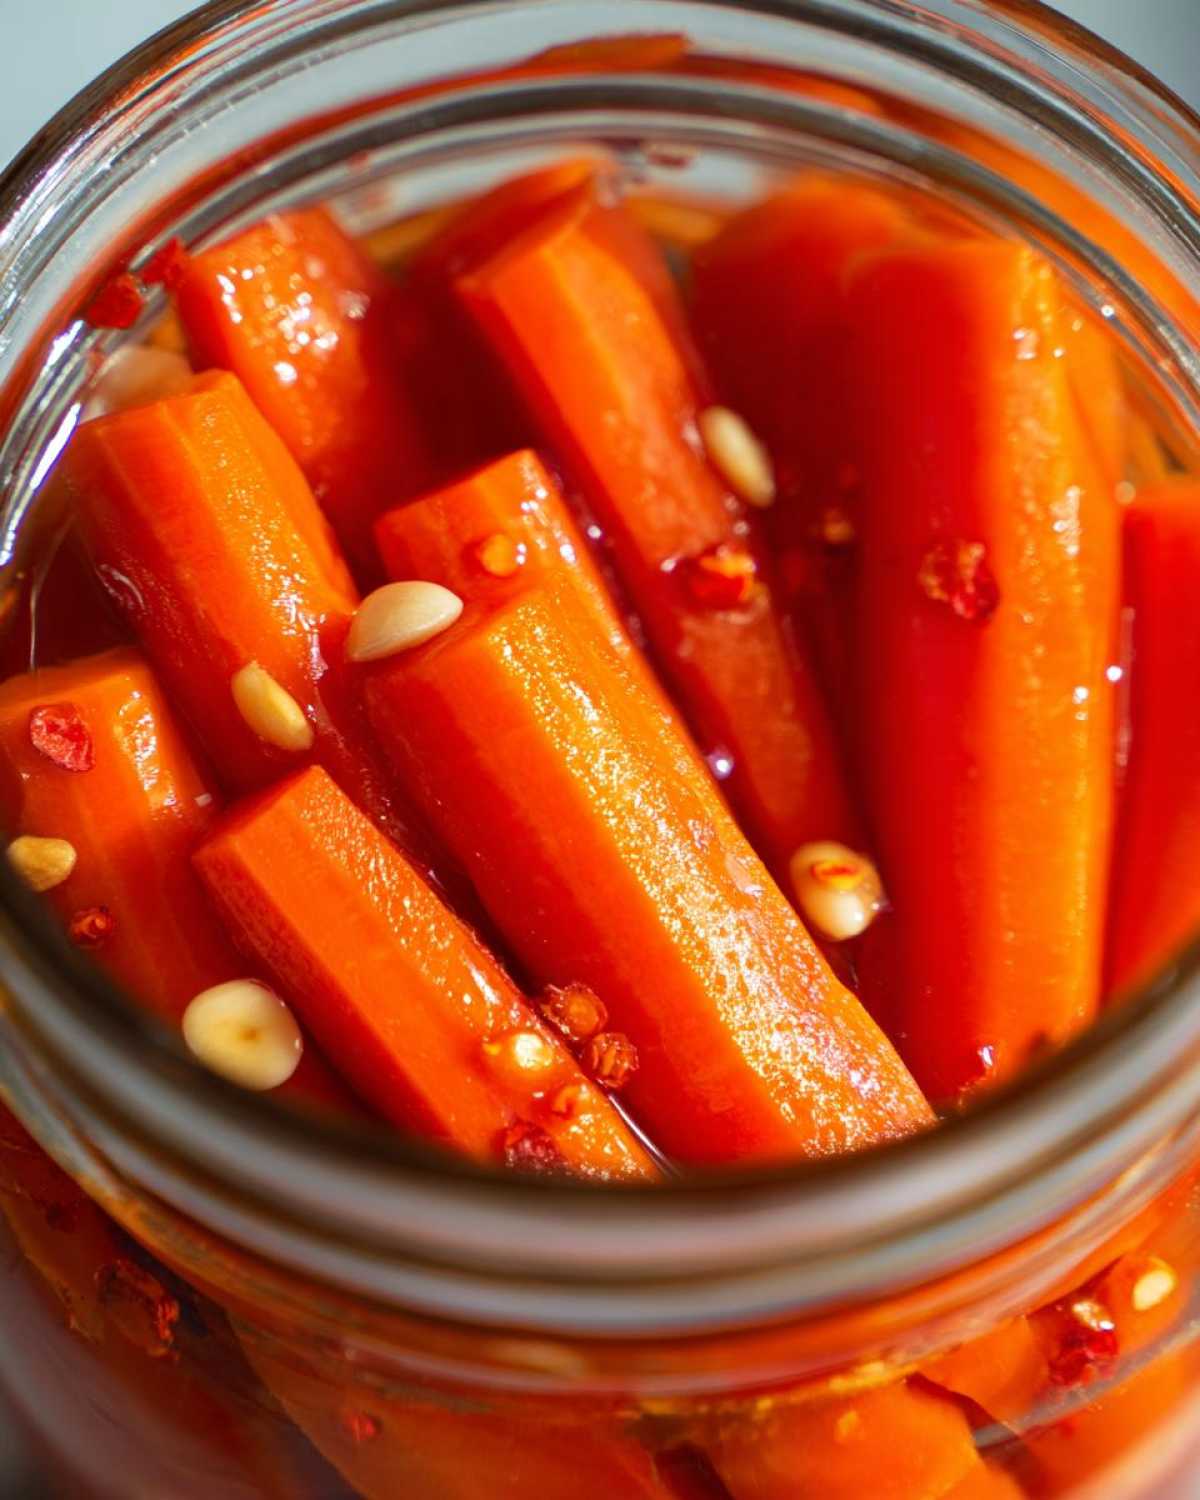
Sometimes I just want that classic, salty dill flavor, you know? That’s super easy to add to this base too. If you want to switch gears from spicy Mexican style to a classic **dill pickled carrots** profile, skip the red pepper flakes entirely. Instead, grab a teaspoon of dried dill seed or—even better—tuck a small sprig of fresh dill right into the jar before you cover it with brine. It adds that wonderful aromatic component that pairs beautifully with the vinegar and makes them taste just like something you’d grab from a deli counter.
How to Store and Reheat Vinegar Pickled Carrots
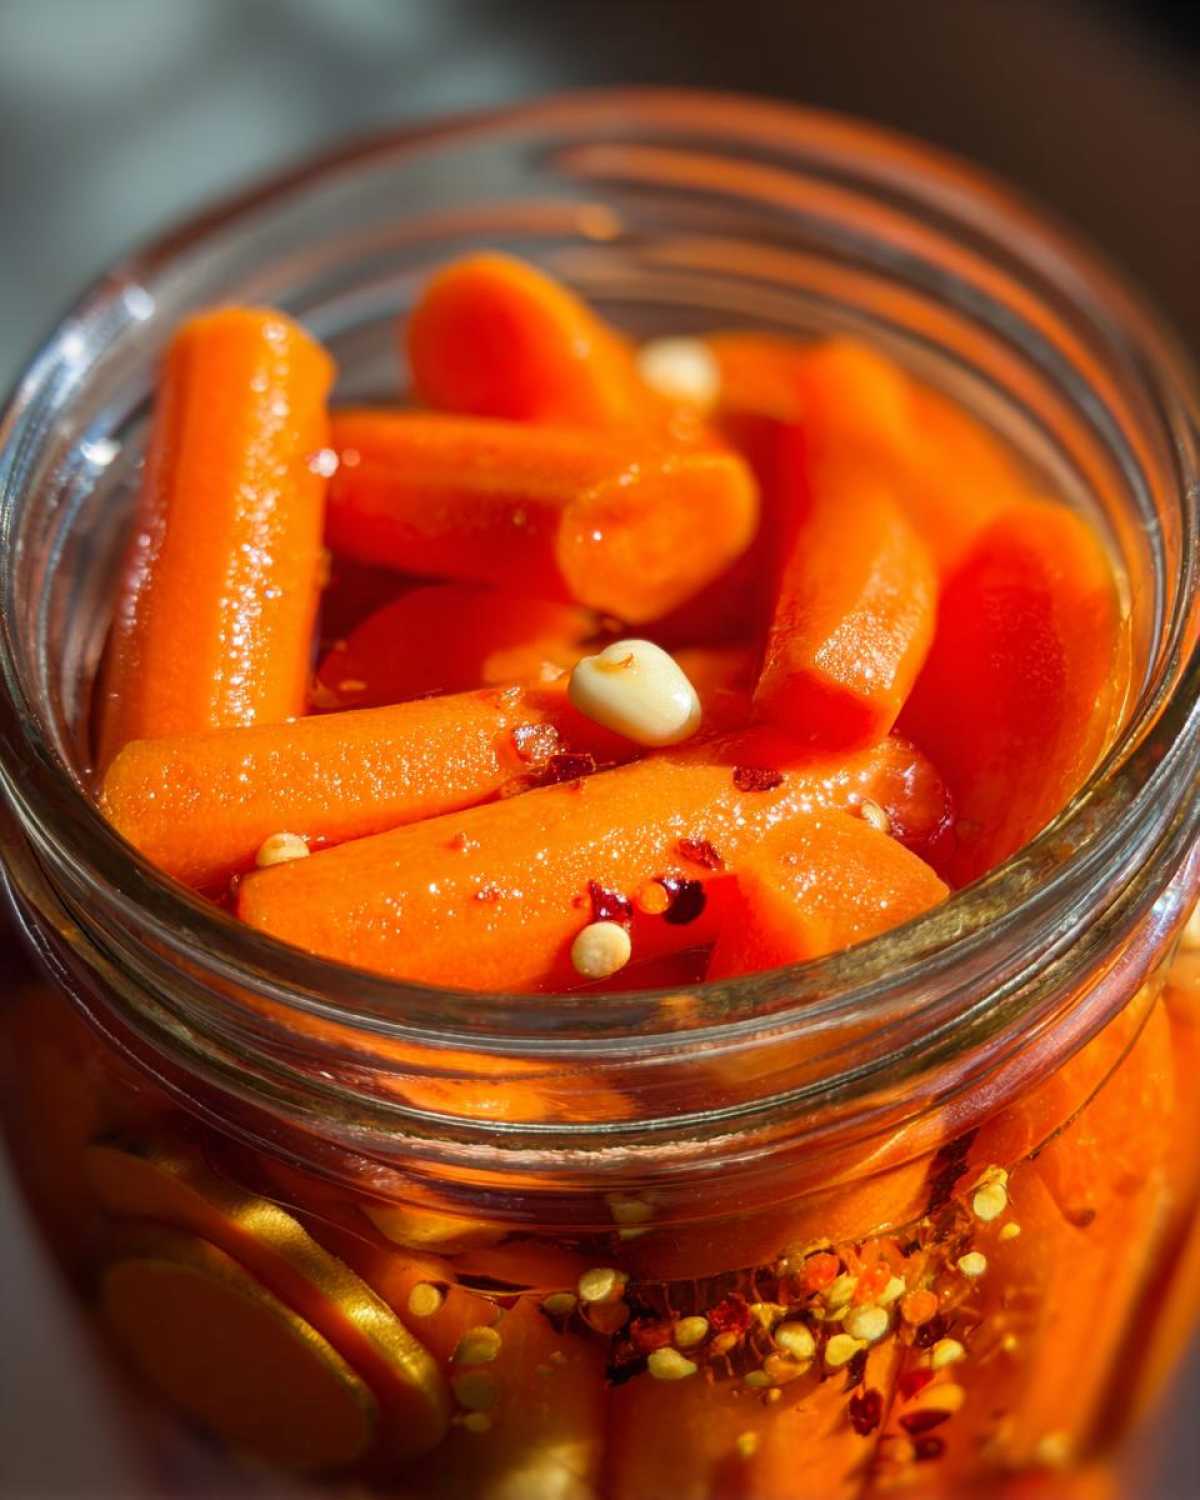
This is the best part about making refrigerator pickles: zero muss, zero fuss! Once those wonderful **vinegar pickled carrots** have cooled down enough (remember, they sit out for about an hour first!), seal that jar tight and pop it straight into the coldest part of your fridge. Don’t even think about canning them; that’s a whole different beast we aren’t tackling today!
They are technically ready to eat after two hours but honestly? They taste so much better if you wait a full 24 hours. They will keep beautifully crisp in the fridge for about three weeks. That’s plenty of time to enjoy them! And please, never try to reheat them; that hot temperature is what ruins the beautiful crunch we worked so hard to achieve. If you are looking for something warm after all that pickling, you should totally check out my recipe for cranberry crumble bars. It’s gooey and delicious!
Serving Suggestions for Your Tangy Carrot Pickles
Now that you have a jar full of these amazing, flavorful, **tangy carrot pickles**, the hardest part is figuring out the best way to eat them all! Since we made them with that slight spicy kick, they are super versatile, coming out of the fridge cold and crisp. My first suggestion, always, is straight out of the jar, standing over the sink, treating them like chips. Don’t judge me; we all do it!
But if you want to be hospitable, these shine as the perfect side dish. They cut right through the richness of heavy meals. I absolutely love laying a few sticks next to a simple roast chicken or maybe even a baked ham. They are fantastic on a charcuterie board too—the brightness cleanses the palate between bites of cheese and salty cured meats.
The real reason I make massive batches, though? Tacos. Seriously, if you are making pulled pork tacos, fish tacos, or anything with avocado, these **tangy carrot pickles** are mandatory. They provide the acid and the crunch that every great taco needs. Also, try chopping them up finely and mixing them into tuna salad or potato salad—it gives that familiar dish a fantastic little zing!
If you’re looking for another easy, crowd-pleasing treat to serve alongside your pickles, you’ve got to check out my recipe for cranberry crumble bars. They disappear way too fast at any party!
Frequently Asked Questions About Pickled Carrots
It’s funny, even with the best recipe, people always have questions right before they dive in! It makes total sense; you want your **pickled carrots** to turn out perfect the first time. We’re dealing with acid and salt here, so feeling confident really helps. I’ve gathered up the ones I get asked most often about consistency, safety, and speed. Don’t worry if you’re shaking your head about the brine—it’s easier than it looks, I promise!
Can I use apple cider vinegar instead of white vinegar in these pickled carrots?
You absolutely can swap it out, but I want you to know it will change the flavor profile! White vinegar is sharp and clean, which lets that carrot sweetness shine through with the spices. Apple cider vinegar has more fruity, almost cider-like notes. If you use it, you might want to add a tiny bit more sugar to balance that fruitiness. For my classic, super-tangy pickles, I stick to the white kind, but ACV works if you prefer a mellower flavor!
How long do these refrigerator pickles carrots last?
Since these are **refrigerator pickles carrots** and not canned (no heat processing, remember?), they won’t last literally forever, but they last long enough that you can make a big batch and enjoy them all week. Once they are fully chilled, you should aim to eat them within about three weeks. After that, they might start getting a little softer than that perfect initial crunch. But honestly, try to keep them that long—they disappear so fast around my house!
Can I skip boiling the brine for quick pickled carrots?
Oh, please don’t skip the boil if you want truly great results! I know it feels like an extra step when we’re aiming for speed with our **quick pickled carrots**, but boiling is super important here. You need that heat to fully dissolve that salt and sugar. If you just stir them in cold water, you’ll end up with gritty, undissolved bits at the bottom of the jar. Boiling releases the salt and helps the vinegar infuse the spices properly, leading to uniform flavor throughout the jar. Trust me, five minutes on the stove saves you a lot of sadness later!
If you’re looking for something sweet to balance out all that tang, you should definitely check out my recipe for gooey pecan pie muffins!
Nutritional Estimates for Homemade Pickled Carrots
I always get asked about the macros when I post these, and I want to be super clear: these numbers are just my best guess based on the ingredients list above. Since we aren’t using huge amounts of oil or anything heavy, these **homemade pickled carrots** are fantastic for snacking! This estimate breaks down the numbers assuming you get about four servings out of the single pint jar, so remember to adjust if you manage to make them last longer than I do.
Here is a rough look at what you’re getting per serving (about 1/4 cup):
- Serving Size: 1/4 cup
- Calories: about 35
- Sugar: 4 grams (That’s the sugar we added, plus what’s naturally in the carrot, so totally reasonable!)
- Sodium: I won’t lie, it’s around 280 mg because pickles *must* be salty, but it’s worth it for the flavor snap.
- Fat: Zero—unless you add tons of dill to your brine or something!
- Carbohydrates: 8 grams
- Protein: Basically zero, but they are packed with vitamins, so that counts, right?
Remember, since these are vinegar-based, they are low in everything except that beautiful tang and sodium. They are a great way to get crunchy vegetables without adding tons of unnecessary fat or cooking calories. Enjoy!
PrintUltimate Easy Refrigerator Pickled Carrots (Spicy & Tangy)
Make crunchy, tangy pickled carrots at home using this simple refrigerator method. This recipe requires no canning and is ready quickly.
- Prep Time: 15 min
- Cook Time: 5 min
- Total Time: 20 min
- Yield: 1 pint jar
- Category: Side Dish
- Method: Refrigerator Pickling
- Cuisine: American
- Diet: Vegetarian
Ingredients
- 1 pound carrots, peeled and cut into sticks or coins
- 1 cup white vinegar
- 1 cup water
- 2 tablespoons granulated sugar
- 1 tablespoon kosher salt
- 1 teaspoon whole black peppercorns
- 2 cloves garlic, smashed
- 1/2 teaspoon red pepper flakes (or more for extra heat)
Instructions
- Prepare the carrots by washing, peeling, and cutting them into uniform sticks or thin coins. Pack the carrots tightly into a clean pint-sized jar.
- In a small saucepan, combine the vinegar, water, sugar, salt, peppercorns, garlic, and red pepper flakes.
- Bring the mixture to a boil over medium-high heat, stirring until the sugar and salt dissolve completely. Remove from heat immediately.
- Carefully pour the hot brine over the carrots in the jar, ensuring the carrots are fully submerged. Leave about 1/2 inch of headspace at the top.
- Let the jar cool on the counter for about 30 minutes. Seal the jar with a lid.
- Refrigerate for at least 2 hours before eating. For best flavor, allow the carrots to pickle for 24 hours.
Notes
- For a dill flavor, add 1 teaspoon of dill seed or a small sprig of fresh dill to the jar before adding the brine.
- If you prefer a sweeter pickle, increase the sugar to 3 tablespoons.
- These refrigerator pickled carrots keep well in the refrigerator for up to three weeks.
Nutrition
- Serving Size: 1/4 cup
- Calories: 35
- Sugar: 4
- Sodium: 280
- Fat: 0
- Saturated Fat: 0
- Unsaturated Fat: 0
- Trans Fat: 0
- Carbohydrates: 8
- Fiber: 1
- Protein: 0
- Cholesterol: 0