

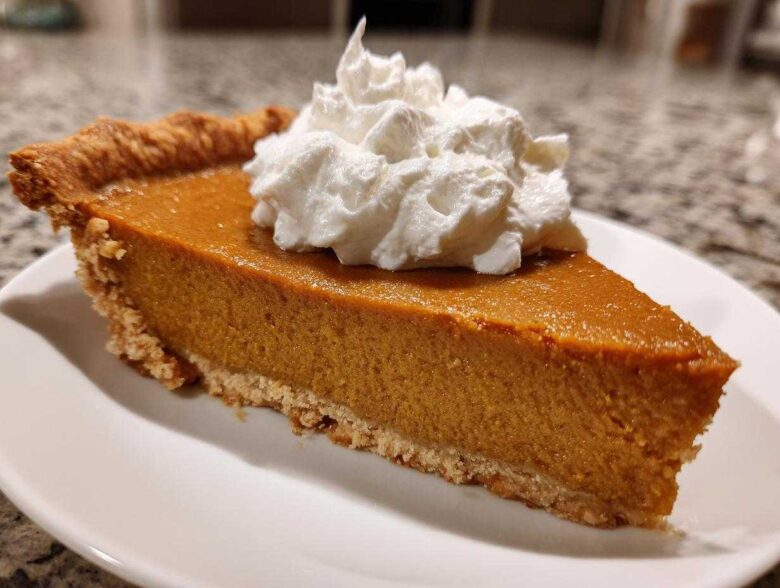
Oh, the holidays! Don’t you just hate that feeling when you realize your centerpiece dessert is going to take all afternoon, and you still have gravy to make? Trust me, I’ve been there, frantically whisking things together while guests are already ringing the doorbell. That’s exactly how this recipe for an easy pumpkin pie was born. I swear, one year before Thanksgiving, I almost dumped my whole regular filling down the sink because I got the eggs scrambled instead of smooth! That day, I decided I needed the most foolproof, bare-bones, classic pumpkin pie ever.
This version? It’s my holiday panic button, and honestly, it’s better than my old drawn-out recipe. With just five ingredients—yes, FIVE!—and letting the store-bought crust do the heavy lifting, you get that unbelievably creamy texture that everyone craves. It’s the fastest way to pull off a show-stopping Thanksgiving dessert that tastes like you spent hours slaving away. You simply must try this simple fall baking solution!
Why This is the Best Easy Pumpkin Pie Recipe for You
If you’re looking for quick holiday desserts, stop scrolling right now. This recipe cuts out all the fuss without sacrificing that deep, comforting pumpkin flavor we all want. It’s truly the definition of simple Thanksgiving dessert success.
What makes this my go-to? Well, look at the benefits:
- It’s a true 5-ingredient pumpkin pie, meaning less scrambling at the store!
- Prep time is under 10 minutes. Seriously!
- The results are consistently creamy and smooth—a foolproof pumpkin pie every single time, even if your oven is currently occupied with the turkey.
- It’s the perfect simple pumpkin pie when you need a last-minute contribution to the dessert table.
You get all the flavor with none of the stress. That’s why this *easy pumpkin pie recipe* always makes it onto my holiday table.
Ingredients Needed for Your Easy Pumpkin Pie
This is where the magic of keeping things simple really shines through. Because we are aiming for the easiest possible route to a delicious fall dessert, we only need five players in this lineup. Seriously, five! If you can grab these things, you can make this easy pumpkin pie.
Here is exactly what you need to gather. Don’t mess with the amounts here; this is a finely tuned, minimal recipe!
- One 15-ounce can of pure pumpkin puree. And I mean *pure* puree, not pumpkin pie filling—that stuff is already sweetened, and we need control!
- One 14-ounce can of sweetened condensed milk. This is our secret weapon for that velvety texture.
- Two large eggs, lightly whisked.
- One teaspoon of ground cinnamon.
- One 9-inch refrigerated pie crust, unbaked. This is the shortcut that saves your entire afternoon! Please, grab the foil or cardboard kind that comes already shaped.
If you want to see how I’ve used pumpkin spice in other crazy ways, check out my recipe for pumpkin spice puppy chow!
Ingredient Notes and Simple Substitutions
Listen up, because this is important for that E-E-A-T factor! If you accidentally grab pumpkin *pie* filling instead of the straight puree, your pie will be way too sweet and possibly too runny, so double-check that label. Also, if you have a favorite pumpkin pie spice mix lying around, feel free to swap it for the single teaspoon of cinnamon. My recipe calls for cinnamon, but a full teaspoon of your favorite spice blend works beautifully for a slightly warmer flavor profile. It’s a tiny adjustment, but you notice the difference!
Step-by-Step Instructions for Your Easy Pumpkin Pie
Okay, now that you have your five simple ingredients assembled, let’s get this pie into the oven. This is the part where most people get nervous about getting that perfect, crack-free top, but don’t stress! This two-stage baking method makes this a completely foolproof pumpkin pie.
First thing: get that oven cranking up to 425 degrees Fahrenheit. We need that initial blast of heat to set the edges of that pre-made crust fast. While it’s heating, grab a medium bowl. Whisk everything together—the pumpkin, the condensed milk, those two eggs, and the cinnamon—until it looks gorgeously smooth. Pour it straight into that unbaked crust. No par-baking needed here, that’s the beauty of this ultra-easy method!
Bake it hot at 425 degrees for exactly 15 minutes. Then, and this is non-negotiable, drop the oven temperature down to 350 degrees Fahrenheit. You’ll bake it for another 35 to 40 minutes. You know it’s done when you stick a knife right near the center, and it comes out clean. Then, pull it out and let it cool down completely on a wire rack. I know patience is hard when pie smells this good, but you *must* let it cool before trying to slice it!
If you need some fantastic recipes for other make-ahead meals, check out my tips for make-ahead campfire breakfast burritos!
Expert Tips for a Perfect Easy Pumpkin Pie Bake
Just because it’s easy doesn’t mean we skip the crucial final checks. The knife test is your best friend, but watch for *moist crumbs*, not wet batter. A tiny bit of moisture clinging to the knife means success!
After it cools drastically on the rack, you need to chill it. This pie benefits massively from chilling time, sometimes up to four hours, but overnight is better. This lets that filling firm up into that incredible creamy pumpkin pie filling texture we love. If you rush the chilling, the slices will sag, and that’s just sad. Give it time to set properly!
Making Ahead Your Easy Pumpkin Pie for Holiday Baking Made Easy
One of the absolute best parts of this recipe being so simple is that you can totally make it ahead of time! This is such a lifesaver for that stressful Thanksgiving dessert easy schedule. I usually bake this pie the day before the big meal—maybe even two days before if I’m feeling ahead of schedule.
Once the pie is completely cooled down (seriously, don’t wrap it warm!), you’ll want to cover it tightly with plastic wrap. I usually do two layers just so no stray fridge odors sneak in. You can store this beauty right in the regular part of your refrigerator. It keeps wonderfully! Because it contains eggs and milk, it needs that cold environment, but it holds its shape and flavor texture perfectly for up to three days.
If you’re looking for other tips on planning ahead so you aren’t stressing on the day, I always use my guide for make-ahead campfire breakfast burritos to prep anything I can the night before. Save the pie chilling for the fridge, and you’re gold!
Storage and Reheating for Your Simple Pumpkin Pie
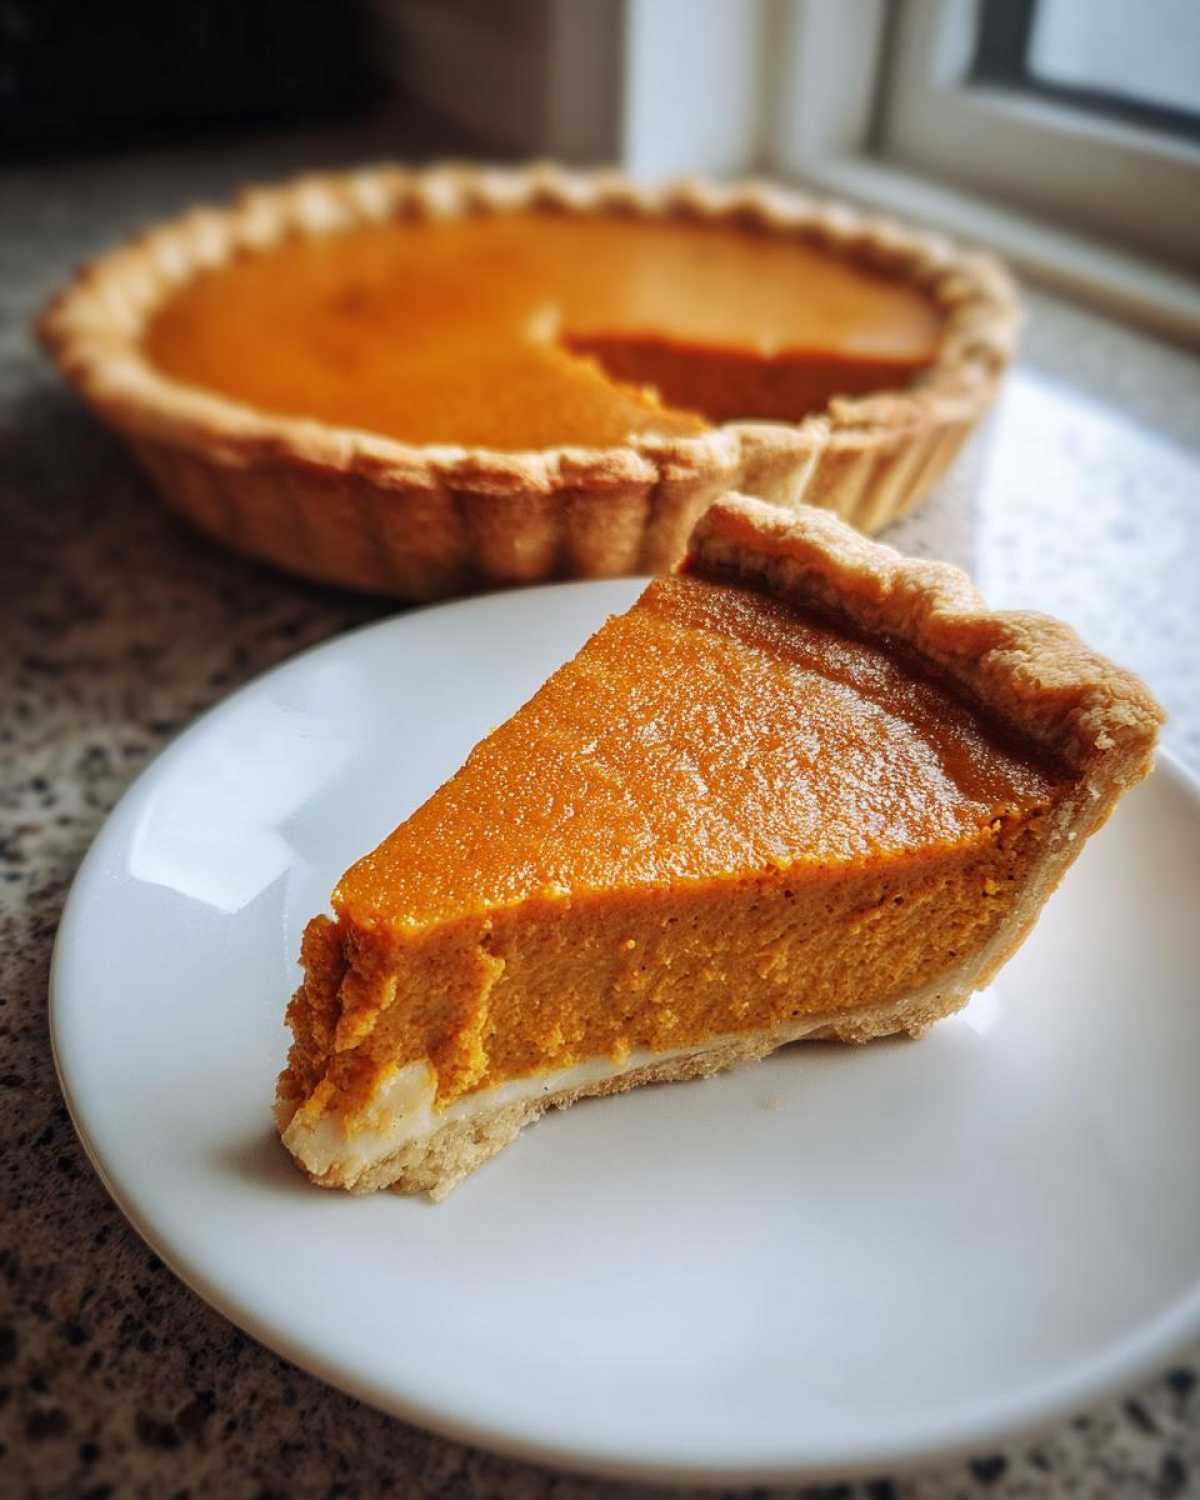
The great thing about a good, solid pumpkin pie like this easy pumpkin pie recipe is how well it keeps. You definitely want to make sure you save those leftovers! As I mentioned, this pie absolutely has to be served chilled. Don’t even think about taking it out of the fridge until you are ready to cut into it. Chilling locks in that perfect texture from the condensed milk and eggs.
Once it’s cooled completely, wrap the whole pie up tightly. I prefer plastic wrap first, followed by a layer of aluminum foil, just for extra protection against drying out in the fridge. It will keep beautifully for about three to four days sitting happily in the cold compartment.
Now, reheating? Honestly, you almost never reheat this pie! It’s designed to be served cold or at cool room temperature. If you absolutely must warm up a slice—maybe you just feel baked crusts are better warm—try microwaving just one piece for about 10 to 15 seconds on low. But I promise you, it is miles better when served straight from the fridge. Trust me on this one; it keeps that amazing, dense custard structure!
Troubleshooting Common Easy Pumpkin Pie Issues
Even when you use the easiest recipe ever, sometimes things go a little sideways in the oven. Don’t panic! Because our easy pumpkin pie relies on just a few ingredients, the fixes are usually pretty straightforward. I’ve made every mistake in the book, so I know what to look for.
The biggest fright is usually a cracked top. This almost always happens because the pie cooked too long, or it cooled down way too fast after it came out of the oven. If you notice it starting to crack while it’s still baking, quickly reduce your oven temperature a tiny bit more, or better yet, just open the oven door slightly (if it’s safe!) to let some heat escape and slow the cooking right down. If you see it crack after baking, it’s purely cosmetic, so don’t worry!
What about a soggy bottom? That’s your nemesis, the dreaded “wet crust.” This usually happens if the pie isn’t chilled long enough, or sometimes if the crust got damp before it even went into the oven. Since we’re not pre-baking the crust, we are relying on that initial blast of high heat (the 425°F start) to set the bottom. If you think your bottom is soggy, the only real fix is to let it chill longer—like, way longer. If you’re in a massive rush, you can sometimes try to gently slide a thin spatula underneath the slice before serving to see if it lifts cleanly, but honestly, it just needs that full chill time to firm up everything beneath the custard.
Remember, this is a classic pumpkin pie simplified, not a professional pastry demonstration. A little quirkiness is part of the character! Don’t let a tiny crack stop you from enjoying this perfectly creamy, simple fall baking treat.
Frequently Asked Questions About This Easy Pumpkin Pie Recipe
When you’re aiming for the absolute easiest way to dessert, you always end up with a few little questions whirling around in your head. I totally get it! I’ve collected the things folks ask me most about this recipe for easy pumpkin pie.
Can I make this a no-bake pumpkin pie?
That’s a popular thought, especially if your oven is already bursting! While this recipe is so simple, it really relies on those eggs and that high-heat blast to set the custard structure firmly. This isn’t designed as a no bake pumpkin pie recipe because of that structure. If you want no-bake, you usually need gelatin or a ton of cream cheese to stabilize it properly. Stick to the baking instructions here for the best results!
What is the difference between this and a pumpkin pie with condensed milk?
Well, this recipe *is* a pumpkin pie with condensed milk! That milk replaces nearly all the other sweeteners and heavy cream you usually see in other recipes. Traditional recipes often use evaporated milk plus granulated sugar, or sometimes heavy cream and brown sugar. Using sweetened condensed milk is the key shortcut here; it thickens everything up beautifully while providing all the sweetness in one can. That’s why this is such a fast and simple pumpkin pie option.
Can I skip the eggs?
Oh, I wouldn’t recommend that if you want that classic texture! The eggs are what turn this liquid mixture into a sliceable custard when baked. If you skip them, you’ll end up with something much closer to a very thick, set sauce. If you have an egg allergy, you’ll need to search specifically for a make ahead pumpkin pie recipe designed to be vegan or egg-free, as simple substitutions won’t achieve the right result here.
For some truly fun, but different, pumpkin adventures, check out my amazing pumpkin spice cold brew popsicles! It’s a total change of pace.
Nutritional Snapshot of This Easy Pumpkin Pie
Now, I’m not a dietitian—I’m just a cook who loves making the holidays easier! But for those of you tracking things, here’s a quick look at what you can expect from one slice of this incredible easy pumpkin pie. Remember these numbers are estimates based on the standard ingredients we used.
Per serving, you’re looking at around 310 calories. It contains about 13 grams of fat, 45 grams of carbohydrates, and 6 grams of protein. That’s a pretty solid, recognizable profile for a rich, creamy dessert! These figures assume you are using the suggested refrigerated crust. Enjoy a slice!
Share Your Quick Pumpkin Pie Success
Well, that’s it! You’ve made the easiest, creamiest, most reliably delicious easy pumpkin pie of your entire holiday experience. I’m so excited for you to see the smiles it brings!
Now, I absolutely need to know how it turned out for you! Did you use that shortcut crust? Did it set up perfectly after chilling? Please, take a second right now and scroll down to the comments section. I want you to rate this recipe with five glorious stars if it saved your baking day!
If you snapped a picture of your beautiful, perfectly set slice, please share it! Tag me on social media so I can see your success. It truly makes my day to know that this little foolproof recipe brought some calm to your busy **holiday baking made easy** routine. If you need to reach out with questions or suggestions, you can always find the contact info right here. Happy feasting!
PrintUltra-Easy 5-Ingredient Pumpkin Pie

Make a simple, creamy pumpkin pie using only five ingredients and a store-bought crust for a quick holiday dessert.
- Prep Time: 10 min
- Cook Time: 55 min
- Total Time: 65 min
- Yield: 8 servings
- Category: Dessert
- Method: Baking
- Cuisine: American
- Diet: Vegetarian
Ingredients
- 1 (15 ounce) can pure pumpkin puree
- 1 (14 ounce) can sweetened condensed milk
- 2 large eggs
- 1 teaspoon ground cinnamon
- 1 (9 inch) refrigerated pie crust, unbaked
Instructions
- Preheat your oven to 425 degrees Fahrenheit.
- In a medium bowl, whisk together the pumpkin puree, sweetened condensed milk, eggs, and cinnamon until smooth.
- Pour the filling mixture into the unbaked pie crust.
- Bake at 425 degrees Fahrenheit for 15 minutes.
- Reduce the oven temperature to 350 degrees Fahrenheit and continue baking for 35 to 40 minutes, or until a knife inserted near the center comes out clean.
- Cool the pie completely on a wire rack before slicing.
Notes
- For a richer flavor, you can substitute 1/2 teaspoon of pumpkin pie spice for the ground cinnamon.
- If you prefer a homemade crust, this recipe works well, but the total time will increase.
- Chill the pie for at least two hours before serving for the best texture.
Nutrition
- Serving Size: 1 slice
- Calories: 310
- Sugar: 28
- Sodium: 250
- Fat: 13
- Saturated Fat: 7
- Unsaturated Fat: 6
- Trans Fat: 0
- Carbohydrates: 45
- Fiber: 2
- Protein: 6
- Cholesterol: 55