

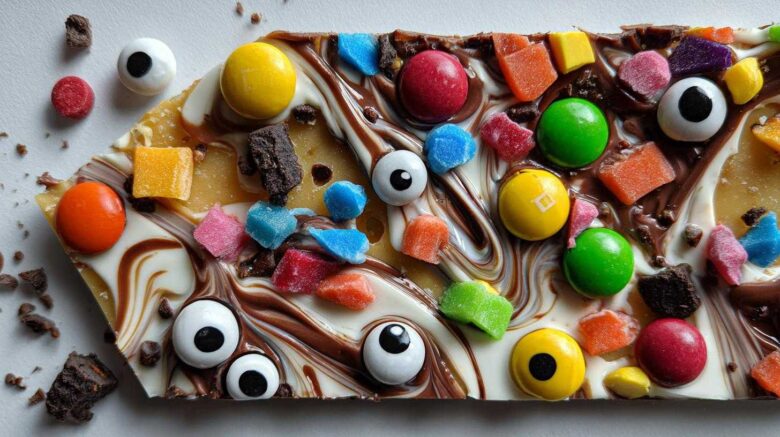
Easy Haunted Candy Bark (Halloween Chocolate Bark)
Get ready for some serious Halloween fun! This Haunted Candy Bark is a total game-changer. It’s so simple, even the littlest ghouls can help. We believe cooking should be a celebration, and this treat is pure joy. Amina, our resident kitchen wizard, has a knack for making festive magic. This no-bake wonder is perfect for everyone, no matter your baking skills. It’s a fantastic way to dive into the spooky season!
Why You’ll Love This Haunted Candy Bark (Halloween Chocolate Bark)
You’ll adore this Haunted Candy Bark because it’s a breeze to make. Seriously, no oven needed! It’s a fantastic activity for kids. Plus, you can use any candy you fancy, making it super customizable. It looks incredibly professional but takes minimal effort. It’s ideal for Halloween parties or as a sweet, spooky gift!
Amina’s Kitchen Secrets for Perfect Haunted Candy Bark (Halloween Chocolate Bark)
Amina once spent an entire afternoon creating a candy masterpiece for a friend’s birthday. She discovered that melting chocolate slowly makes all the difference. This Haunted Candy Bark is a simplified version of a treat her family loved back home. It captures that same festive spirit. Amina knows chocolate like the back of her hand. Her passion shines through in every swirl and sprinkle. This recipe is a testament to that.
Gather Your Spooky Ingredients
Let’s get our supplies ready for this fun treat! You’ll need 12 ounces of white chocolate chips. We also need 4 ounces of milk chocolate chips. These form the base of our bark. Grab about 1/2 cup of assorted Halloween candies. Think gummy worms, candy corn, and sprinkles. Chop them into small, bite-sized pieces. This makes them easy to spread. We’ll also use 1/4 cup of candy melts. Get orange and purple ones for drizzling. Lastly, you’ll need edible googly eyes. They add the perfect spooky touch!
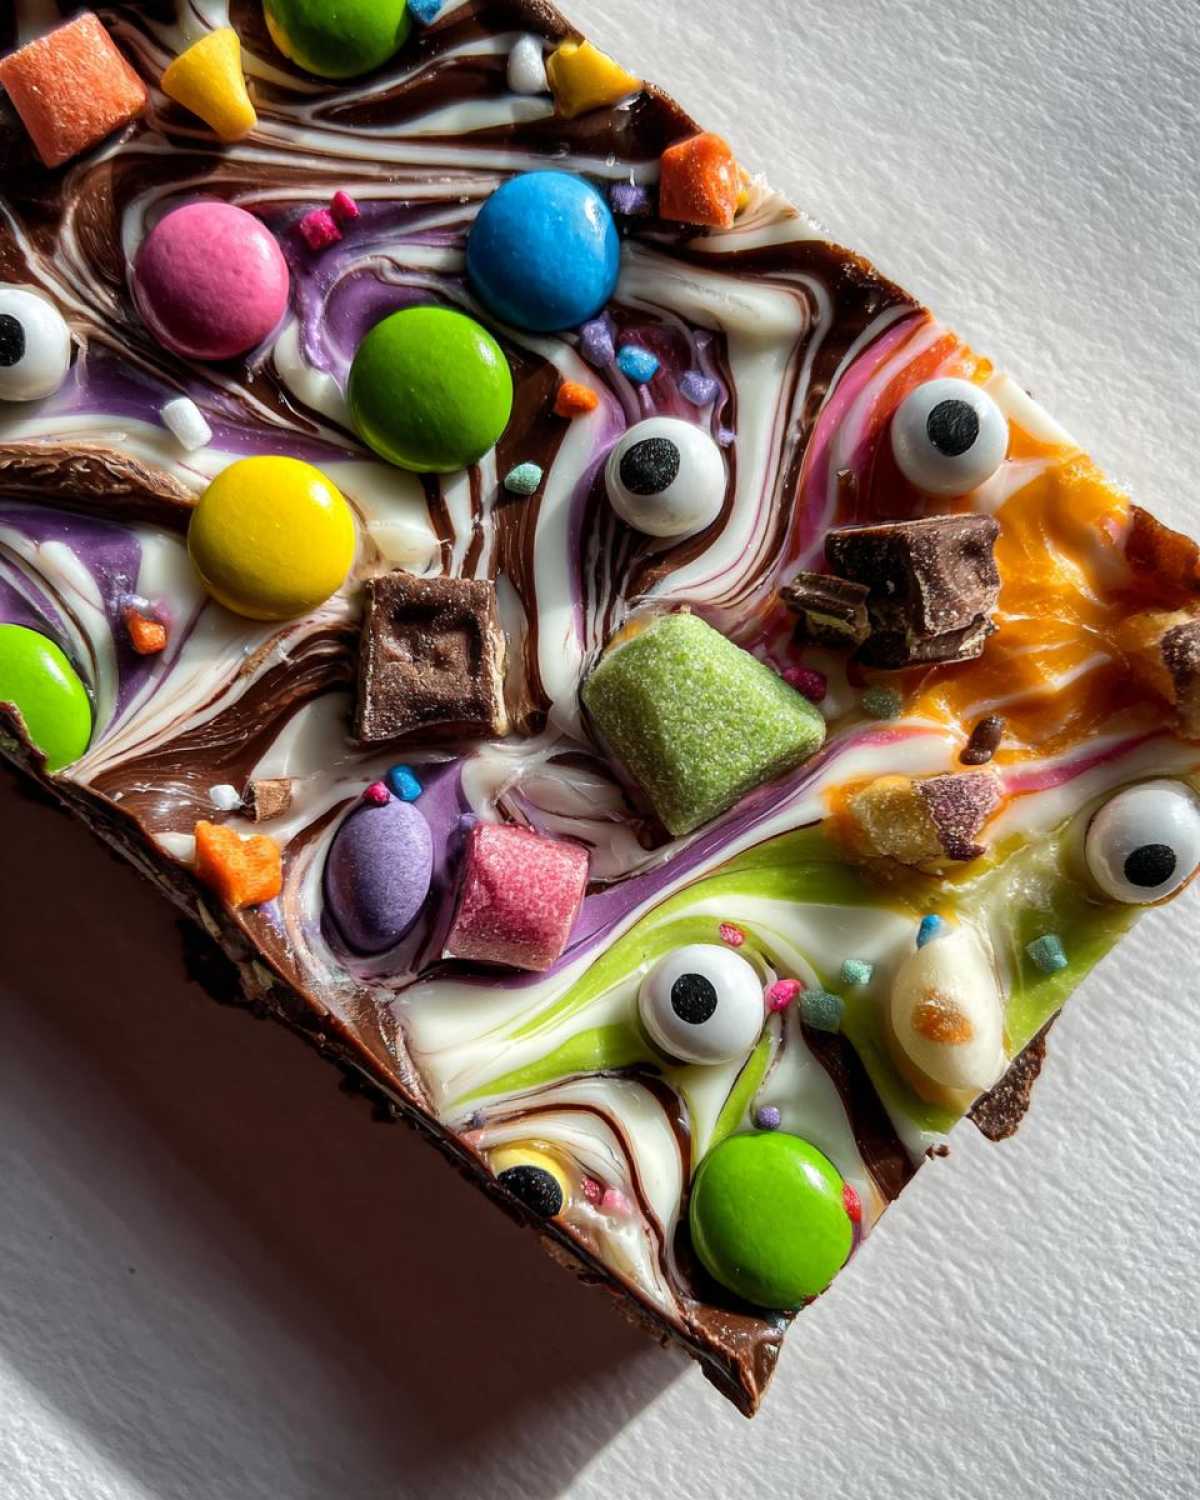
Essential Chocolate Base for Haunted Candy Bark (Halloween Chocolate Bark)
The foundation of our Haunted Candy Bark starts with creamy white and rich milk chocolate chips. These two chocolates work together beautifully. They create a stunning marbled effect when swirled. This base is what makes our bark look so special.
Festive Toppings for Your Haunted Candy Bark (Halloween Chocolate Bark)
Now for the fun part: the toppings! Chop your Halloween candies into small pieces. This helps them stick nicely. The orange and purple candy melts are for drizzling. They add pops of festive color. And don’t forget the edible googly eyes! They give our Haunted Candy Bark that perfectly spooky, slightly creepy look. Get creative with your candy choices!
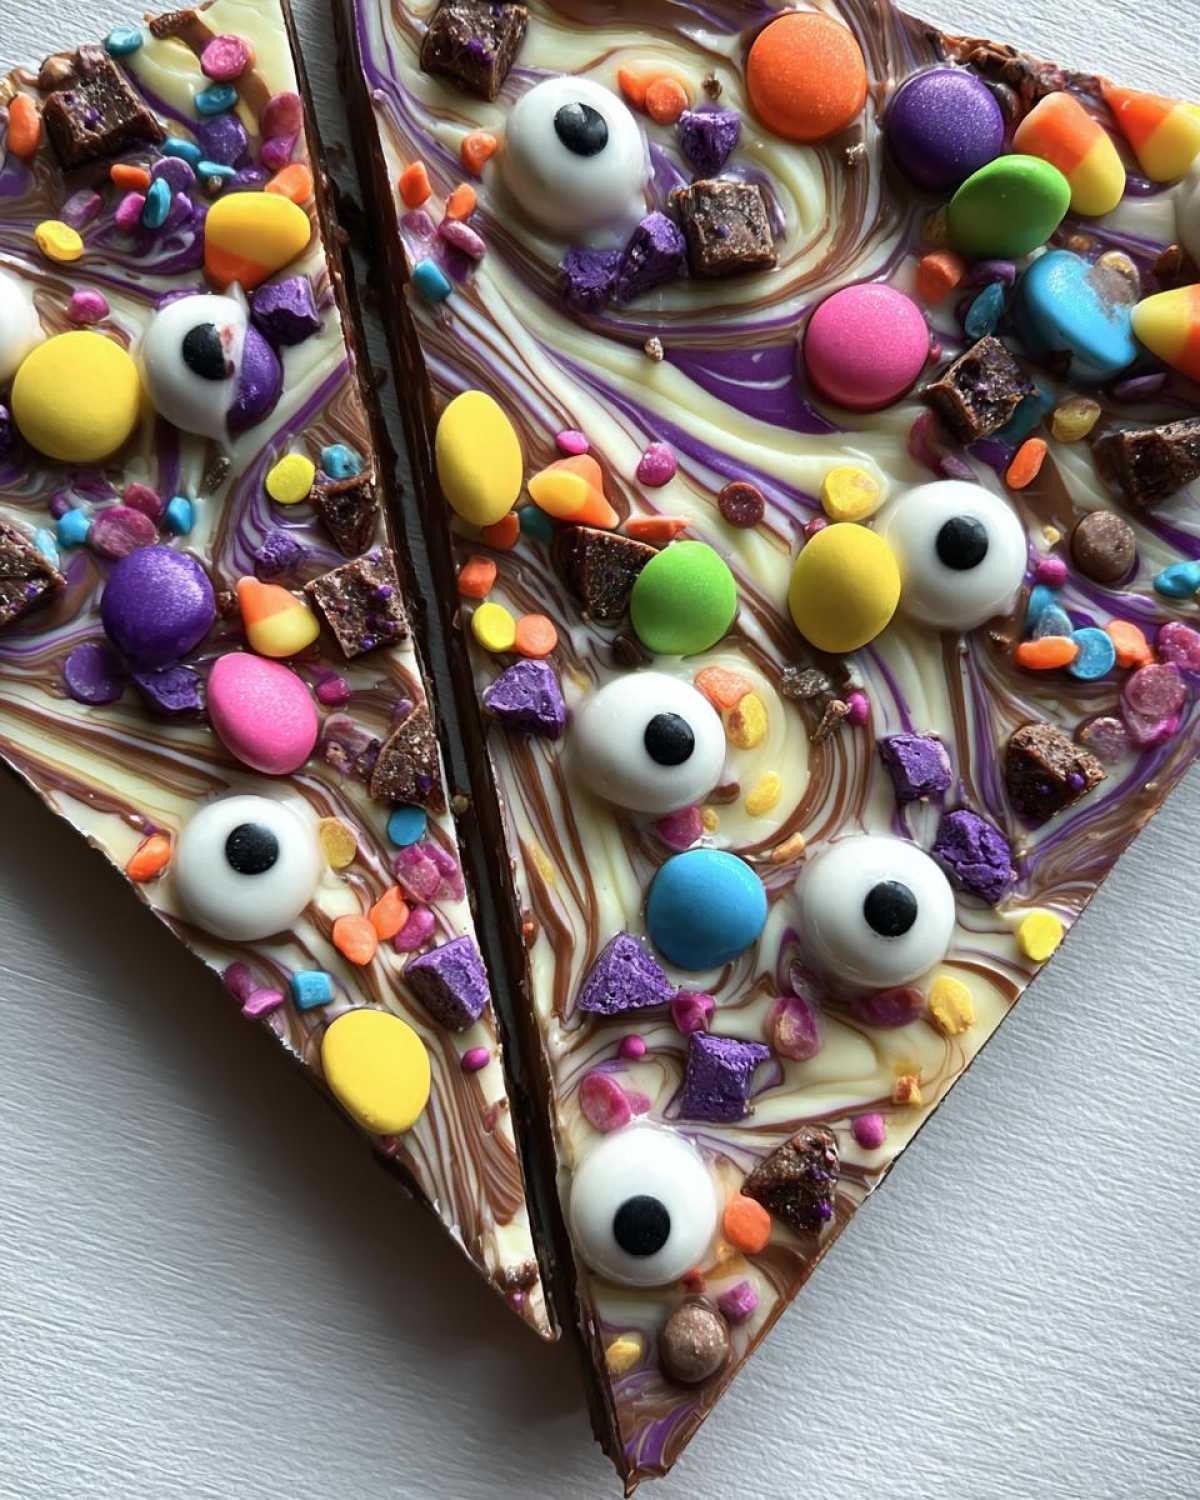
Crafting Your Haunted Candy Bark (Halloween Chocolate Bark)
Let’s get our hands a little messy and create some magic! First, line a baking sheet with parchment paper. This stops our spooky creation from sticking. Grab a microwave-safe bowl. Add your white chocolate chips. Melt them in 30-second bursts. Stir well after each burst. Do the same for the milk chocolate chips in a separate bowl. Pour the melted white chocolate onto the parchment paper. Spread it out evenly. It should be a smooth, white canvas. Now, drizzle the melted milk chocolate right over the white chocolate. Grab a toothpick or a skewer. Gently swirl the two chocolates together. You want a cool marbled pattern. Don’t over-swirl! Immediately sprinkle your chopped Halloween candies and those fun edible googly eyes onto the chocolate. They need to stick while it’s still wet. Melt your orange and purple candy melts separately. Drizzle these colors over the bark in thin lines. Use your toothpick again. Gently swirl these colors in for an extra spooky design. Pop the whole baking sheet into the fridge. Let it chill for at least 30 minutes. Wait until the chocolate is totally firm. Then, break the bark into fun, irregular pieces. It’s ready to spook!
Melting Chocolate Like a Pro
Melting chocolate can seem tricky, but it’s simple. Always use a microwave-safe bowl. Heat in short bursts, like 30 seconds. Stir between each burst. This prevents scorching. Amina always says patience is key here. Keep stirring until it’s super smooth and silky. This ensures a perfect base for our Haunted Candy Bark.
Creating the Spooky Swirls
Achieving those cool swirls is easier than you think! After drizzling the milk chocolate over the white, use a toothpick. Drag it through the chocolates in wavy lines. Then, drizzle the candy melts. Swirl those colors in too, but be gentle. You want distinct patterns, not a muddy mess. This makes our Halloween Chocolate Bark look truly haunted.
Decorating Your Haunted Candy Bark (Halloween Chocolate Bark)
Add your toppings right after swirling. The chocolate is still soft. This helps everything stick perfectly. Press the candies and googly eyes gently into the chocolate. They won’t slide off. This ensures your Haunted Candy Bark looks amazing.
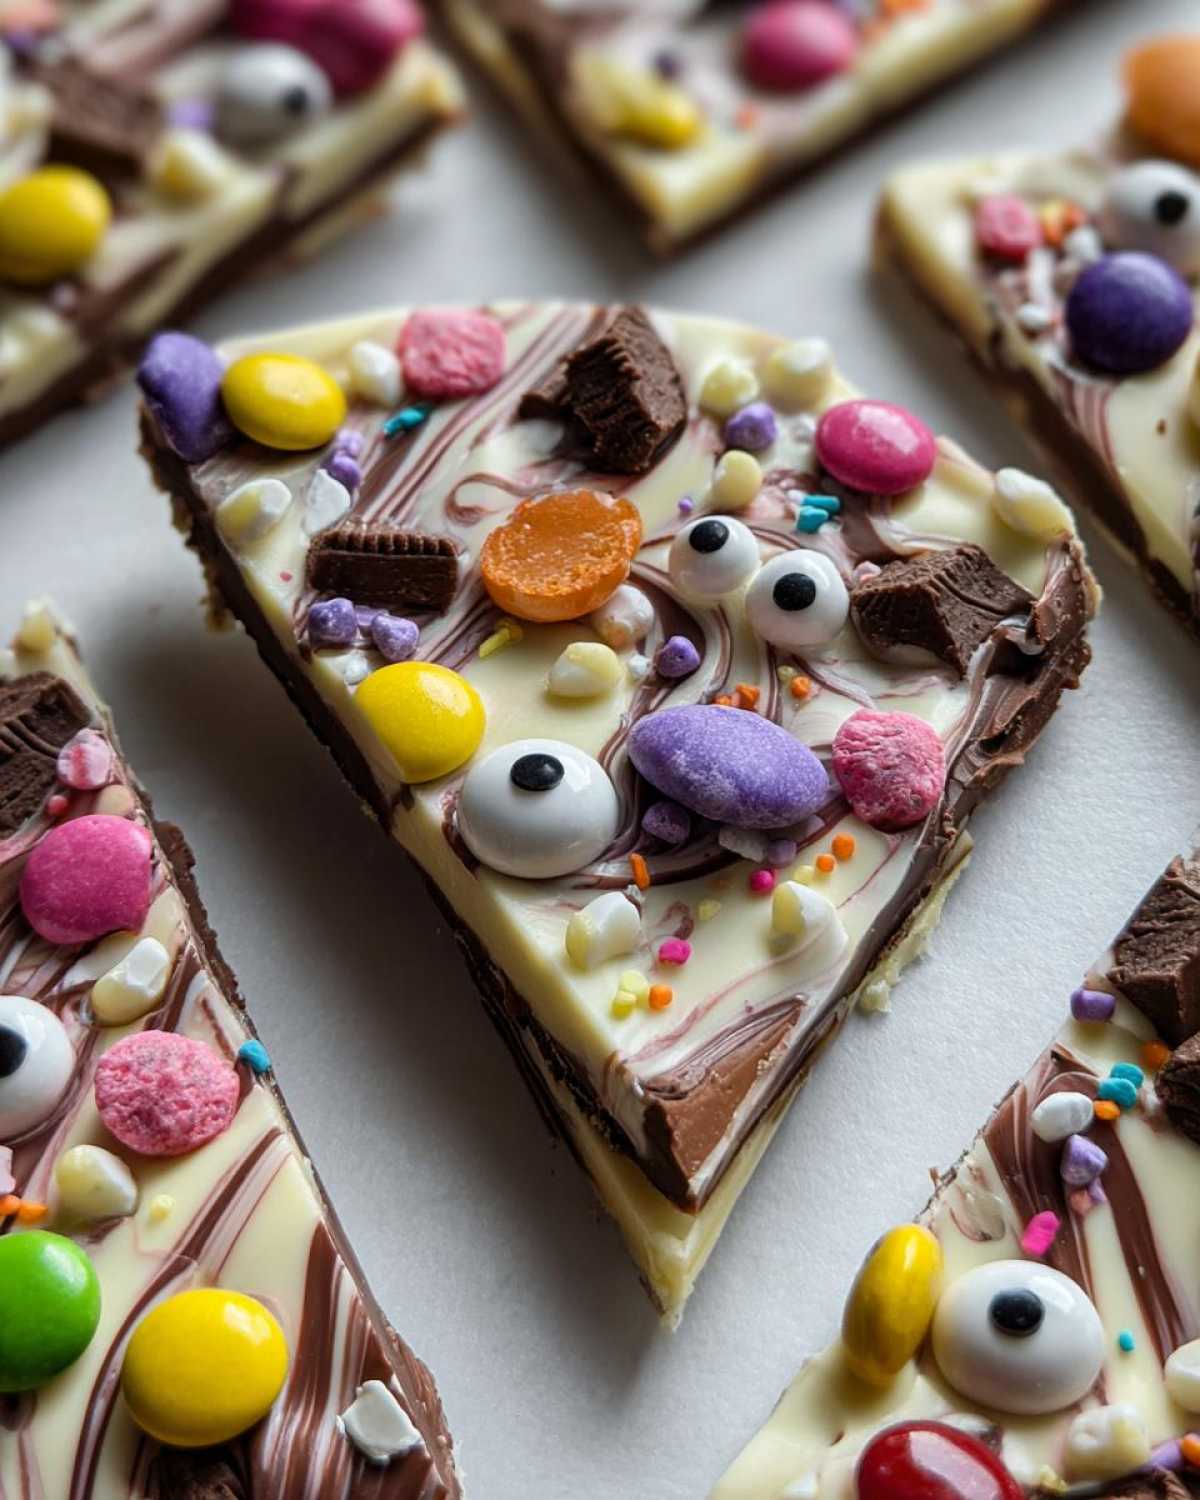
Storing and Serving Your Haunted Candy Bark
Once your spooky creation is firm, you’ll want to keep it fresh. Store your Haunted Candy Bark in an airtight container. This keeps it from melting and maintains its crispness at room temperature. It’s perfect for making ahead of parties. You can also package it up! Wrap pieces in cellophane bags. Tie them with festive ribbon. It makes a wonderfully unique Halloween gift. Everyone will love this easy Halloween treat!
Frequently Asked Questions About Haunted Candy Bark (Halloween Chocolate Bark)
Have questions about this fun, easy Halloween treat? You’ve come to the right place! We’ve gathered some common queries about our no-bake candy favorite.
Can I use different types of chocolate for my Haunted Candy Bark?
Absolutely! Feel free to swap out the white and milk chocolate. Dark chocolate chips work wonderfully too. You can even use a mix of your favorites. Just remember to melt each type separately.
How do I get my Haunted Candy Bark to break into nice pieces?
The key is patience! Make sure your chocolate is completely set before you try breaking it. If it’s still a bit soft, it will bend rather than snap cleanly. Once fully chilled and firm, give it a good whack on a hard surface. This creates those perfectly imperfect, spooky pieces.
Can I make this festive chocolate ahead of time?
Yes, you totally can! This Haunted Candy Bark is perfect for making a day or two in advance. Just store it properly in an airtight container. It won’t lose its charm or flavor. It’s a great make-ahead option for busy Halloween days.
Nutritional Estimate for Haunted Candy Bark (Halloween Chocolate Bark)
Please remember these are just estimates! Nutritional values can change based on the specific brands and types of candies you use in your Haunted Candy Bark. The information below is based on a serving size of about 1 ounce.
Calories: 150
Sugar: 15g
Sodium: 10mg
Fat: 9g
Saturated Fat: 5g
Carbohydrates: 18g
Protein: 2g
Share Your Haunted Candy Bark Creations!
We absolutely love seeing your kitchen magic! Did you make our Haunted Candy Bark? Share your spooky photos and any fun variations you tried in the comments below. We’d be thrilled to see your creations! Don’t forget to rate this easy Halloween treat. Share the festive fun on social media too!
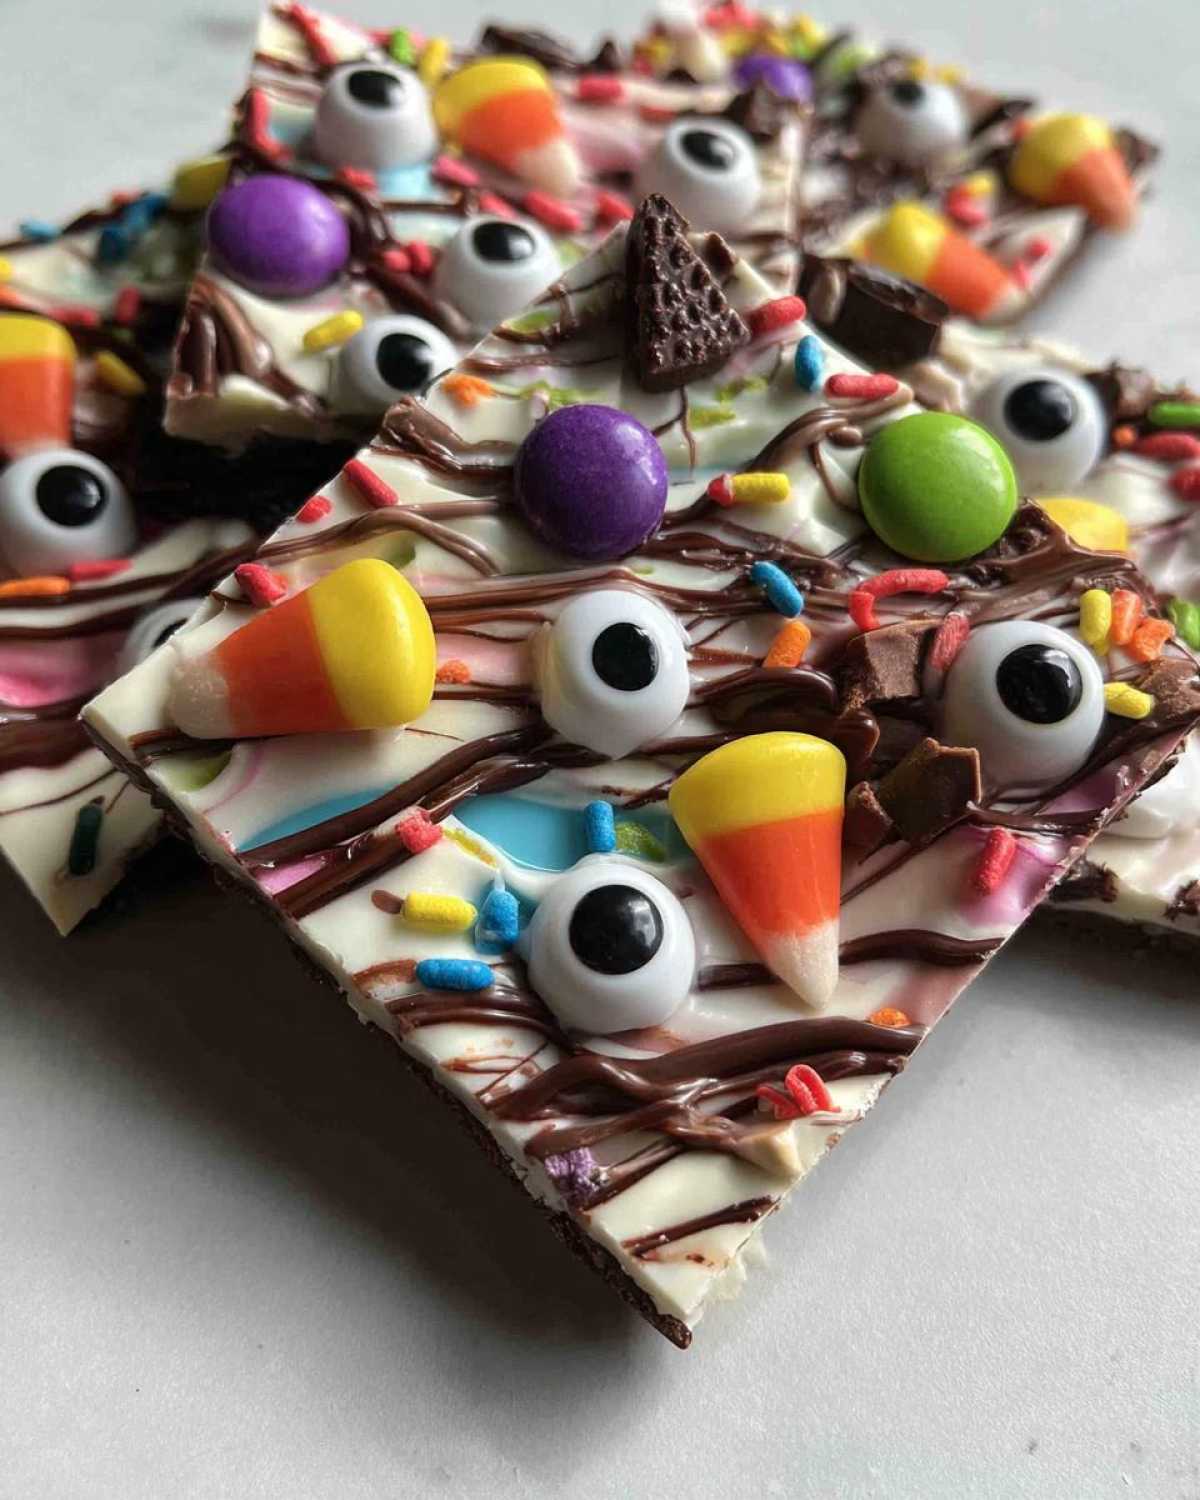
Spooky & Simple: 1 Haunted Candy Bark Recipe

Create a spooktacular Halloween treat with this easy Haunted Candy Bark. This no-bake recipe swirls colorful chocolate melts and is topped with an assortment of Halloween candies and googly eyes for a festive and fun confection.
- Prep Time: 15 minutes
- Cook Time: 5 minutes
- Total Time: 50 minutes
- Yield: 10-12 servings
- Category: Dessert
- Method: No-Bake
- Cuisine: American
- Diet: Vegetarian
Ingredients
- 12 ounces white chocolate chips
- 4 ounces milk chocolate chips
- 1/2 cup assorted Halloween candies, chopped (e.g., gummy worms, candy corn, sprinkles)
- 1/4 cup candy melts in orange and purple
- Edible googly eyes
Instructions
- Line a baking sheet with parchment paper.
- Melt the white chocolate chips in a microwave-safe bowl in 30-second intervals, stirring between each, until smooth.
- Melt the milk chocolate chips in a separate microwave-safe bowl in 30-second intervals, stirring between each, until smooth.
- Pour the melted white chocolate onto the prepared baking sheet and spread it into an even layer.
- Drizzle the melted milk chocolate over the white chocolate.
- Using a toothpick or a skewer, swirl the two chocolates together to create a marbled effect.
- Immediately sprinkle the chopped Halloween candies and edible googly eyes over the swirled chocolate.
- Melt the orange and purple candy melts separately according to package directions. Drizzle the melted candy melts over the bark in thin lines.
- Use a toothpick to gently swirl the candy melt colors into the chocolate for a spooky design.
- Place the baking sheet in the refrigerator for at least 30 minutes, or until the chocolate is completely set.
- Once firm, break the bark into irregular pieces.
Notes
- You can use any combination of chocolates and candies you like.
- Ensure the chocolate is completely set before breaking it into pieces.
- Store the candy bark in an airtight container at room temperature.
Nutrition
- Serving Size: 1 ounce
- Calories: 150
- Sugar: 15g
- Sodium: 10mg
- Fat: 9g
- Saturated Fat: 5g
- Unsaturated Fat: 4g
- Trans Fat: 0g
- Carbohydrates: 18g
- Fiber: 1g
- Protein: 2g
- Cholesterol: 10mg