

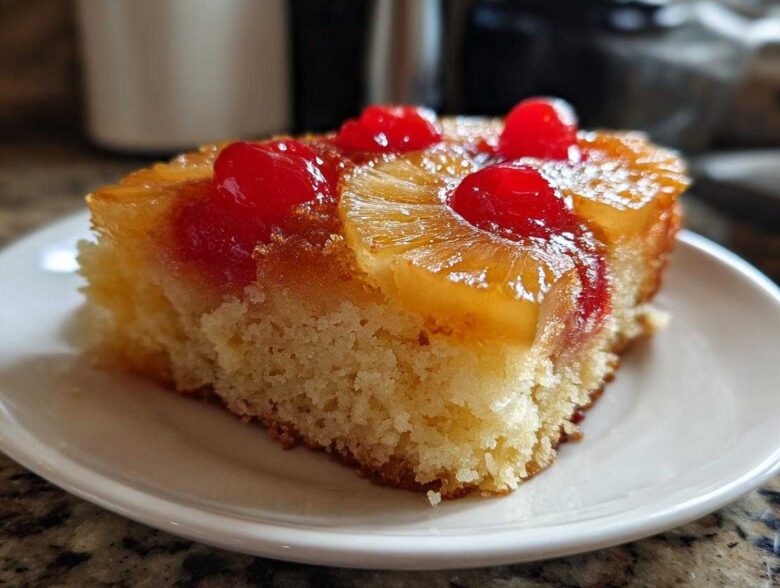
Oh, friends, let me tell you—there is nothing that brings me back to simpler, happier times quite like the sight of a pineapple upside down cake coming out of the oven. It’s pure, golden nostalgia on a plate. Amina and I first started recreating this retro dessert when we moved here; making it felt like bringing a piece of home into our new kitchen. The whole reason we perfected this recipe is to give you a truly moist pineapple upside down cake, topped with a layer of buttery, dark brown sugar caramel that absolutely oozes flavor. If you want to know more about how we started this adventure, you can always visit the About Us page. Trust me, this from-scratch classic is going to become your new favorite centerpiece!
Why This Classic Pineapple Upside Down Cake Recipe Works (Expert Tips)
Okay, so you’re probably thinking, “It’s just pineapple and cake, what’s the big deal?” Well, I’m here to tell you, the magic is all in the details! Amina and I spent ages tinkering with this one because we absolutely refuse to serve anything dry. When you follow these steps, you aren’t just making a cake; you are engineering the perfect tropical bite. We need that topping to be gooey and that cake to be tender, not tough. That’s how we build trust in the kitchen!
Achieving the Perfect Caramelized Pineapple Cake Topping
The topping is the star, right? We don’t mess around here. We melt the butter and then gently dissolve the brown sugar right in the pan—it needs to be hot when it hits the metal! This creates that thick, gorgeous syrup that bubbles up around the fruit perfectly. This step is what makes it a proper Caramelized Pineapple Cake. Don’t skip warming up that butter and sugar blend; it sets the stage for that incredible golden crust.
Tips for a Truly Moist Pineapple Upside Down Cake
For real moisture, we utilize every drop of that lovely canned fruit! After arranging your fruit, make sure you reserve some of that sweet pineapple juice. We mix that reserved juice right into our milk before adding it to the batter. That little splash of acidity and sweetness works wonders! But the biggest secret to a Moist Pineapple Upside Down Cake is not touching the mixer once the flour goes in. Just whisk until you see no dry streaks, and then stop! Seriously, overmixing is the enemy of tenderness.
Ingredients for the Ultimate Homemade Pineapple Upside Down Cake
Okay, here’s the lineup for your Pineapple Upside Down Cake Recipe. I always lay everything out before I even turn on the stove. It keeps me organized, and honestly, it stops me from forgetting that crucial little bit of vanilla! We need two sets of ingredients here: the topping layer, which is all about that sticky goodness, and the actual cake batter holding everything up.
For that caramel layer that makes us weak in the knees, you’ll need:
- 1/2 cup unsalted butter, softened (the first half!)
- 3/4 cup packed light brown sugar
- 1 (20 ounce) can pineapple slices in juice, drained (make sure you keep that juice!)
- 14 maraschino cherries, drained
Now, for the cake itself, it’s all about getting that beautiful, buttery crumb:
- 1 1/2 cups all-purpose flour
- 1 1/2 teaspoons baking powder
- 1/2 teaspoon salt
- 1/2 cup unsalted butter, softened (the second half!)
- 3/4 cup granulated sugar
- 2 large eggs
- 1 teaspoon vanilla extract
- 1/2 cup milk
- 1/4 cup reserved pineapple juice
Step-by-Step Instructions for Your Pineapple Upside Down Cake Recipe
Now that you have your ingredients lined up, let’s get baking! This process moves pretty fast once you start, so make sure your workstation is ready to go. Remember, this is the famous Pineapple Upside Down Cake Recipe, and the key to success is loving every step, especially the part where we flip it! If you want to see another one of our favorite fruit bakes, check out our recipe for easy classic apple cobbler.
Preparing the Caramel Base and Fruit Arrangement
First things first: crank that oven up to 350°F (that’s 175°C). Here’s a tip from Amina: don’t grease your 9-inch round pan! We want that caramel to grip the sides a bit when it cools. Get that first 1/2 cup of butter melted down in a small saucepan, then stir in the brown sugar until it’s almost syrupy. Pour that immediately into the bottom of your ungreased pan and spread it around. Next, get artistic! Lay out your drained pineapple rings—one cherry goes right in the middle of each ring, and the rest fill in the empty spots around the edges. Beautiful!
Mixing the Buttery Pineapple Cake Batter
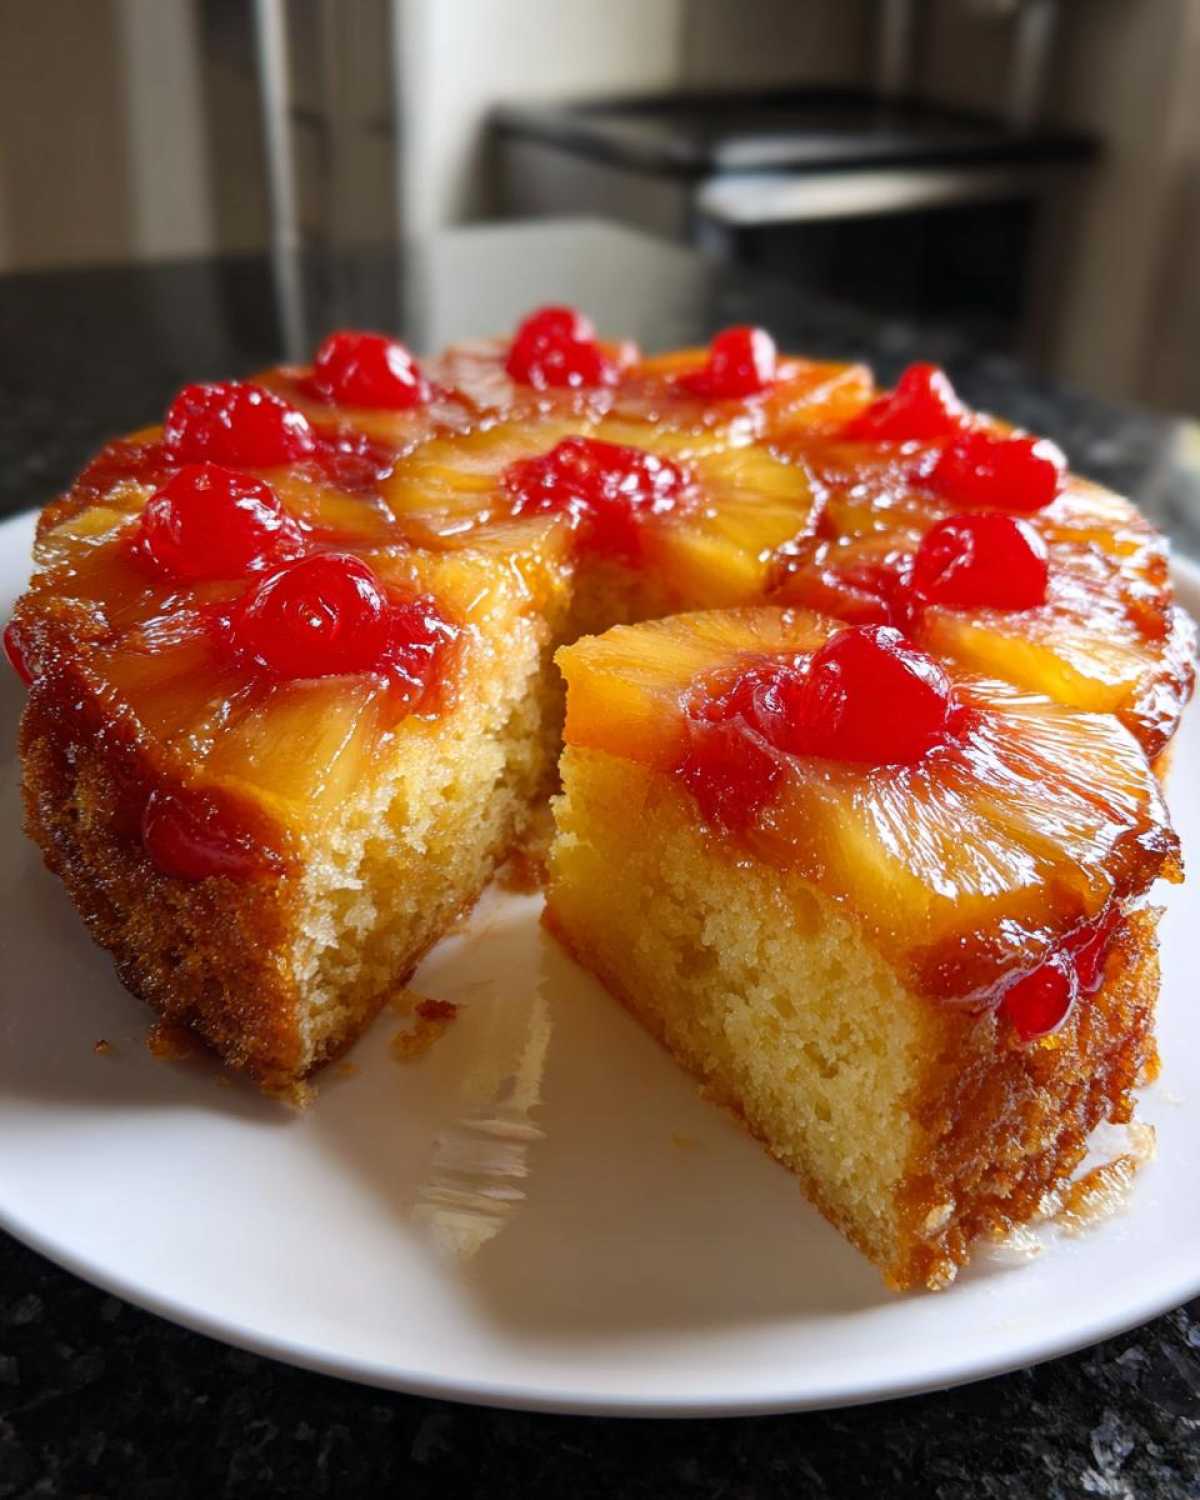
While your pan is getting ready, let’s make the cake! In one bowl, whisk your dry stuff (flour, baking powder, salt) and set it aside. In your big mixing bowl, we need to cream that remaining 1/2 cup of softened butter with the granulated sugar until it looks pale and dreamy. Beat in those eggs one by one—don’t rush them! Mix your milk with the reserved pineapple juice for your liquid. Now, slow and steady wins the race: add the dry mix and the juice mix alternately, starting and ending with the dry ingredients. Don’t overmix, or you’ll lose that tender texture we want in our Buttery Pineapple Cake!
Baking and the Critical Inversion of the Pineapple Upside Down Cake
Gently spoon that beautiful batter right over your fruit layer—try not to knock those lovely cherries loose! Bake it for about 35 to 40 minutes until a toothpick comes out clean. But listen close—this next part is vital! Pull the cake out and let it cool for exactly five minutes on a rack. Not four, not six. Five! Then, grab your serving plate, place it upside down over the pan, and—WHOOSH! Flip it quickly! Lifting that pan after exactly five minutes lets the caramel set just enough to release cleanly. If a cherry wanders off, just pop it back with a fork. It’s always worth the little bit of drama!
Variations on the Classic Pineapple Upside Down Cake
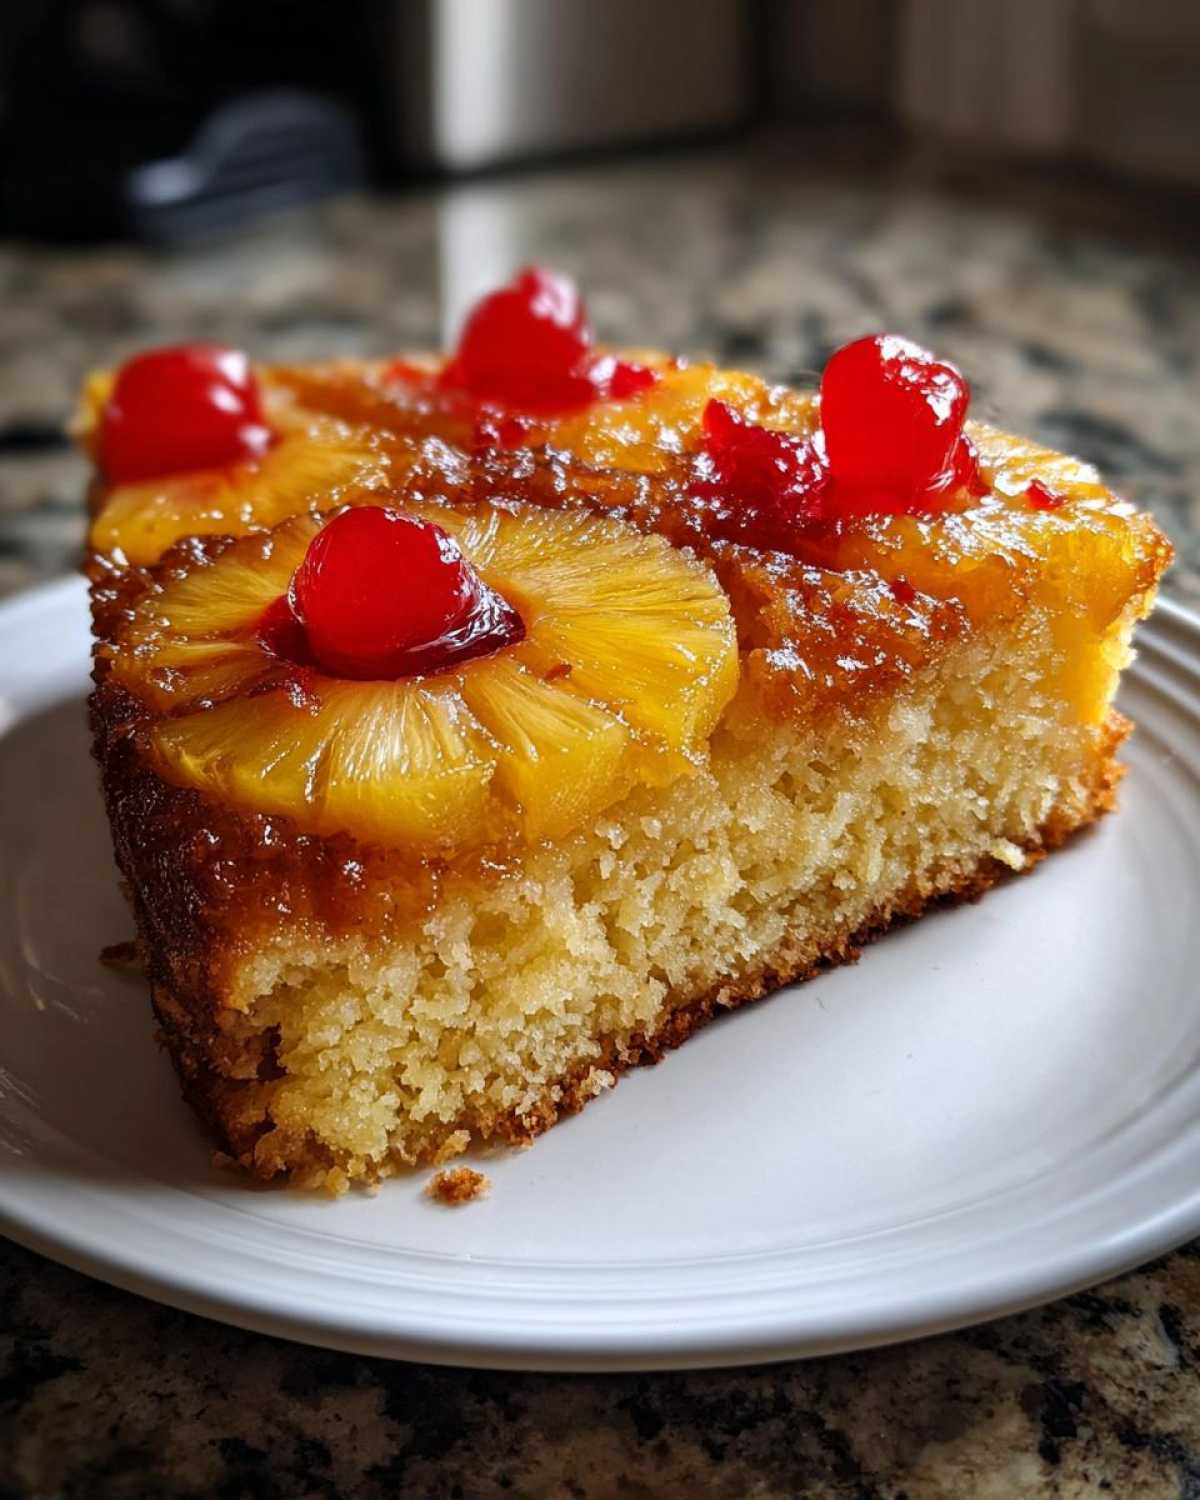
Now, I know some of you might be looking at this big, gorgeous round cake and thinking, “That’s amazing, but I’m having a potluck, not a tea party!” Or maybe you just don’t want to commit to inverting one giant caramelized mess. Don’t worry! This Tropical Cake Recipe is so versatile, and we’ve tinkered with it for smaller batches, too. It’s fun to see how this classic dessert transforms when you change the vessel it bakes in. If you want to see another one of our favorite fruit bakes that’s perfect for sharing, take a look at our moist classic carrot cake recipe!
Making Mini Pineapple Upside Down Cakes or Cupcakes
Going mini is such a fun little twist! If you want to make Mini Pineapple Upside Down Cakes, the main swap is your pan—you’ll use a standard muffin tin. You still need to make that beautiful brown sugar butter base for the bottom of each cup, though! Line those tins with paper liners, put a tiny dollop of the caramel mix in first, then lay a small piece of pineapple ring (or even crushed pineapple) right on top. Then, spoon your batter over that. Bake time drops way down here, usually around 18 to 22 minutes. They look so elegant served up like that!
The Pineapple Upside Down Bundt Cake Approach
If you have a beautiful Bundt pan hanging around, you absolutely should use it for this! A Pineapple Upside Down Bundt Cake makes an incredible presentation centerpiece for any party. The one thing you absolutely must change is your prep. Unlike the round cake pan, which we leave ungreased so the caramel grips, the Bundt pan needs serious help on release. I like to use my homemade cake goop—equal parts shortening, oil, and flour, brushed absolutely everywhere, making sure to hit every crevice. When you do the flip, be patient; let it sit for maybe seven or eight minutes before turning it out, because those grooves require a little extra time for the caramel to loosen up.
Ingredient Notes and Substitutions for Your Pineapple Upside Down Cake
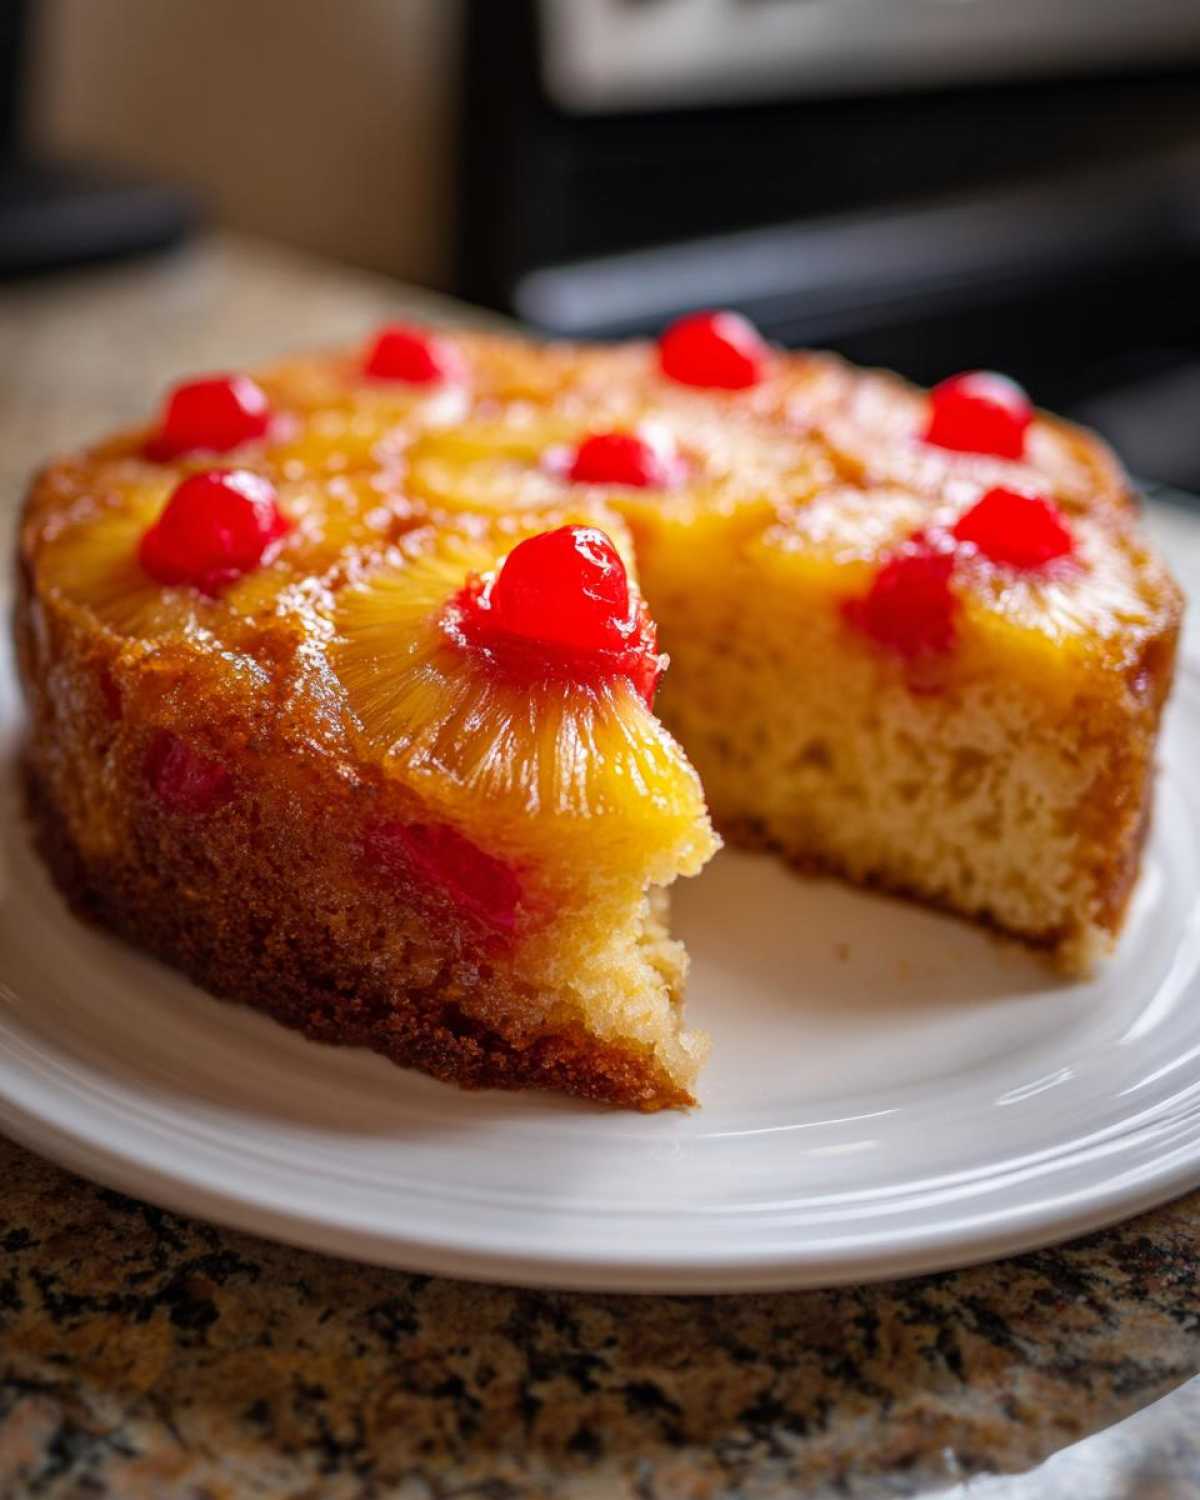
You know, the difference between a good Tropical Cake Recipe and an *unforgettable* one always comes down to the ingredients you choose, and how much you respect them! Since we are making this cake from scratch, we have a little control over the final result. Don’t be afraid to tinker, but please—stick close to the quantities for the core structure. We need this cake to hold up that heavy, gooey topping!
Choosing the Right Pineapple and Cherries
We rely on canned pineapple rings for this recipe, and honestly, I think it’s the best way to go for true retro flavor. Why? Because that canning liquid sets up perfectly when boiled with the brown sugar. If you use fresh pineapple, you might end up with a watery hot mess because fresh fruit releases so much more internal liquid during baking. You really need to drain those rings well—lay them out on a couple of paper towels for five minutes before arranging them. As for the cherries, they have to be the bright, unnaturally red maraschino ones for me. That pop of color against the dark caramel just screams classic fun!
Dairy Swaps for a Buttery Pineapple Cake
The recipe calls for regular milk, which keeps that tender crumb soft, but if you want to take the tang up just a notch and guarantee incredible moisture, I highly suggest swapping the milk for buttermilk. We often do this when we make a batch for ourselves! Buttermilk reacts slightly differently with the baking powder and creates a slightly richer texture—it really deepens the flavor profile of this Buttery Pineapple Cake. Just make sure you use the kind that is actually cultured; if you only have regular milk, you can try adding a teaspoon of white vinegar or lemon juice and letting it sit for five minutes before using it. It’s a neat trick!
Serving Suggestions for this Retro Dessert Ideas
When this **Retro Dessert Ideas** masterpiece comes out of the oven, it deserves the right send-off! Honestly, it’s gorgeous all by itself, especially when you leave it slightly warm. That gooey caramel sets up just right when it hits room temperature. If you want to serve it warm, though—and who wouldn’t?—a scoop of really good vanilla bean ice cream is non-negotiable for me. The cool creaminess melting into that warm pineapple is just heavenly.
For parties, if you aren’t making the mini versions, I love dusting the plate edges with a tiny bit more powdered sugar just for presentation flair. If you want something richer than ice cream, Amina sometimes whips up a quick, fluffy vanilla buttercream, which you can see how to make right here. It’s decadent, but sometimes, you just need that extra layer of sweet!
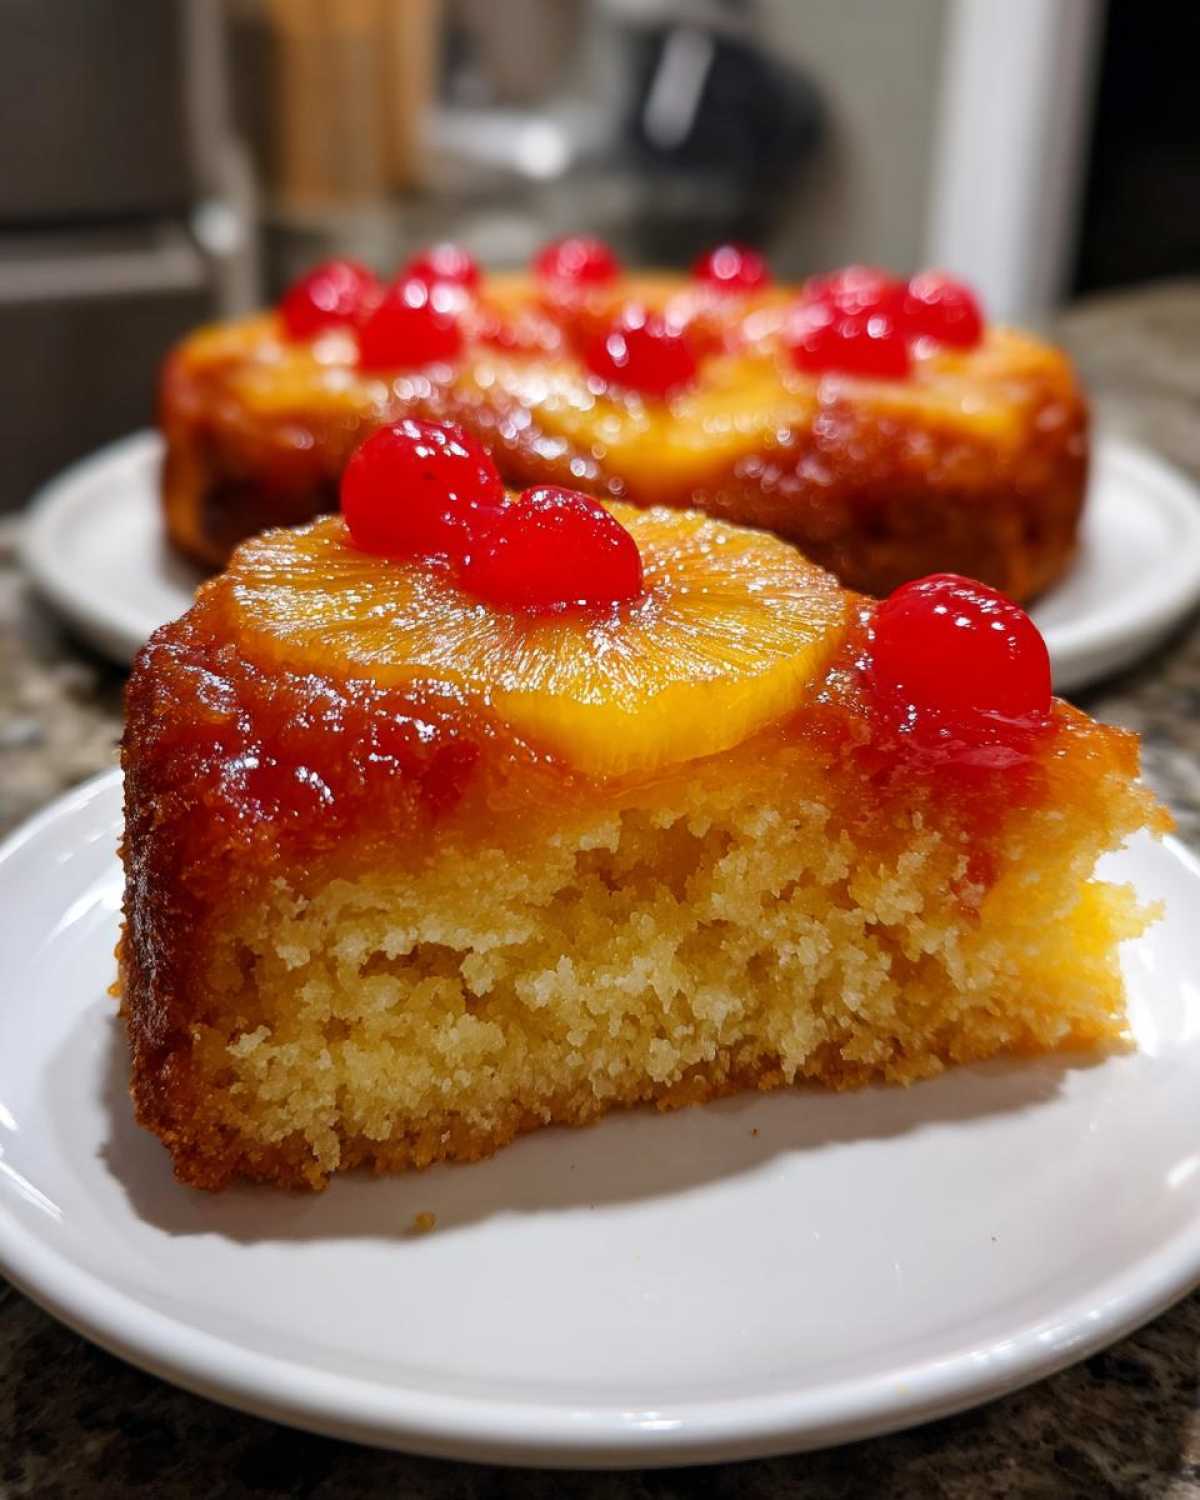
Storage and Reheating Instructions for Pineapple Upside Down Cake
This is one of those cakes you hope people eat quickly because it’s just better when it’s fresh! But if you have leftovers of your beautiful pineapple upside down cake, don’t panic. The main thing to keep in mind is that sticky, caramelized topping. When it cools completely, that caramel gets pretty stiff, and if you stick it in the fridge, the cake part can get a little hard and dry on you.
I always try to keep it on the counter first. Cover the cake loosely with plastic wrap—don’t seal it tight, or the moisture will condense and make the topping soggy. It should be fine at cool room temperature for a day or so. If you absolutely need more time, say, three days or more, then the fridge is your spot. Because of the high sugar content in that topping, it generally holds up okay for a few days, but honestly, the texture is best when it’s closer to room temperature.
When you want to bring leftovers back to life, slow and low is the way to go if you’re reheating a slice. A few seconds in the microwave is okay if you’re desperate, but I prefer popping a slice in a low oven—maybe 300°F—for about 8 minutes. This melts that caramel just enough to soften the cake crumb again. Serve it with a little fresh whipped cream, and nobody will ever know it wasn’t fresh out of the pan!
Frequently Asked Questions About Pineapple Upside Down Cake
We get so many great questions whenever we share this classic recipe! It’s a real conversation starter, that’s for sure. If you have a quick question about making your pineapple upside down cake perfect, chances are someone else was wondering the same thing. Here are the things that pop up most often in our inbox!
Can I make this pineapple upside down cake ahead of time?
You certainly *can* make it ahead, but I always advise against preparing the whole thing more than about 12 hours in advance, especially if you want it to look perfect. Since the topping is super sticky caramel, if you leave it too long, the fruit tends to soak into the bottom layer too much, and it can get a little messy when you flip it. If you must make it early, bake the cake layer, let it cool completely, and keep it covered on the counter. Then, make the hot butter/brown sugar topping right before serving, pour it over the cooled cake, arrange your fruit, and flip it immediately while the caramel is still warm! Don’t forget to check out the blog for other great tips here.
Why is my pineapple upside down cake sticking to the pan?
Ugh, the dreaded sticking! This is usually caused by one of two things when making a classic pineapple cake. First, did you grease the pan? For this specific recipe, we tell you *not* to grease it because we need that brown sugar mix to grab onto the sides so it releases cleanly when flipped. If you greased it, the topping just slides around. Second, timing is everything! If you leave the hot cake in the pan for too long—say, 20 minutes—the caramel hardens like cement onto the metal. You *must* let it cool for that magic 5 minutes so the cake firms up slightly, but the caramel stays liquid enough to flow when inverted!
What is the best way to reheat leftover pineapple upside down cake?
Don’t reach for the microwave first unless you are in a massive rush! That microwave heat turns the cake edge a little tough if you zap it too long. The best way to revive a slice is to use a low oven around 300°F. Pop the slice on a baking sheet for about 7 to 10 minutes. This gently melts the caramel topping back into that gooey sauce we love, and it warms the cake crumb through gently. If you’re looking for another great recipe, you might enjoy this one from Tanya over here. It brings it right back to life!
Nutritional Estimates for This Easy Pineapple Dessert
Alright food friends, let’s talk fuel! We bake to enjoy, not to count every single calorie, but sometimes it’s good to have a rough idea of what’s in our glorious **Easy Pineapple Dessert**. I’m David, and while Amina is the master of the spice balance, I’m the one who tries to estimate the macros!
Please remember, because we’re making this from scratch—using real butter and actual sugar, bless its heart—these numbers are just solid estimates based on the ingredients we used above. If you swap in a lighter butter substitute or use a different sweetener, these figures will change! But for the classic, buttery version laid out in the recipe:
- Serving Size: 1 slice
- Calories: 380
- Sugar: 35g (Yep, that’s the caramel doing its work!)
- Fat: 18g (Hello, beautiful butter!)
- Saturated Fat: 11g
- Carbohydrates: 55g
- Protein: 4g
- Cholesterol: 75mg
It’s a rich, satisfying slice of tropical joy! It’s not exactly health food, but that warm, gooey texture is worth every spoonful. Just enjoy it with a big smile!
Share Your Homemade Pineapple Cake Creations
We put our hearts into sharing this classic pineapple upside down cake recipe with you, and honestly, the best part of running Spoonful Snap is hearing from you all! When you make something this dear to us, we feel like we’re right there in the kitchen with you.
So, after you’ve mastered that perfect flip and enjoyed that warm, gooey caramelized layer, please, come back and tell us how it went! Did you try serving it warm? Did your family love this retro dessert just as much as ours does? Drop your rating below—we live for five stars, but we honestly want to hear your feedback either way. If you took a gorgeous photo of your flipped cake, please consider sharing it on social media and tagging us! You can always reach out directly to Amina and me through our Contact Page if you have any questions or want to share a quick note about your baking adventure. We can’t wait to see your beautiful fruit creations!
PrintClassic Pineapple Upside Down Cake: Moist and Buttery

Make this classic pineapple upside down cake from scratch for a moist, buttery dessert with perfect caramelized pineapple rings. This retro dessert is easy to bake and always a crowd-pleaser.
- Prep Time: 20 min
- Cook Time: 40 min
- Total Time: 60 min
- Yield: 8 servings
- Category: Dessert
- Method: Baking
- Cuisine: American
- Diet: Vegetarian
Ingredients
- 1/2 cup unsalted butter, softened
- 3/4 cup packed light brown sugar
- 1 (20 ounce) can pineapple slices in juice, drained (reserve juice)
- 14 maraschino cherries, drained
- 1 1/2 cups all-purpose flour
- 1 1/2 teaspoons baking powder
- 1/2 teaspoon salt
- 1/2 cup unsalted butter, softened
- 3/4 cup granulated sugar
- 2 large eggs
- 1 teaspoon vanilla extract
- 1/2 cup milk
- 1/4 cup reserved pineapple juice
Instructions
- Preheat your oven to 350°F (175°C). Do not grease your 9-inch round cake pan.
- In a small saucepan over medium heat, melt the 1/2 cup of butter. Stir in the brown sugar until it dissolves slightly and forms a thick syrup. Pour this mixture evenly into the bottom of your ungreased cake pan.
- Arrange the pineapple slices over the brown sugar mixture in the pan. Place one maraschino cherry in the center of each pineapple ring, and place any remaining cherries around the edges.
- In a medium bowl, whisk together the flour, baking powder, and salt. Set this dry mixture aside.
- In a large bowl, cream together the 1/2 cup softened butter and granulated sugar until the mixture is light and fluffy. You want this light and airy for a moist cake.
- Beat in the eggs one at a time, mixing well after each addition. Stir in the vanilla extract.
- In a small bowl, whisk together the milk and the reserved pineapple juice.
- Gradually add the dry ingredients to the wet ingredients, alternating with the milk/juice mixture. Begin and end with the dry ingredients, mixing only until just combined. Do not overmix the batter.
- Gently spoon the cake batter over the pineapple and cherries in the pan, spreading it evenly without disturbing the fruit layer underneath.
- Bake for 35 to 40 minutes, or until a wooden pick inserted into the center comes out clean.
- Remove the cake from the oven and let it cool in the pan on a wire rack for exactly 5 minutes. This short cooling time is key for easy release.
- Place a serving plate upside down over the cake pan. Carefully and quickly invert the cake onto the plate. Lift the pan off the cake. If any topping sticks, gently place the fruit or caramel back onto the cake.
- Let the cake cool completely before slicing and serving.
Notes
- For the best caramelization, ensure your brown sugar mixture is hot when you pour it into the pan.
- If you want a richer flavor, substitute the milk with buttermilk.
- This cake is delicious served warm with a scoop of vanilla ice cream.
Nutrition
- Serving Size: 1 slice
- Calories: 380
- Sugar: 35
- Sodium: 250
- Fat: 18
- Saturated Fat: 11
- Unsaturated Fat: 7
- Trans Fat: 0.5
- Carbohydrates: 55
- Fiber: 1
- Protein: 4
- Cholesterol: 75