

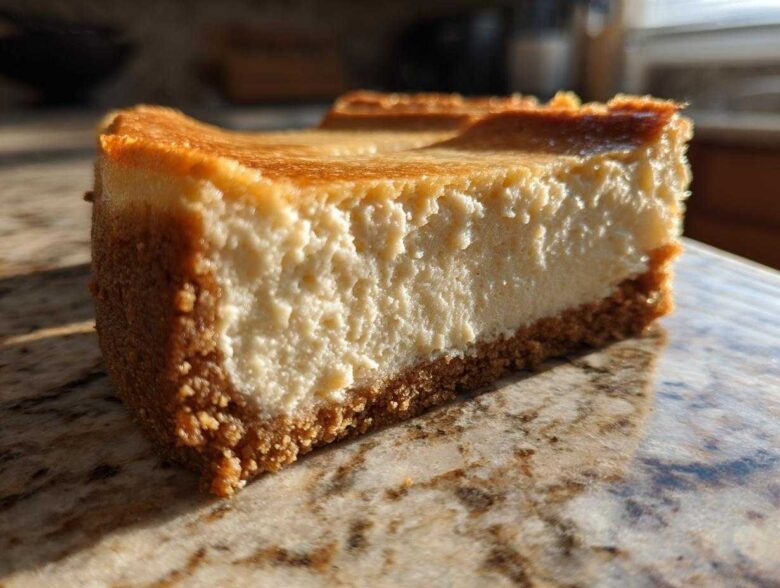
I swear, some days the craving hits you like a truck—you want that rich, creamy, unapologetically decadent slice of cheesecake, but your macros are screaming at you. Amina and I have spent years chasing that perfect balance; how do you get that classic indulgence without blowing the whole day’s prep? Well, friends, after many, many attempts, I finally cracked the code! This Ultimate Healthy Baked Protein Cheesecake is my personal victory lap. It delivers unbelievable texture, the kind that makes you close your eyes when you take the first bite, and it packs a whopping 35 grams of protein per slice! Seriously, finding a true macro friendly cheesecake that tastes this luxurious? That’s the sweet magic we’ve been searching for. Trust me, this is the guilt-free treat you’ve been dreaming about without sacrificing any of that satisfying richness. If you want to explore some of the other wonderful adventures we share in the kitchen, take a peek over at our main blog page at Spoonful Snap!
Why This Baked Protein Cheesecake is Your New Favorite Healthy Cheesecake Dessert
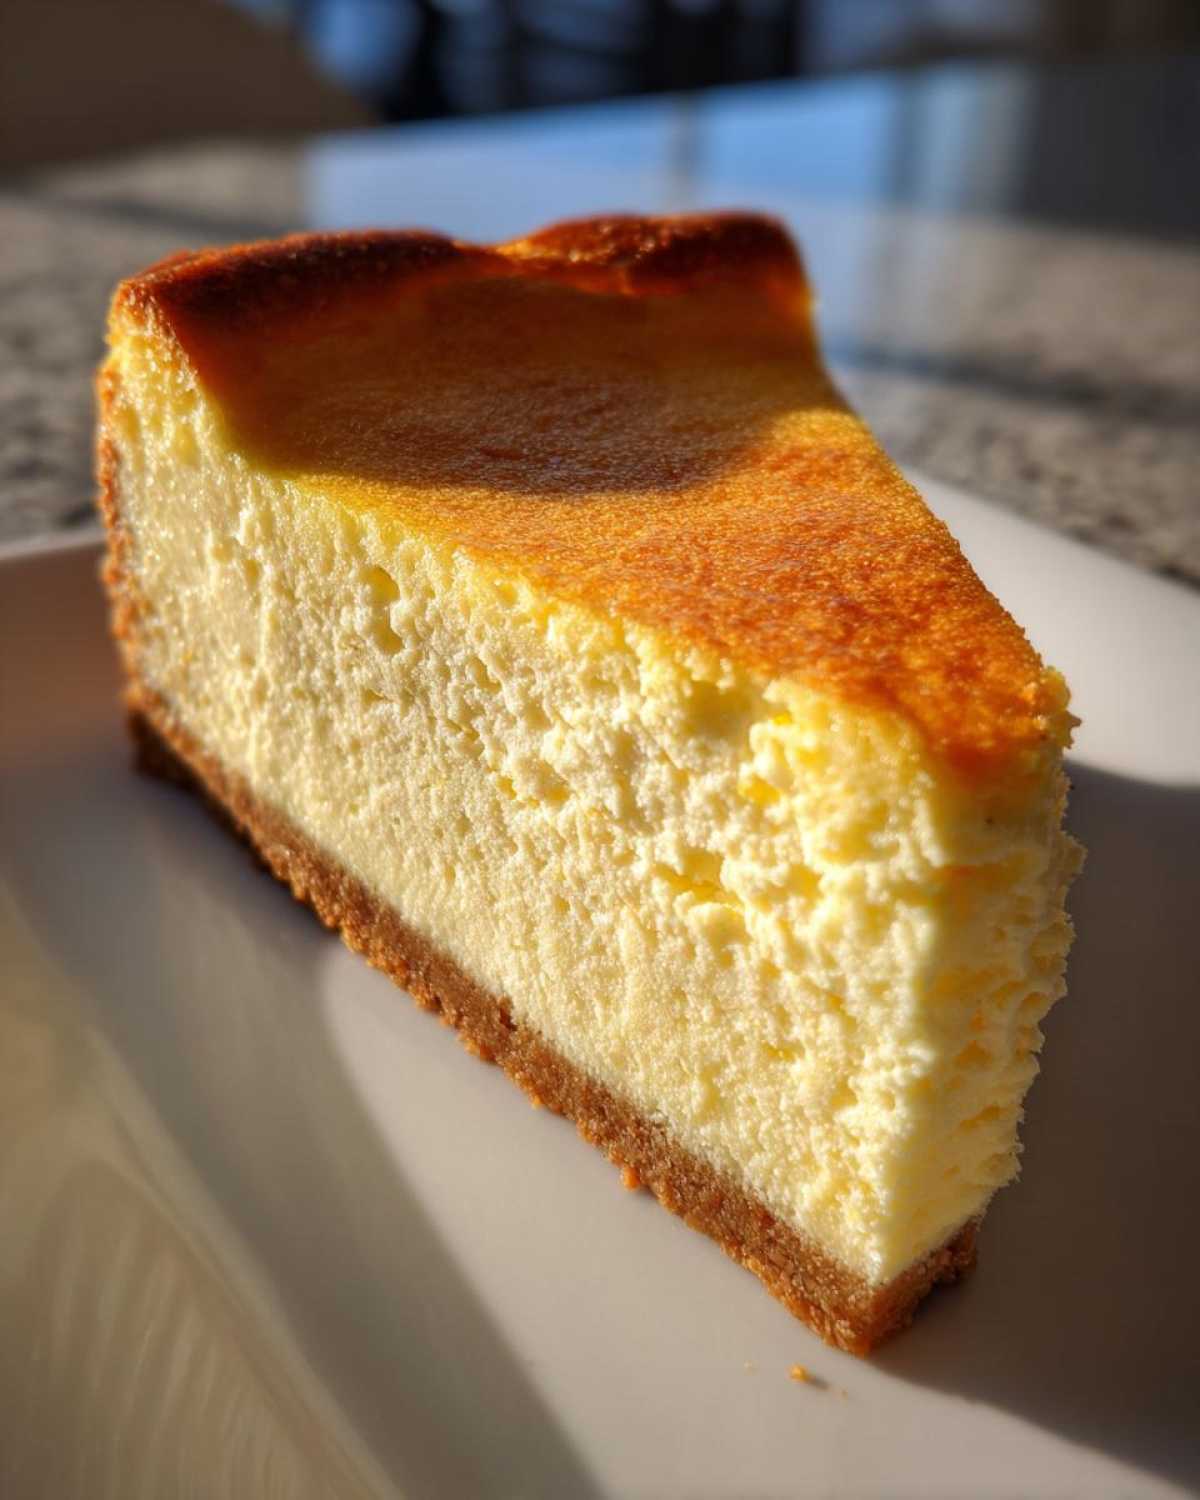
When you look at this recipe, you might think, “No way can that be healthy *and* taste this epic.” I get it! We were skeptical too. But this Healthy Cheesecake Dessert isn’t some weird, chalky imitation. Amina and I worked hard to keep the indulgence factor high while keeping the guilt way down. You get that classic, baked, creamy texture that you just can’t replicate easily, and it checks all the boxes for serious fitness folks. This really is the definition of a macro friendly cheesecake that still feels like a true celebration dessert!
What makes this different from those sad, watery yogurt bowls? Here are the things I absolutely love about it:
- It’s genuinely light! You get that signature dense, velvety mouthfeel, but without all the heavy fat.
- It’s totally sugar free—we use zero-calorie sweeteners, so you can enjoy it any time.
- It holds up beautifully! This is a sturdy slice, perfect for meal prepping.
- Plus, we hit that perfect ratio for anybody tracking their macros!
If you’re looking for other impressive but healthy bakes, check out our recipe for Snickerdoodle Cheesecake—it’s another family favorite that proves fitness food doesn’t have to be boring.
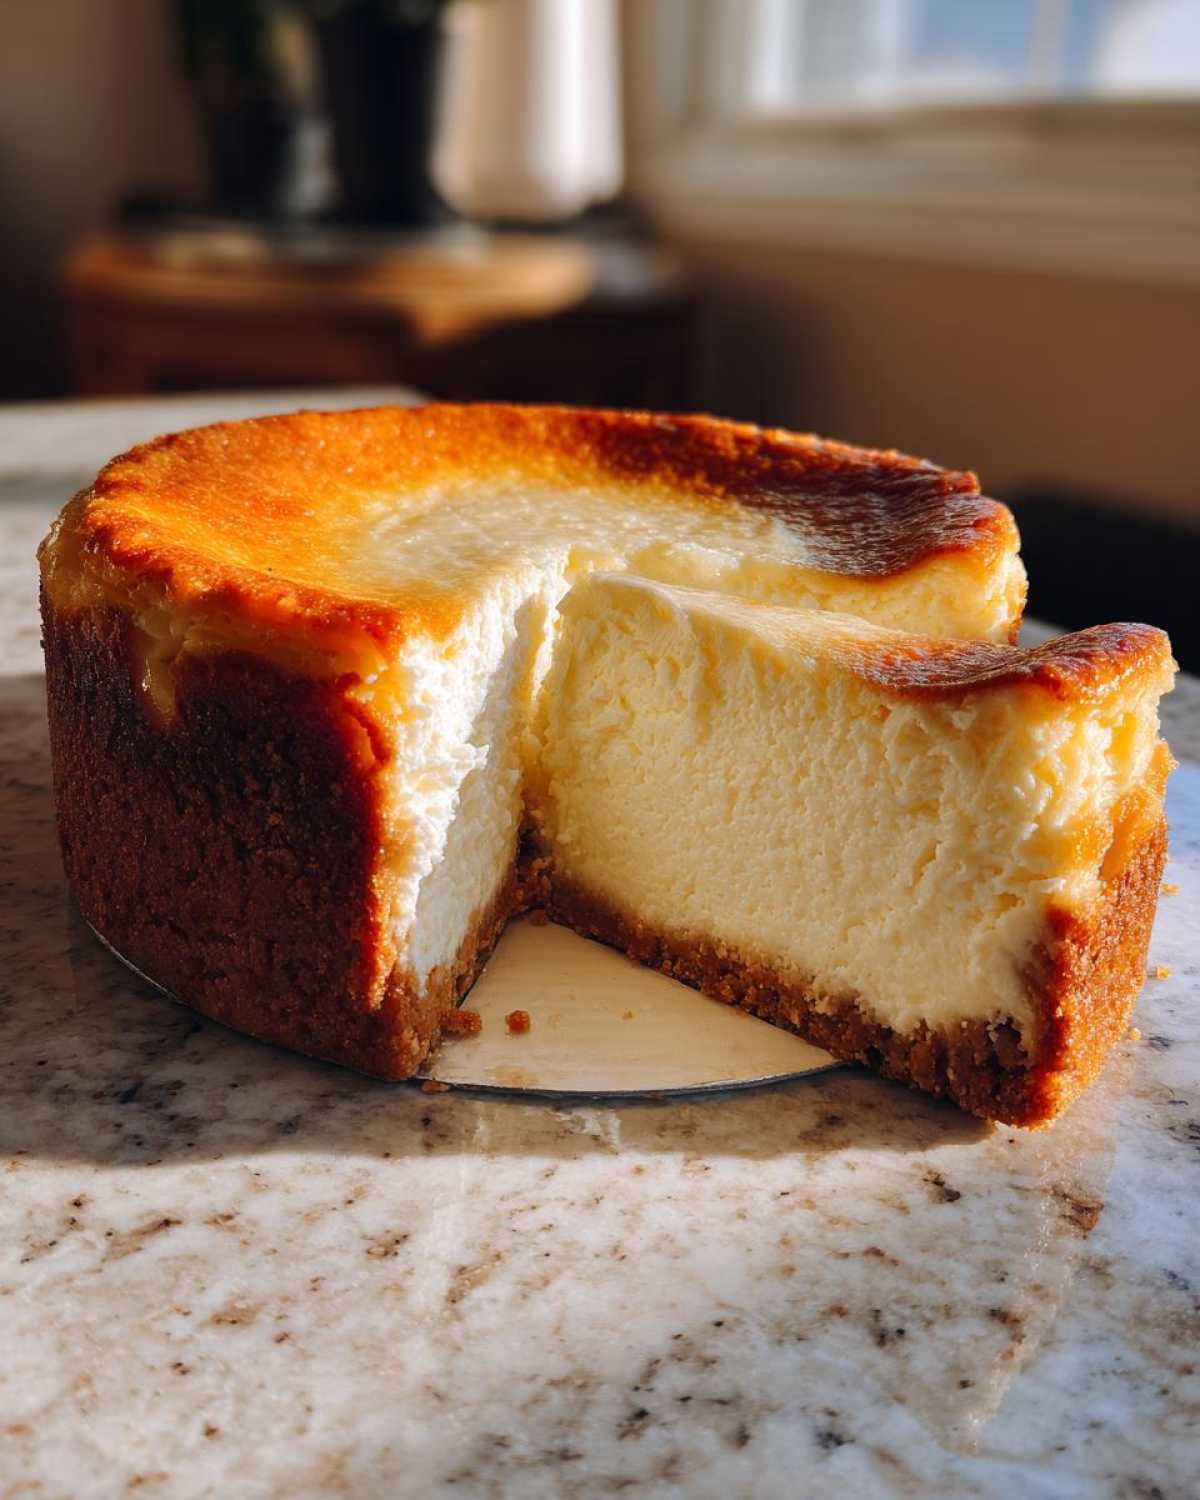
Macro Breakdown: Achieving 35g Protein Per Slice
This is the part that makes me feel like I won the bakery lottery! Getting over thirty grams of protein per slice sounds impossible for a dessert, right? But it’s all in how we build the body of this cheesecake. We rely heavily on three powerhouse ingredients working together.
First, we use drained low-fat cottage cheese. Don’t skip draining it; that’s crucial for the texture! Then, we stack that with non-fat Greek yogurt. That creamy base is already sky-high in protein. Finally, we fold in a high-quality vanilla or unflavored protein powder blend. That combo guarantees you’re getting a fantastic Dessert with High Protein Content that truly supports your goals while satisfying that deep-down craving!
Gathering Ingredients for Your Ultimate Protein Cheesecake
Alright, let’s talk ingredients! Getting the right components is half the battle won, especially when we’re trying to sneak this much protein into something that tastes like pure indulgence. I’ve organized everything into two simple groups—the crust we bake first, and the creamy filling that’s going to blow your mind. Remember, because we are using dairy bases like cottage cheese instead of heavy cream cheese, preparation matters. If you skip the draining step for your cottage cheese, I promise, you’ll get a watery mess, and we absolutely cannot have that!
For those of you who rely on us for more savory meals, like my favorite Cottage Cheese Chicken Salad, you know that proper draining is my soapbox! It’s the non-negotiable step for a firm, perfect Protein Cheesecake.
Crust Components for this Baked Protein Cheesecake
We keep the crust super simple and light so that all the focus stays on that amazing filling. You only need three things here to get that perfect pre-baked base:
- 1 cup (120g) low-fat graham cracker crumbs (If you need it Gluten Free Cheesecake friendly, grab a GF alternative here!)
- 2 tablespoons zero-calorie sweetener (I always use a monk fruit blend!)
- 2 tablespoons melted light butter or coconut oil
Filling Ingredients for a Creamy Protein Dessert
This is where the magic happens! We are layering our protein sources here to get that stunning texture. Look for a blend if you can, because just whey can sometimes be a little springy when baked. My favorite way is using a mix of whey and casein; that combo really locks in that classic structure:
- 16 ounces (450g) low-fat cottage cheese, drained well!
- 8 ounces (225g) non-fat plain Greek yogurt
- 1/2 cup (100g) vanilla or unflavored whey/casein protein powder blend
- 1/2 cup (100g) granulated zero-calorie sweetener
- 1 teaspoon vanilla extract
- 1/4 teaspoon salt
- 2 large eggs (room temperature is best, if you remember!)
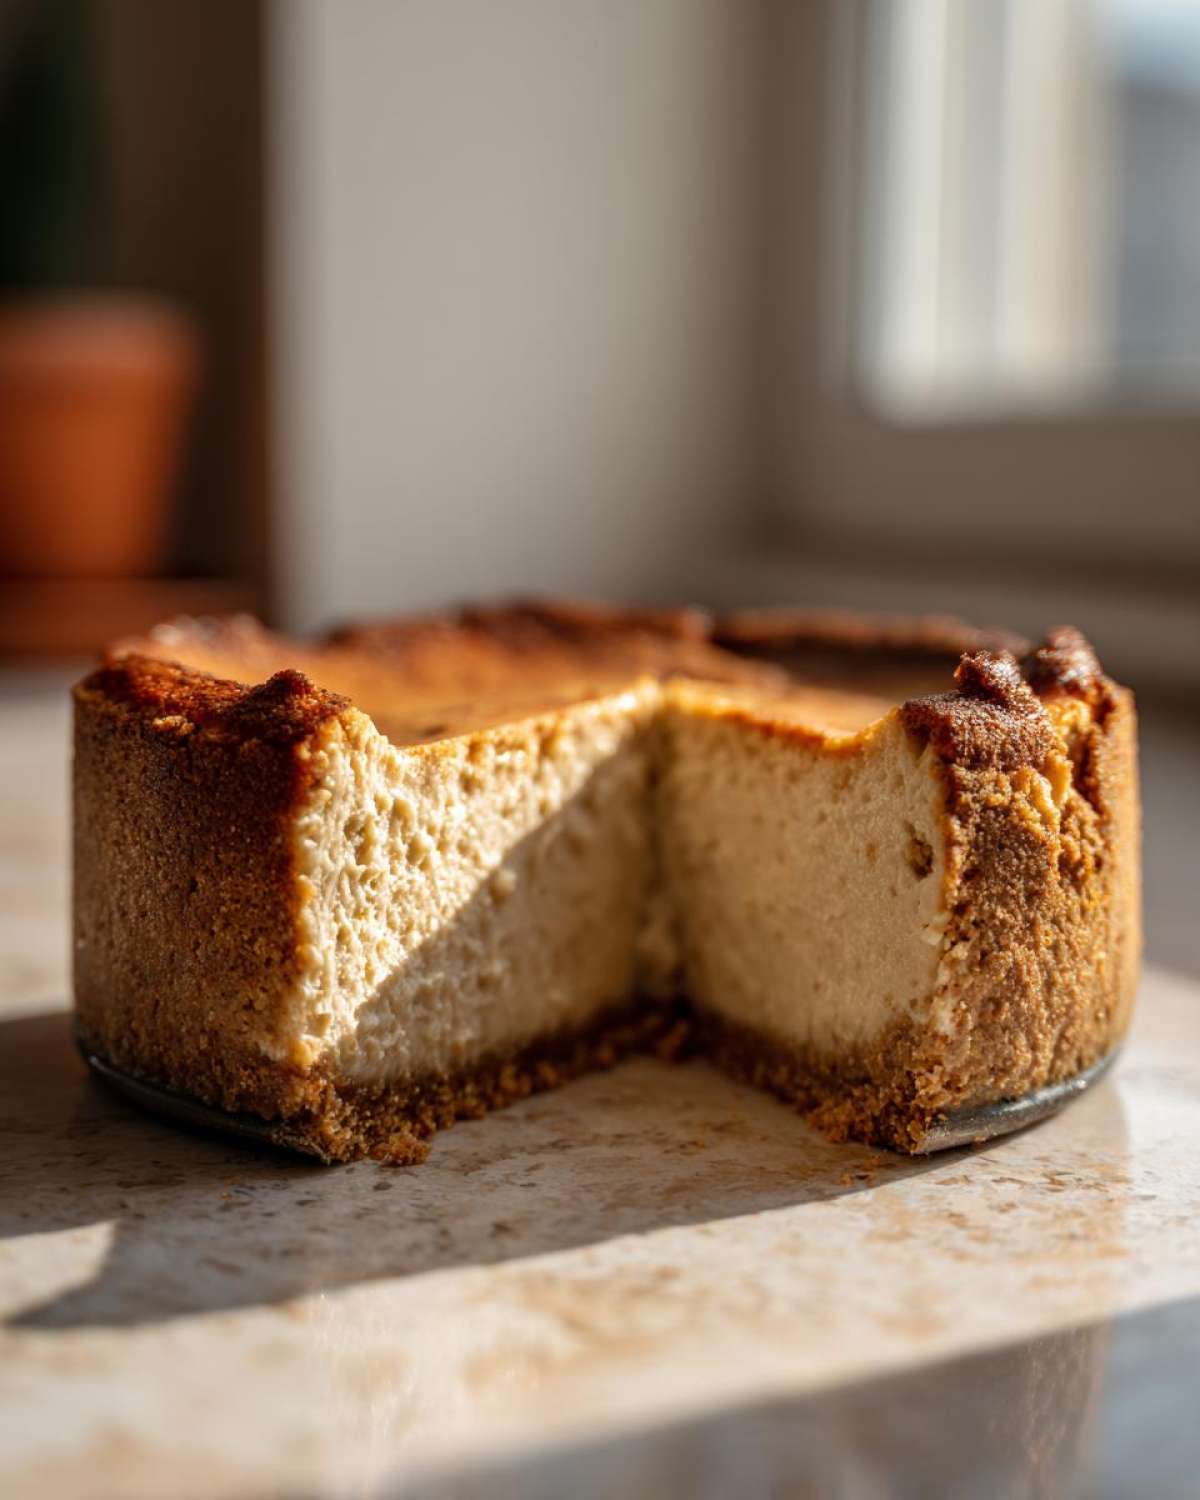
Step-by-Step Instructions for the Baked Protein Cheesecake
Okay, deep breath! Now that we have our fantastic ingredients ready to go, let’s get this Ultimate Healthy Baked Protein Cheesecake into the oven. Baking a cheesecake that’s loaded with dairy and protein powder requires a little more finesse than just dumping everything together. We need structure, but we still need that signature creamy result. Follow these steps closely, and I promise you’ll get that perfect finish without any cracks!
If you want to see another amazing baked dessert that requires a bit of love in the oven, check out my recipe for the Snickerdoodle Cheesecake—it shares this same philosophy of patience!
Preparing the Crust and Preheating
First things first: we need to get that oven ready to welcome our dessert. Preheat to 325°F (160°C). While that’s heating up, grab your 7-inch springform pan. I always grease mine lightly and then cut a circle of parchment paper to fit the bottom snugly. This is my insurance policy against sticking!
Now, mix up the crust ingredients—crumbs, two tablespoons of sweetener, and melted butter—until it looks like wet sand. Press it down firmly into the bottom of that prepared pan. We only bake this crust for 8 minutes, just to set it up nicely before the filling goes on. Once it’s done that short bake, pull it out and let it breathe while you tackle the filling.
Achieving a Smooth Filling for Your Protein Cheesecake
This is the secret step that makes this a true Creamy Protein Dessert! Take that well-drained cottage cheese, the Greek yogurt, your protein powder, the rest of your sweetener, vanilla, and salt, and pop them into your food processor or a really good blender. Blend this until it is completely smooth. I mean totally homogenous, no lumps anywhere. Scrape down those sides every minute or so until it looks like velvet.
Once it’s totally smooth, add those two eggs. And this is where you pull back! Pulse the machine *just* until you see the eggs mix in. Do not, I repeat, do NOT overmix once the eggs are in. Overmixing the eggs introduces too much air, which leads to rising too fast and then that dreaded cracking when it cools off. We want smooth, not fluffy!
Baking and Cooling Protocol for Perfect Protein Cheesecake
Pour that beautiful, smooth filling right over your cooled crust. Get it into the oven and let it work its magic for about 45 to 55 minutes. You’ll know it’s close when the edges look firm, but the absolute center still has a little liquid jiggle to it. That slight jiggle is your key to moisture!
Here’s the most important part, the absolute barrier between a good cheesecake and a great one: No sudden temperature changes! Once the time is up, turn the oven off completely. Prop the door open—I usually wedge a wooden spoon in there. Let the cheesecake sit inside the cooling oven for a full hour. This slow descent prevents immediate shrinking and cracking. After that hour, pull it out, let it finish completely on the counter, and then cover it. It honestly needs a minimum of 6 hours in the fridge, but I’m telling you, chilling it overnight makes this the best Baked Protein Cheesecake you will ever have!
Expert Tips for the Best Cottage Cheese Cheesecake Recipe Texture
Listen, achieving that luxurious, non-gritty texture when using cottage cheese instead of the traditional heavy stuff is the true test for any Cottage Cheese Cheesecake Recipe. When Amina first tried making a Greek Yogurt Dessert that was high in protein, it ended up kind of… rustic. We learned that the key isn’t just blending; it’s prepping the ingredients so the blender doesn’t have to work overtime struggling against excess liquid.
I know it feels tedious, but trusting us on these prep steps is what separates a good attempt from the absolute triumph coming out of your oven. These small details truly elevate this recipe from ‘healthy alternative’ to ‘dessert I crave all the time.’
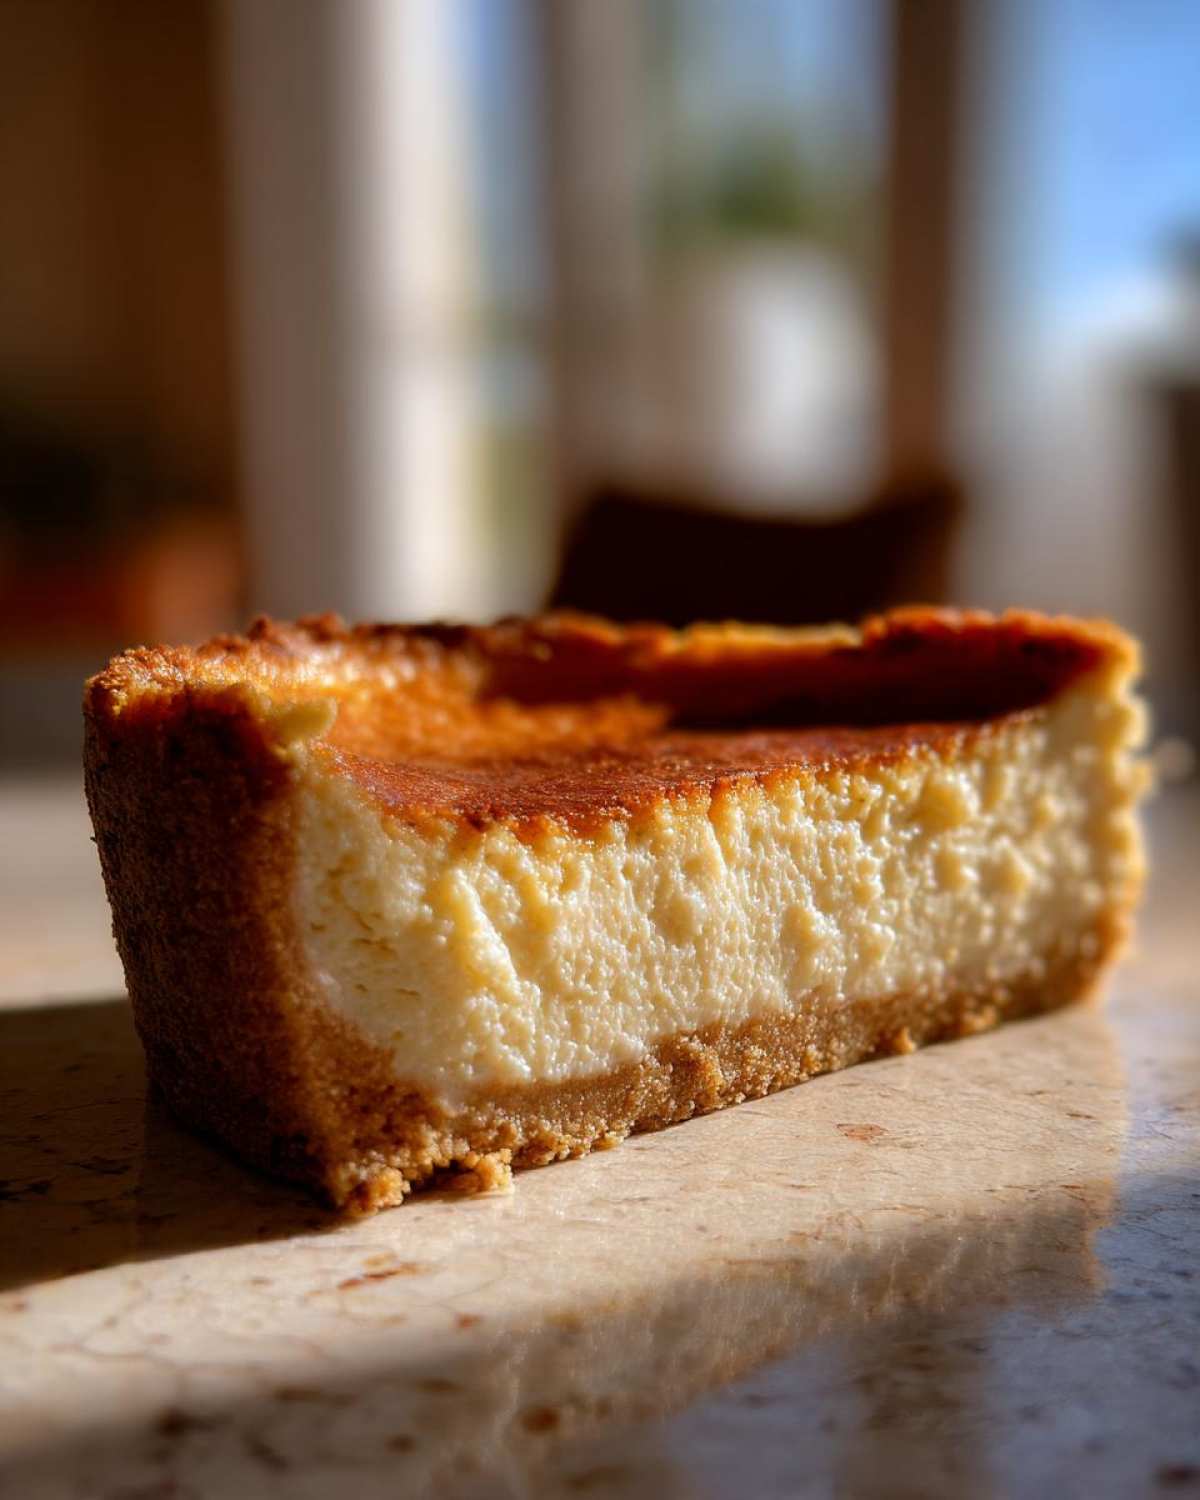
Ingredient Notes and Substitutions for Your Protein Cheesecake
Let’s drill down into the dairy situation first. That cottage cheese needs to be well-drained. I mean it! If you have time, put it in a fine-mesh strainer lined with a coffee filter or paper towels and just let gravity do the work for an hour. If you’re in a rush like I usually am, you can gently press it between layers of paper towels. The less water we start with, the creamier that final Protein Cheesecake will be, moving it miles away from that grainy texture people fear.
Second point: protein powder. If you use only whey, you risk a slightly rubbery texture because whey heats up hard. Using that whey/casein blend—even if you just mix half and half—gives you the structure support of casein and the solubility of whey. It’s the best of both worlds for a Creamy Protein Dessert!
Finally, remember that lovely, bright raspberry topping I mentioned in the notes? That’s a fantastic substitution if you want a little fruit burst without adding refined sugar. Just simmer a cup of frozen berries until they burst and thicken up. It contrasts the rich, mild flavor of the cheesecake perfectly. If you’re interested in exploring more ways to use Greek yogurt in creative ways, you should check out my recipe for Whipped Cottage Cheese Dessert Bowl—it’s another amazing way to get that protein boost!
For those reading this and wondering about other German-language recipes that focus on this protein concept, I saw a great specialized one over at Cookliebe that focuses heavily on the macro benefits, too!
Serving Suggestions for this Low Calorie Cheesecake
Now that you’ve followed all my fussy steps—and hopefully, you didn’t peek inside while it was chilling—it’s time to serve this gorgeous creation! Since we worked so hard to keep the base of this Low Calorie Cheesecake perfectly balanced, we want our toppings to match that goal, right? You don’t want to just dump a cup of sugary whipped cream on top and undo all that hard work!
My favorite way to present this, especially if you’re serving it to guests, is with that bright, tangy raspberry reduction we talked about earlier. The tartness cuts through the richness of the cheesecake so beautifully. A tiny drizzle of that over a slice is perfection!
If you’re taking this for your own meal prep enjoyment, a light grating of fresh lemon zest right before serving wakes everything up—seriously, the aroma is incredible. For a different vibe altogether, you might enjoy pairing a slice with something bright and citrusy, kind of like how we pair things with our classic Lemon Meringue Pie. It makes this Protein Cheesecake feel even lighter and more refreshing!
Storage and Make-Ahead for Your Protein Dessert Meal Prep
For me, this Ultimate Healthy Baked Protein Cheesecake is the MVP of Protein Dessert Meal Prep. Why? Because it holds up like a champ! Unlike some airy desserts that turn soggy or weep after a day, this baked structure stays firm and creamy, which is exactly what we need when planning our fitness week.
The minimum chilling time we talked about—at least 6 hours, but overnight is better—is actually the best way to store it initially. Once it’s fully chilled, cover the springform pan tightly with plastic wrap, or you can carefully transfer slices to individual airtight containers. It keeps wonderfully in the refrigerator for up to five days. Seriously, having these ready to go means I can grab a pre-portioned, 35-gram protein treat without even thinking twice.
Now, let’s talk freezing, because sometimes you want to make a big batch! Yes, you absolutely can freeze this, but you need to handle it gently. I recommend slicing it *before* freezing. Wrap each slice individually in plastic wrap, and then put those wrapped slices into a freezer-safe bag. It will last beautifully for about a month.
When you’re ready to eat a frozen slice, just pull it out, remove the plastic wrap, and let it thaw slowly in the fridge overnight. It comes back to life perfectly creamy! For more batch cooking tips that simplify your life, you need to check out my guide on Overnight Oats—it’s another staple for easy grab-and-go mornings! And for those of you looking for low-carb ideas that share this kind of simplicity, take a look at this creamy delight mentioned over at Daily Keto Recipes.
Frequently Asked Questions About Making a High Protein Cheesecake Recipe
When you’re dealing with a recipe that’s working hard to optimize macros, naturally, you’re going to have questions! I want you to feel totally confident walking into this bake, knowing exactly what makes this High Protein Cheesecake Recipe tick. We covered the draining, the blending, and the cooling, but here are a few things folks ask me all the time as they get ready to dive in.
If you’ve got more questions after we go through these, always feel free to reach out to Amina and me via our contact page!
Can I make this a No Bake Protein Cheesecake?
That’s a great question! This particular recipe is calibrated for the oven. Baking helps set the structure that the cottage cheese and Greek yogurt need when mixed with protein powder. If you’re really set on a No Bake Protein Cheesecake, you’d need to change the mechanics quite a bit. You’d likely need to use a much higher ratio of a setting agent, like gelatin or maybe more starch, to hold that high-protein filling together firm enough after chilling. For right now, this specific recipe focuses on that dense, creamy baked texture we love. Maybe later we can whip up a fabulous no-bake version for you!
How do I ensure this Protein Cheesecake is truly sugar free?
The beauty of this specific recipe is that we’ve already set you up for success as a Sugar Free Protein Dessert! We call for zero-calorie sweeteners—like monk fruit or erythritol—in both the crust and the filling. As long as you stick to those unflavored protein powders and avoid any sweetened yogurt or sweetened graham crackers, you are golden. The natural sweetness comes from the stevia/monk fruit blend and the touch of vanilla. It’s designed from the ground up to be truly ‘free’ of added sugars while still tasting sweet!
Does this count as a Gluten Free Cheesecake?
This is a really important detail for folks with sensitivities! As it’s written, with standard graham crackers, this is not a Gluten Free Cheesecake. However, it is incredibly easy to fix that! Just swap out the low-fat graham crumbs for any store-bought gluten-free graham cracker crumbs or even use crushed gluten-free shortbread cookies for the crust. The filling itself is naturally gluten-free since we aren’t using any wheat flour, just protein powder and dairy. So yes, with one simple substitution, you’ve got a delicious gluten-free option!
If you are looking for other easy, adaptable recipes that fit various needs, take a look at how we adapt our Classic Apple Cobbler to handle different dietary needs!
Estimated Nutritional Information for This Light Cheesecake Recipe
Now, here comes the part that makes being disciplined so much sweeter! I know you’ve been tracking, and that’s why we worked so hard to make this a genuinely Light Cheesecake Recipe that showcases phenomenal metrics. Remember, all the ingredients we selected—the low-fat dairy, the zero-calorie sweeteners, the protein powder—are specifically chosen to keep things lean while delivering flavor.
These numbers below are based on the specific ingredients listed in the recipe above, yielding 8 healthy slices. Since we all use slightly different brands of protein powder or zero-calorie sweeteners, please treat these as a fantastic benchmark rather than an exact science! I always say if you can eat pizza and still hit your goals, you’re winning, but having these numbers makes life so much easier.
Check out this breakdown for one slice:
- Calories: A mere 210! Isn’t that wild for cheesecake?
- Protein: Yes! We hit 35 grams. Thirty-five! That’s more than most of my main meals!
- Fat: Only 5 grams total, keeping our saturated fat nicely in check at 2 grams.
- Carbohydrates: 15 grams, with only 1 gram of fiber.
- Sugar: Just 4 grams—all natural from the dairy, keeping this a true Sugar Free Protein Dessert!
Knowing you can crush a craving with 35 grams of protein is the ultimate peace of mind. It just proves that healthy eating doesn’t mean giving up amazing desserts. If you’re looking for inspiration on other treats that fit beautifully into a macro-friendly lifestyle, you absolutely have to check out the amazing ideas over at Chocolate Covered Katie; she has some truly inspiring swaps!
Share Your Protein Cheesecake Creations
Now that you have my secret formula for creating this incredibly light yet satisfying Protein Cheesecake, the best part is coming up: sharing it! When Amina and I share food, that’s the moment the experience truly snaps into place for us. Creating this dish in your kitchen and knowing you’ve made a dessert that supports your fitness journey is a huge win, and I want to celebrate that with you!
Honestly, I live for seeing the pictures you all take! Did you decide on the tangy raspberry topping? Did you manage to get that perfectly smooth, crack-free top? Snap a photo of your magnificent slice and tag us on social media. Seeing your bakes reminds me that these recipes aren’t just instructions on my screen; they are memories actually being made in kitchens all over the place.
If you made this recipe and loved how deliciously macro-friendly it turned out, don’t forget to leave a rating right here on the page! Those little stars help other folks who are craving a fantastic, high-protein treat find the confidence to try something new. And if you have any burning questions during your bake that weren’t covered in our FAQ—maybe you experimented with a specialty protein powder—please hop over and send us a note on the contact page at our contact page. We absolutely love hearing from you!
PrintUltimate Healthy Baked Protein Cheesecake (35g Protein Per Slice)
You want a satisfying, creamy cheesecake that supports your fitness goals. This baked recipe uses cottage cheese and Greek yogurt to deliver a rich texture and packs over 35 grams of protein per serving. It is a macro-friendly dessert you can feel good about enjoying.
- Prep Time: 20 min
- Cook Time: 55 min
- Total Time: 7 hours 15 min
- Yield: 8 servings
- Category: Dessert
- Method: Baking
- Cuisine: American
- Diet: Low Fat
Ingredients
- 1 cup (120g) low-fat graham cracker crumbs (or gluten-free alternative)
- 2 tablespoons zero-calorie sweetener (like erythritol or monk fruit blend)
- 2 tablespoons melted light butter or coconut oil
- 16 ounces (450g) low-fat cottage cheese, drained well
- 8 ounces (225g) non-fat plain Greek yogurt
- 1/2 cup (100g) vanilla or unflavored whey/casein protein powder blend
- 1/2 cup (100g) granulated zero-calorie sweetener
- 1 teaspoon vanilla extract
- 1/4 teaspoon salt
- 2 large eggs
Instructions
- Preheat your oven to 325°F (160°C). Lightly grease and line the bottom of a 7-inch springform pan with parchment paper.
- Prepare the crust: In a small bowl, mix the graham cracker crumbs, 2 tablespoons of sweetener, and melted butter until combined. Press the mixture firmly into the bottom of the prepared pan. Bake the crust for 8 minutes. Remove and let it cool slightly.
- Prepare the filling: Place the drained cottage cheese, Greek yogurt, protein powder, 1/2 cup sweetener, vanilla extract, and salt into a food processor or high-powered blender. Blend until the mixture is completely smooth, scraping down the sides as needed. This step is key for a creamy texture.
- Add the eggs to the filling mixture and pulse just until they are incorporated. Do not overmix once the eggs are added.
- Pour the filling over the cooled crust in the springform pan.
- Bake the cheesecake for 45 to 55 minutes. The edges should look set, but the center should still have a slight jiggle.
- Turn off the oven, crack the door open slightly, and let the cheesecake cool inside the oven for 1 hour. This slow cooling prevents cracking.
- Remove the cheesecake from the oven and let it cool completely on the counter. Then, cover it and chill in the refrigerator for at least 6 hours, or preferably overnight, before slicing.
Notes
- For the smoothest texture, make sure your cottage cheese is well-drained before blending. You can press it between paper towels or strain it.
- Using a blend of whey and casein protein powder helps achieve a texture closer to traditional cheesecake. Pure whey can sometimes make it slightly rubbery.
- If you want a low-calorie raspberry topping, simply simmer 1 cup of frozen raspberries with a splash of water and a pinch of sweetener until thickened.
Nutrition
- Serving Size: 1 slice
- Calories: 210
- Sugar: 4
- Sodium: 280
- Fat: 5
- Saturated Fat: 2
- Unsaturated Fat: 3
- Trans Fat: 0
- Carbohydrates: 15
- Fiber: 1
- Protein: 35
- Cholesterol: 45