

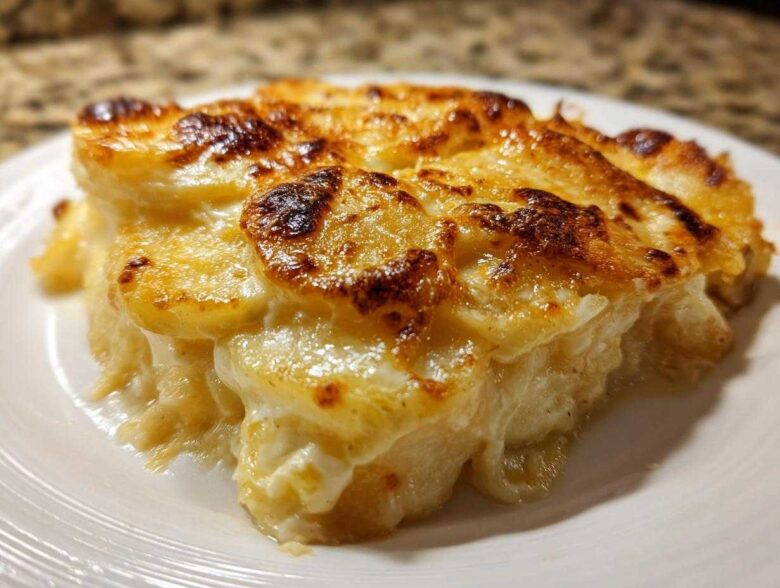
Oh, you know those nights when you just need a hug in a bowl? For me, that hug always comes in the form of potatoes swimming in cream. Forget those watery, sad versions you sometimes get at potlucks—we are going straight for the gold standard here! This recipe is my absolute ticket to becoming the MVP of any holiday table, especially when your roast needs an epic sidekick. Trust me when I say that after years of testing different dairy ratios and cheese melts, I finally perfected this wonderfully velvety and intensely cheesy scalloped potatoes recipe. If you loved that baked potato casserole we made last fall, grab your mandoline because this one is even better!
Why This is the Best Ever Recipe for Scalloped Potatoes
So, what makes this particular dish leap right over every other potato side dish out there? It all comes down to that glorious sauce. I’m not messing around when I say this is the ultimate comfort food side dish. We aren’t skimping on dairy, and we’re using techniques that guarantee zero graininess. This is the recipe friends beg for at Thanksgiving, year after year. You’ll see why the moment you taste that first bite!
- It yields a truly velvety smooth sauce instead of a runny mess.
- The potatoes are always perfectly tender right through the middle.
- It easily doubles if you need a huge batch for a potluck, making it one of our favorite holiday potato recipes.
- We load it up so it satisfies that craving for decadent, rich potato side perfection!
If you’ve ever dealt with dry spots or a sauce that just wouldn’t set properly, you’ll appreciate the foundational steps we take for this one. I promise, once you try this rich version, you won’t ever look at thin, boring potatoes again. For another great, easy-to-manage side for big gatherings, check out how I make my Funeral Potatoes Recipe!
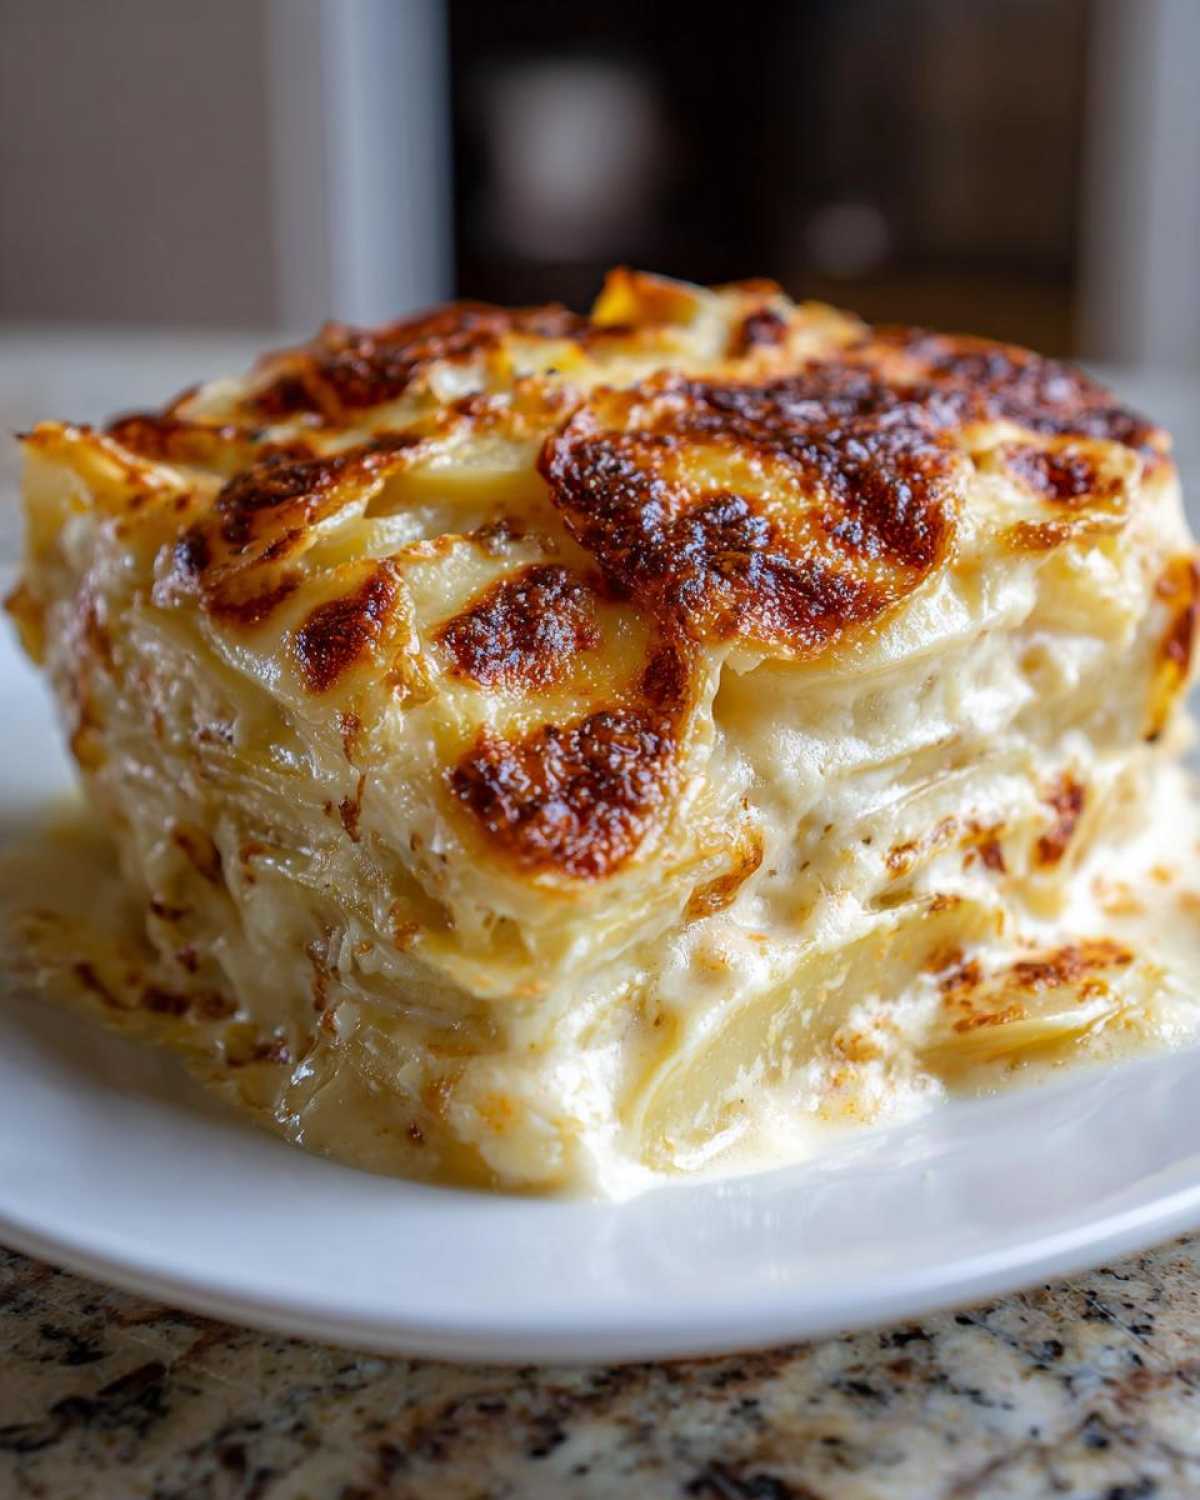
Ingredients for Creamy Scalloped Potatoes
Okay, let’s talk ingredients because this is where many people mess up their scalloped potatoes! It’s not just about throwing things in a dish; we need the right players, especially when we’re aiming for that ultimate comfort food experience. My secret weapon here is picking the right potato, hands down.
When you go shopping, reach for the starchy ones. I always grab Yukon Golds—they bake up beautifully and soak up all that creamy sauce without turning into mushy glue. If you can’t find those, Russets are the next best bet. Please, please avoid those waxy, new potatoes; they just don’t break down the right way for this dish. These measurements make a huge 9×13 dish, which should feed eight hungry people easily, or four of my boys!
Here is exactly what you’ll need for this amazing Yukon Gold potato bake:
- 3 lbs Yukon Gold potatoes, peeled and thinly sliced (aim for about 1/8 inch thick, trust me on the uniform slicing!).
- 4 tablespoons unsalted butter (this is crucial for building the roux base).
- 1/4 cup all-purpose flour (to thicken things up nicely).
- 2 cups whole milk (nothing less than whole! We want richness!).
- 1 cup heavy cream (this is non-negotiable for the velvety texture).
- 1 teaspoon salt (taste as you go!),
- 1/2 teaspoon black pepper,
- 1/4 teaspoon nutmeg (just a tiny pinch makes a huge difference in creamy potato dishes).
- 2 cups shredded sharp cheddar cheese, divided (Sharp is the flavor key!).
- 1/2 cup grated Parmesan cheese (This adds that salty, nutty kick!).
If you want to see how I use cheese a little differently in another amazing dish, you have to check out my Cheesy Stuffed Twice Baked Potatoes recipe. But for this casserole, we stick exactly to these measurements for perfection!
Step-by-Step Instructions for Perfect Scalloped Potatoes
Alright, let’s get down to the magic. Making truly amazing scalloped potatoes isn’t hard, but you have to be precise, especially when building that sauce. We want that sauce to hug every single potato slice, not slide off like oil! This process takes a little time, but honestly, the oven does most of the heavy lifting while you sip your coffee or prep your main course. If you’ve mastered those Twice Baked Potatoes, you’re ready for this layered masterpiece!
Preparing the Potatoes and Oven Setup
First things first, get that oven warming up to 375°F (190°C). While it heats, lightly grease your 9×13 dish. Now, the slicing. Look, you can definitely use a knife, but if you want that professional, perfectly even layer—the kind that cooks uniformly—you absolutely need a mandoline slicer. Set it to about 1/8 inch thick. If your slices are too thick, you’ll end up with a raw core after an hour in the oven, and nobody wants that sad, crunchy center slice!
Creating the Homemade Velvety Potato Sauce
This is the core of the recipe! In your saucepan over medium heat, melt that butter until it’s foamy. Whisk in the flour—that’s your roux—and let it cook just for a minute while you stir constantly. This cooks out the raw flour taste. Now, pour in the milk and cream slowly, whisking like crazy so you don’t get lumps. Keep stirring and let it simmer gently until it thickens enough to coat the back of a spoon. Don’t let it boil hard, or your sauce might separate later! Once it clings nicely, take it off the heat immediately. Now stir in all your seasonings, 1 1/2 cups of that cheddar, and all of the Parmesan. Keep whisking until everything is melted and looks like silk. If you want to learn more about making simple, gorgeous sauces like this one, check out my guide on making Homemade Alfredo Sauce for inspiration!
Assembling and Baking Your Scalloped Potatoes
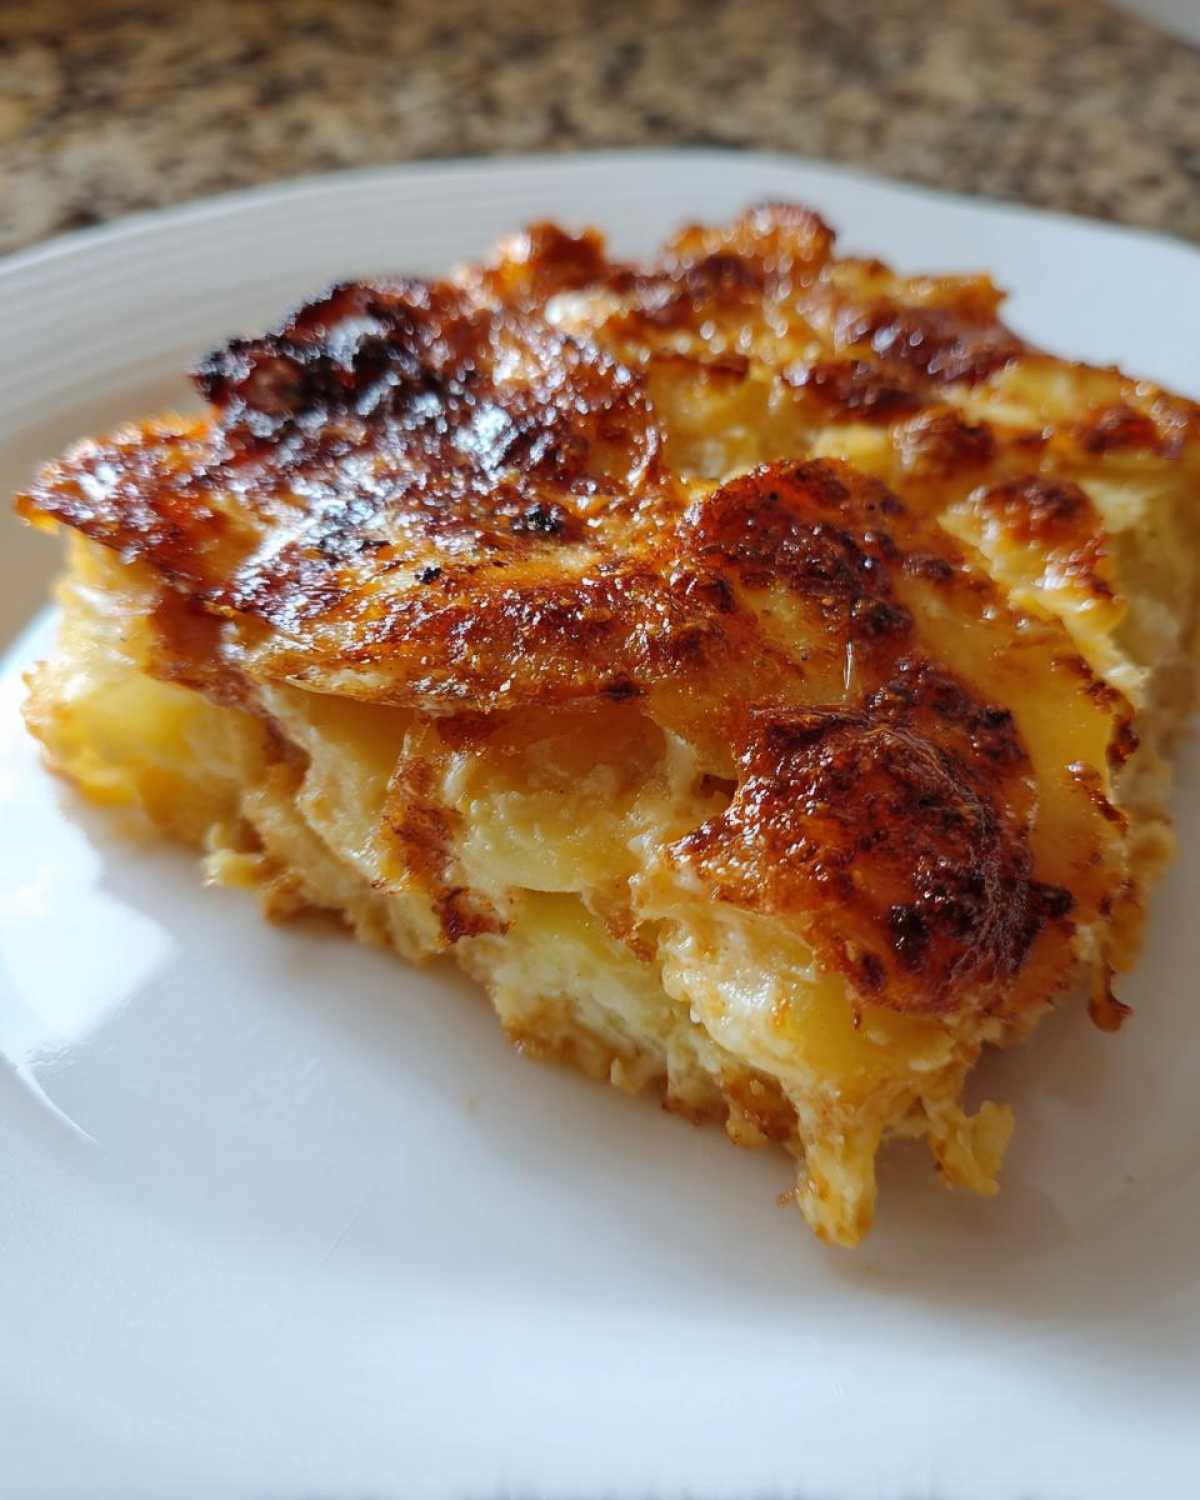
Time to layer! Put half of your prepped potato slices in the bottom of your dish. Pour exactly half of that gorgeous, cheesy sauce right over the top. Then, add the rest of your potatoes and cover them completely with the remaining sauce. Finally, sprinkle that last half cup of cheddar across the top surface. Cover the whole thing tightly with foil—this steams the potatoes so they get tender. Bake it covered for 45 minutes. After that time, pull the foil off and let it bake uncovered for another 20 to 30 minutes until that top layer is bubbly, golden brown, and you can easily poke a fork through to the bottom layer. Don’t forget to let those cheesy potato casserole beauties rest for 10 minutes after they come out. The sauce will firm up and settle perfectly!
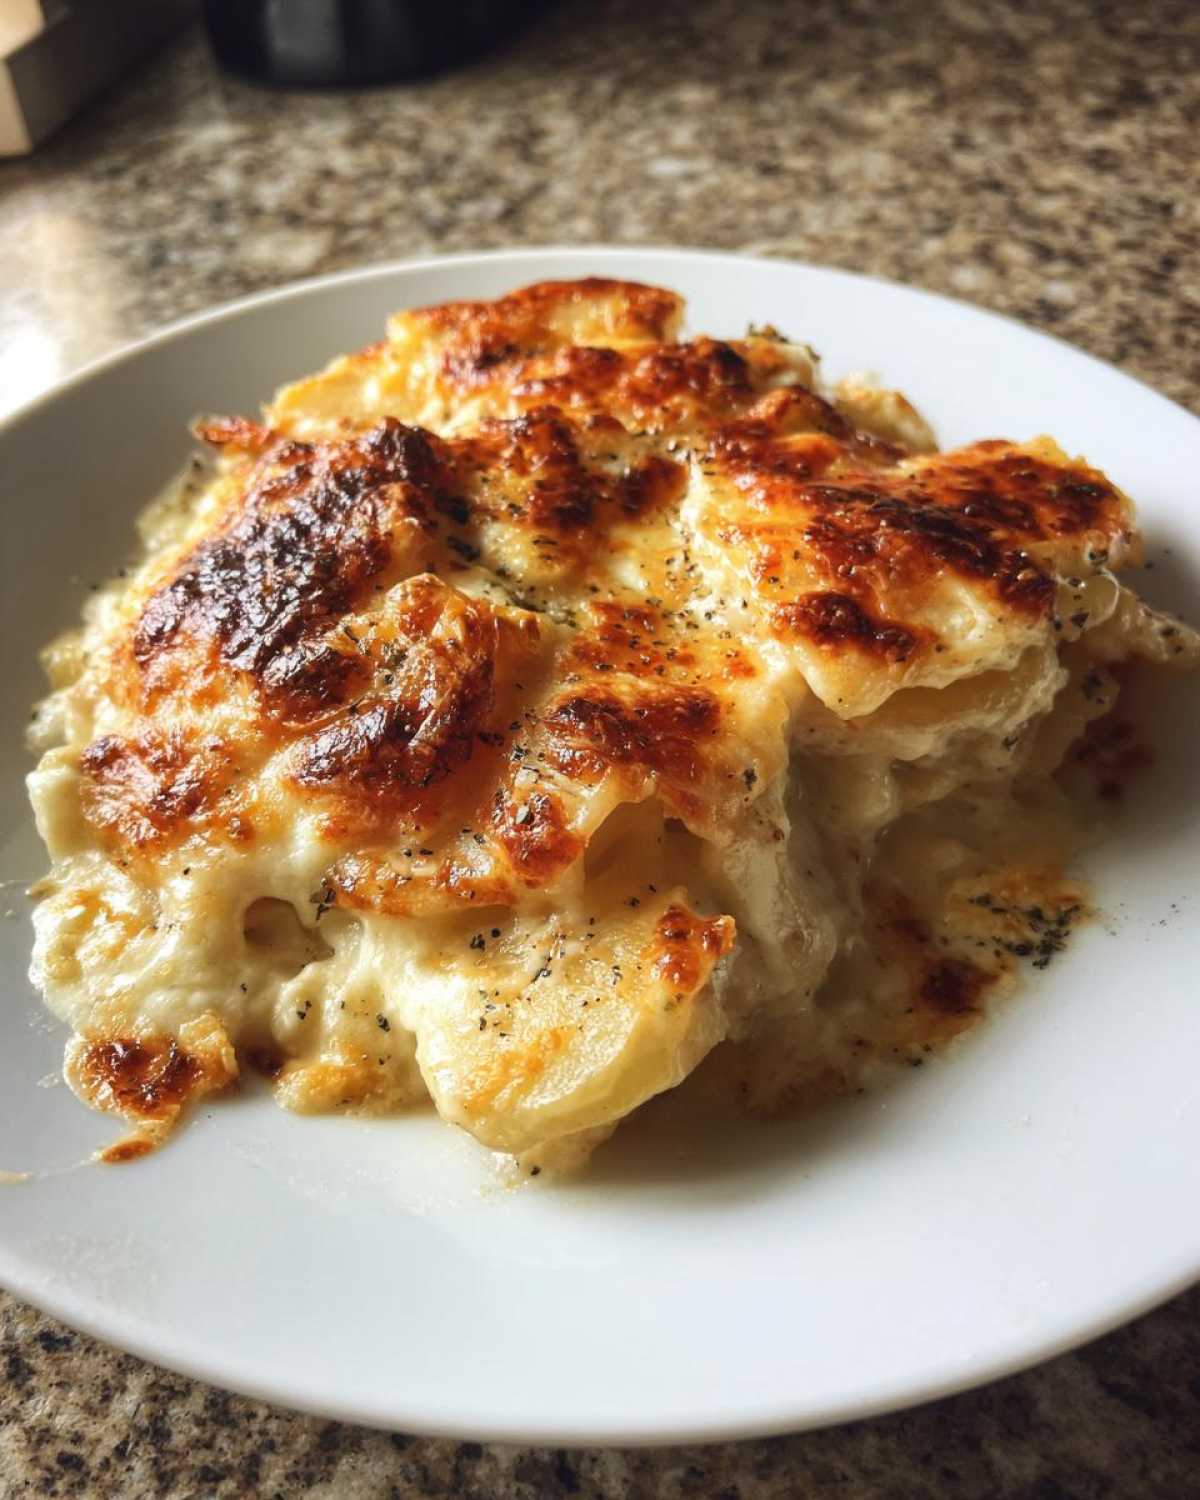
Tips for Success with Cheesy Potato Casserole
Getting that perfect texture in your cheesy potato casserole really rests on honoring the potato choice and the final bake, even after the sauce is perfect. I mentioned it before, but I’ll say it again: Yukon Golds are your best friends here because they strike that perfect balance. Waxy potatoes hold their shape too rigidly, and super starchy Russets sometimes break down too much. Yukon Golds give you that satisfying, tender bite without collapsing.
When it comes to getting that gorgeous golden crust on top, the key is the uncover time. Don’t open that foil too soon! Give the potatoes a solid 45 minutes covered to steam through first. Then, when you pull the foil off, turn your broiler on low for the last five minutes if you are worried about color—but watch it like a hawk! Broilers move fast!
My special test for doneness is a little old-school. After the fork test, I gently press the top of the casserole with the back of a spoon. If it springs back slightly and the sauce isn’t aggressively bubbling everywhere, it’s done. If it looks soupy, give it another 5 to 10 minutes uncovered. If you want even more cheesy goodness in your life for another side dish, you absolutely have to bookmark my recipe for Baked Potato Casserole!
Make Ahead Scalloped Potatoes and Storage
Planning a big feast means you need to get ahead, right? I live for anything that cuts down on oven time on the actual day! The great news is that these scalloped potatoes are phenomenal when made ahead of time. You just assemble the whole thing—layer the potatoes, pour the sauce, top with the final cheese—cover it super tight with foil, and stick it in the fridge up to a full 24 hours before you plan to bake. It’s a lifesaver, honestly!
When it’s time to bake, you can’t just pop it straight into the oven. Because it’s cold, you absolutely need to add about 10 to 15 minutes to that initial covered baking time. That lets the dish warm up enough for the sauce to start doing its job. It’s almost like cheating! For storage after baking, just pop those glorious leftovers into an airtight container. They reheat beautifully in the microwave, though I prefer to reheat a slice slowly in a 325°F oven until it’s piping hot again. These are the kind of leftovers everyone fights over! For other great make-ahead ideas that save you kitchen time, you should definitely check out my tips for Make Ahead Breakfast Burritos.
Variations on Classic Scalloped Potatoes
Look, even the best recipe can use a little shake-up now and then, right? While I stand by this recipe as the best, sometimes you just want to add a little something extra to your scalloped potatoes to make them unique for the night. It’s easy to customize this dish without losing that signature creaminess we worked so hard to achieve!
My first suggestion for adding depth? Sweetness! If you make a batch of caramelized onions—the slow-cooked, jammy kind—layering those between the potatoes and the sauce is just dreamy. The sugar offsets the saltiness of the cheese beautifully. You could also toss in a cup of crumbled, cooked bacon for a smokier vibe, or even thinly sliced ham if you are making this a full meal!
Cheese swaps are another fun path for this crowd pleasing potato side. If you want something fancier than cheddar, try swapping some of the cheddar out for Gruyère. It melts like a dream and has this wonderful nutty undertone that pairs so well with potatoes. Don’t be afraid to experiment!
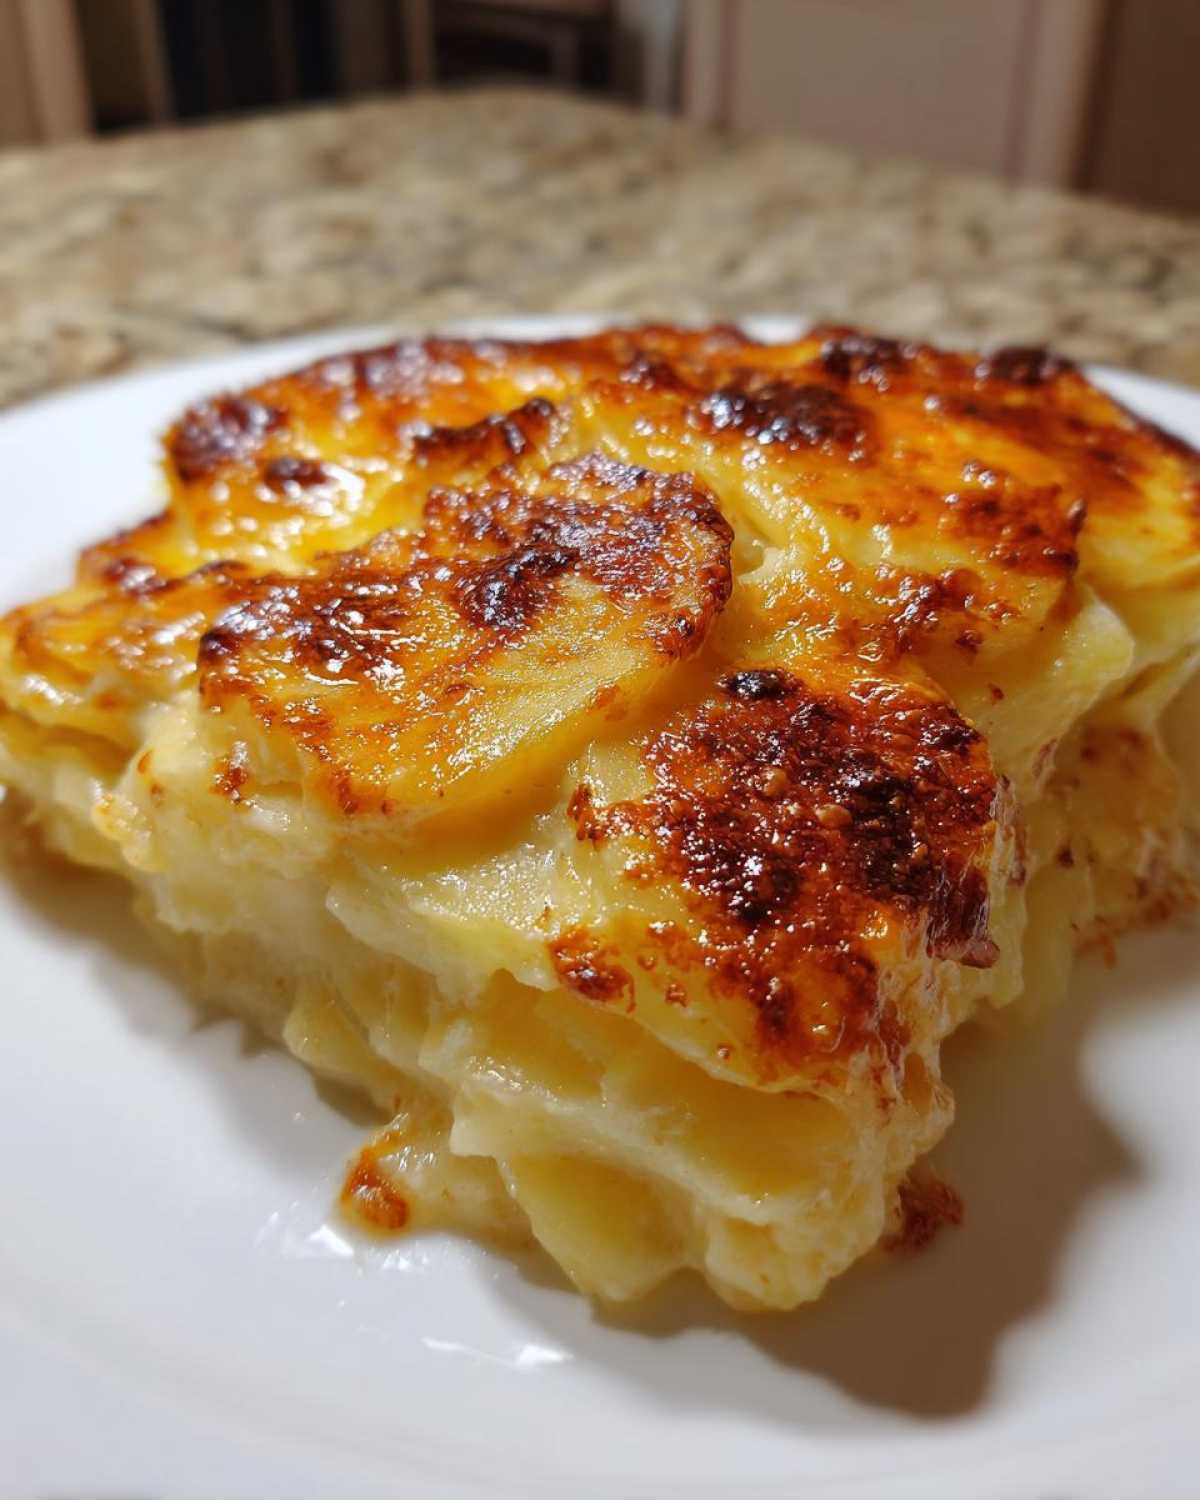
Making Parmesan Potato Bake
Speaking of Gruyère, if you are really focused on that strong, salty flavor, we can pivot this straight into a powerhouse Parmesan potato bake. To really amp up the Parmesan dominance, I suggest you keep that full half-cup of Parmesan in there, but cut the cheddar down from two cups to about one and a half cups. Then, look for a really high-quality, aged Parmesan cheese.
When you mix the cheese into the white sauce, make sure the Parmesan is grated fine. Because Parmesan is harder and saltier than cheddar, it integrates into the sauce better and gives everything a sharper finish. It turns this into more of a true, rich potato gratin style dish, but nobody minds when it comes to flavor like this!
Serving Suggestions for This Rich Potato Side Dish
Now that you have the creamiest, cheesiest, most decadent potato side dish known to humankind, the next big question is: what are we eating it with? Because these are such a heavy-hitter on the plate, you want pairings that can hold up to the flavor but won’t fight your glorious rich potato side. Think classic comfort food done right!
For holiday tables, these are non-negotiable alongside a perfectly glazed ham or maybe a slow-roasted turkey. The creaminess just cuts through the richness of the savory meat so beautifully. If you’re having a regular weeknight dinner, these are still fantastic, but you can lean into something simpler. They are incredible next to a simple roasted chicken where the pan juices get mixed right into the leftover sauce—oh boy!
If you’re feeling meaty, skip the roast and make one of my favorite main courses: a good, thick pork chop. If you haven’t tried my recipe for Juicy Pork Steak with Sweet Soy Marinade, you should bookmark that pronto! The salty, savory sauce on the pork is just begging for a scoop of these cheesy potatoes to balance it out.
Honestly, once these are on the table, they steal the show. We almost always serve them with a bright green vegetable on the side—like steamed asparagus or roasted Brussels sprouts—just to give everyone’s palate a little break from all that delicious dairy. They are versatile enough for any celebration!
Frequently Asked Questions About Potato Gratin
I get so many questions about this dish—it’s clear everyone wants to master the perfect baked potato side! People ask me all the time about swaps, texture, and how this stacks up against similar dishes. It’s good to be curious! Having the answers really sets you up to deliver that amazing, classic scalloped potatoes dish every single time.
For more simple, baked goodness, you should definitely check out my Easy Potato Gratin recipe if you’re looking for another great carb companion!
What is the difference between Potatoes au Gratin and Scalloped Potatoes?
This is one I get asked constantly! People often use the terms interchangeably, and honestly, I don’t blame them. However, traditionally, there is one clear difference, and it comes down to cheese. Classic scalloped potatoes rely only on a creamy sauce made from milk, cream, and often a thickener like a roux—cheese is optional, or maybe a light dusting on top.
Now, when you talk about true Potato au Gratin (which is technically what we’ve made here because we used so much cheddar and Parmesan, turning it into a fantastic Parmesan potato bake!), it implies that cheese is fundamentally mixed into the sauce *and* layered on top, maybe even with breadcrumbs, giving it that signature crusty, cheesy top.
So while my recipe is technically a cheesy gratin, I call them scalloped potatoes because that’s what everyone expects when they want that amazing, simple creamy potatoes side dish for a gathering!
Can I use Russet potatoes instead of Yukon Gold for this recipe?
Yes, you absolutely can! I mentioned Yukon Golds are my favorite because they hold their shape just a little bit better, giving you those beautiful, defined layers even after baking for over an hour. They stay firm but tender.
Russets are much starchier, which means they will soften up much more than the Yukon Golds. They break down a bit more, leading to an even *thicker* and slightly fluffier sauce as the extra starch releases into the milk and cream. If you use Russets, be ready for a slightly less defined layer structure, but the resulting sauce will still be amazing—maybe even creamier!
If you notice your Russet potatoes soaking up *all* the liquid and starting to look dry during the assembly phase, don’t panic! Just mix an extra tiny splash or two of milk into the remaining sauce before layering it on. You don’t want bare spots where the potatoes are exposed to the heat.
Nutritional Estimates for This Comfort Food Side Dish
Now, let’s talk turkey—or, well, let’s talk calories, because loading up on cheese and cream does come with a little bit of dietary baggage! I always say that when food tastes this good, you have to budget for it, but it’s good to know what you’re working with when you serve up a hearty portion of these comfort food side dishes. This is a special occasion dish, after all, not an everyday snack!
These numbers are based on a single serving, and remember, we are making a big 9×13 dish that yields about 8 generous helpings. Depending on whether you serve yourself a small corner or take a massive scoop (I’m guilty of massive scoops!), these numbers will fluctuate.
Here are the estimates based on the ingredients listed in the recipe:
- Serving Size: 1 serving
- Calories: 420
- Fat: 28g (with 17g of that being Saturated Fat—hello, butter and cheese!)
- Carbohydrates: 32g
- Protein: 14g
- Sugar: 6g
- Sodium: 450mg
Just a little note of caution, though: these figures are purely estimates from my kitchen calculations! If you use a low-fat milk instead of whole milk, or swap cheddar for a lighter cheese, those numbers are going to change, naturally. Also, the sodium depends entirely on how much salt you personally sprinkle in there! So take these as a general guide, not a legally binding contract on your diet. Enjoy them!
Share Your Experience Making These Potatoes
Now that you have the secrets to the creamiest, cheesiest scalloped potatoes on the block, I really want to hear about it! Cooking is all about sharing, and I love knowing when one of my recipes makes it onto your family table, especially as a fantastic Thanksgiving side dish.
Did you stick strictly to the recipe and use the Yukon Golds? Or maybe you tried tossing in some smoked paprika with the cheddar—I’m so curious about your twists! Did kids eat them? Did they disappear instantly? Please take a moment and drop five stars below if this dish was a winner in your house, or tell me in the comments if something didn’t quite work for you.
If you want to browse more ideas or see what else I’m cooking up that week, feel free to pop over to my main Blog Page! I hope these make your next meal feel a little more special and a whole lot more comforting!
PrintCreamy and Cheesy Scalloped Potatoes
Make a rich, comforting side dish of thinly sliced potatoes baked in a velvety, cheesy cream sauce.
- Prep Time: 20 min
- Cook Time: 1 hour 20 min
- Total Time: 1 hour 40 min
- Yield: 8 servings
- Category: Side Dish
- Method: Baking
- Cuisine: American
- Diet: Vegetarian
Ingredients
- 3 lbs Yukon Gold potatoes, peeled and thinly sliced
- 4 tablespoons unsalted butter
- 1/4 cup all-purpose flour
- 2 cups whole milk
- 1 cup heavy cream
- 1 teaspoon salt
- 1/2 teaspoon black pepper
- 1/4 teaspoon nutmeg
- 2 cups shredded sharp cheddar cheese, divided
- 1/2 cup grated Parmesan cheese
Instructions
- Preheat your oven to 375°F (190°C). Lightly grease a 9×13 inch baking dish.
- Peel and slice the potatoes very thinly, about 1/8 inch thick. You can use a mandoline for uniform slices.
- In a medium saucepan over medium heat, melt the butter. Whisk in the flour and cook for one minute, stirring constantly to make a roux.
- Gradually whisk in the milk and heavy cream until the mixture is smooth. Cook, stirring often, until the sauce thickens enough to coat the back of a spoon, about 5 to 7 minutes. Do not boil.
- Remove the sauce from the heat. Stir in the salt, pepper, nutmeg, 1 1/2 cups of the cheddar cheese, and all of the Parmesan cheese until melted and smooth.
- Arrange half of the sliced potatoes in an even layer in the prepared baking dish. Pour half of the cheese sauce evenly over the potatoes.
- Top with the remaining potatoes, then pour the remaining sauce over the top layer. Sprinkle the remaining 1/2 cup of cheddar cheese over the surface.
- Cover the baking dish tightly with aluminum foil. Bake for 45 minutes.
- Remove the foil and continue baking for another 20 to 30 minutes, or until the top is golden brown and the potatoes are tender when pierced with a fork.
- Let the potatoes rest for 10 minutes before serving.
Notes
- For make-ahead ease, assemble the entire dish, cover tightly, and refrigerate for up to 24 hours. Add 10 to 15 minutes to the covered baking time if baking directly from the refrigerator.
- Use starchy potatoes like Russets or Yukon Golds for the best texture. Avoid waxy potatoes.
- If you prefer a thinner sauce, add a splash more milk during the sauce preparation step.
Nutrition
- Serving Size: 1 serving
- Calories: 420
- Sugar: 6
- Sodium: 450
- Fat: 28
- Saturated Fat: 17
- Unsaturated Fat: 11
- Trans Fat: 1
- Carbohydrates: 32
- Fiber: 3
- Protein: 14
- Cholesterol: 85