

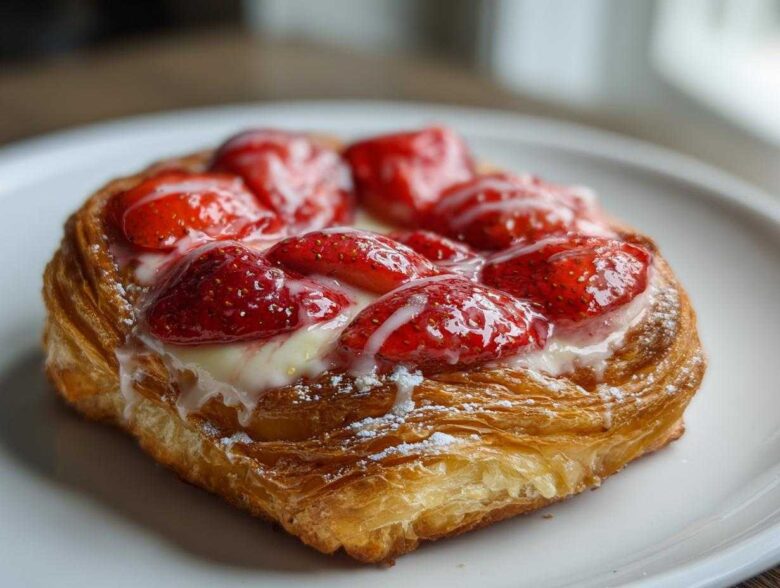
Oh heavens, who doesn’t dream of biting into one of those gorgeous, flaky pastries you see piled high at the fancy bakeries? I used to think those incredible Strawberry Cream Cheese Danishes were just impossible to make at home unless you had three days and the patience of a saint! Well, that’s just not true anymore. My secret weapon is embracing store-bought puff pastry—yes, you heard me! We guarantee bakery-style flakiness without the months of folding butter.
This recipe is lightning fast but looks like you spent all morning fussing over it. Seriously, mastering the folding technique for that rustic open square is easier than you think, and the combination of slightly tart strawberries oozing over that vanilla-laced cream cheese? Pure magic on a weekend morning.
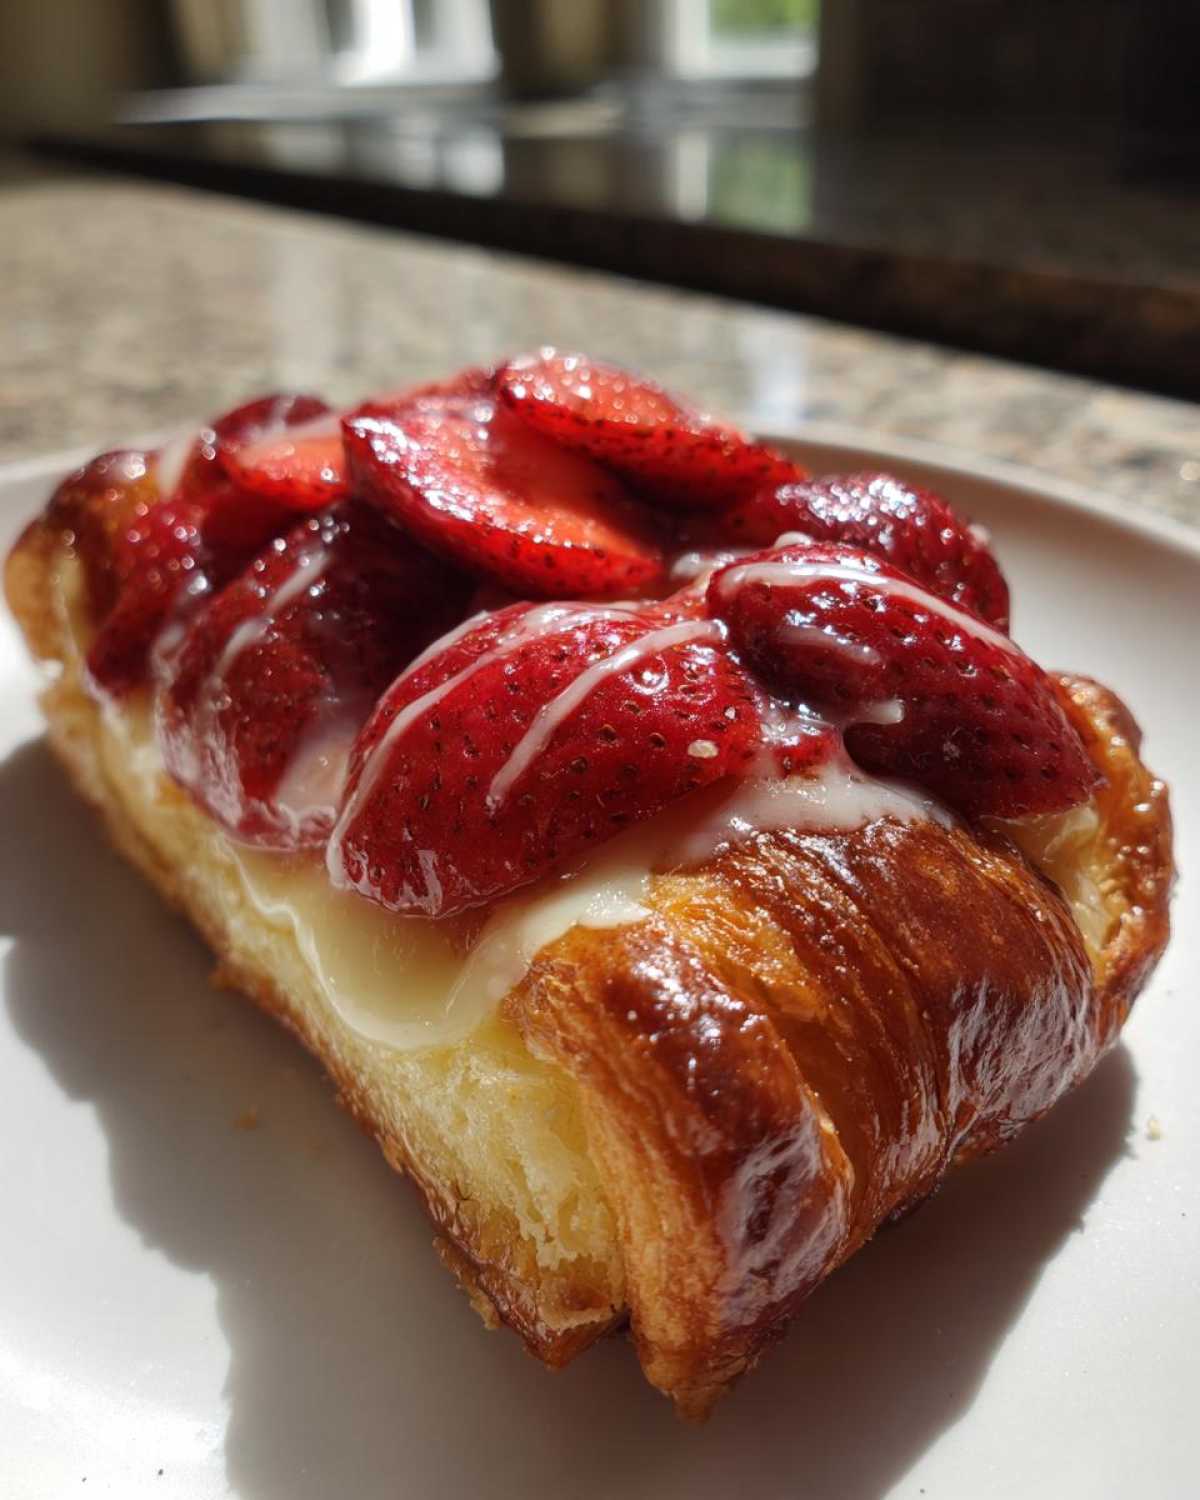
Why This Strawberry Cream Cheese Danish Recipe Works
I know what you’re thinking—another complicated pastry? Nope! This recipe is designed to be your weekend brunch hero. We keep things incredibly simple, which is why you can go from the pantry to the oven in less than an hour total time. Trust me, this combination of ingredients just sings!
- It’s genuinely fast, taking only about 43 minutes from start to finish. You can even find more great breakfast ideas here!
- We use frozen puff pastry because, frankly, it’s a guaranteed way to get those glorious flaky layers without all the fuss.
- The filling is genius: sweet, smooth cream cheese perfectly balanced by that slightly tart, thickened strawberry topping. It stops the pastry from getting soggy, too!
Ingredients for Your Perfect Strawberry Cream Cheese Danish
Gathering your ingredients is the first step toward making these beautiful pastries look like they just came from a gourmet shop. I’ve broken everything down so you know exactly what needs to be ready before we start mixing. Getting the cream cheese just right is crucial here; nobody likes lumpy filling, that’s for sure!
If you’re looking for inspiration on amazing cream cheese bases, check out this classic cream cheese frosting recipe—it shares the same smooth base idea we’re using today!
Puff Pastry and Assembly Components
These are the structural elements that make the pastry puff up so gorgeously:
- One package (14.1 ounces) frozen puff pastry, and make sure it’s fully thawed.
- One large egg, beaten well for the egg wash.
- For the final drizzle: 1/2 cup powdered sugar and 2 tablespoons milk or cream.
Cream Cheese Filling Base
This has to be silky smooth, so pay close attention to that cream cheese temperature!
- 8 ounces cream cheese. Listen, this HAS to be fully softened to room temperature, or you’ll be whipping lumps out of your **Strawberry Cream Cheese Danish** filling forever!
- 1/2 cup granulated sugar.
- 1 large egg yolk.
- 1 teaspoon vanilla extract.
- 1/4 teaspoon salt—don’t skip this; it cuts through the sweetness!
Thickened Strawberry Topping
We cook this filling just a tiny bit so we don’t end up with wet spots on the bottom of the pastry. It’s an important trick for real flaky results.
- 1 cup fresh strawberries, sliced thin.
- 2 tablespoons granulated sugar (this is extra sugar just for the berries).
- 1 tablespoon cornstarch.
- 1 tablespoon water.
How to Assemble and Bake the Strawberry Cream Cheese Danish
Okay, now that we have our components ready—the creamy filling and the slightly thickened strawberry mix—it’s time for the fun part: building our pretty pastries! Remember, working quickly with the puff pastry is key to keeping those air pockets intact. If your kitchen is warm, don’t hesitate; just pop parts back in the fridge!
Making the Easy Strawberry Cream Cheese Filling
Grab that bowl with your softened cream cheese mixture. You just need to beat everything together until it looks like velvet. I mean it—smooth, no little lumps of cheese anywhere! Once you’re satisfied that it’s perfectly creamy, cover it up and just let it chill out while you deal with the strawberries.
Cooking the Strawberry Topping
This step is important for preventing a soggy bottom on your finished Danish. In a little saucepan, dump in your sliced strawberries, that extra bit of sugar, cornstarch, and water. Cook this over medium heat. You’re just looking for it to bubble gently and thicken up just a bit—seriously, 3 to 5 minutes is usually all it takes. You want it to coat the back of a spoon lightly. When it does, take it right off the heat and let it cool down completely. If it’s warm, it will melt your cream cheese layer!
Cutting and Shaping Your Strawberry Cream Cheese Danish
Unfold your thawed puff pastry sheets. Line them up, and cut each sheet into nine nice squares. That gives us a total of 18 squares to work with. Now, for the shaping! Put a spoonful of that fluffy cream cheese filling right in the middle of one square. Then, spoon a little bit of your cooled strawberry topping right on top of the cheese. Don’t overstuff it, or it will spill when baking!
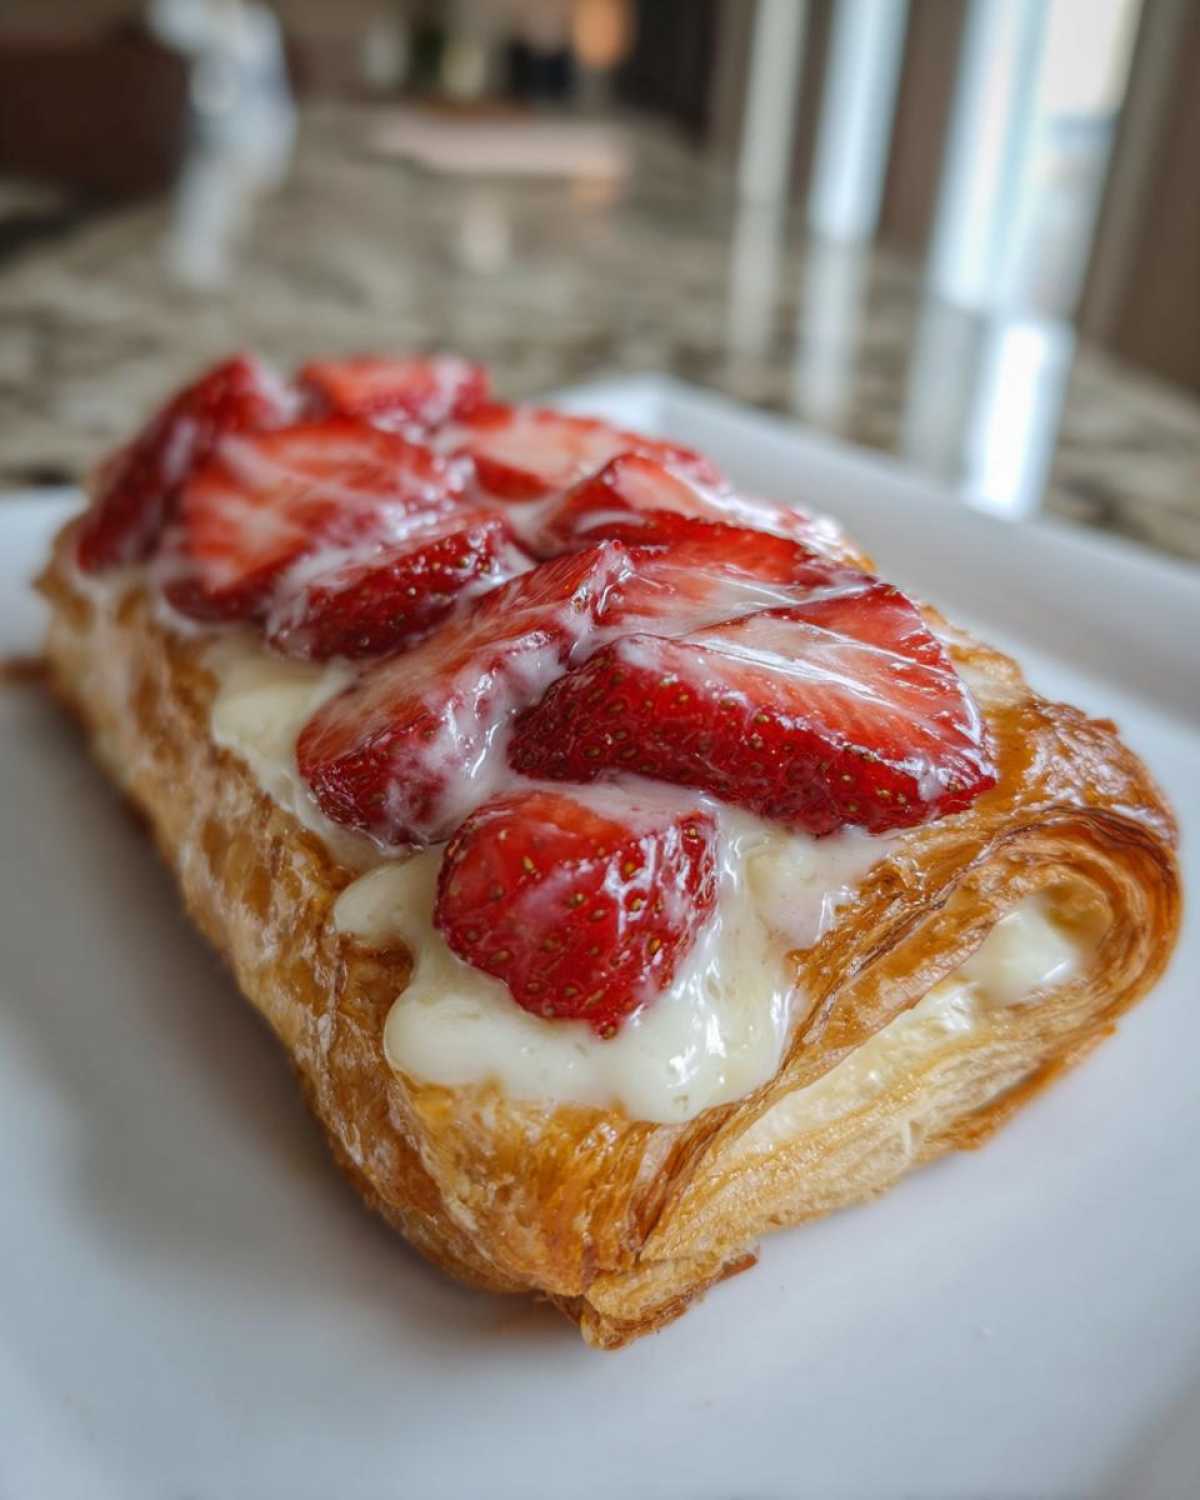
To get that signature rustic look, take two corners that are opposite each other—say, the top-left and bottom-right—and fold them over toward the middle, letting them overlap just a little bit. Gently press those seams down so they stick. Repeat that with the other two corners. It should still look like an open square with lots of filling showing!
Baking for Flaky Perfection
This is where patience pays off! Once your squares are shaped, get them onto baking sheets lined with parchment paper (you can peek at my tips on perfect pastry bases if you want!), and get them into the refrigerator. They need to chill for at least 15 minutes, sometimes longer if your kitchen is hot. This chilling solidifies the butter layers, which is the secret to the flakiness you crave in your **Strawberry Cream Cheese Danish**.
Preheat your oven to a hot 400°F (200°C). Before they go in, brush those exposed pastry edges only—not the filling!—with your beaten egg wash. Bake them for 15 to 18 minutes. Keep an eye on them until they look golden brown, puffed up high, and absolutely glorious. Since they bake fast, don’t wander too far!
Tips for Achieving Bakery-Style Strawberry Cream Cheese Danish
Now that you know the basic assembly, let’s talk about getting them to that next level—you know, the kind they charge you five dollars for at the fancy brunch places! Since we’re using puff pastry, the name of the game is keeping things cold. Cold butter equals steam, and steam equals those incredible, airy flakes we’re after. Think of yourself as an ice agent guarding those layers!
Handling Puff Pastry for Maximum Flake
This is where a few extra minutes of chilling really pays off big time. If your dough feels soft at all—and I mean any softness—stop what you’re doing! Take a quick break and stick the assembled pastries back in the fridge for 15 minutes. Better yet, if you really want those layers to behave, try this trick:
- Once you have assembled your little squares, place them in the freezer for a solid 10 minutes right before they go into the oven. It sounds counter-intuitive, but chilling them rock-solid right before the heat blast sets those layers beautifully in place. It traps the structure!
Customizing Your Sweet Cream Cheese Pastry
While this recipe is perfect as written, I love tinkering, especially when berries aren’t in peak season. Don’t feel locked into the cooked strawberry topping if you don’t have to be. This recipe is super adaptable for your pastry topping needs!
- Jam Swap: If fresh strawberries are being difficult or expensive, 1-to-1 substitution using a good quality strawberry jam works wonderfully. Just skip the cooking step entirely!
- Flavor Boost: For the cream cheese filling, try beating in about a teaspoon of fresh lemon zest along with the vanilla extract. That little bit of citrus brightens up the whole experience, making the cheese layer less heavy and pairing perfectly with the berry.
Storage and Make Ahead Options for Strawberry Cream Cheese Danish
You know me—if I can bake something ahead of time for a less stressful morning, I’m doing it! These Strawberry Cream Cheese Danishes are fantastic when made the day before, but you have to be smart about when you apply that final drizzle of glaze. We want to preserve that beautiful flakiness, not trap humidity against it!
If you plan on making these as part of a fun make ahead Danish recipe plan, here is my best advice for timing.
First things first: you absolutely must let them cool completely—and I mean completely—on the wire rack before you even think about storing them or glazing them. If you seal them up while they are warm, the steam will instantly turn that flaky crust into a chewy sponge, and we worked too hard for that!
For the best results, I bake them completely, let them cool completely, and then store them loosely covered at room temperature for up to two days. They hold up really well! If you plan on glazing them, only glaze the amount you plan to eat that day. The glaze tends to soften the pastry around it over time.
If you want to prep them even further, you can assemble the raw pastries (steps 1 through 5) and place them on the baking sheet. Cover the sheet tightly with plastic wrap and put the whole thing in the fridge overnight. When you wake up, take them out, let them sit on the counter for about 15 minutes to warm up slightly, brush with egg wash, and then pop them straight into the 400°F oven. Just add 2 or 3 minutes to the baking time since the dough was chilled!
Serving Suggestions for Your Gourmet Breakfast Pastries at Home
Once that gorgeous glaze is set on top of your **Strawberry Cream Cheese Danish**, you have to decide what to serve alongside it because a pastry this good deserves a perfect partner! Since these are rich, sweet, and creamy, I always lean toward something bright or slightly tart to cut through that richness. They are the star of any brunch, hands down.
You’ve done the hard work making a showstopper, so you don’t want to complicate the pairing. Keep it simple, fresh, and easy so you can stand back and admire your beautiful, flaky work!
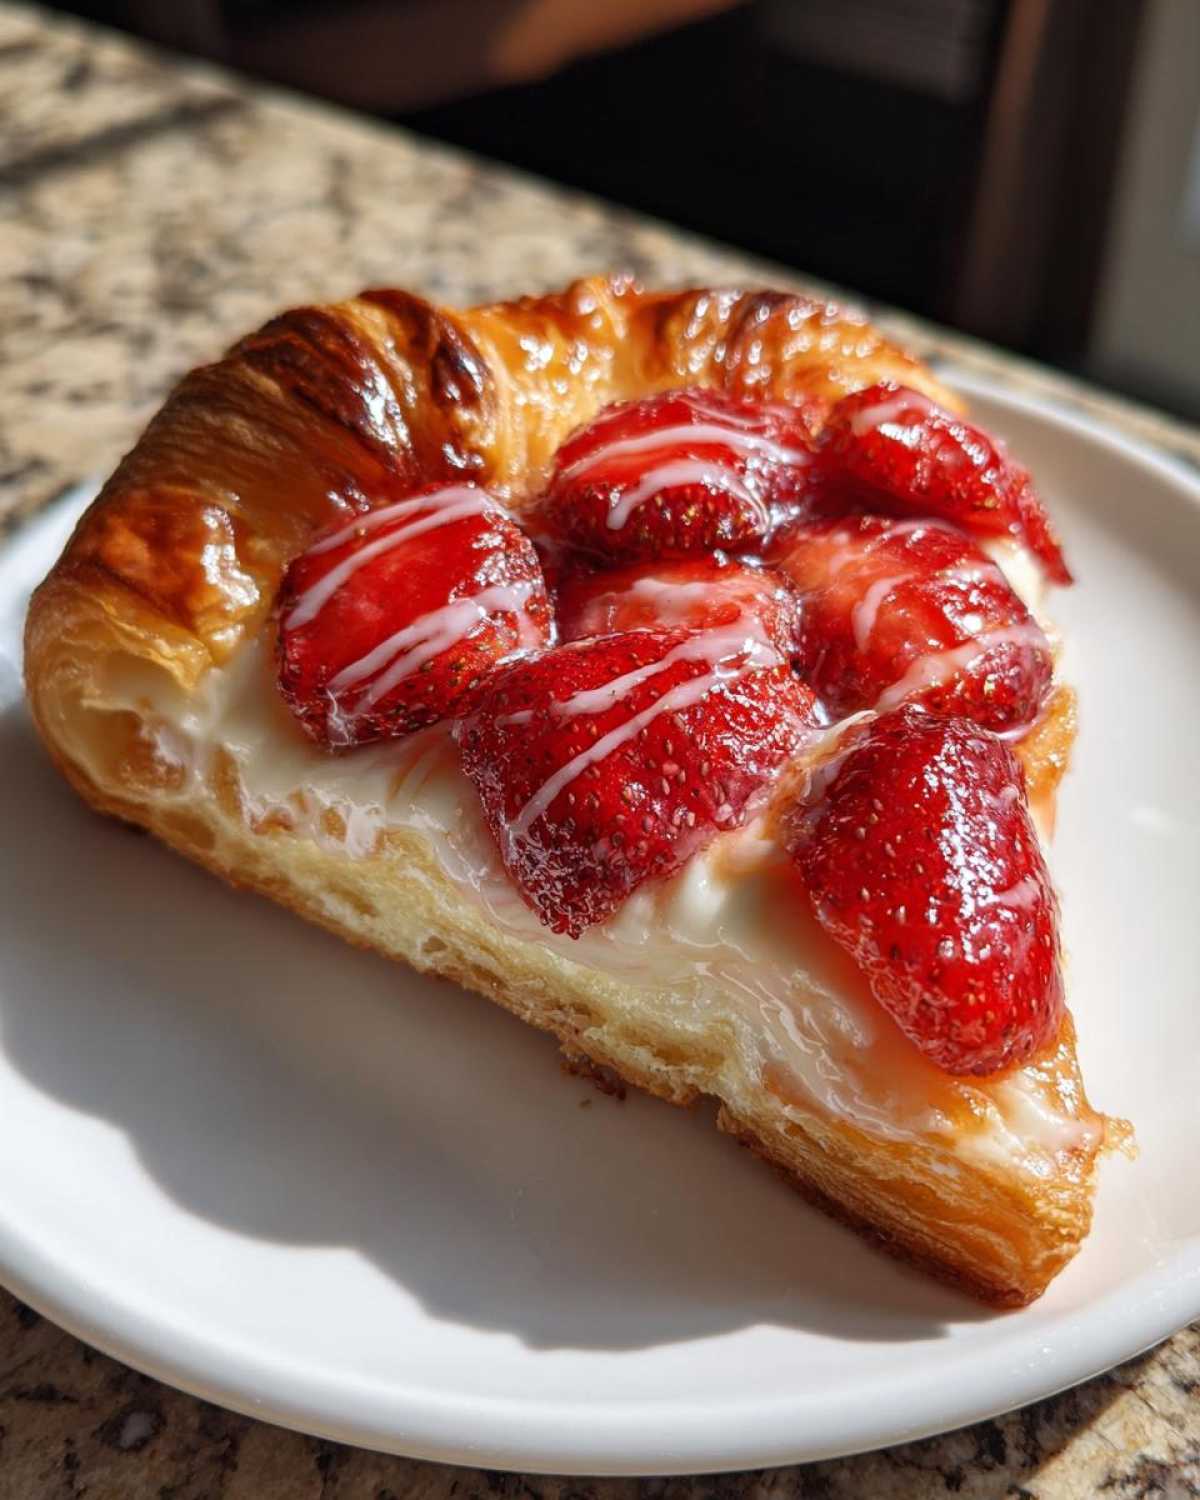
Here are a few things that always show up on my table when I serve these:
- Coffee or Tea: Obviously, this is non-negotiable! A strong black coffee or a light black tea works perfectly to balance the sweetness of the cheese and the glaze.
- Fresh Fruit Salad: Since we have strawberries in the Danishes, lean into the other fresh flavors. Think kiwi, blueberries, and maybe some crisp green grapes. It adds color and freshness without being heavy.
- A Light Drink: If you are making these for a special weekend brunch, something light and bubbly is amazing. I sometimes make a big pitcher of sparkling water with lots of fresh mint and lime wedges. If you’re feeling slightly more festive, you could try mixing up something fun like this apple cider sangria, though you’d want to use a lighter fruit base rather than the heavy autumn spices for this particular pastry!
The main goal is that the pastry should shine. Keep the sides fresh, simple, and easy so you can stand back and admire your beautiful, flaky work!
Frequently Asked Questions About Making a Strawberry Cream Cheese Danish
I know when you follow a recipe, questions always pop up right when you’re in the middle of baking! That’s totally normal, especially when you are trying to achieve that perfect bakery look. Don’t worry; I’ve heard all these questions before when people are learning the ropes of a **Homemade Danish pastry tutorial**.
Can I use fresh, uncooked strawberries instead of the cooked topping?
That’s a great question about saving time! While you absolutely could skip cooking the berries, I really, really advise against it for this specific pastry. When you cook the strawberries briefly with the cornstarch and water, you are essentially thickening the juices right away. That means those juices won’t burst out while baking and turn that beautifully flaky puff pastry soft and soggy underneath the filling. If you simply must use fresh, uncooked berries, you have to let them macerate (sit in sugar) for a bit, but then you need to spoon them on *after* the Danish has finished baking, which defeats the purpose of getting that lovely baked layer!
What if my puff pastry doesn’t puff up when making this Danish?
Oh, the puff pastry dread! It’s the most common panic point for anyone making a **Sweet cream cheese pastry tutorial**. The reason you don’t get those gorgeous soaring layers is almost always temperature or technique.
Here’s what usually goes wrong:
- It was too warm: If your dough wasn’t nice and cold when it hit the oven, the butter melted too fast before it could create steam, causing it to spread out instead of puff up. My fix? Always chill it before baking!
- Seams weren’t sealed: When you fold those corners toward the middle, if you don’t press those seams flat and firm, the steam escapes there instead of forcing the pastry layers apart. Go back and use your fingers to gently pat those overlapping centers down!
How do I get a shiny glaze on my cream cheese pastry?
That shiny glaze just finishes the whole look, doesn’t it? It’s actually super simple, but timing is everything. First, make sure your danishes are 100% cool—and I mean totally cool to the touch—before you drizzle anything on top.
The trick to shininess? Whisk your powdered sugar and milk until it’s absolutely perfectly smooth. I mean beat it for a good two minutes until you can’t see any sugar granules; a tiny bit of extra milk can help get it silky. You want it thin enough to drip nicely, but thick enough that it doesn’t immediately run off the pastry and pool on the tray. If you accidentally make it too thin, just whisk in another tablespoon of powdered sugar until the consistency feels right. You can find other ideas on getting perfect coatings here, like for my cake coatings which share similar principles!
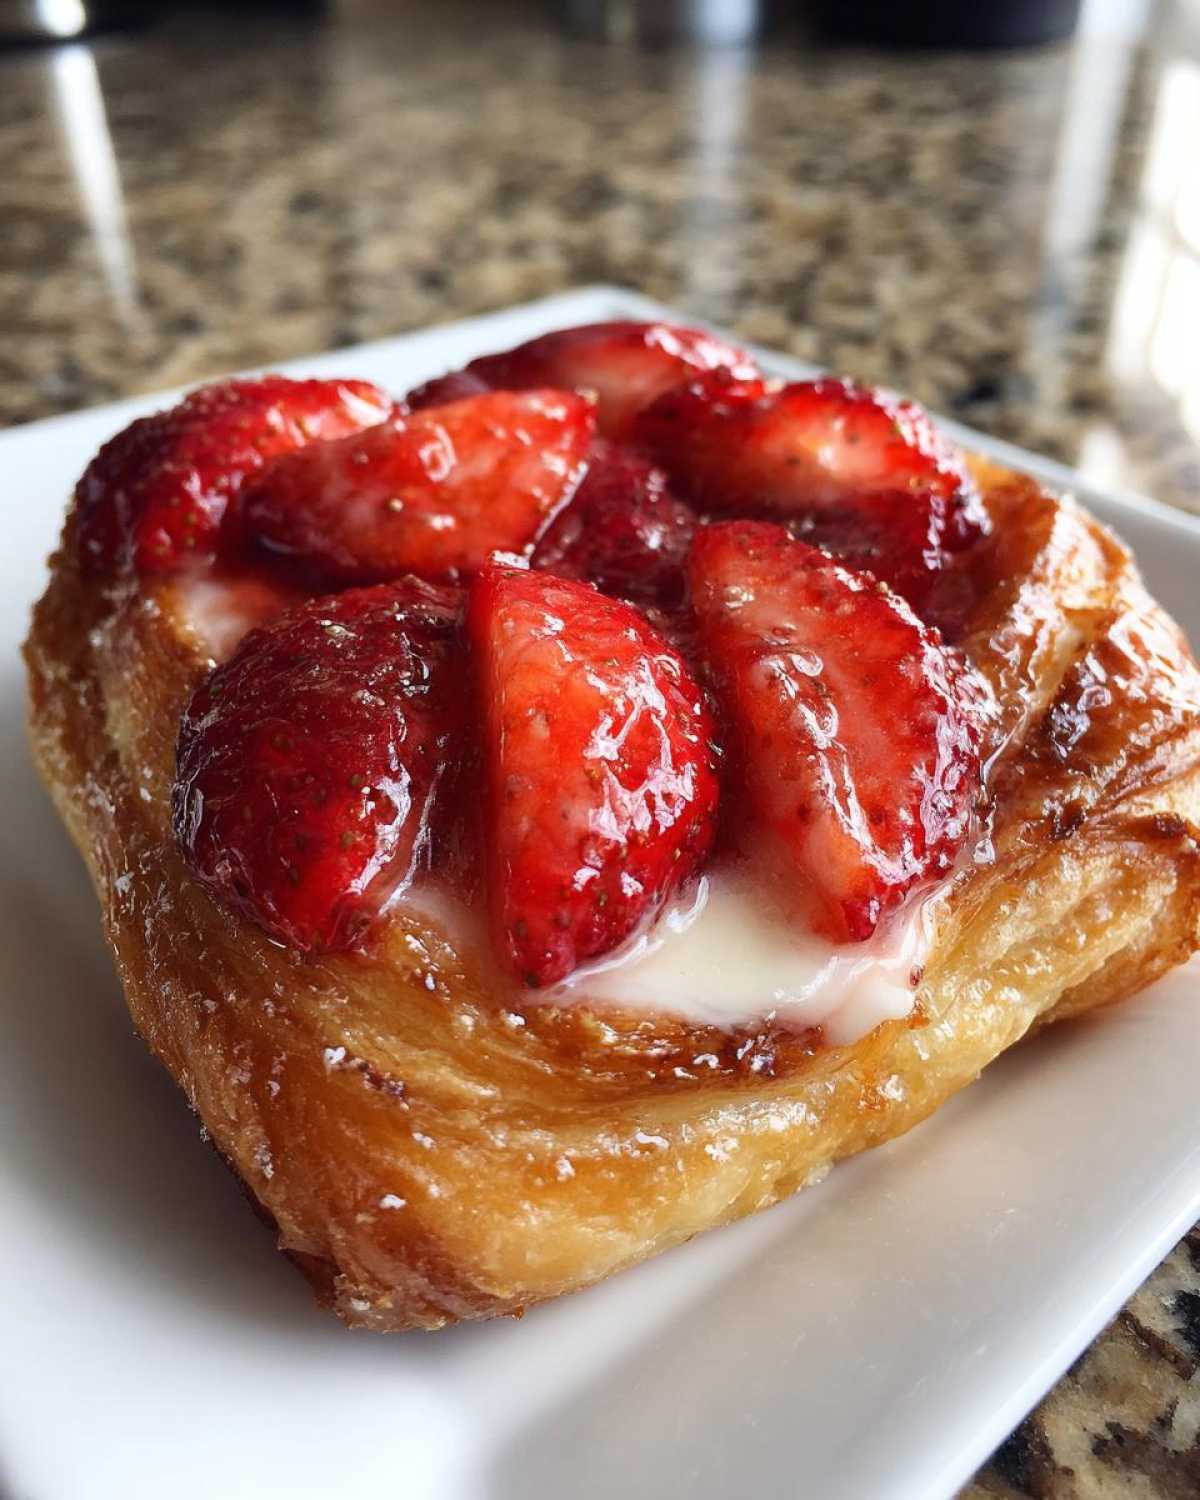
Estimated Nutritional Overview for This Strawberry Cream Cheese Danish
Alright, let’s talk about what goes into making these beautiful pastries, because sometimes you want to know the details!
Here is the estimated nutritional breakdown per serving (that’s one single, glorious **Strawberry Cream Cheese Danish**). Please remember these are just estimates, okay? If you splurge on super-rich cream cheese or your puff pastry sheets are thicker than mine, the numbers might jump around a little bit.
We worked hard to make them look gourmet, but because we’re using puff pastry and a decent dollop of sweet cream cheese, they are definitely a treat!
- Calories: Around 280 (A perfect treat for a weekend brunch!)
- Fat: About 16 grams total fat.
- Saturated Fat: Roughly 9 grams of that, mostly from the butter and cream cheese.
- Carbohydrates: Around 30 grams.
- Sugar: Approximately 22 grams.
- Protein: About 4 grams.
So yes, they are delicious, but they are also a decadent addition to your weekend lineup. Enjoy them guilt-free because you made them yourself with love!
Share Your Homemade Danish Pastry Tutorial Success
Now you’ve done it! You’ve tackled the flaky pastry, you’ve managed the beautiful swirl of cream cheese, and you’ve got that bright strawberry topping—you officially conquered the **Strawberry Cream Cheese Danish**! I swear, every time I pull a tray of these out of the oven, I feel like I should get a medal!
This is the part where I truly love hearing from you all. Seriously, don’t be shy! I want to know how your assembly went. Was the chilling time easy? Did that rustic fold work out for you? Did you add a squeeze of lemon to the cheese filling like I suggested?
Please, please, please drop a rating right below this box to let everyone know if this recipe delivered the bakery-style results you were hoping for. And if you took pictures—which I sincerely hope you did—please share them! Tagging me on social media or just leaving a comment here helps me see what amazing things you’re baking up in your kitchens. It’s the best part of sharing these family favorites.
If you ever want to learn more about how we develop these recipes or just want to say hello, you can always check out the About Us page. Happy baking, and enjoy every single flaky bite!
PrintStrawberry Cream Cheese Danish

A recipe for making flaky, bakery-style danishes filled with sweet cream cheese and fresh strawberry topping.
- Prep Time: 25 min
- Cook Time: 18 min
- Total Time: 43 min
- Yield: 18 servings
- Category: Breakfast
- Method: Baking
- Cuisine: American
- Diet: Vegetarian
Ingredients
- 1 package (14.1 ounces) frozen puff pastry, thawed
- 8 ounces cream cheese, softened
- 1/2 cup granulated sugar
- 1 large egg yolk
- 1 teaspoon vanilla extract
- 1/4 teaspoon salt
- 1 cup fresh strawberries, sliced
- 2 tablespoons granulated sugar (for strawberries)
- 1 tablespoon cornstarch
- 1 tablespoon water
- 1 large egg, beaten (for egg wash)
- 1/2 cup powdered sugar (for glaze)
- 2 tablespoons milk or cream (for glaze)
Instructions
- Prepare the cream cheese filling: In a medium bowl, beat the softened cream cheese, 1/2 cup sugar, egg yolk, vanilla extract, and salt until smooth and creamy. Set aside.
- Prepare the strawberry topping: In a small saucepan, combine the sliced strawberries, 2 tablespoons sugar, cornstarch, and water. Cook over medium heat, stirring constantly, until the mixture thickens slightly, about 3 to 5 minutes. Remove from heat and let cool completely.
- Prepare the pastry: Unfold the thawed puff pastry sheets onto a lightly floured surface. Cut each sheet into 9 equal squares (you should have 18 squares total).
- Assemble the danishes: Place a spoonful of the cream cheese filling in the center of each pastry square. Top the cream cheese with a spoonful of the cooled strawberry mixture.
- Shape the danishes: Fold two opposite corners of the square toward the center, overlapping them slightly to create a rustic, open square shape, leaving some filling exposed. Gently press the seams.
- Chill: Place the assembled danishes on baking sheets lined with parchment paper. Chill in the refrigerator for at least 15 minutes. This helps the pastry hold its shape.
- Bake: Preheat your oven to 400°F (200°C). Brush the exposed pastry edges with the beaten egg wash.
- Bake for 15 to 18 minutes, or until the pastry is golden brown and puffed.
- Cool: Let the danishes cool on the baking sheet for 5 minutes before transferring them to a wire rack to cool completely.
- Glaze: Whisk together the powdered sugar and milk/cream until smooth. Drizzle the glaze over the cooled danishes.
Notes
- For extra flakiness, place the assembled, unbaked danishes in the freezer for 10 minutes before baking.
- You can substitute strawberry jam for the fresh strawberry topping if fresh berries are not available.
- If you prefer a thicker glaze, reduce the amount of milk used.
Nutrition
- Serving Size: 1 danish
- Calories: 280
- Sugar: 22
- Sodium: 150
- Fat: 16
- Saturated Fat: 9
- Unsaturated Fat: 7
- Trans Fat: 0
- Carbohydrates: 30
- Fiber: 1
- Protein: 4
- Cholesterol: 45