

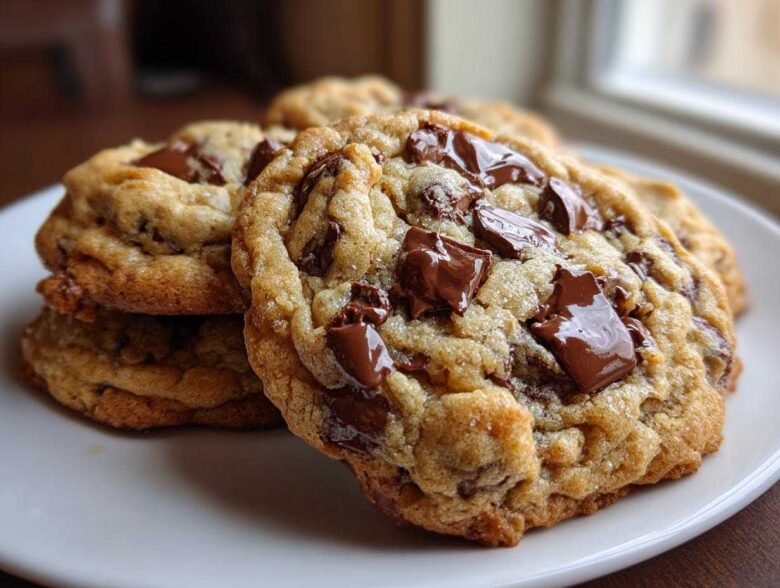
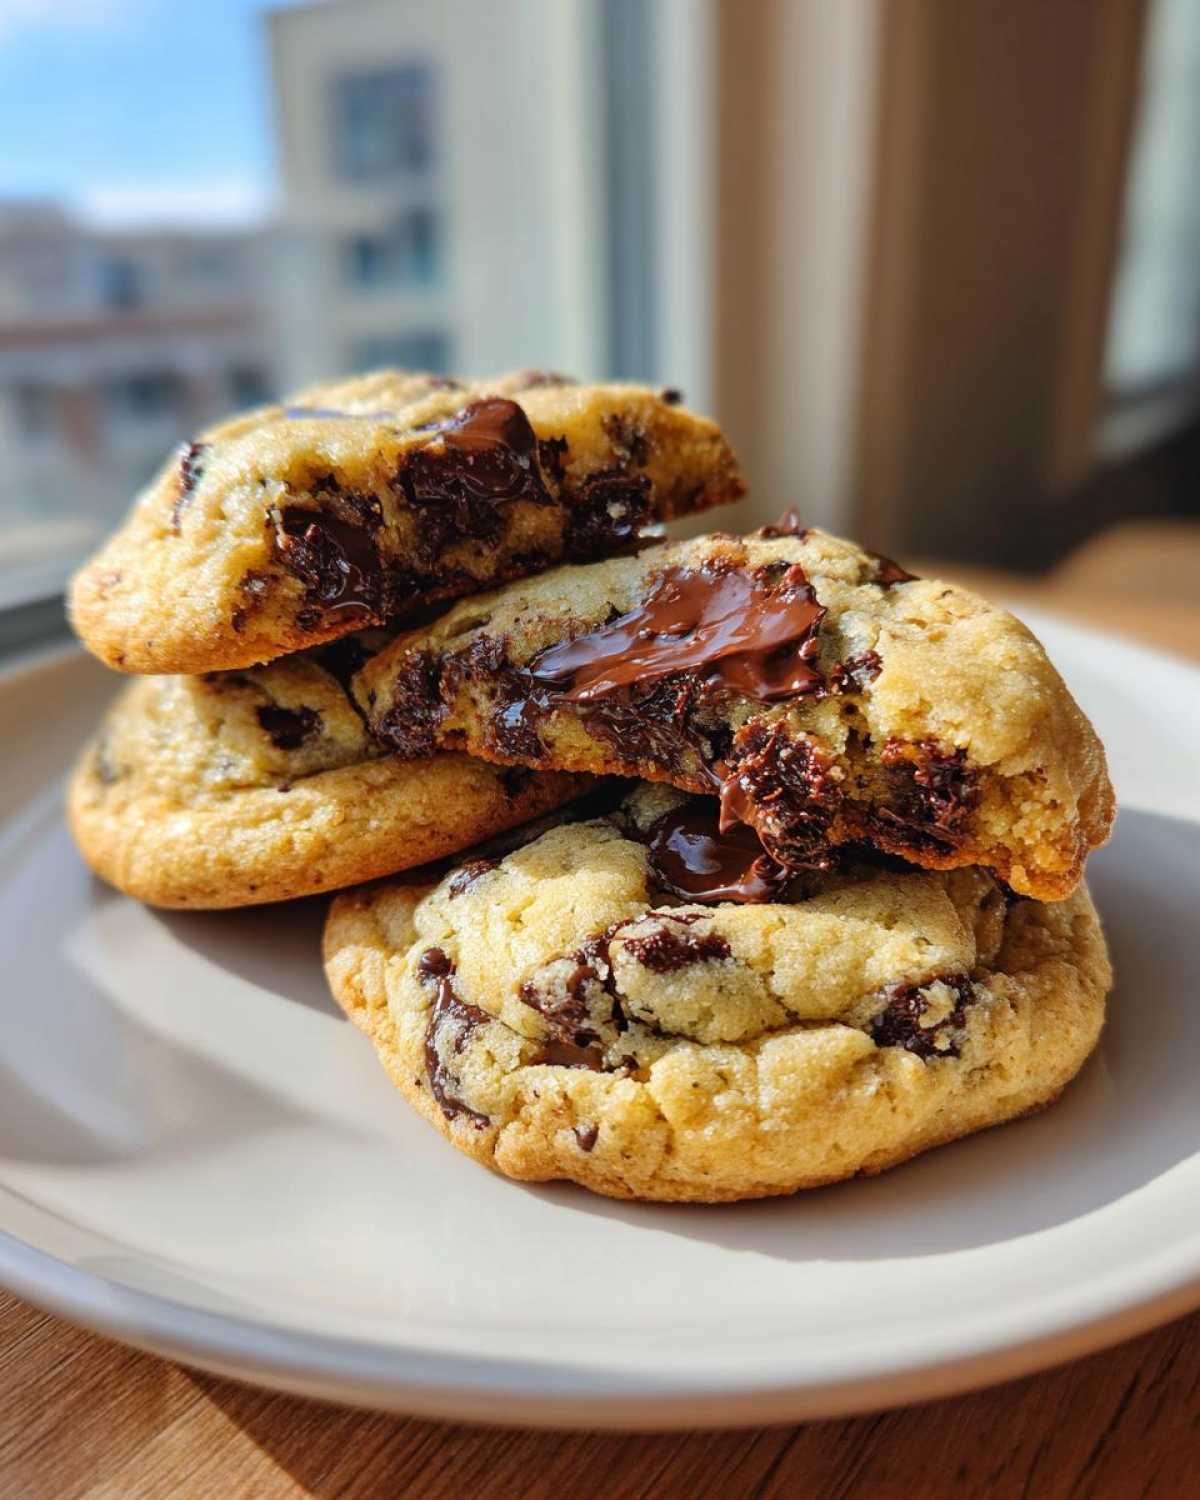
Oh, if I have one cookie confession to make, it’s that I used to spend years chasing the *perfect* texture. You know the drill—crispy on the outside, but then the middle is either dry hockey puck material or somehow still completely raw dough? It’s frustrating! I tried chilling dough for 24 hours, I tried adding cornstarch, I tried everything you can imagine just to get those glorious, chewy chocolate chip cookies from the bakery case.
Well, stop your search right now, friend, because I finally cracked the code. This is my Ultimate Thick and Chewy Chocolate Chip Cookies recipe, and the best part? You don’t have to wait! Seriously, you can mix these up and have a warm, gooey treat ready in less than 30 minutes. Mastering that balance between thick structure and that irresistible pull of chewiness took me dozens of batches, but I’m telling you—this ratio of melted butter to brown sugar is magic. It’s the simplest, fastest way to get the gooey center cookies everyone dreams about, right out of your oven.
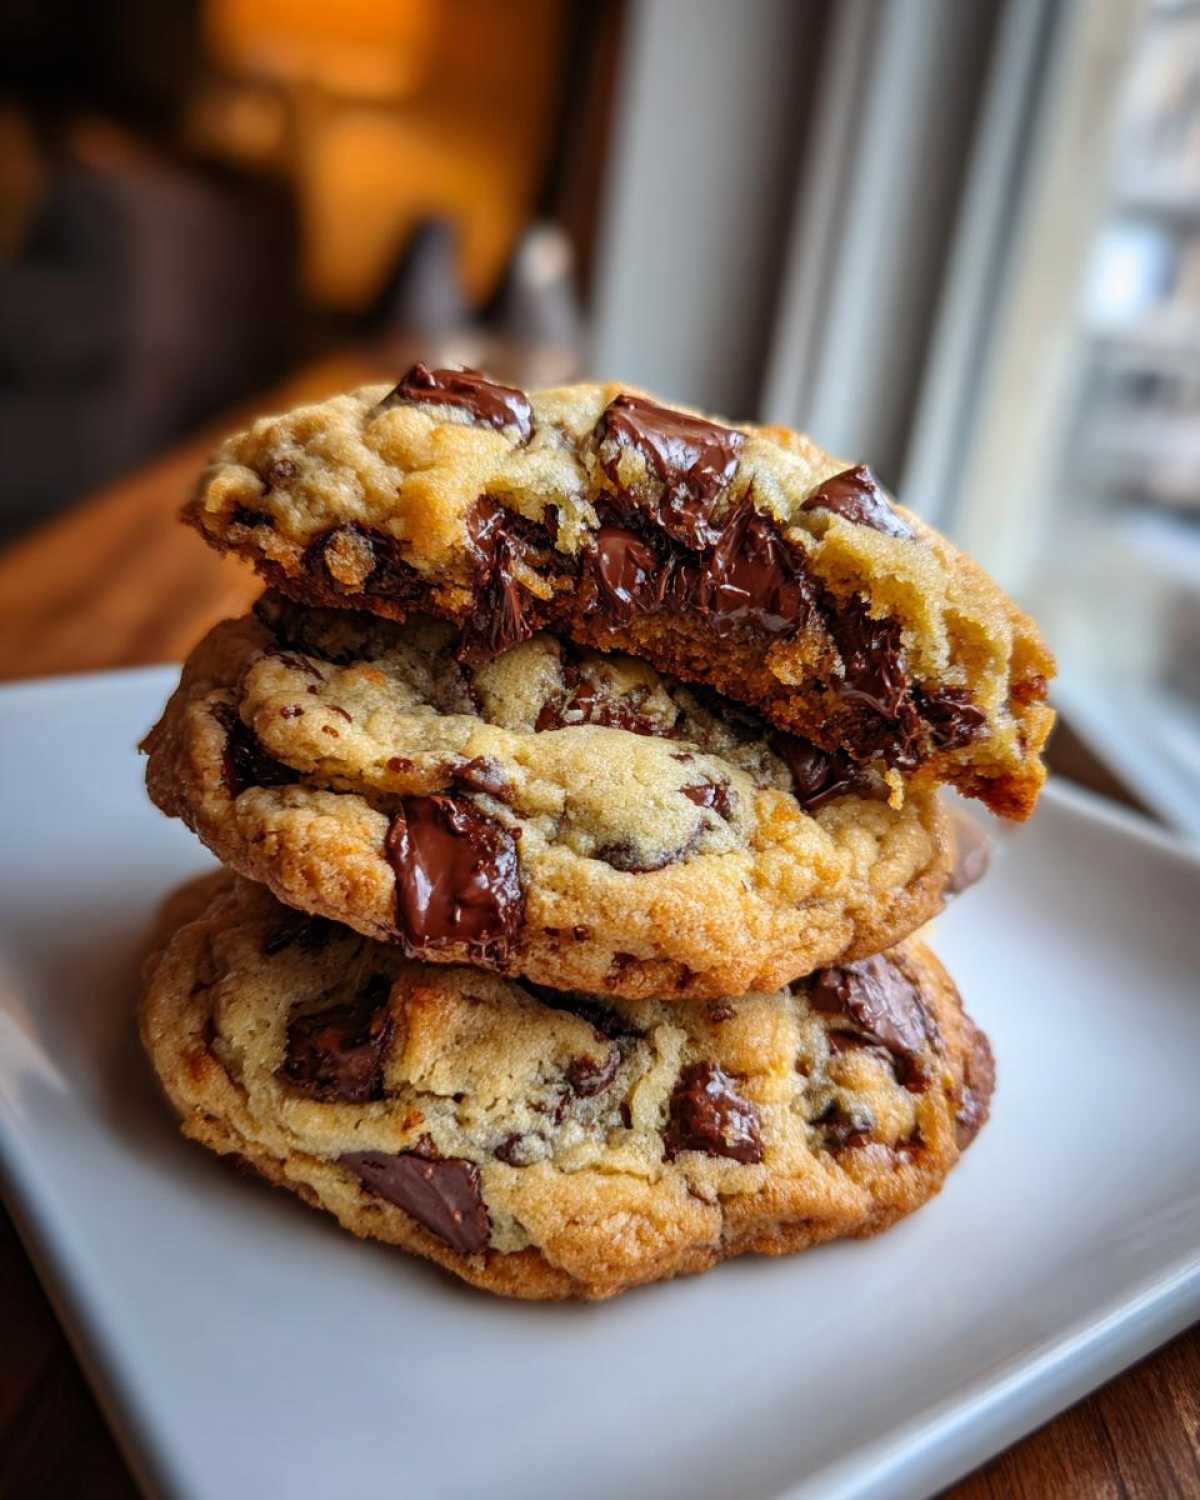
Trust me, once you nail this specific method, you’ll never look back. I remember telling my neighbor Barb that I finally figured out how to make cookies she couldn’t stop talking about, and she honestly thought I was trying to sell her something! But no secrets now—just amazing, no-fuss cookies. If you want an entry into better cookie baking, maybe check out my guide on overnight oats while you wait for your oven to preheat; it’s just as much about patience with breakfast!
Why These are the Best Chewy Chocolate Chip Cookies (The Science of Chew)
Seriously, what makes these the Best Chewy Chocolate Chip Cookies? It all comes down to the fats and the sugars, folks. Most recipes ask you to cream cold butter and sugar, which whips in a ton of air, making the final cookie fluffy and cake-like. Not what we want here! We use melted butter. Melting the butter hydrates the flour more immediately, which leads to less leavening action and a denser, flatter, chewier spread. That structure is key!
Next up is the sugar ratio. See how I used way more brown sugar than white sugar? Brown sugar has molasses in it, which is acidic and hygroscopic—meaning it holds onto moisture like nobody’s business! That’s the secret ingredient to lasting chewiness. If you want to dive deeper into how fat affects flavor, you should totally look into my post on brown butter chocolate chip cookies sometime!
My expert tip, which is something I learned through trial and error, is temperature. Even though we use melted butter, make sure your eggs aren’t ice-cold straight from the fridge. Room temperature eggs emulsify much better, giving you a smoother batter base to work with. It’s a small difference that makes a big impact on texture!
Achieving Bakery Style Chocolate Chip Cookies Texture
To get that beautiful, thick profile that looks like it came straight from the counter at a fancy bakery, you need to be mindful when scooping. Don’t press the dough down flat onto the sheet! I really mean it. I scoop big mounds, and then just gently press them slightly inward with my spatula or fingers. This keeps the dough tall before it starts to melt in the oven. This little shaping trick locks in the thickness so you don’t end up with giant, thin lace cookies. It’s the easiest way to guarantee that satisfying bakery style chocolate chip cookies look every single time.
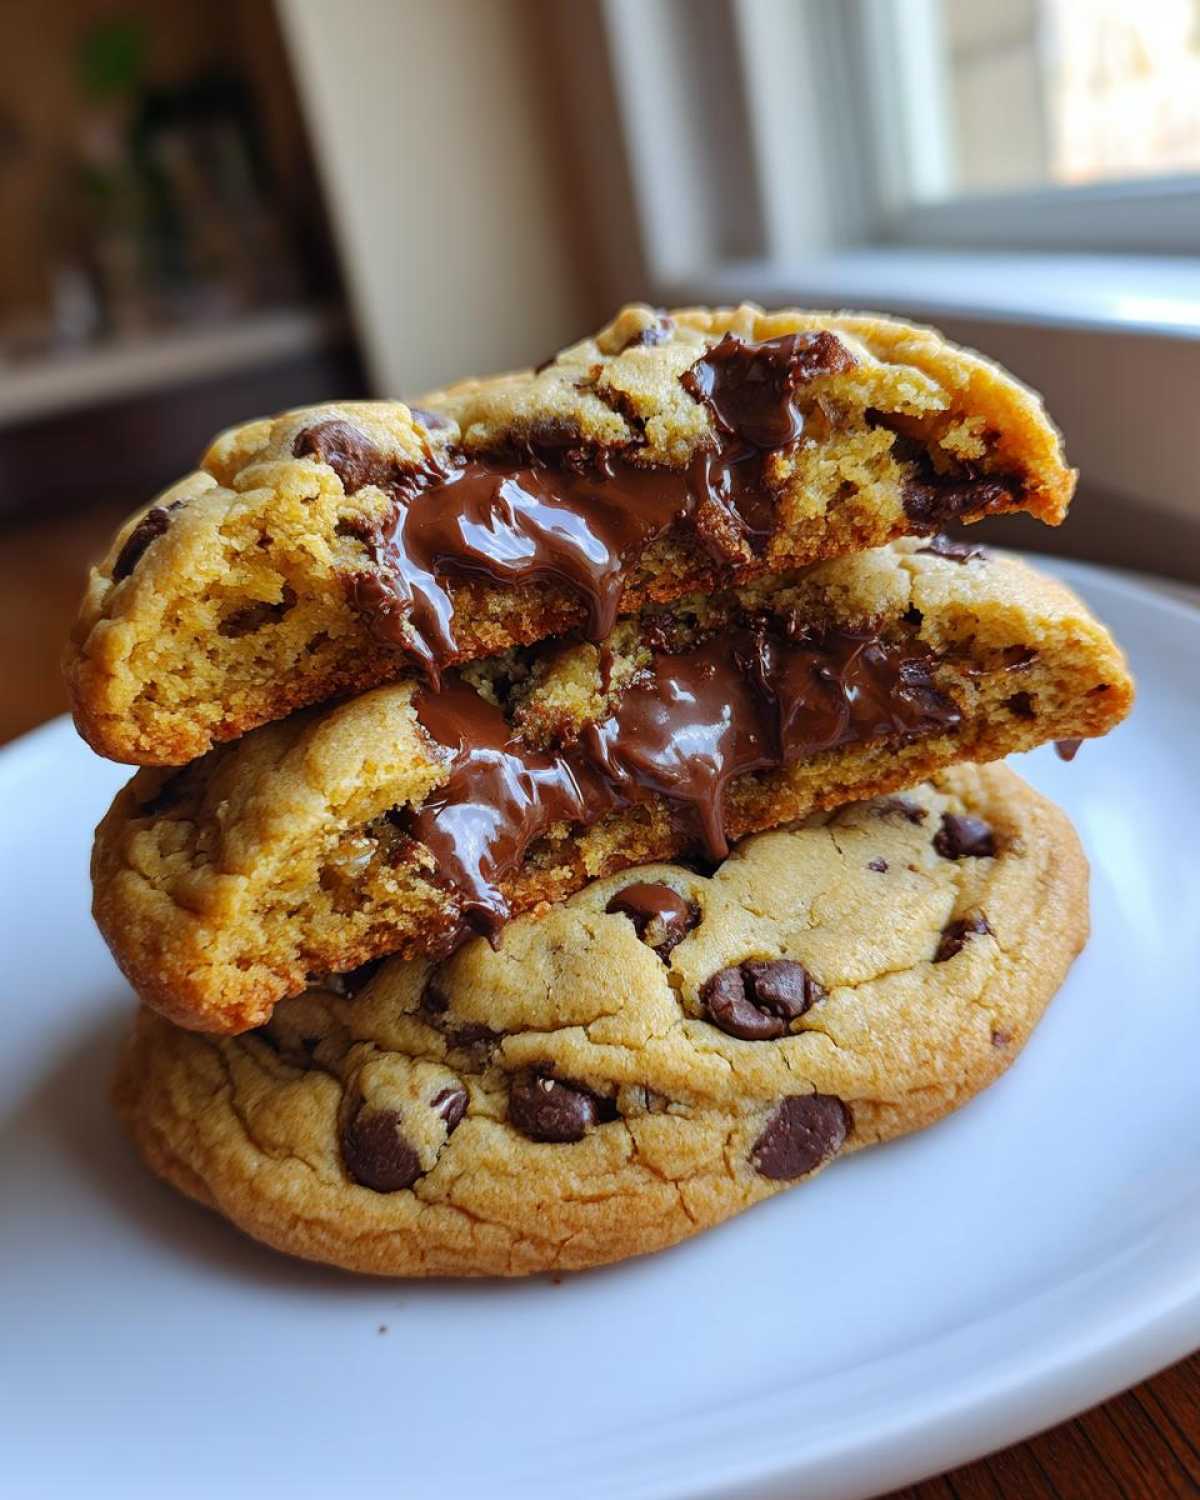
Gathering Ingredients for Perfectly Chewy Cookies
Okay, now that we’ve talked science, let’s talk ingredients. Like I always say, cookie quality comes straight from the pantry. This recipe is short and sweet—you probably have everything you need right now! If you look at the list, you’ll see we’re not messing around with any complicated steps here; this is an easy cookie recipe designed for maximum chew with minimum effort.
Remember, precision matters when you’re aiming for this specific texture. You need a full cup (that’s two sticks!) of unsalted butter, and that butter MUST be melted—not just soft. Make sure your light brown sugar is packed tightly into the measuring cup so you get that deep molasses flavor. And when the recipe calls for two large eggs and vanilla extract, please measure it exactly. These small details are critical for getting those perfectly chewy cookies we are after.
Ingredient Notes and Substitutions for Chewy Chocolate Chip Cookies
The melted butter is your workhorse for chewiness because it skips the creaming process, resulting in a denser cookie structure. I cannot stress enough how important that higher ratio of dark brown sugar is over the white sugar; it’s what keeps the cookies soft for days. If you wanted to switch up the chips, don’t feel stuck with just semi-sweet! I love mixing in some milk chocolate chunks for extra meltiness, or using dark chocolate for a deeper flavor. Just make sure you stick to that 1 1/2 cup total, or you risk running out of dough!
Step-by-Step Instructions for Easy Chewy Cookie Recipe
Now that we have our perfect ingredients ready, we are just minutes away from the ultimate reward! This process for creating Easy Chewy Cookie Recipe batch is super fast, which is why I love it for spontaneous weeknight baking. First things first: crank that oven up to 375 degrees Fahrenheit! Make sure you get your baking sheets lined; parchment paper is my best friend for cleanup, but you could also use silicone mats if you have them. Trust me, the 5-minute rest on the pan later on requires a non-stick base!
We start by mixing the wet ingredients. In a big bowl, whisk that melted butter with both sugars until they look smooth and combined—no greasy butter blobs allowed! Then we add the eggs one at a time, mixing well after each addition, followed by that huge splash of vanilla. If you rush this part, trust me, you’ll regret it! I once tried to skip beating the second egg thoroughly because I was late picking up my son from soccer practice, and the result was weirdly greasy pockets in the finished cookies. Take the extra thirty seconds!
In a separate bowl, just quickly whisk up your dry stuff: flour, baking soda, and salt. We only want these dry guys lightly mixed so they don’t deflate when hitting the wet ingredients. Then, it’s time to combine them slowly. This is where most people mess up their cookies!
Mixing the Dough for Soft and Chewy Cookies
When you add the dry mixture to the wet, you have to go slow and low. I usually use my stand mixer on the lowest speed, or just stir by hand with a spatula. The absolute cardinal sin in cookie making is overmixing once the flour goes in. As soon as you stop seeing big streaks of flour, STOP MIXING. Seriously, stop stirring! Developing too much gluten is what turns your beautiful dough into tough, hard cookies. We want that pull and give in the finished product, not a bread-like structure.
Once the flour is *just* incorporated, fold in all those glorious chocolate chips using your spatula. Make sure they are evenly distributed, but again, don’t beat them in. Finally, scoop heaping tablespoonfuls onto your parchment-lined sheets. For those wonderfully thick cookies, I make little dome shapes and just gently nudge the edges inward by about an inch. They should look tall and proud before they hit the heat.
Baking Tips for Crispy Edge Chewy Middle Cookies
This is the moment of truth, folks! Bake these beauties for 10 to 12 minutes at 375°F. For that perfect crispy edge chewy middle cookies structure, you are aiming for just barely done. The edges should look set and slightly golden brown—maybe a tiny bit puffed up. But here’s the secret: the centers must still look SOFT. They should look slightly underbaked; pale, glossy, and wobbly. If they look fully baked when you pull them out, they are going to be hard spheres by the time they cool.
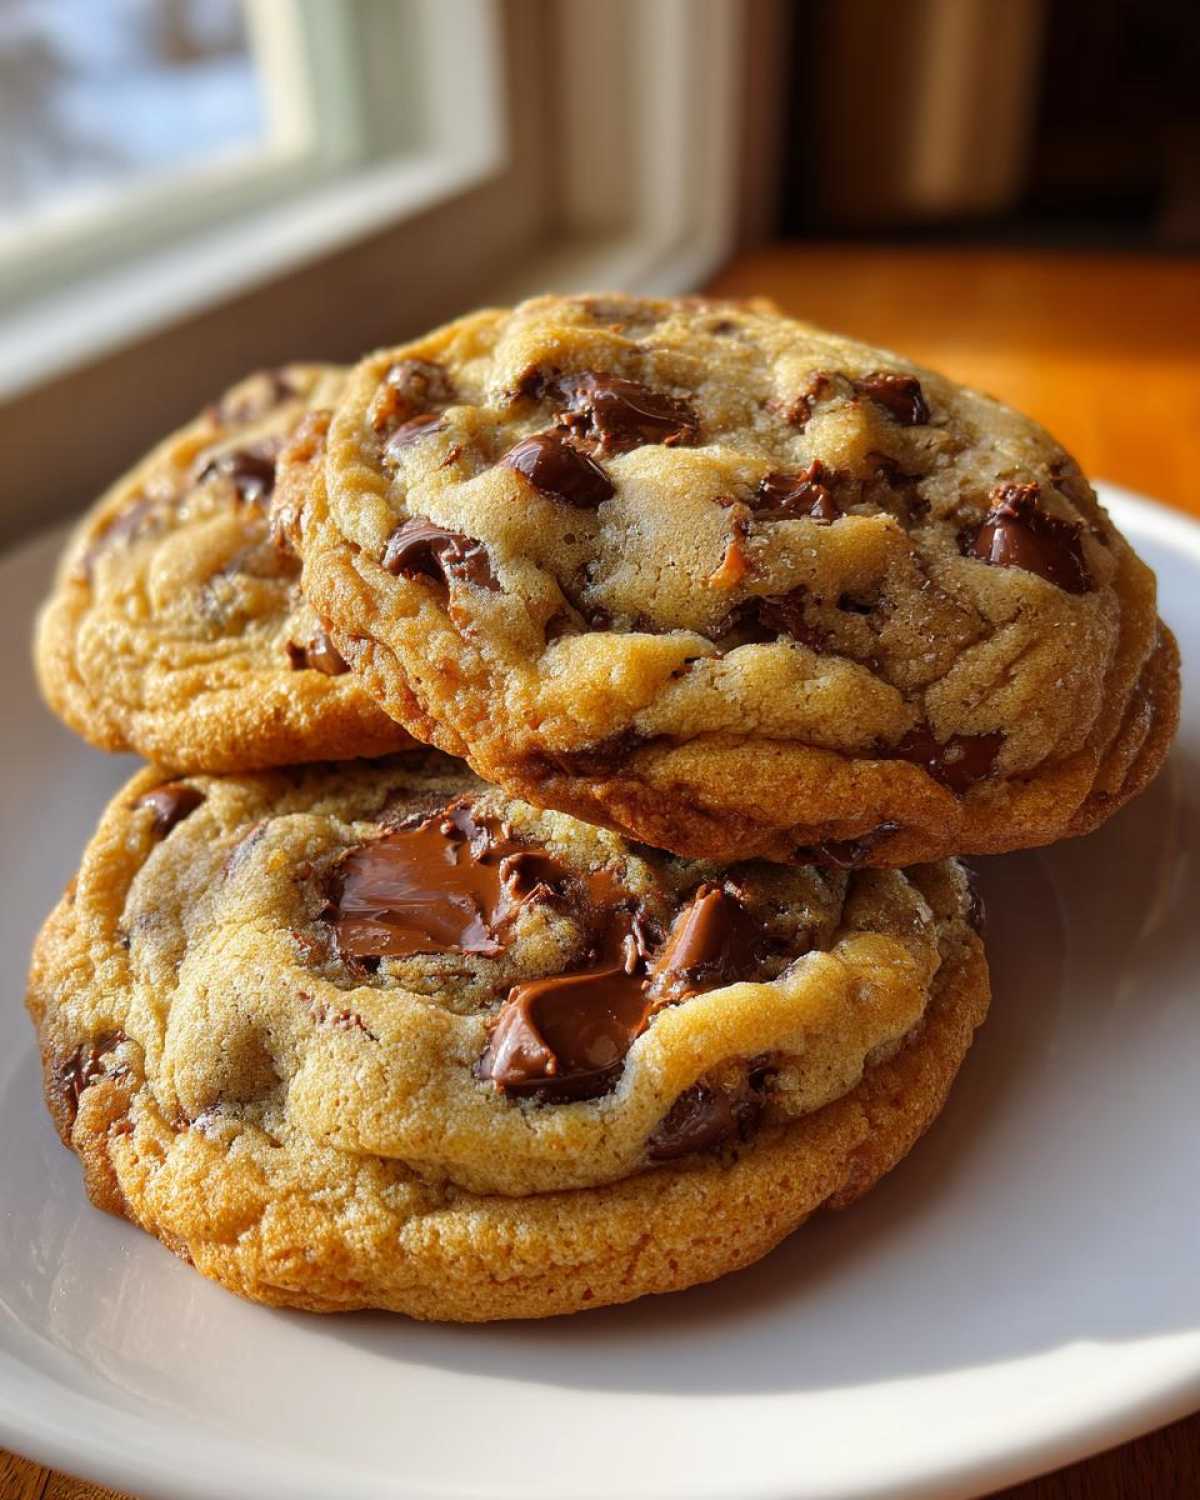
Do not move them immediately! You need to honor the rest time. Let those cookies sit right there on the hot baking sheet for a full five minutes. That residual heat is what gently finishes the center, allowing the sugars to set into that perfect chewy texture without overcooking the edges. After those five minutes, carefully transfer them to a wire rack to cool completely. If you want to check out a different kind of baked goodness later, I have a great recipe for a bakery-style cookie cake that uses this exact dough base!
Tips for Making Chocolate Chip Cookies No Chill
I know, I know, most recipe blogs tell you to wait at least 12 hours before you even *think* about baking your dough, right? Well, that’s usually because they are using softened or creamed butter, which means the fat needs to solidify again in the fridge to keep the cookie from spreading into a giant, thin mess in the oven. But guess what we did?
We used melted butter! That’s the game-changer for these Chocolate Chip Cookies No Chill situations. Because the butter is already liquid when we mix it in, the flour gets coated and hydrated right away. That means the dough structure is already dense and ready to go—no chilling needed! You get that amazing, rich flavor and that wonderful chewy texture without having to plan your cookie craving two days ahead of time.
If you’re looking for proof that melted butter works miracles in other recipes too, you have to try my recipe for peanut butter blossom cookies; they turn out incredibly soft and chewy even on day one!
Storage and Reheating for Homemade Chocolate Chip Cookies
Okay, these cookies are so good that if you manage to have any left over after the first day, you deserve a medal! But keeping that perfect chewy texture going isn’t hard, provided you follow one simple rule: keep the air out!
Once they are completely cool—and I mean totally cool, otherwise you’ll steam yourself into a puddle of goo—you need to lock them away in a truly airtight container. Don’t use plastic bags with twist ties; they just don’t cut it. A nice snap-top container works best. Stored correctly on the counter (don’t even think about the fridge unless you absolutely must), these homemade chocolate chip cookies should stay perfectly soft and chewy for about four or five days. The brown sugar helps immensely!
Now, if you are trying to bring back that fresh-from-the-oven experience, reheating is the key to restoring that gooey meltiness inside. You have two good options, depending on how many you want to revive. If it’s just one or two, pop them in the microwave for about 10 to 15 seconds. That’s usually enough to soften the chocolate chips right back up. If you’re reheating a whole batch for dessert, the toaster oven on low heat (like 300°F) for about three minutes works wonders for restoring that slightly crisp edge and soft middle.
If you want to check out another amazing soft cookie recipe for your next baking spree, these soft chewy classic peanut butter cookies are just as fantastic for leftovers!
Serving Suggestions for Ultimate Chocolate Chip Dessert
Listen, these cookies are dynamite on their own, but why settle for good when you can have legendary? I feel like the best way to eat these Ultimate Chocolate Chip Dessert stars is straight up—warm, with a huge glass of milk nearby. That contrast between the warm, soft cookie and the cold milk? Unbeatable.
But if you’re feeling fancy, try crumbling one over a scoop of good quality vanilla bean ice cream. The edges soften up so nicely! For the grown-ups, I sometimes just dunk the slightly warm cookie directly into my evening coffee for a moment of pure magic. Don’t forget to check out my recipe for crockpot hot chocolate if you need a cozy pairing for a chilly evening!
Frequently Asked Questions About Chewy Chocolate Chip Cookies
I get so many messages asking for tweaking advice, which I totally love because it means you’re ready to get baking! Since I’ve tested this recipe until my kitchen counter was sticky for a month straight, I can certainly answer some common questions about achieving these perfectly chewy cookies that look straight out of the bakery!
Can I use cold butter instead of melted butter for these chewy chocolate chip cookies?
Oh, you absolutely *can* use cold butter, but you absolutely *shouldn’t* if you want these specific results. If you cream cold butter with the sugars, you incorporate a lot of air. That trapped air expands in the oven, making the cookie puff up and then flatten out as it cools, giving you a much cakier, crispier cookie. That’s fantastic for a different kind of cookie, but for these Soft and Chewy Cookies, melted butter is non-negotiable because it directly creates that desired dense base.
How do I make sure my cookies have a gooey center cookies?
This is the easiest part, but it relies completely on you resisting the urge to pull them out too late! Remember how I said the centers should look slightly underbaked, maybe even a little wet, when you pull them out? That’s crucial. Don’t look for dry, set centers! Once they’re out, they absolutely must rest on that hot baking sheet for five full minutes. That residual heat gently cooks the inside just enough so it sets into a soft, wonderful chew rather than raw dough, but it’s the resting that seals the deal for that gooey center cookies texture. Don’t skip the watch time on that pan!
If you’re ever curious about other chewy recipes we’ve tested, my notes on chewy old-fashioned fruitcake cookies have some surprising similarities in technique!
Estimated Nutritional Data for These Cookies
Now, I’m not a registered dietitian, so please take all of this with a giant grain of salt, okay? I focus on flavor, not counting calories! This section is here just to give you a general idea of what you’re diving into when you make a batch of these amazing homemade chocolate chip cookies.
Based on the ingredient breakdown, here’s what we landed on for one standard cookie serving:
- Calories: 220
- Sugar: 18g
- Fat: 12g (with about 7g saturated)
- Carbohydrates: 28g
- Protein: 3g
Keep in mind, this is just an estimate because commercial chocolate chips vary like crazy, and how tightly you pack your brown sugar can throw things off a bit. If you use dark chocolate instead of semi-sweet, or maybe a different type of flour, these numbers will shift. But hey, they are delicious, and a little indulgence is totally worth it when you nail the perfect chew!
Share Your Perfectly Chewy Cookies Experience
Alright, you’ve done the work! You’ve mixed the melted butter, you’ve resisted the urge to overmix, and now you have a warm tray of what I can only describe as cookie heaven. I am so genuinely excited for you to take that first bite!
I really, truly want to know how your batch turned out. Did you manage to get that perfect combination of crispy edge and soft middle? Please, don’t be shy! Head down to the comments section right now and tell me what you thought. Did you stick to the recipe exactly, or did you sneak in some toffee bits? I love hearing about your own little twists on my favorites.
And if you took pictures—which I totally hope you did, because these cookies are gorgeous—you absolutely have to tag me on social media! Seeing your success stories brightens my whole week. It means the world to me to know that my hard work helping you master those ultimate chewy chocolate chip cookies paid off.
If you loved this recipe and want to try another winner, you should check out my recipe for the best moist coconut cake recipe next! Happy baking, sweet friend!
PrintThe Ultimate Thick and Chewy Chocolate Chip Cookies (Bakery Style, No Chill Time Needed)

Make thick, bakery-style chocolate chip cookies with chewy centers and slightly crisp edges without waiting for dough to chill.
- Prep Time: 15 min
- Cook Time: 12 min
- Total Time: 27 min
- Yield: About 20 cookies
- Category: Dessert
- Method: Baking
- Cuisine: American
- Diet: Vegetarian
Ingredients
- 1 cup (2 sticks) unsalted butter, melted
- 1 cup packed light brown sugar
- 1/2 cup granulated white sugar
- 2 large eggs
- 1 tablespoon vanilla extract
- 2 1/4 cups all-purpose flour
- 1 teaspoon baking soda
- 1/2 teaspoon salt
- 1 1/2 cups semi-sweet chocolate chips
Instructions
- Preheat your oven to 375 degrees Fahrenheit. Line baking sheets with parchment paper.
- In a large bowl, whisk together the melted butter, brown sugar, and white sugar until fully combined.
- Beat in the eggs one at a time, then stir in the vanilla extract.
- In a separate medium bowl, whisk together the flour, baking soda, and salt.
- Gradually add the dry ingredients to the wet ingredients, mixing on low speed until just combined. Do not overmix.
- Fold in the chocolate chips using a spatula.
- Scoop rounded tablespoons of dough onto the prepared baking sheets, leaving about 2 inches between each mound. For thicker cookies, press the dough mounds slightly inward to create a taller shape.
- Bake for 10 to 12 minutes. The edges should look set and lightly golden, but the centers should still look slightly underbaked and soft.
- Remove the cookies from the oven. Let them cool on the baking sheet for 5 minutes before transferring them to a wire rack to cool completely. This resting period helps set the chewy texture.
Notes
- Using melted butter helps create a denser, chewier cookie structure compared to creamed butter.
- The higher ratio of brown sugar to white sugar contributes moisture and chewiness.
- For extra gooey centers, press a few extra chocolate chips onto the tops of the dough balls immediately after removing them from the oven.
Nutrition
- Serving Size: 1 cookie
- Calories: 220
- Sugar: 18g
- Sodium: 110mg
- Fat: 12g
- Saturated Fat: 7g
- Unsaturated Fat: 5g
- Trans Fat: 0g
- Carbohydrates: 28g
- Fiber: 1g
- Protein: 3g
- Cholesterol: 35mg