

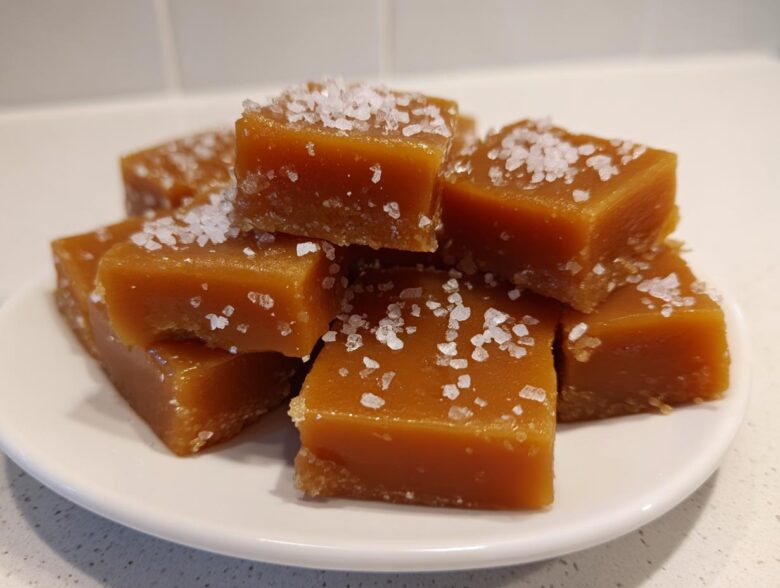
Oh, I remember the first time I tried making candy at home. It felt like witchcraft! Everything seemed so serious with the bubbling sugar and the high temperatures. I burned three batches before I figured out the little secrets that turn potential kitchen disasters into absolute magic. But let me tell you, once you master it, there is nothing better than a batch of truly soft, chewy homemade caramels cooling on the counter. Forget that waxy stuff from the store; this recipe creates rich, buttery caramel treats that just melt in your mouth. Seriously, this is my tried-and-true recipe for the absolute best chewy caramels, and I promise, once you try it, you’ll never go back to store-bought again!
Why You Will Love These Soft Chewy Caramels
I get asked all the time what makes this particular recipe the winner. It’s simple, really. It’s just about hitting that perfect spot every single time. I think you’ll be hooked right away!
- They truly stay soft chewy caramels—no hard snapping when you bite in!
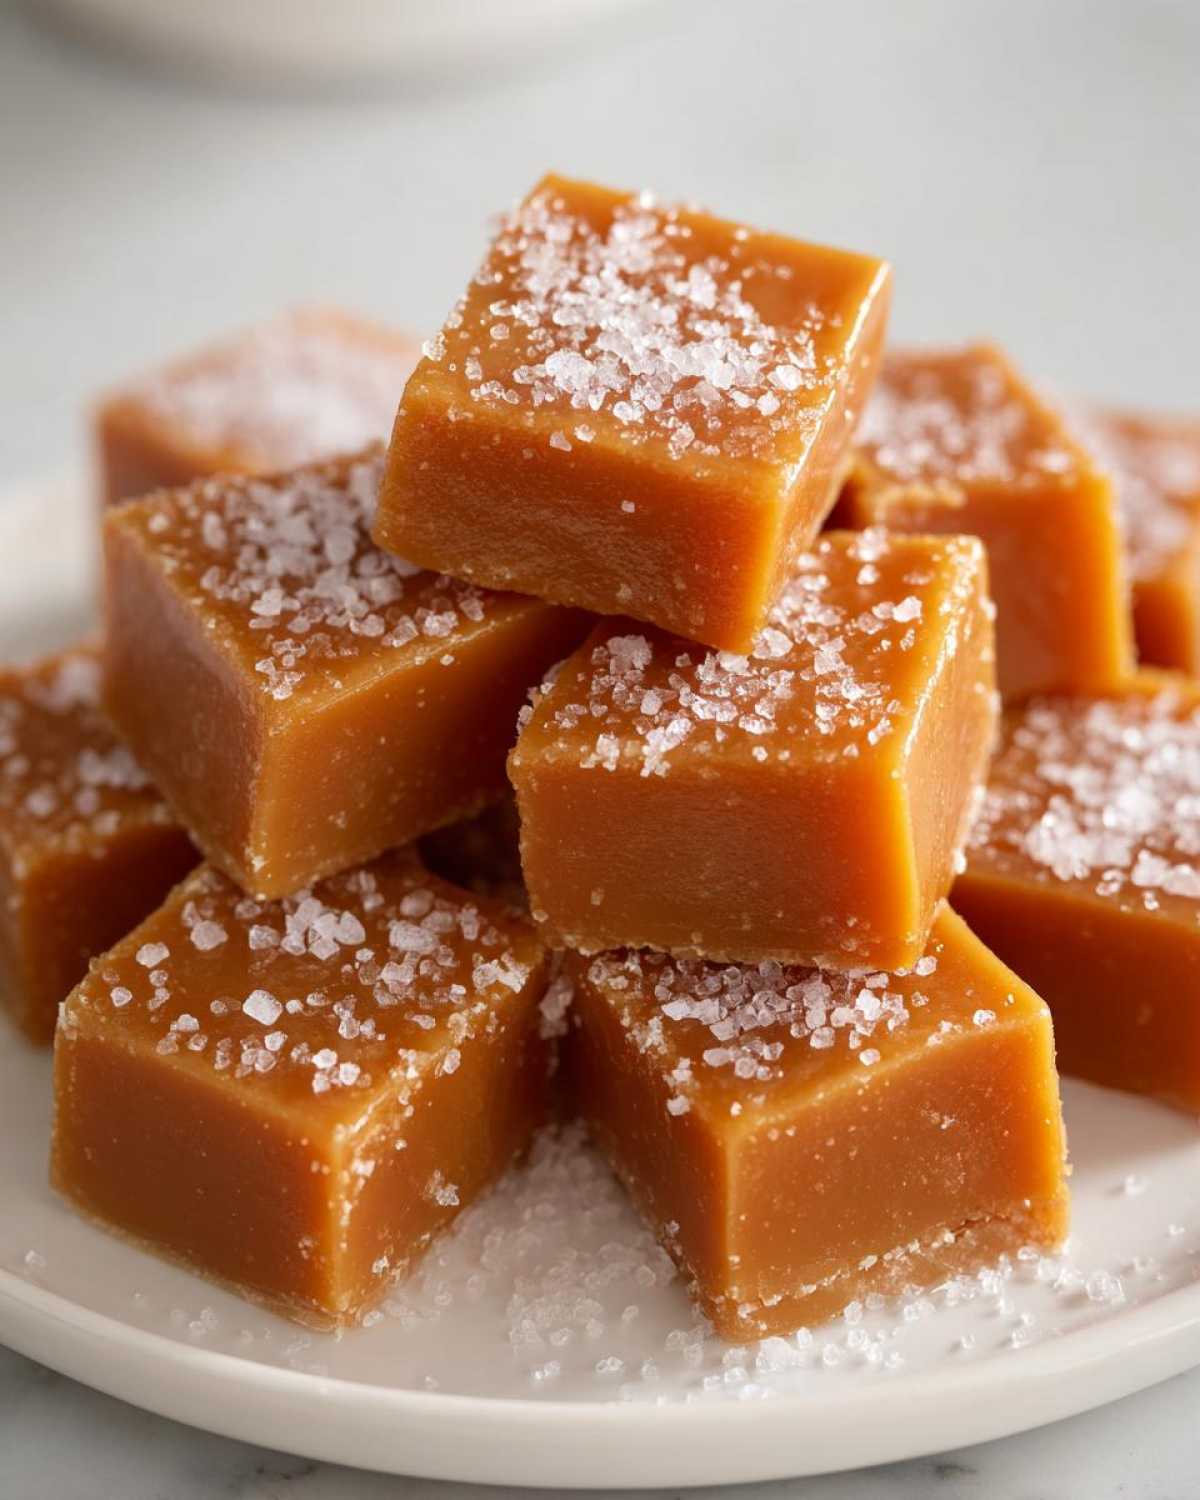
- We get that perfect balance of sweet and savory with a sprinkle of flaky sea salt right on top.
- This is an easy caramel candy recipe, making it approachable even if you’ve never touched a candy thermometer before.
- The deep, complex flavor means these are instantly the best homemade candy you’ve ever made.
- You get rich, buttery caramel treats without needing any really complicated techniques.
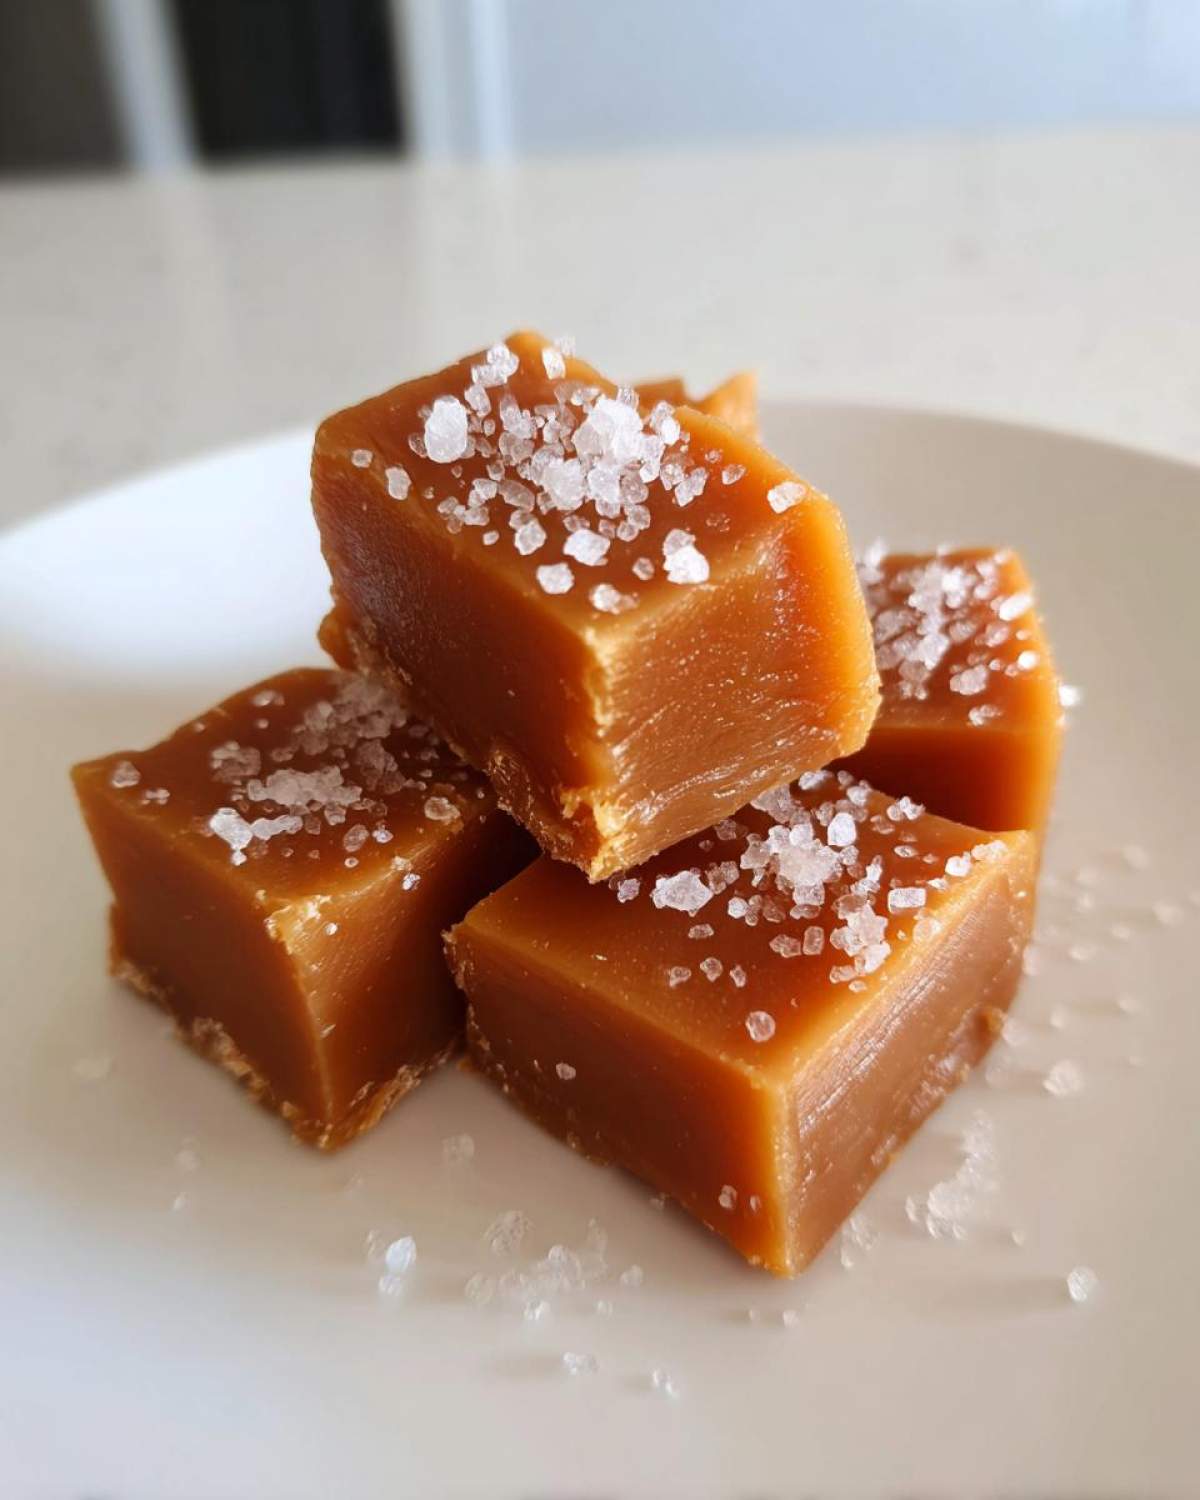
Essential Ingredients for Rich Buttery Caramels
When you’re making candy, the ingredients really do the heavy lifting, so we can’t skimp! Since there aren’t a lot of moving parts here, quality matters more than ever. I like to think of these items as the foundation for the best homemade candy. If you use good stuff now, you get amazing caramels later. I like to check out my cookie ingredients when I visit a new market, like when I was testing out brown butter for my maple cookies last year, but here we need the basics to be top-notch.
Here is what you need to gather before you even think about turning on the heat:
- 1 cup granulated sugar
- 1 cup light corn syrup (Don’t skip this, seriously!)
- 1 cup heavy cream
- 1 cup packed light brown sugar
- 1/2 cup unsalted butter
- 1 teaspoon vanilla extract
- 1/2 teaspoon salt (This goes *into* the candy itself!)
- Flaky sea salt (This goes on *top* at the very end)
That last ingredient—the flaky sea salt—is my indulgence. It makes these sea salt caramels taste like they came from a fancy candy shop, not my own kitchen!
Ingredient Notes and Substitutions for Perfect Caramels
Let’s talk about the heavy hitters in this recipe, because using the right stuff here is what separates a gooey, perfect batch of caramels from, well, rock-hard sugar. First up, the light corn syrup. I know some people skip it, but honestly, don’t! Corn syrup is your best friend for preventing sugar crystallization. It keeps these candies soft and chewy, ensuring you get that wonderful texture in every bite.
Then there’s the heavy cream. This is where the richness and the texture for soft chewy caramels come from. It needs to be heavy cream, not milk or half-and-half, because the high fat content keeps the candy smooth as it cooks.
If you are feeling adventurous, you can substitute some of that granulated sugar for maple syrup—maybe a quarter cup—to get that lovely hint of maple. Just remember, maple syrup changes how the sugars behave, so you might need to watch your temperature even more closely. It’s a fun twist, kind of like the time I put maple in my bacon twists!
The Caramel Candy Making Guide: Step-by-Step Instructions
Okay, deep breaths! Working with hot sugar sounds scary, but once you see how methodical this is, you’ll relax right away. Making perfect caramels is all about respecting the temperature, and I’ve broken it down so you can nail that soft-ball stage every time. Remember, precision here means delicious results later. This guide works perfectly whether you’re making the base recipe or even heading off to make candied apples, like I did last fall here: my trusted caramel apple guide.
Preparing the Pan and Initial Mixture
Before the heat is even on, get moving on your pan! Line that 8×8 inch pan with parchment paper, making sure you have a big overhang on the sides. That overhang is vital—it’s your built-in sling to lift the finished candy out later. Trust me, trying to scrape sticky candy is a nightmare.
Once the pan is ready (and lightly greased over the paper), grab your heaviest pot—I mean, the thickest bottom one you own. This is my expert tip! A thin pot scorches the bottom fast. Combine *everything* except the vanilla and flaky salt right in that heavy pot.
Cooking to Soft-Ball Stage for Chewy Caramels
Put that heavy pot over medium heat and stir everything constantly until that butter finally melts and the sugars look dissolved. The second it starts to boil, you stop stirring! I mean it—hands off! Insert your candy thermometer right into the center. We are waiting patiently for it to hit exactly 245 degrees Fahrenheit. That’s the magic number for soft, chewy caramels.
This part takes about 15 to 20 minutes, and it feels like forever. Don’t peek away too long, but definitely don’t stir it while it’s boiling! Stirring introduces air bubbles that weren’t supposed to be there, and that messes up the texture we are trying to achieve. Just watch that gauge and don’t panic if the temperature creeps up slowly.
Finishing and Cutting Your Homemade Caramels
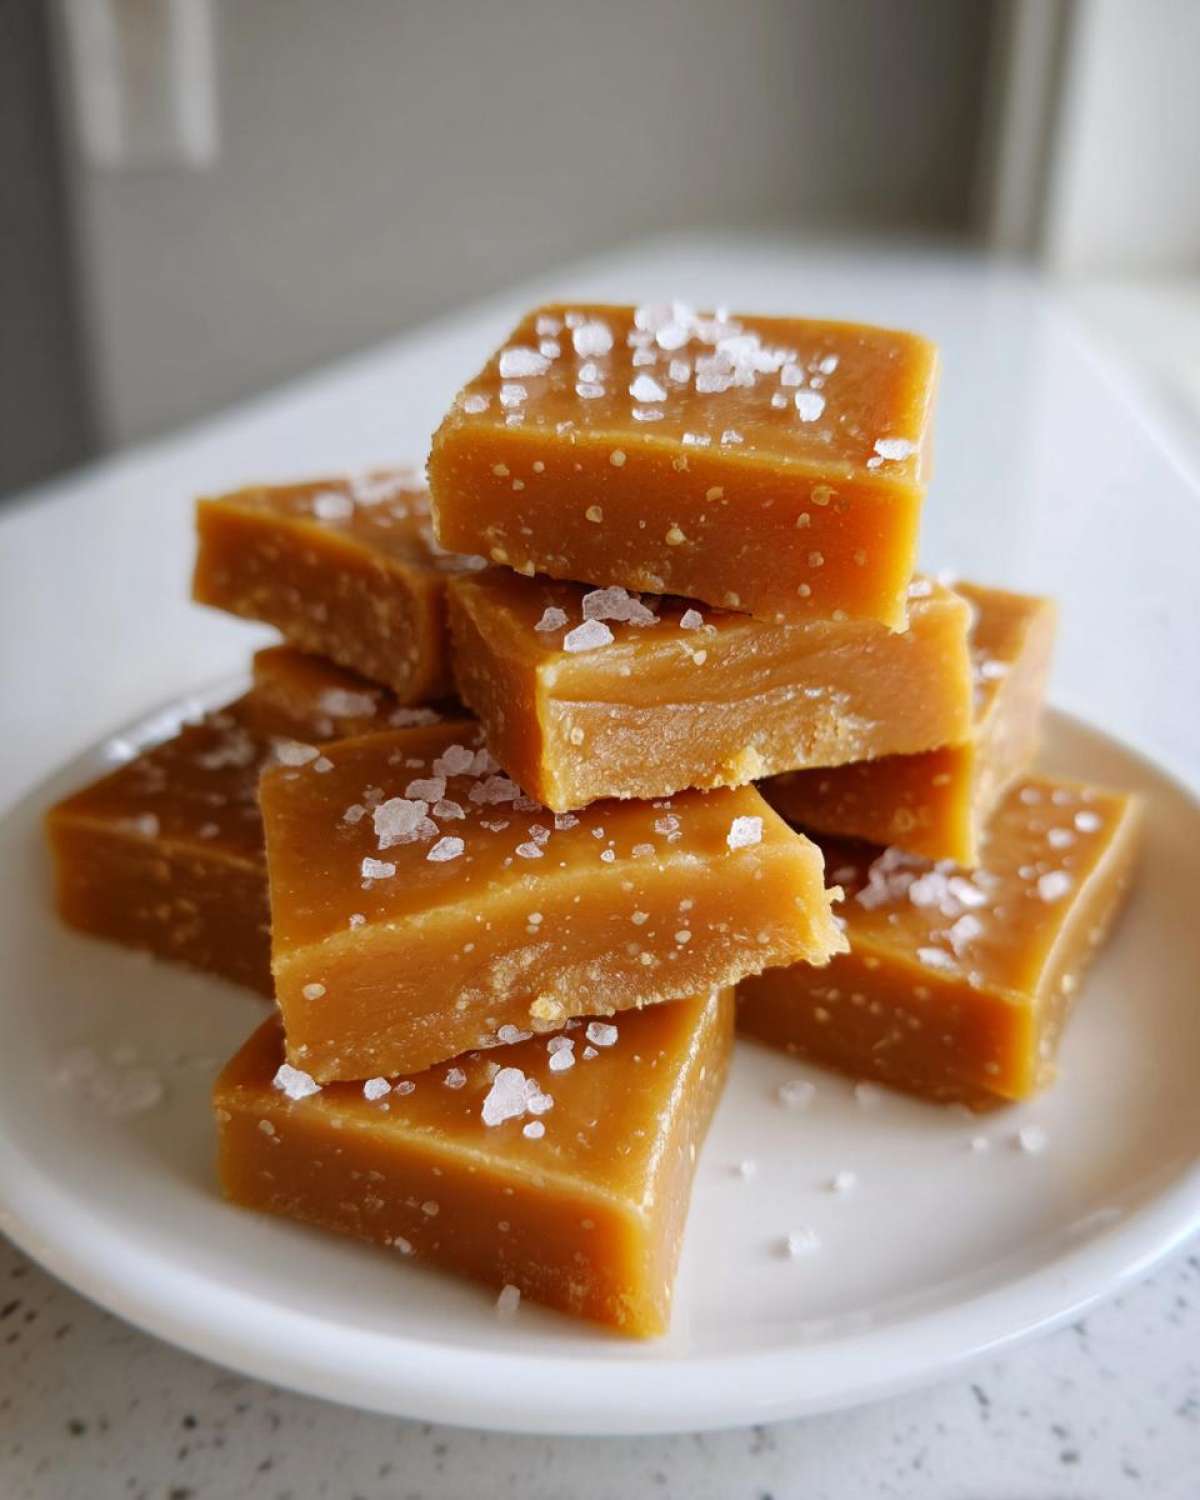
The second that thermometer hits 245°F, yank that pot off the heat! This is super important so it doesn’t keep cooking past where we want it. Immediately stir in your vanilla extract and that 1/2 teaspoon of salt we saved. Pour the whole beautiful, piping-hot mix straight into your prepared pan—and here’s a crucial note for these caramel Ritz treats: don’t scrape the sides of the pot. We only want the good stuff in the pan!
Now comes the hardest part: waiting! Let these homemade caramels sit totally undisturbed at room temperature for three whole hours. Seriously, don’t touch them. Once they are completely firm, use those parchment paper handles to lift the whole block out. Cut them into squares right away and sprinkle that flaky sea salt on top before they settle.
Tips for Success When Making Homemade Caramels
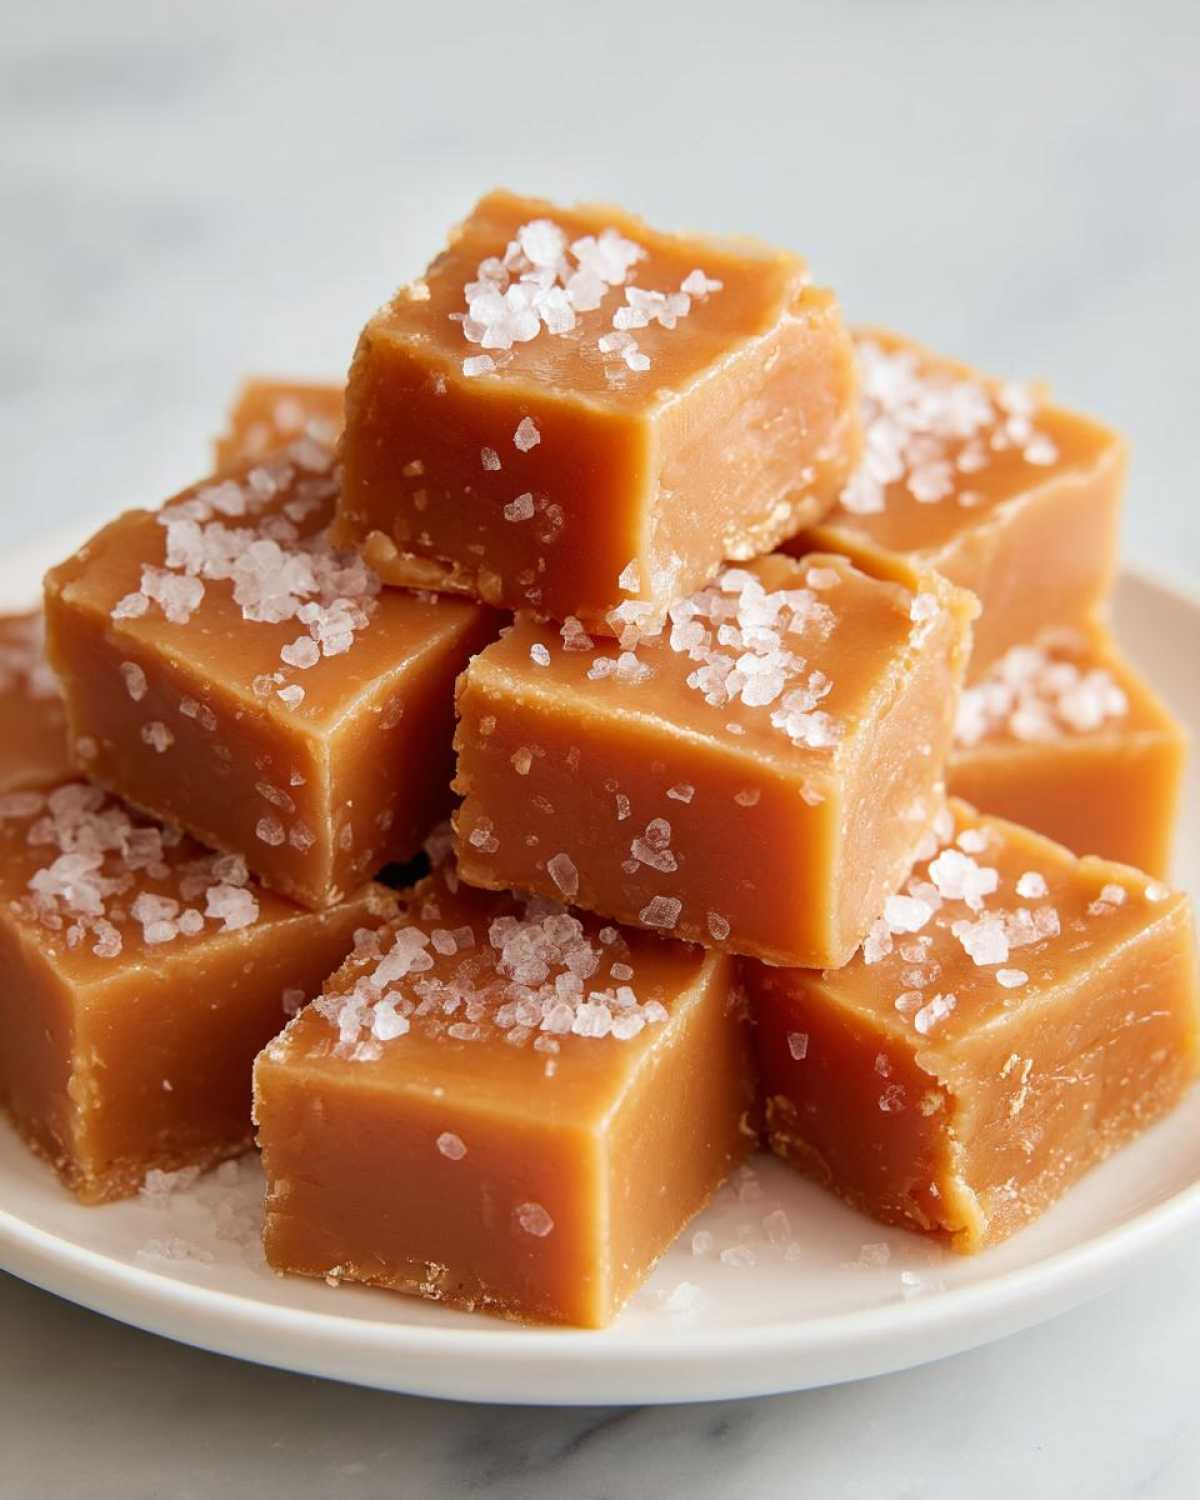
I want this to be your no fail caramel recipe, so let’s talk about the little tricks that take this from good to truly exceptional. Remember how I mentioned using a heavy pot earlier? That’s crucial to stop scorching, but while the sugar is developing, you might see little grainy specks forming on the sides of the pot above the liquid line. Don’t ignore those!
This is where the pastry brush comes in. Dip a clean pastry brush into plain water and gently brush down the interior sides of the pot while the mixture is heating up. That water washes down any stray sugar crystals before they have a chance to seed your whole batch and turn everything gritty. It feels fussy, I know, but it’s what separates the amateurs from the pros!
Also, if you live somewhere really humid, you might find things take a little longer to reach temperature, or they might set up slightly softer when cooling. Don’t panic; just trust that thermometer! I find that treating these rich buttery caramels with patience during the cook time is the real secret sauce.
If you happen to be way up in the mountains, you might even need to cook to 247°F instead of 245°F because the boiling point is lower up there. Check a reliable altitude adjustment chart if you are five thousand feet up! I even have a whole guide on making caramelized onions which uses a similar low-and-slow technique, and patience always wins!
Storage and Gifting Your Buttery Caramel Treats
Once you’ve cut and sprinkled your gorgeous homemade caramels, the biggest question is how to keep them perfect. Since these are so soft and buttery, they absolutely need to be wrapped individually. If you don’t wrap them, they get sticky almost immediately and end up clinging to each other in one giant sweet blob—and trust me, you don’t want to fight that mess!
I always suggest wax paper or clear cellophane, just like you see in the fancy candy shops. This keeps your chewy candy recipes perfectly fresh for weeks. Store them in an airtight container in a cool, dry spot. They really don’t love the humidity!
These make such amazing treats, especially around the holidays. They are perfect for putting together one of those lovely gifts in a jar candy arrangements, maybe layered with some homemade fudge or those chocolate-covered cherries I love making. If you keep them wrapped well, they stay just as soft for at least three or four weeks!
Variations on Classic Caramels: Maple and Vanilla Cream
The beauty of this basic recipe for caramels is how easily we can pivot to slightly different flavor profiles without starting from scratch. You don’t have to stick to the classic vanilla. If you’re craving something richer, try making Maple Caramels! This is super simple: when you add the sugars and corn syrup, swap out about one-quarter cup of that granulated sugar for pure maple syrup. Just remember maple syrup cooks differently than straight sugar, so watch that thermometer closely!
For those who want something incredibly luxurious, let’s lean into the cream for Vanilla Cream Caramels. This variation is decadent! Just increase the heavy cream slightly—maybe use 1 1/4 cups instead of 1 cup. That extra fat makes the texture even silkier, truly giving you melt-in-your-mouth results. I love that these simple tweaks let you offer a whole assortment of homemade treats, kind of like when I make my maple granola and offer a vanilla-only batch alongside it!
Frequently Asked Questions About Making Caramels
I know when you start making candy, you just have a million questions running through your head. Am I stirring too much? Is the heat too high? Don’t worry, that’s totally normal! Cooking sugar is precise, but these answers should help you feel totally confident making your next batch of soft chewy caramels.
How do I make my caramels softer or firmer?
This recipe is perfectly calibrated to hit that sweet spot at 245 degrees Fahrenheit for that ideal chew. If you want them to be a little bit firmer—maybe you’re planning on dipping apples, or you just like a little more resistance—just nudge the temperature up to 248 degrees F. That extra couple of degrees makes a huge difference in the final texture!
Conversely, if you’re aiming for something almost gooey, pull them off the heat right at 243°F. But hey, if you mess up, remember that slightly runnier batch makes the best topping for ice cream! It’s hard to truly ruin these wonderful old fashioned caramels.
Can I use a microwave for this Easy Caramel Candy Recipe?
This version here is definitely a stovetop recipe, and I love the control I get over the whole process by watching it bubble away in that heavy pan. While you absolutely *can* make some types of candy in the microwave—and there are some quick versions out there—this specific, rich ratio relies on consistent, circulating heat from the burner.
Microwave candy making tends to heat unevenly, and it can be really tricky to get that exact 245 degrees F without overheating parts of the mixture very quickly. So for these easy caramel candy recipes, stick to the stove for the best flavor and texture payoff!
Why did my homemade caramels crystallize and become grainy?
Oh, the dreaded graininess! That happens when stray sugar crystals floating in the syrup decide to throw a party and turn the whole batch into fudge instead of smooth candy. This is almost always caused by not cleaning the sides of the pot while the sugar dissolves or boils. If you see any tiny sugar particles clinging to the sides of your saucepan above the liquid line, they need to be washed down!
The fix I shared in the tips section works wonders here: grab a clean pastry brush, dip it in fresh water, and carefully sweep those sides down a few times during the cooking process. It’s the best defense for keeping your mixture perfectly smooth so your final buttery caramel treats aren’t gritty!
If you have other questions about flavors or storage, check out the rest of the site; I even wrote about making a savory version of caramelized goodness with my onion pasta!
Estimated Nutrition for These Homemade Caramels
Now, I’m a cook, not a nutritionist, so please take these numbers with a giant grain of salt—literally! These values are just estimates based on the ingredients in the recipe. I needed to know roughly what I was dealing with, especially with all that butter and sugar going into these gorgeous caramels.
For one single square serving, you’re looking at roughly:
- Calories: 105
- Fat: 3g (with 2g Saturated Fat)
- Carbohydrates: 19g
- Sugar: 18g
- Sodium: 35mg
It’s definitely a treat, but completely worth every single rich, buttery bite!
Share Your Best Homemade Candy Creations
Well, that’s it! You’ve made it to the end of the guide, and hopefully, you have a lovely, soft, shimmering block of homemade caramels cooling on your counter right now. I honestly can’t wait to hear how they turned out for you. Making candy can feel a bit intimidating at first, but I hope showing you my little secrets helps you feel totally confident!
If you followed along and made a batch of these sea salt caramels, please come back and let me know! Did they turn out perfectly chewy? Did your kitchen smell amazing while they were setting up? Drop a star rating down below so other bakers know this recipe is the real deal. I absolutely love seeing your results, so feel free to share any pictures or little tips you picked up along the way in the comments. I check them all, and I’m always gathering new ideas for my next baking adventure!
Happy candy making, friends!
PrintSoft Chewy Sea Salt Caramels
A simple recipe for making soft, chewy, buttery caramels topped with sea salt.
- Prep Time: 15 min
- Cook Time: 20 min
- Total Time: 3 hr 35 min
- Yield: About 64 pieces
- Category: Candy
- Method: Stovetop Cooking
- Cuisine: American
- Diet: Vegetarian
Ingredients
- 1 cup granulated sugar
- 1 cup light corn syrup
- 1 cup heavy cream
- 1 cup packed light brown sugar
- 1/2 cup unsalted butter
- 1 teaspoon vanilla extract
- 1/2 teaspoon salt (for the candy)
- Flaky sea salt (for topping)
Instructions
- Line an 8×8 inch baking pan with parchment paper, leaving an overhang on the sides for easy removal. Lightly grease the paper.
- Combine the granulated sugar, corn syrup, brown sugar, heavy cream, and butter in a heavy-bottomed saucepan.
- Stir the mixture constantly over medium heat until the butter melts and the sugar dissolves.
- Stop stirring once the mixture boils. Insert a candy thermometer.
- Cook the mixture without stirring until it reaches 245 degrees Fahrenheit (soft-ball stage). This usually takes 15 to 20 minutes.
- Remove the pan from the heat immediately when 245 degrees is reached. Stir in the vanilla extract and 1/2 teaspoon of salt.
- Carefully pour the hot caramel mixture into the prepared baking pan. Do not scrape the sides of the pan.
- Let the caramel cool completely at room temperature for at least 3 hours, or until firm.
- Once firm, lift the caramel block out of the pan using the parchment overhang. Cut into 1-inch squares.
- Sprinkle the tops of the squares with flaky sea salt immediately after cutting.
- Wrap each caramel individually in wax paper or cellophane for storage.
Notes
- Use a heavy-bottomed pot to prevent scorching the bottom of the caramel.
- Wipe down the sides of the pot with a wet pastry brush during cooking to prevent sugar crystals from forming.
- If you prefer a firmer caramel, cook the mixture to 248 degrees Fahrenheit.
Nutrition
- Serving Size: 1 square
- Calories: 105
- Sugar: 18
- Sodium: 35
- Fat: 3
- Saturated Fat: 2
- Unsaturated Fat: 1
- Trans Fat: 0
- Carbohydrates: 19
- Fiber: 0
- Protein: 0
- Cholesterol: 10