

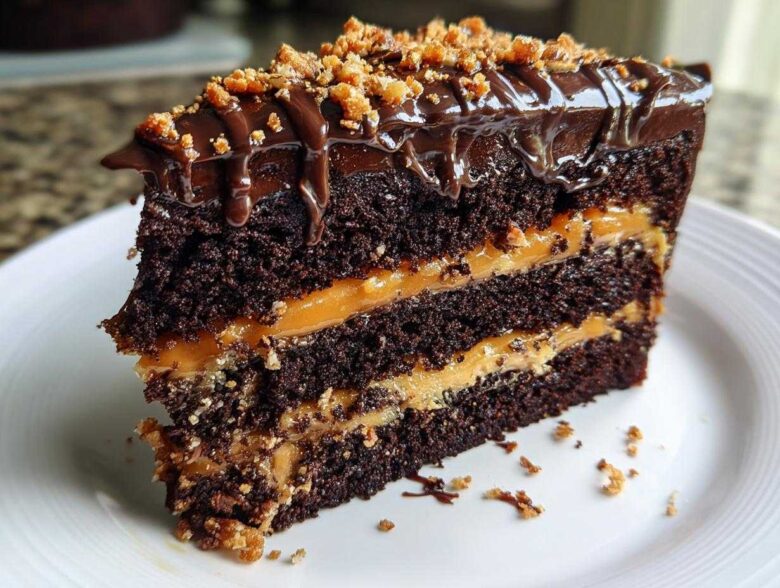
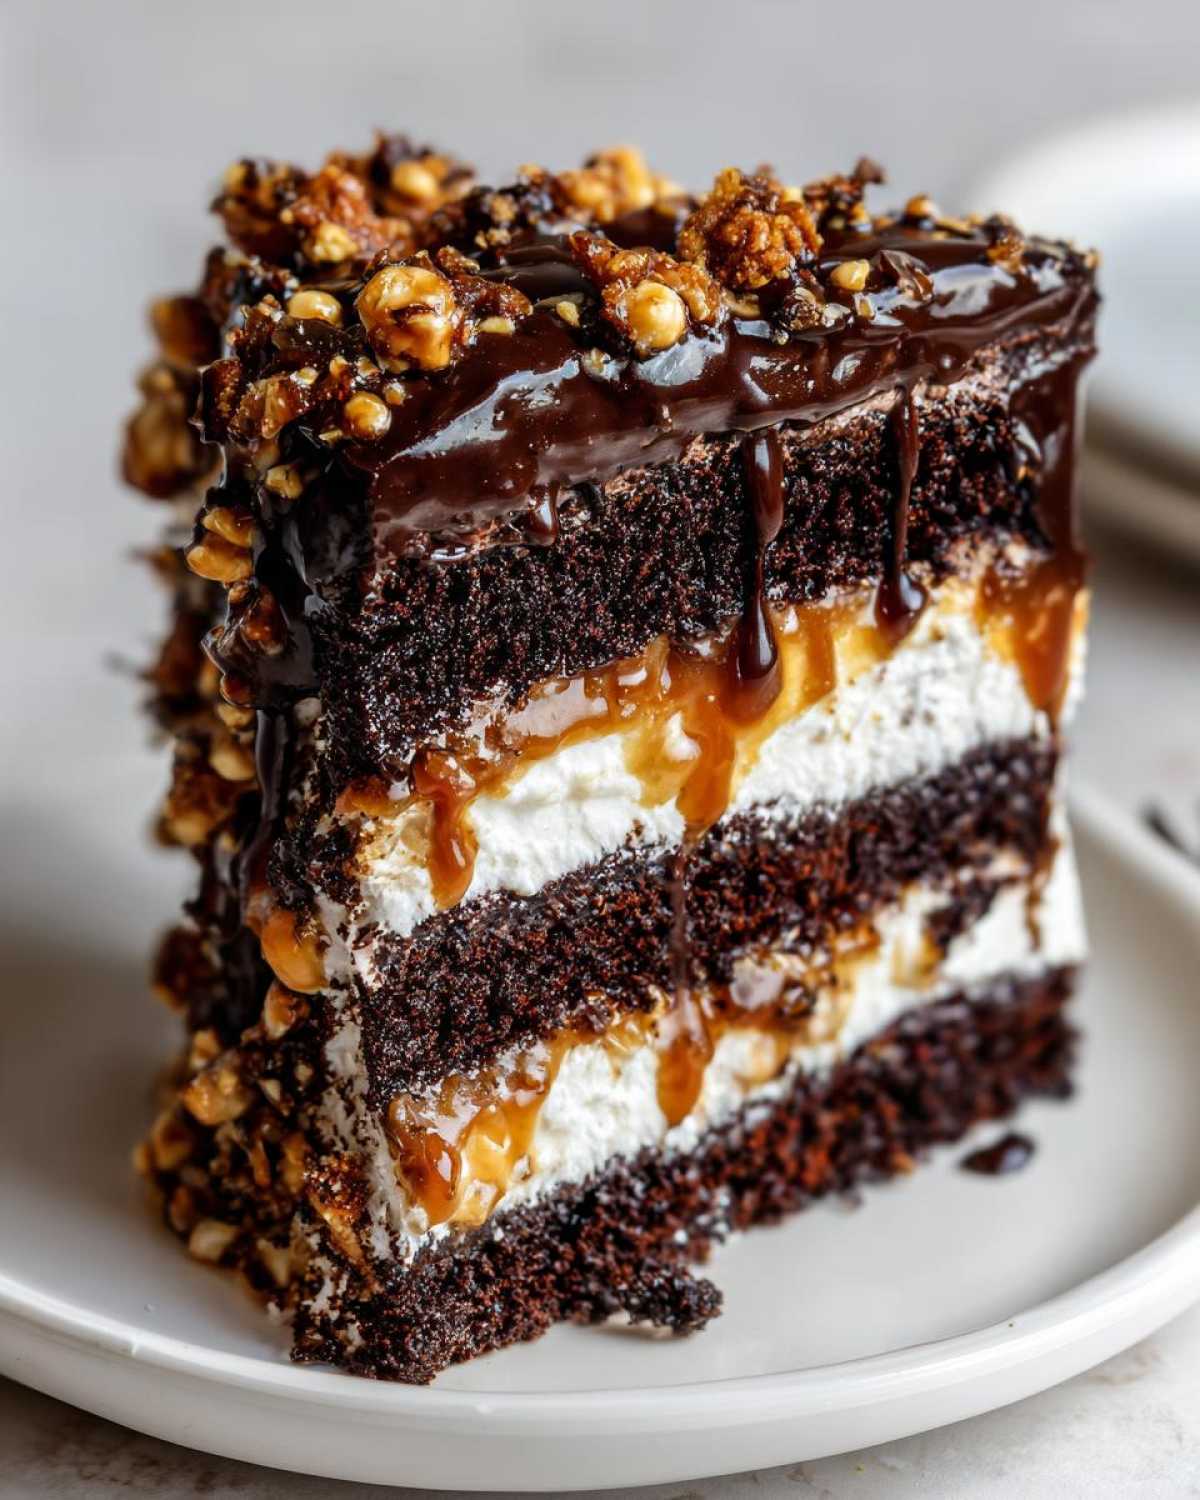
Oh, honey, if you are looking for a dessert that truly announces itself—something that screams, “Yes, I deserve this level of decadence”—stop right here. We are diving headfirst into the chocolate caramel toffee crunch cake, and trust me, this is not just cake; it’s an entire textural event! It’s rich, it’s gooey, it has that satisfying snap, and frankly, it’s the ultimate celebration bake. I know it looks like it belongs in a fancy bakery window, but I promise you, the steps are totally doable right in your kitchen. We’re going to balance that deep chocolate flavor with salty caramel and crunchy toffee, and you’re going to walk away thinking you’re a pastry chef. If you want to see how I make my favorite chocolate cake from scratch, check out this super moist chocolate cake recipe first!
Why This Ultimate Chocolate Caramel Toffee Crunch Cake Works
Listen, I get it. Sometimes a big cake feels intimidating, but this one is designed to make you look like a superstar without the stress. It hits all the right notes without demanding you spend three days in the kitchen. Here’s why this chocolate caramel toffee crunch cake is truly the best:
- It’s incredibly rich—a proper, decadent chocolate cake that doesn’t dry out!
- The textural combination is just *chefs kiss*—you get gooey, smooth, and satisfyingly crunchy all in one bite.
- Even though it looks gourmet, the assembly is actually quite straightforward. We focus on flavor first!
Moist Chocolate Cake Layers Guaranteed
The secret sauce for those deep, fudgy layers isn’t complicated; it’s just smart baking. We rely on two heroes: buttermilk for that lovely slight tang and tenderness, and hot brewed coffee. Don’t panic about the coffee! It doesn’t make the cake taste like a mocha. Instead, the heat blooms the cocoa powder, making the chocolate flavor nearly jump out of the cake. It’s the key to keeping those moist chocolate cake layers absolutely perfect, even if you make them a day ahead!
The Perfect Salted Caramel Toffee Crunch Textural Dessert Idea
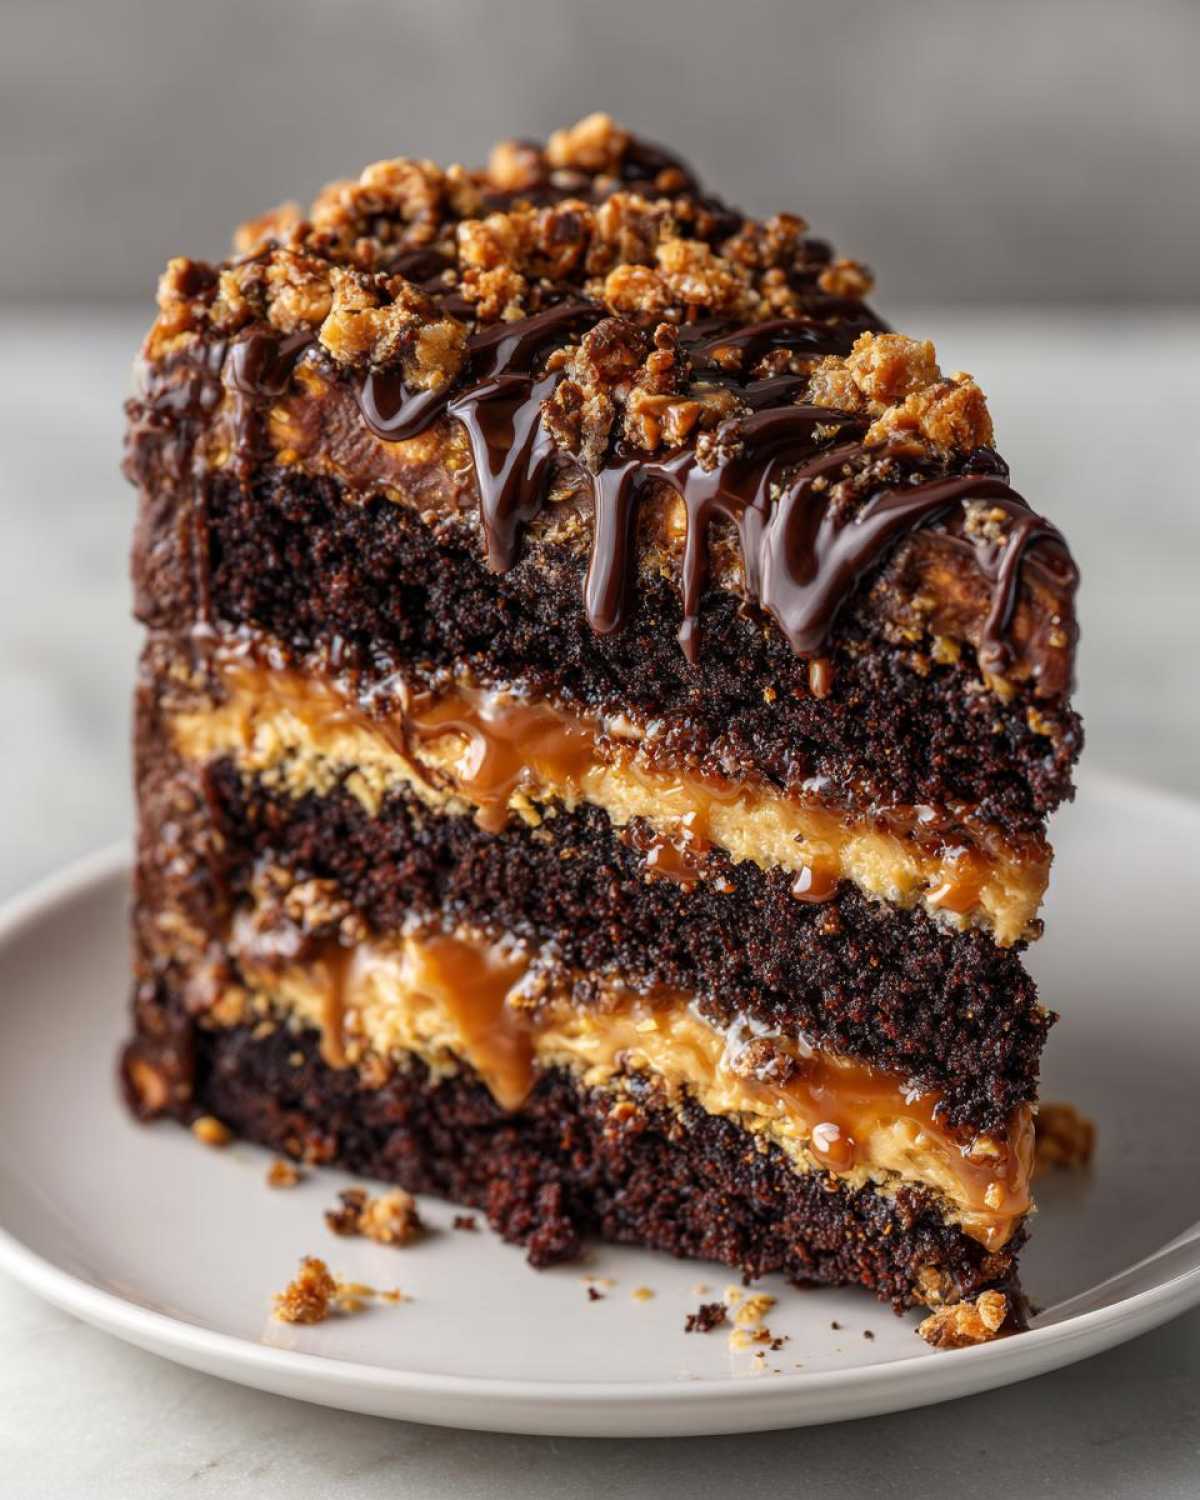
This is where the magic really happens, folks. We aren’t messing around with just one flavor profile here. We need the melt of the super-soft chocolate frosting, the absolute gooiness of that salted caramel filling, and then BAM—the toffee crunch hits you. That contrast is what takes this from a great cake to the ultimate textural dessert idea. It gives you something to chew on, which keeps every mouthful interesting. You’ll find yourself looking forward to that crunch second!
Gathering Ingredients for Your Chocolate Caramel Toffee Crunch Cake
Alright, let’s get organized, because a cake this over-the-top needs a perfectly laid-out mise en place. When you’re dealing with layers, caramel, and crunch, you don’t want to be scrambling for ingredients halfway through mixing. I’ve organized the list here based on what you’ll use when. Don’t forget to have that moist coconut cake recipe handy for comparison—though this chocolate one beats it out, I admit!
Cake Batter Components
These are the basics that give us the deep color and incredible moisture. Make sure your buttermilk is room temp if you can, but don’t stress too much!
- 1 3/4 cups all-purpose flour
- 1 3/4 cups granulated sugar
- 3/4 cup unsweetened cocoa powder (Use good quality, trust me!)
- 1 1/2 teaspoons baking soda
- 1 1/2 teaspoons baking powder
- 1 teaspoon salt
- 2 large eggs
- 1 cup buttermilk
- 1/2 cup vegetable oil
- 2 teaspoons vanilla extract
- 1 cup hot brewed coffee—that’s right, hot! It makes the chocolate layers sing.
Rich Chocolate Buttercream Frosting
This frosting needs to be fluffy enough to spread easily but sturdy enough to hold up the layers and all that caramel goodness. Using softened butter is non-negotiable here!
- 1 cup (2 sticks) unsalted butter, softened
- 3 cups powdered sugar (sifted, please, to avoid lumps!)
- 1/2 cup cocoa powder
- 1/2 cup heavy cream
- 1/2 teaspoon salt (just a touch to cut the sweetness)
Caramel and Crunch Elements
These are the true stars of the show, providing that gooey-salty-crunchy juxtaposition we are after in our chocolate caramel toffee crunch cake. Be generous with these!
- 1 batch homemade salted caramel sauce (you want about 1 cup ready to go)
- 1 cup crushed toffee bits (I usually grab Skor bars and smash them up, or use your favorite homemade brittle recipe!)
Step-by-Step Instructions for the Chocolate Caramel Toffee Crunch Cake
Okay, now that we have our beautiful ingredients lined up, it’s time for the fun part—putting this towering masterpiece together! Even though this is for a celebration, like a big milestone birthday cake, we want the process to flow smoothly. Don’t rush the cooling; that’s the biggest rookie mistake when dealing with layered cakes! Remember, this recipe is all about building those complex textures, so we follow the order here.
Baking the Moist Chocolate Cake Layers
First things first: get that oven warmed up to 350°F (175°C). Grab your two 9-inch round pans, grease them up really well, and dust them with a little flour or cocoa powder for extra protection. We want zero sticking!
In a big bowl, whisk together all your dry components—the flour, sugar, cocoa, leaveners, and salt. Get those mixed super well before introducing anything wet. Next, drop in the eggs, buttermilk, oil, and vanilla. Use your electric mixer on medium speed, just until everything is barely happy and combined. Don’t mix past combined, or you’ll lose that airy texture!
Now for the secret weapon: pour in that hot brewed coffee. Mix it on low speed until the batter is silky smooth. Yes, it will look wildly thin, almost like soup—that’s exactly what you want! Pour that liquid gold evenly between your two pans. Bake them for about 30 to 35 minutes. When a wooden pick comes out with just some moist crumbs attached, they are done. Let them sit in the pans for just ten minutes to get happy before flipping them out onto a wire rack to cool completely. Seriously, do not frost warm cakes. Ever!
Creating the Chocolate Buttercream
While those babies are cooling down, let’s whip up the frosting. You need your butter softened—not melted, but soft enough to indent easily with your finger. Beat that butter until it’s creamy and pale, which takes a minute or two. Then, we add the sugar and cocoa powder slowly, alternating with the heavy cream and that pinch of salt. Keep beating until it’s fluffy and perfectly spreadable. If it seems too stiff after all the sugar is in, add another splash of cream. If it seems too soft to hold up our toffee crunch, chill it for about fifteen minutes. Head over and check out my guide on vanilla buttercream secrets if you want more tips; they apply here too!
Assembling Your Showstopper Birthday Cake
Time to build! Choose the flattest cake layer for the bottom and set it on your serving plate. Slather a thin layer of the chocolate buttercream across the top—this acts as the glue. Now, take that gorgeous salted caramel sauce and drizzle it generously all over the buttercream. Don’t be shy! Then, sprinkle about half of your crushed toffee bits right on top of that caramel layer. That’s the crunch layer!
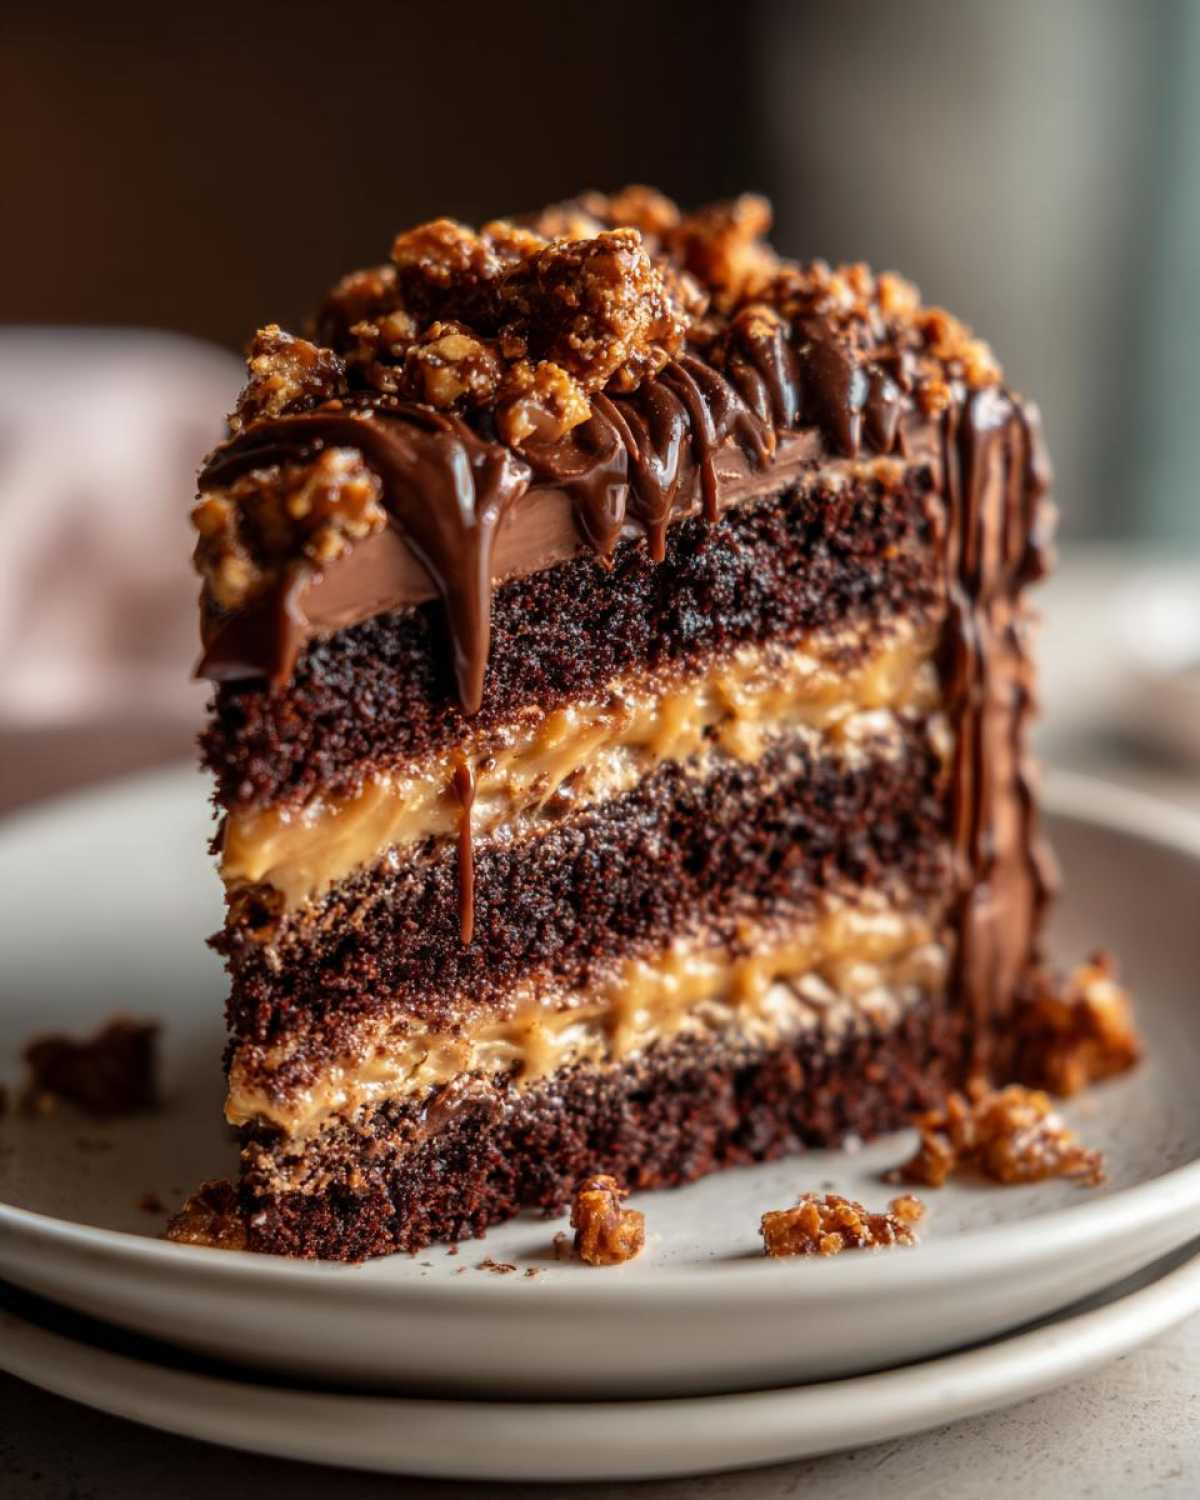
Carefully set the second cake layer on top. Now we frost the outside! Use the rest of the buttercream to cover the top and sides neatly. I usually do a thin crumb coat first, chill the whole thing for twenty minutes until the crumbs are locked in, and then apply the final, thicker layer of frosting for that smooth, bakery style cake at home look.
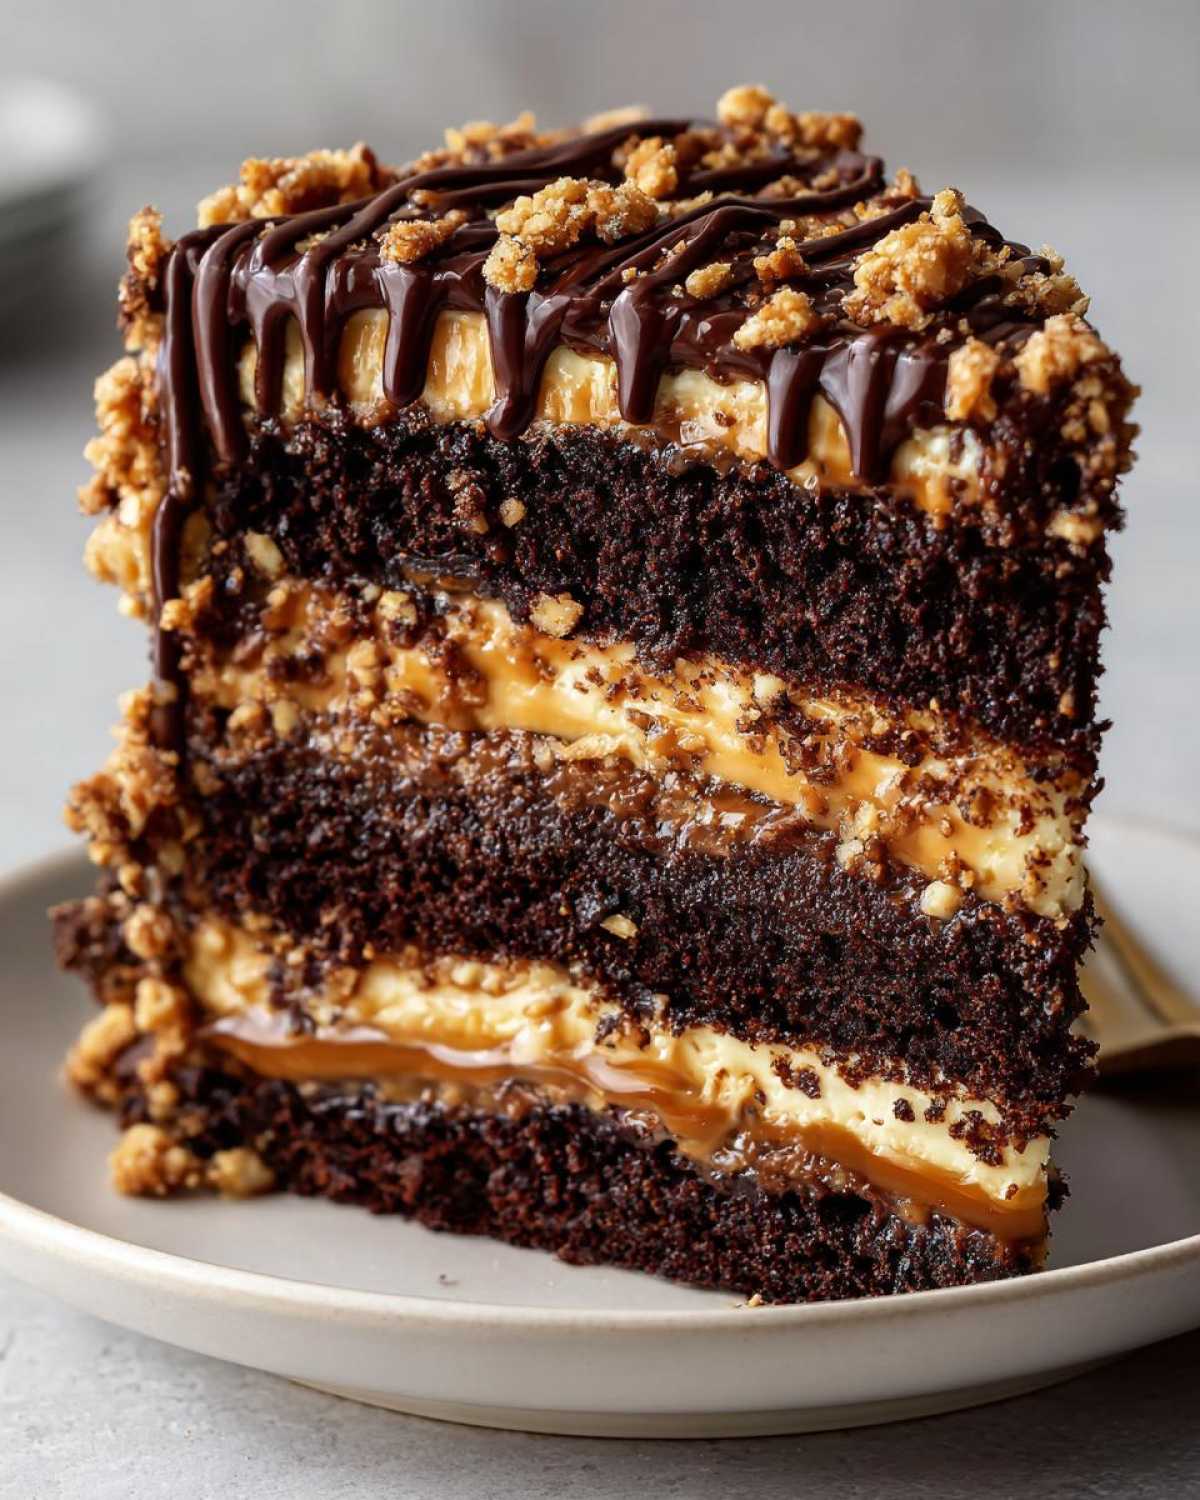
Don’t forget the grand finale! Drizzle any leftover caramel over the very top edge, letting it cascade down the sides luxuriously. Finally, take the remaining toffee bits and press them gently onto the top surface, or sprinkle them all around the base edge if you are feeling fancy. Pop this creation into the fridge for at least half an hour before you try slicing it. That chill time makes cutting super clean!
Tips for Success Making a Chocolate Caramel Toffee Crunch Cake
Even though this chocolate caramel toffee crunch cake is surprisingly easy for how spectacular it looks, a few little behind-the-scenes secrets just make everything work perfectly the first time. These aren’t strict rules, but they are absolutely things I won’t skip now, especially since I learned them through trial and—well, a few slightly messy cakes!
Let’s start with the cake itself. Remember that note about the hot coffee? I can’t stress that enough. Using hot brewed coffee here is essential because it truly makes the chocolate flavor deeper and richer than you expect from a standard homemade salted caramel recipe base. It activates the cocoa beautifully. Also, make sure your butter for the frosting is perfectly softened; if it’s too cold, you end up with lumps, and if it’s too warm, your whole frosting structure melts away!
Now, about the caramel application. This is important if you want that beautiful drip effect without it soaking straight into the top layer too fast. My trick—which I’ve found invaluable for any gooey caramel dessert—is to let the caramel cool down until it’s warm, not hot, before drizzling. If it’s too hot, it immediately pours over the sides and pools on the plate. If it’s slightly warmer than room temperature, it thickens just enough to cling to the sides beautifully as it flows. Patience really does pay off when assembling this textural delight!
And finally, never forget the crunch! My final piece of advice is to press those toffee bits firmly into the very top edge of your final frosting layer and the sides, if you like. They tend to fly off when you slice the cake, but if you gently press them into the final coat of buttercream, they stay put, ensuring every single slice gets that wonderful, crunchy element we worked so hard for.
Variations for Your Indulgent Chocolate Baking
Now, I know you have this perfect chocolate caramel toffee crunch cake recipe locked down, but are you the kind of baker who needs to tinker? Me too! While this original version is pure perfection for a showstopper birthday cake, sometimes I like to switch things up just to keep things interesting. It’s still going to be ridiculously indulgent, but with a little twist. Think of these as ways to customize it for different holidays or just when you’re craving a slight flavor shift in your rich chocolate dessert.
My favorite variation comes down to swapping out the crunchy element or tweaking that deep chocolate base. If you aren’t set strictly on toffee, you have so many options! You could use crushed peanut butter cups for a totally different experience, or maybe even toasted pecans if you want a nuttier, warmer crunch. If you love chocolate and banana together—check out my chocolate banana bread moist easy recipe for inspiration on adding fruit flavor!
For the caramel, if you find yourself getting overly obsessed with that salty kick, try stirring a teaspoon of flaky sea salt right into the finished buttercream layer before you frost the cake. It spreads the saltiness around evenly rather than having it all concentrated in the caramel drizzle.
And what about the cake batter itself? If you want to deepen that chocolate richness even further without changing the texture, try a little espresso powder. Just dissolve a teaspoon or two of instant espresso powder right into that cup of hot coffee before you pour it into the batter. It enhances the cocoa flavor beautifully, making it taste even more gourmet. These little tweaks are what turn standard baking into your own signature style of indulgent chocolate baking!
Storage and Reheating Instructions for the Layer Cake Recipes
Now that you’ve created this incredible chocolate caramel toffee crunch cake, the next natural question is: how do I keep this beauty preserved? Because we have that luscious buttercream *and* that gooey salted caramel, storage requires a little forethought, but it’s totally manageable. I want your cake to taste just as amazing tomorrow as it does right now!
Since the frosting is a standard buttercream, the cake is actually quite happy sitting at room temperature for a little while, especially if you plan on eating it the same day you bake it. When you frost the cake, that thick buttercream acts like a tasty little shield, locking in the moisture from those delicious layers. If it’s just sitting out on the counter, cover it loosely with a cake dome or even just use a large bowl flipped over it to keep dust and pets away.
However, if you made this powerhouse for a big holiday event and need it to last a few days, you absolutely must refrigerate it. Pop it into an airtight container or wrap it well with plastic wrap (though make sure the plastic doesn’t stick to your beautiful caramel drips!). The fridge keeps the caramel firm so it doesn’t run everywhere, and it keeps the layers safe. Just remember this crucial step: you cannot serve this cake straight out of the fridge!
Serving Temperature is Key
Serving this cake chilled is fine if you love a firmer frosting, but for the *ultimate* experience, you need to let it warm up a touch first. Cold temperatures make that buttercream hard and the chocolate layers a bit dense. Before you bring it to the table, pull the chocolate caramel toffee crunch cake out of the refrigerator about an hour beforehand. That slight warming lets the butter in the frosting soften up, making it silky smooth again, and it brings those rich chocolate flavors right back to the front!
If you’ve stored leftovers this way, you actually don’t need to do anything special for reheating—just let it sit on the counter until it’s softened up. You want that salty caramel to be gently gooey again, which happens perfectly at room temperature. Enjoy every last bite!
Frequently Asked Questions About This Rich Chocolate Dessert
I know when I’m about to tackle a showstopper like this, my brain fills up with a million little questions, so let’s clear a few things up right away! This is all about making gourmet baking feel simple and accessible. If you’re looking for more ways to elevate your home kitchen game without the fuss, you might enjoy my guide to easy gourmet baking.
Can I make the salted caramel sauce ahead of time for my chocolate caramel toffee crunch cake?
Absolutely, and I highly encourage you to do it! Making the caramel ahead of time breaks this up into much more manageable steps. I usually make the sauce two days before I plan to assemble the cake. Just store it in an airtight jar in the fridge. When you’re ready to use it for filling or drizzling, you’ll probably find it’s rock hard—that’s okay! Just warm it up gently on the stove over low heat or microwave it in short bursts, stirring in between. You want it warm enough so it flows nicely, but definitely not hot, or it will melt your buttercream!
What is the best way to achieve a bakery style cake at home look?
This is where technique beats talent, honestly! The absolute number one trick for that flawless bakery style cake at home look is the crumb coat. After you stack your cake layers, the first layer of buttercream should be thin—just barely enough to trap all those loose chocolate crumbs. Once that first layer is on there, stick the whole thing back in the fridge for at least twenty minutes until it’s firm to the touch. Once it’s chilled, you apply your final, thicker layer of frosting. Use an offset spatula and smooth the sides by holding it still against the cake while slowly turning the turntable. It’s all about steady hands and a cold cake!
Can I substitute the buttermilk if I don’t have any on hand?
Oh, the classic kitchen substitution dilemma! Yes, you totally can cheat this one. For truly moist chocolate cake layers, you need the acid in the buttermilk to react with the baking soda. If you’re out, just put one tablespoon of white vinegar or fresh lemon juice into a measuring cup, then fill the rest of the way up to the 1-cup line with regular milk. Give it a tiny stir and let it sit for five minutes. It will curdle slightly—that’s your homemade buttermilk, ready for action!
My toffee bits keep softening in the filling layer—what am I doing wrong?
That’s physics for you! The moisture from the caramel and buttercream starts to dissolve the toffee over time. If you love that crunch factor—and trust me, you should, it’s key to this textural dessert idea—try adding only *half* of your crushed toffee bits into the filling layer. Then, sprinkle the remaining toffee bits only onto the very top layer right before you serve it, or right before you chill the cake for the final time. The top layer crusts up nicely, keeping that crunch loud and proud!
Estimated Nutritional Data for Chocolate Caramel Toffee Crunch Cake
Now, before we wrap up this epic bake, I always like to give you a heads-up on the nutrition side of things. Listen, this is not a diet cake, okay? This is a full-flavor, every Sunday afternoon, let’s celebrate life kind of cake! These numbers are definitely estimates based on standard ingredient usage for one generous slice—so treat them as a guideline rather than a gospel.
When you see the numbers, just remember what you’re getting: intense chocolate flavor, that salty caramel kick, and tons of satisfying texture. It’s worth every calorie, especially since this chocolate caramel toffee crunch cake is usually reserved for special occasions!
- Serving Size: 1 slice
- Calories: 580
- Sugar: 75g (Yes, it’s a party!)
- Sodium: 350mg
- Fat: 32g
- Saturated Fat: 18g
- Carbohydrates: 75g
- Protein: 6g
See? A very rich chocolate dessert! Don’t worry about it too much; just enjoy the decadent richness responsibly!
Share Your Ultimate Dessert Bake Experience
Whew! You did it! You tackled the ultimate chocolate caramel toffee crunch cake, and I am just so incredibly proud of you for creating such a showstopper! Now that you’ve sliced into that beautiful tower of chocolate, gooey caramel, and satisfying crunch, I desperately want to hear all about it. Baking is so much better when we can share the results, right?
Whether you made this for a holiday dessert or just a Tuesday night because you deserve it, please leave a rating and review down below. Your feedback helps other bakers feel confident tackling this recipe next time. I’m especially curious to know: which part won you over? Was it the unbelievable moisture in the chocolate layers, or did the salty caramel and toffee crunch combination seal the deal for you? Tell me everything!
If you managed to snap a photo of your finished masterpiece—maybe dripping with caramel or decorated with extra toffee bits—please tag me on social media! Seeing your unique takes on this recipe is the absolute highlight of my week. You can find all my latest baking adventures over on the blog site. Go show off that incredible work—you earned it, baker!
PrintUltimate Chocolate Caramel Toffee Crunch Layer Cake
This recipe creates a decadent, multi-textured layer cake featuring moist chocolate layers, gooey salted caramel filling, and a satisfying toffee crunch topping. It is a showstopper dessert perfect for celebrations.
- Prep Time: 40 min
- Cook Time: 35 min
- Total Time: 1 hour 50 min
- Yield: 12 servings
- Category: Dessert
- Method: Baking
- Cuisine: American
- Diet: Vegetarian
Ingredients
- 1 3/4 cups all-purpose flour
- 1 3/4 cups granulated sugar
- 3/4 cup unsweetened cocoa powder
- 1 1/2 teaspoons baking soda
- 1 1/2 teaspoons baking powder
- 1 teaspoon salt
- 2 large eggs
- 1 cup buttermilk
- 1/2 cup vegetable oil
- 2 teaspoons vanilla extract
- 1 cup hot brewed coffee
- 1 cup (2 sticks) unsalted butter, softened
- 3 cups powdered sugar
- 1/2 cup cocoa powder
- 1/2 cup heavy cream
- 1/2 teaspoon salt (for frosting)
- 1 batch homemade salted caramel sauce (about 1 cup)
- 1 cup crushed toffee bits (Skor or homemade brittle)
Instructions
- Preheat your oven to 350°F (175°C). Grease and flour two 9-inch round cake pans.
- In a large bowl, whisk together the flour, sugar, cocoa powder, baking soda, baking powder, and salt for the cake.
- Add the eggs, buttermilk, oil, and vanilla extract to the dry ingredients. Beat with an electric mixer on medium speed until just combined.
- Carefully pour the hot coffee into the batter and mix on low speed until smooth. The batter will be thin.
- Divide the batter evenly between the prepared pans. Bake for 30 to 35 minutes, or until a wooden pick inserted into the center comes out clean. Let the cakes cool in the pans for 10 minutes before inverting them onto a wire rack to cool completely.
- Prepare the chocolate buttercream: Beat the softened butter until creamy. Gradually add the powdered sugar and cocoa powder, alternating with the heavy cream and salt, until the frosting is smooth and spreadable.
- Prepare the salted caramel sauce if making from scratch; cool completely before assembly.
- To assemble the cake, place one cooled cake layer on a serving plate. Spread a thin layer of buttercream over the top. Drizzle generously with salted caramel sauce. Sprinkle half of the crushed toffee bits over the caramel.
- Place the second cake layer on top. Frost the entire cake (top and sides) with the remaining chocolate buttercream.
- Drizzle the remaining salted caramel over the top edge of the cake, allowing it to drip down the sides. Sprinkle the remaining toffee bits over the top surface.
- Chill the cake for at least 30 minutes before slicing for cleaner cuts.
Notes
- Using hot coffee deepens the chocolate flavor without making the cake taste like coffee.
- If you prefer a thicker caramel filling, reduce the amount of heavy cream used in the buttercream slightly.
- For the best crunch, press the toffee bits onto the sides of the cake as well as the top.
Nutrition
- Serving Size: 1 slice
- Calories: 580
- Sugar: 75g
- Sodium: 350mg
- Fat: 32g
- Saturated Fat: 18g
- Unsaturated Fat: 14g
- Trans Fat: 0.5g
- Carbohydrates: 75g
- Fiber: 3g
- Protein: 6g
- Cholesterol: 95mg