

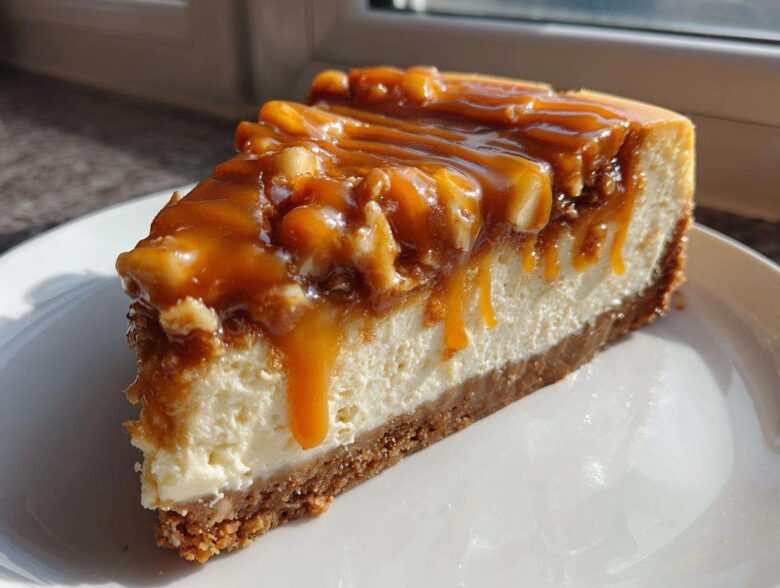
Okay, stop whatever you’re doing right now because I need to tell you about the dessert that nearly made my husband cry happy tears last weekend. Seriously! We all love a cozy autumn treat, right? Well, what if I told you we could take the creamy comfort of a classic cheesecake and smash it together with the spiced, flaky goodness of a perfect apple pie? That’s exactly what we’re doing with this Baked Salted Caramel apple pie cheesecake. I spent almost three whole fall seasons trying to nail the balance here—the apples couldn’t be too watery for the batter, and the caramel had to sing, not shout. Trust me, this hybrid creation is the ultimate crowd-pleaser, and you absolutely need this recipe in your life today.
If you’ve never felt the joy of sinking your fork through that velvety layer into spiced apples, you need to fix that immediately! If you’re looking for a straightforward classic pie recipe while you’re here, check out my shortcut guide to the easiest homemade apple pie.
Why This Salted Caramel apple pie cheesecake Recipe Works (EEAT)
Why mess with perfection when you can combine two amazing things? This apple pie cheesecake is superior because you get that rich, velvety bite of a truly creamy cheesecake dessert, immediately followed by the warm hug of cinnamon-spiced apples and that salty-sweet caramel finish. It truly is the most decadent apple dessert you’ll make all year. It just hits every note perfectly, I promise!
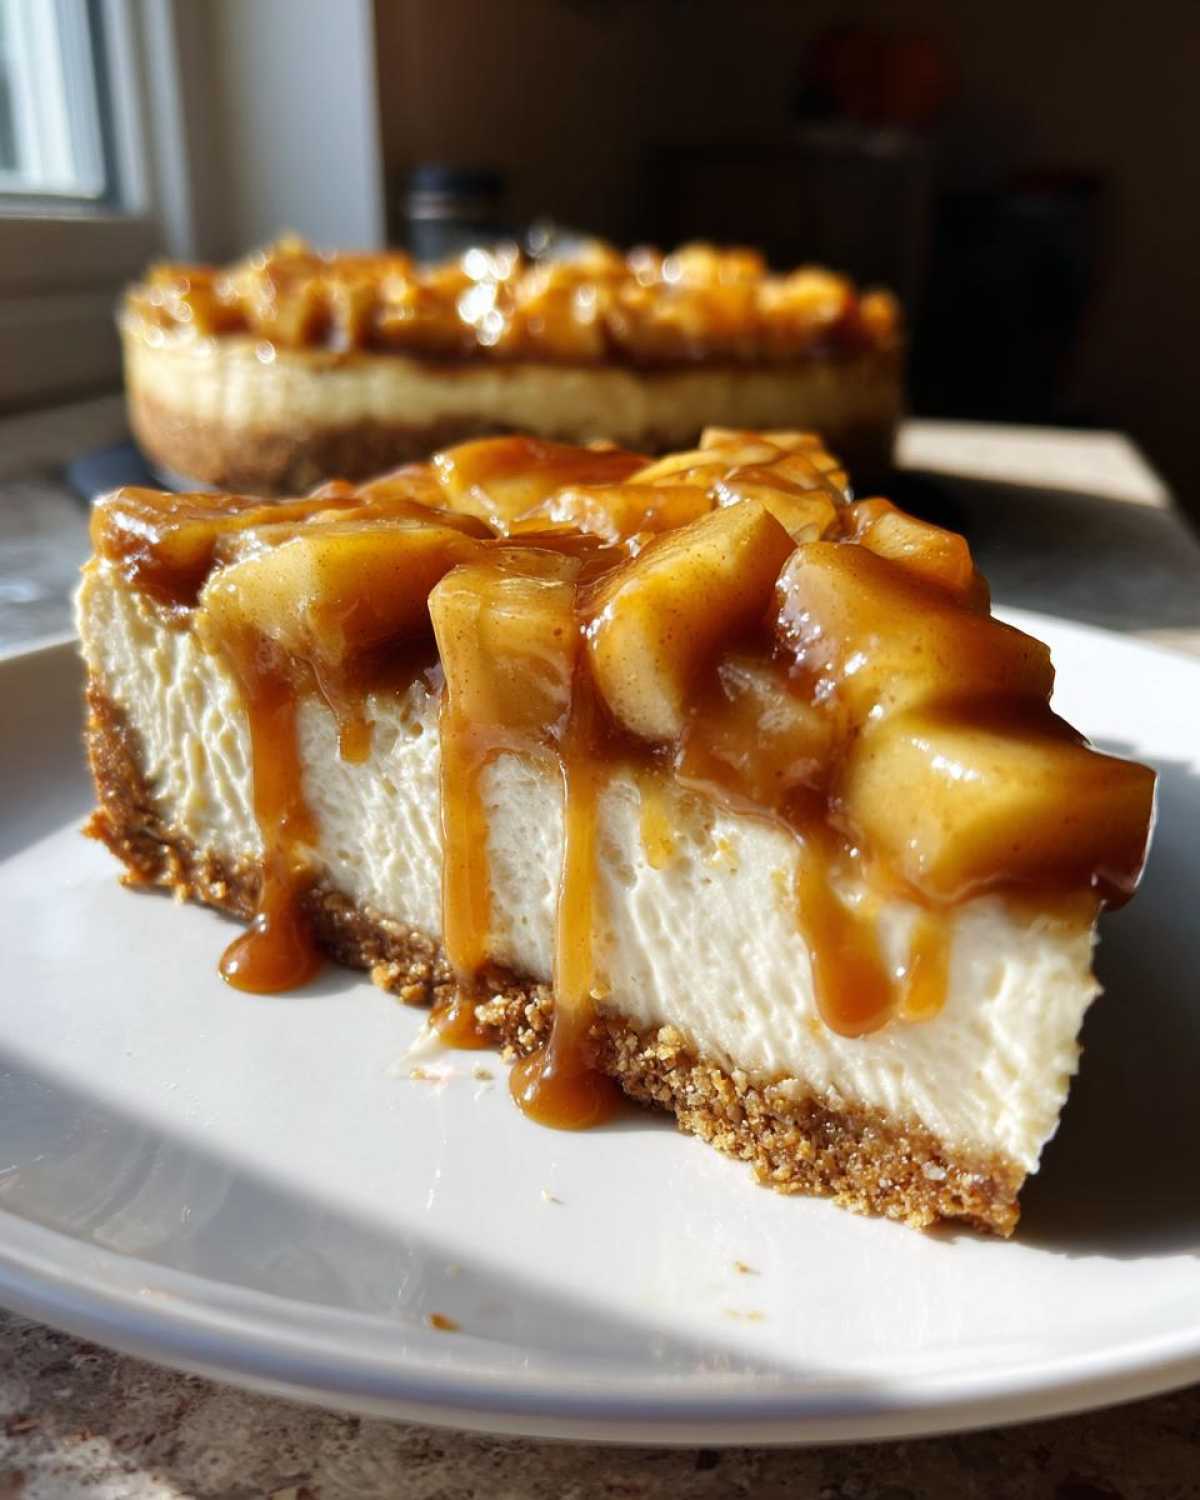
Achieving the Perfect Creamy Cheesecake Dessert Texture
The number one fear with any baked creamy dessert is cracks, right? Don’t even worry about that! My biggest pro-tip is simple: make sure your cream cheese is perfectly soft—room temperature, not cold. Then, when it comes out of the oven, you absolutely, positively cannot rush the cooling. Turn the oven off, crack the door, and let it sit in there for a full hour. This slow cool-down is the secret handshake for a smooth, no-crack top.
Essential Ingredients for Your apple pie cheesecake
Okay, time to shop! Building this masterpiece means setting up three distinct layers, and you can’t skimp on quality for any of them. When you’re looking at the list, pay close attention to the texture requirements—things like softened cream cheese vs. eggs straight from the fridge. Everything has its reason for being exactly the way it is!
For the crust, we’re keeping it simple and sweet, using that classic graham cracker crust dessert base. You’ll need:
- 1 1/2 cups graham cracker crumbs
- 1/4 cup granulated sugar
- 6 tablespoons unsalted butter, melted
Then comes the star, the filling. This is where the magic happens, so make sure you have your full three blocks:
- 3 (8 ounce) packages cream cheese, softened (This is important, softened!)
- 1 1/2 cups granulated sugar
- 1 teaspoon vanilla extract
- 1/2 teaspoon ground cinnamon
- 4 large eggs
And finally, the beautiful apple situation that puts this over the top! We cook these down slightly before they even meet the batter, so you need:
- 2 cups sliced Granny Smith apples (Make sure they are firm!)
- 1/4 cup packed light brown sugar
- 1 tablespoon lemon juice
- 1/2 teaspoon ground cinnamon
And don’t forget the drizzle components, which really bring that salted caramel element together:
- 1/4 cup heavy cream
- 1/4 cup caramel sauce
- 2 tablespoons chopped pecans (optional, but totally worth it!)
For some extra graham cracker inspiration, I have a wild recipe for graham cracker toffee bark that you might love too!
Ingredient Substitutions for Your apple pie cheesecake
If you’re missing one thing, don’t panic and run to the store! For the apples, Granny Smith is my go-to, but Honeycrisp works if you like a little more sweetness mixed into your apple pie cheesecake. Also, those pecans on top? If you have none, chopped walnuts are a fantastic swap. And please, if you don’t have pure vanilla, a splash of bourbon works magic in the batter to enhance the caramel undertones!
Step-by-Step Instructions for Baked Salted Caramel apple pie cheesecake
Alright, let’s get baking! This part requires a little focus, but it’s easier than you think. First things first: get that oven warmed up to 350°F (175°C). Now, this next part is critical for keeping things neat and preventing leaks when we add the apple moisture later. Grab some heavy-duty foil—you need two large sheets—and wrap the outside of your 9-inch springform pan really, really well. I mean tight, like wrapping a precious gift!
Step two is all about setting the stage with the crust. Just mix your graham cracker crumbs, that tiny bit of sugar, and the melted butter until it looks like wet sand. Press this firmly into the bottom—I use the bottom of a measuring cup to pack it down nice and dense. Pop that in the oven for just 10 minutes at 350°F, then pull it out and let it hang out while you make the filling.
Next, the filling for our apple pie cheesecake: beat that softened cream cheese until it’s silky smooth. Slowly add the sugar, vanilla, and cinnamon. Then, the eggs—and this is important—add them one at a time, mixing just until you can’t see the yellow anymore. Don’t overmix once the eggs are in! Pour that beautiful batter right over your cooled crust. If you’ve already cooked your apples (we’ll get to that in a minute!), spoon about half of them right over the top of the batter.
Time to bake! It’s usually about 50 to 60 minutes. It’s done when the edges look set, but the very center still has that tiny, cute wiggle to it, kind of like Jell-O. But here’s the kicker for this apple pie cheesecake: when the timer goes off, turn the oven OFF, crack the door open a bit, and just leave it inside for a whole hour. This prevents any sudden temperature shock that causes cracking. Then, let it cool completely on the counter before chilling it for at least four hours. I always say overnight is best!
Baking Tips for the Best apple pie cheesecake Results
Listen, if you are nervous about that wiggle—and hey, I was too when I first started—a water bath is your best friend for the creamiest texture. You want to place that foil-wrapped pan inside a larger roasting pan, then pour hot tap water into the roasting pan until it comes about halfway up the side of your springform. This creates a steamy, gentle environment, ensuring even heat distribution and those gorgeous easy spiced apples cook perfectly within the creamy base without the top scorching.
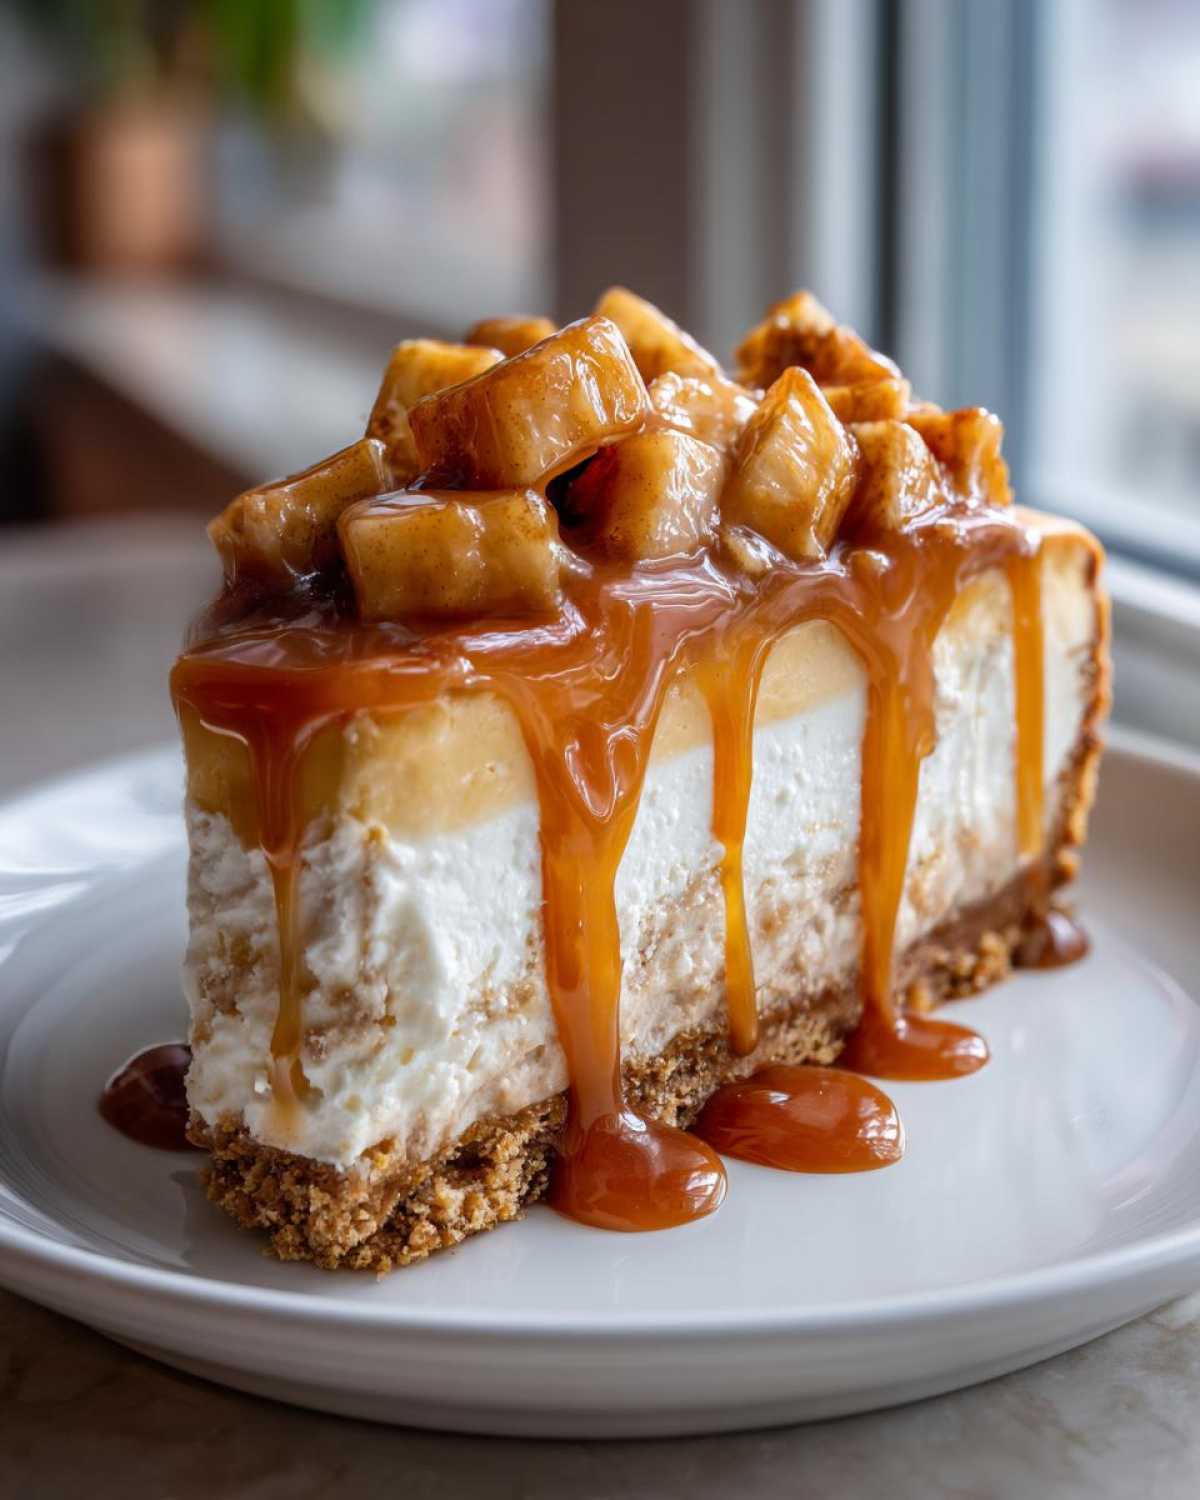
Also, check your oven temperature with a cheap oven thermometer! Sometimes my oven thinks 350°F is more like 375°F, and that little difference can totally ruin the bake time on a delicate dessert like this.
Making the Cinnamon apple topping and Salted Caramel Drizzle
Okay, while our buttery crust is chilling out, we have to perfect the layers that make this creation sing. The apple topping isn’t just raw apples thrown on top; we’re cooking them just enough to get them tender and coated in spice. In a medium saucepan, toss those sliced Granny Smiths with your brown sugar, a squeeze of lemon juice to keep their color bright, and that extra dose of cinnamon. You want to cook this over medium heat for maybe 5 to 7 minutes until they just start to soften—don’t let them turn into mush!
Here’s where you have to pay attention, because this impacts the bake of your apple pie cheesecake. Take half of those warm, spicy apples and spoon them gently over the cheesecake filling right before it goes into the oven. That half bakes right in, settling into the top layer beautifully.
The rest of the apples are for serving glory! For the drizzle, this couldn’t be easier. Just gently warm your heavy cream and caramel sauce together in a tiny saucepan until they blend into a smooth, pourable sauce. Stir in those optional pecans if you’re using them. Once the cheesecake is totally chilled, layer on those reserved cooked apples and then—oh my goodness—drizzle that beautiful homemade salted caramel all over! It makes this whole apple pie dessert fusion look professional, even though it took two minutes.
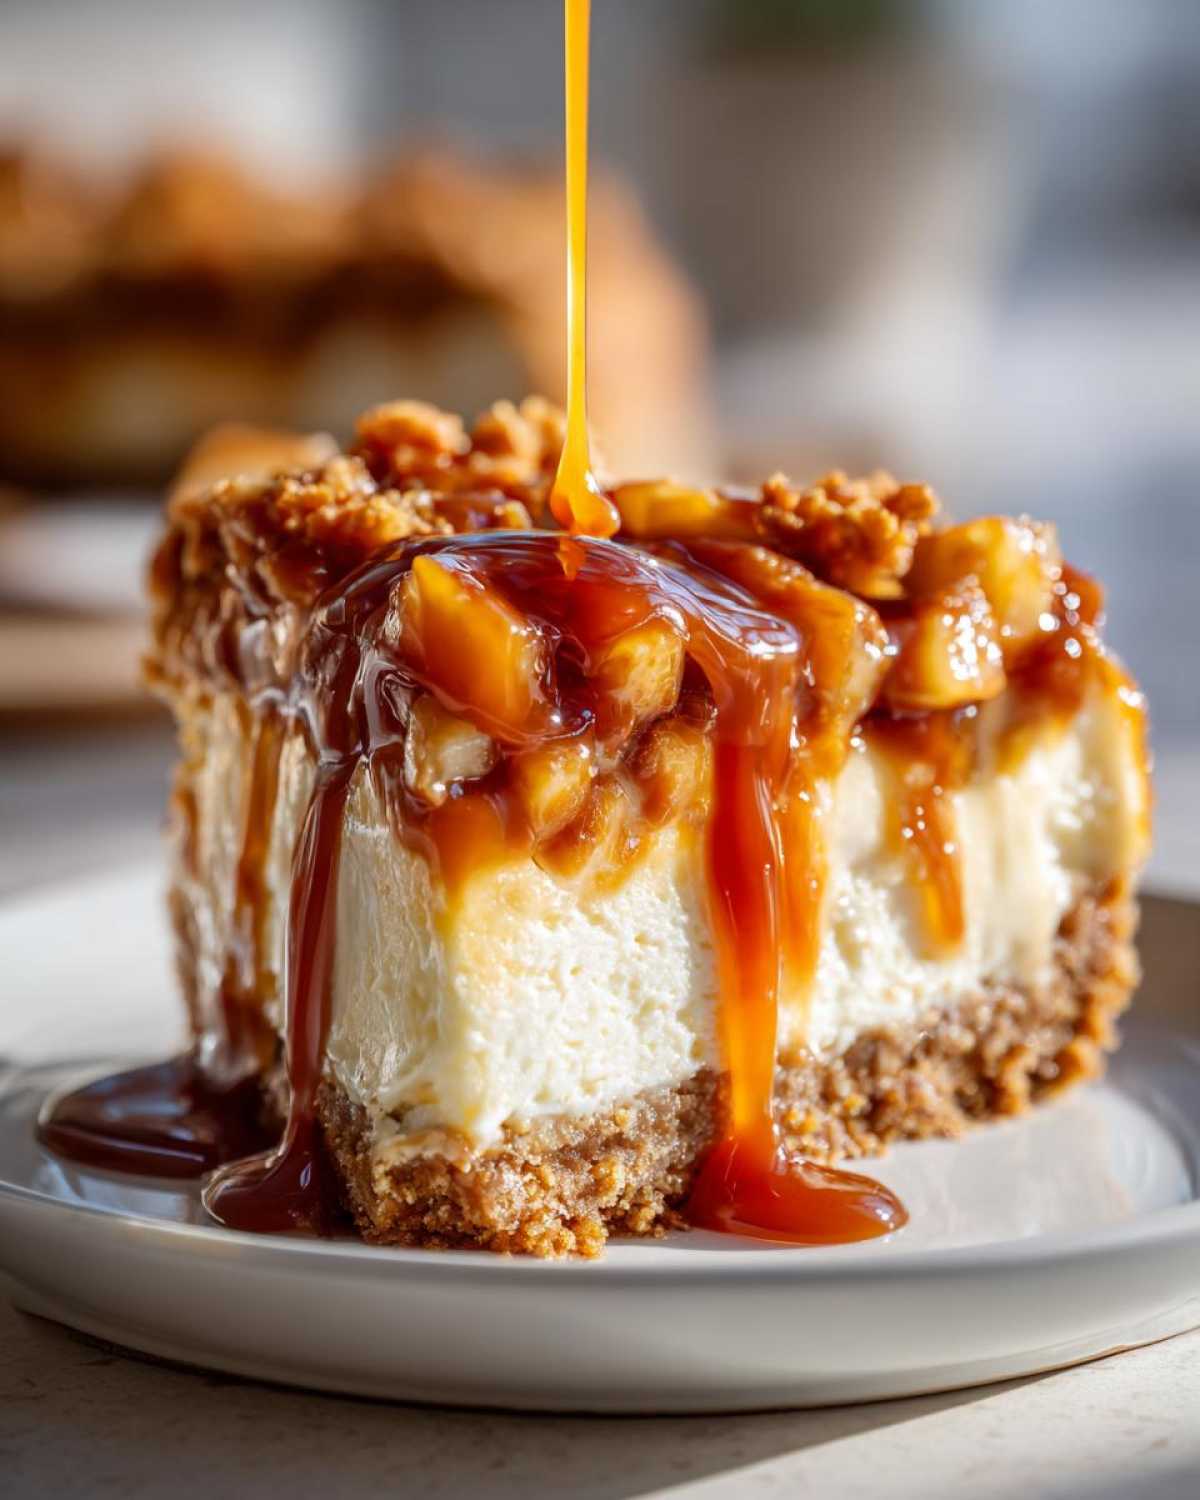
If you want to kick that drizzle up another notch, I highly recommend checking out my recipe for the best soft and chewy homemade caramels; you can use those as the base for an even richer sauce!
Tips for Success with Your apple pie cheesecake
I’m so excited for you to try this! Seriously, nailing a few tiny details can take your apple pie cheesecake from great to legendary. First up, let’s talk chilling time again. I know you want to dig in the second it comes out of the fridge, but you *must* let it chill for those minimum four hours, or preferably overnight. If you cut it early, the texture won’t set properly, and you’ll end up with a creamy mess instead of clean slices.
Secondly, to get those picture-perfect slices, warm your knife! Seriously, grab a tall glass of hot water, dip your sharp, thin knife in it, wipe it dry, and then make your cut. Dip, wipe, cut. Do this for every slice. It melts the butter and cream cheese just enough to glide right through without dragging the layers.
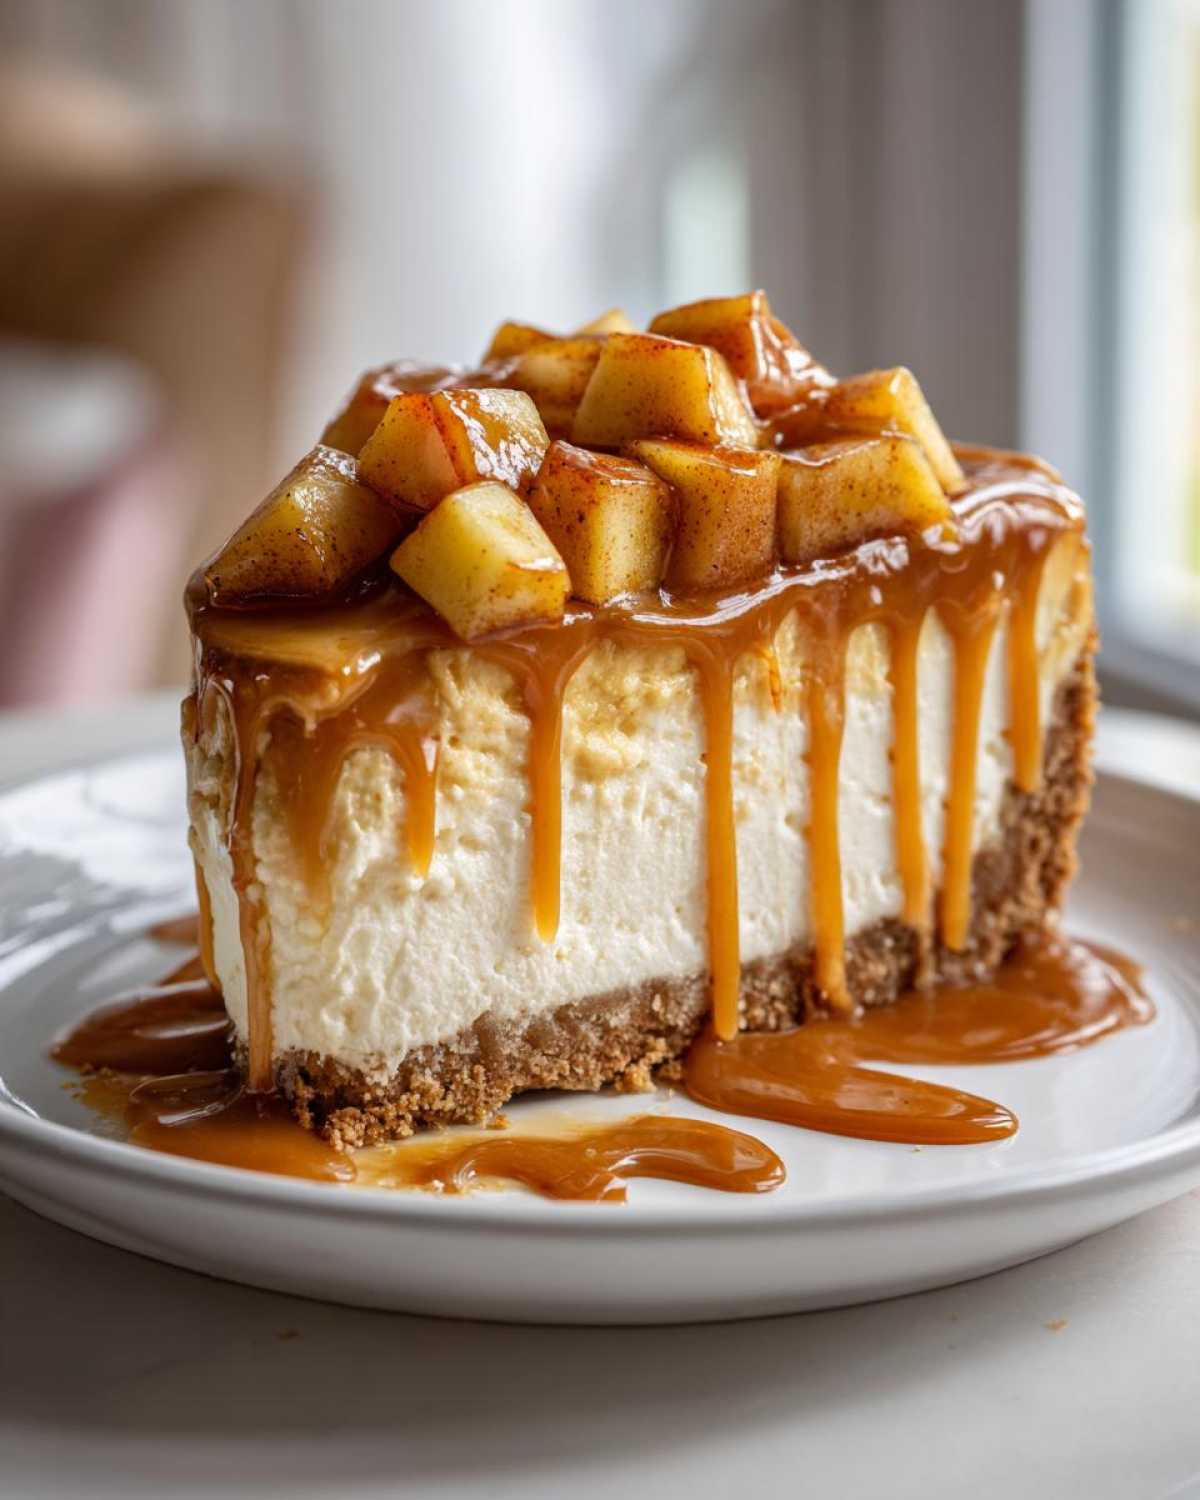
My final little tip for your apple pie cheesecake involves the apples on top. If you want them to look shiny right before serving, give them a quick brush with a thin layer of warmed up apricot jam. It gives them that gorgeous glaze you see in the bakery windows. It’s an extra step, sure, but it makes the presentation totally unforgettable!
Storage and Reheating for Your apple pie cheesecake
So, you made this incredible creation, and now you have leftovers? Lucky you! The good news is, leftovers are even better the next day because those spices have more time to mingle. Since this is a big, rich baked dessert, keep it covered tightly in the refrigerator. I use plastic wrap directly over the top of the cheesecake, followed by a layer of foil if I’m keeping it more than 24 hours. It stays beautifully fresh like this for a solid 4 to 5 days. Seriously, it maintains that amazing creamy autumn bake texture!
Now, when it comes to serving, this dessert really shines served chilled straight from the fridge. I find that serving it cold keeps the creamy layer firm and gives the best contrast against the spiced apples. Cut your slice, top with a little more of that leftover salted caramel drizzle, and enjoy!
But, if you’re feeling contrary—which is totally fine!—and you want it slightly warmer, you can warm a single slice very gently. Don’t put the whole thing in the microwave, please! Just take your slice out of the fridge about 20 minutes before you plan to eat it. If you want it warm, you can zap a single serving on low power for about 10 to 15 seconds. Just enough to take the chill off the cheesecake layer and make the apple topping feel warm again. Be careful, though; too much heat and you’ll lose that lovely dense structure we worked so hard for!
Variations: Beyond the Classic apple pie cheesecake
I know this baked version is my personal favorite, but I totally get it if you’re hosting a huge crowd or maybe you just hate turning the oven on in September! If you want a faster route to apple pie cheesecake heaven, you can absolutely skip the baking step entirely. The instructions notes mention how to turn this into a no bake apple pie cheesecake—just chill that filling for at least six hours instead of baking. It’s a little softer, but still divine!
For those of you craving extra crunch, try turning this into a toffee crunch cheesecake! Before you pour the cheesecake batter over the crust, sprinkle a layer of crushed toffee bits down first. It gives you this wonderful, unexpected little pop of brittle sweetness when you bite through.
And if you really want to go wild with these two in one dessert recipes, try stuffing! You can pour half the batter in, layer some of those cooked apples in the middle like a sandwich, and then pour the rest of the batter on top. That’s how you make a genuine ‘stuffed’ apple pie cheesecake! If you’re interested in other fun hybrid desserts, I did a totally wild Snickerdoodle Cheesecake that is just as much fun!
Frequently Asked Questions About apple pie cheesecake
Can I make this apple pie cheesecake ahead of time?
Oh, yes, you absolutely should! This is one of my favorite things about making this dessert—it’s actually better the next day. Remember how I stressed the overnight chilling? That gives the flavors time to deepen and the texture gets ultra-firm, which is perfect for slicing. You can fully bake and chill this apple pie cheesecake up to two days in advance. Just wait to put the final drizzle of caramel and pecans on until about an hour before you plan to serve it!
What apples should I use for the topping in this creamy autumn bake?
For that perfect blend of tartness and structure, Granny Smith apples are the champs here. They hold their shape really well as they cook down, so you get little chunks of apple instead of mush. If you can’t find them, a firm Honeycrisp or a mix of Granny Smith and Fuji works beautifully for this fall cheesecake recipe. Just make sure they are firm enough to hold up to the heat!
How do I prevent the cheesecake filling from sinking below the apples?
That’s a tricky one for any cheesecake with pie filling! The trick is twofold, and I mentioned it in the instructions, but let’s hammer it home. First, make sure your apples are cooled slightly before they go on the batter—hot apples heat the batter too quickly, making the outside set before the center, creating a slump. Second, make sure you’re layering half the apples *before* the bake, and the other half *after* chilling. The baked-in apples settle securely into the batter as it sets, keeping them locked in place!
Is this considered one of the best apple cheesecakes for a holiday cheesecake idea?
Without a doubt! If you’re looking for Thanksgiving cheesecake options that aren’t just plain pumpkin, this is it. It offers familiar fall flavors but in this gorgeous, decadent format. If you want to make it extra festive, try adding a tiny pinch of cardamom or allspice to the cheesecake filling itself. It transforms this from a dessert to a decadent centerpiece.
If you need more tips on simple steps for amazing outcomes, my guide on easy cheesecake baking covers all the bases!
Estimated Nutritional Information for This apple pie cheesecake
Now, I always want to stress that this gorgeous apple pie cheesecake is definitely a treat, not an everyday snack! The numbers below are just my best guess, calculated based on the exact ingredients I listed above, so your mileage might totally vary depending on how heavy-handed you are with that caramel drizzle!
Here is the general breakdown per slice:
- Serving Size: 1 slice
- Calories: 450
- Fat: 28g (But oh so worth it!)
- Carbohydrates: 48g
- Protein: 6g
- Sugar: 45g (Yes, it’s sweet, it’s cheesecake!)
So, yes, it’s decadent, but that’s the joy of a special hybrid dessert like this!
PrintBaked Salted Caramel Apple Pie Cheesecake
A rich, creamy cheesecake baked on a graham cracker crust, topped with spiced, salted caramel apples.
- Prep Time: 25 min
- Cook Time: 60 min
- Total Time: 105 min
- Yield: 12 servings
- Category: Dessert
- Method: Baking
- Cuisine: American
- Diet: Vegetarian
Ingredients
- 1 1/2 cups graham cracker crumbs
- 1/4 cup granulated sugar
- 6 tablespoons unsalted butter, melted
- 3 (8 ounce) packages cream cheese, softened
- 1 1/2 cups granulated sugar
- 1 teaspoon vanilla extract
- 1/2 teaspoon ground cinnamon
- 4 large eggs
- 2 cups sliced Granny Smith apples
- 1/4 cup packed light brown sugar
- 1 tablespoon lemon juice
- 1/2 teaspoon ground cinnamon
- 1/4 cup heavy cream
- 1/4 cup caramel sauce
- 2 tablespoons chopped pecans (optional)
Instructions
- Preheat your oven to 350°F (175°C). Wrap the outside of a 9-inch springform pan tightly with heavy-duty aluminum foil.
- Prepare the crust: Mix graham cracker crumbs, 1/4 cup sugar, and melted butter. Press the mixture firmly into the bottom of the prepared springform pan. Bake for 10 minutes. Set aside to cool slightly.
- Prepare the cheesecake filling: Beat the softened cream cheese, 1 1/2 cups sugar, vanilla extract, and 1/2 teaspoon cinnamon in a large bowl until smooth. Beat in the eggs one at a time, mixing just until combined after each addition. Pour the filling over the cooled crust.
- Prepare the apple topping: In a medium saucepan, combine the apple slices, brown sugar, lemon juice, and 1/2 teaspoon cinnamon. Cook over medium heat for 5 to 7 minutes, stirring occasionally, until the apples are slightly tender. Remove from heat.
- Spoon half of the cooked apples evenly over the cheesecake batter. Bake for 50 to 60 minutes, or until the edges are set and the center has a slight jiggle.
- Turn off the oven, crack the door open, and let the cheesecake cool inside the oven for 1 hour. Remove from the oven and cool completely on a wire rack. Chill in the refrigerator for at least 4 hours, or preferably overnight.
- Prepare the salted caramel drizzle: Gently warm the heavy cream and caramel sauce together in a small saucepan until smooth. Stir in the chopped pecans, if using.
- Before serving, top the chilled cheesecake with the remaining cooked apples and drizzle generously with the salted caramel sauce.
Notes
- For a water bath, place the foil-wrapped springform pan inside a larger roasting pan and fill the roasting pan with hot water halfway up the side of the springform pan before baking.
- If you prefer a no-bake version, chill the cheesecake for 6 hours instead of baking after pouring the filling over the crust.
- Use a good quality, thick caramel sauce for the best flavor.
Nutrition
- Serving Size: 1 slice
- Calories: 450
- Sugar: 45g
- Sodium: 250mg
- Fat: 28g
- Saturated Fat: 17g
- Unsaturated Fat: 11g
- Trans Fat: 0.5g
- Carbohydrates: 48g
- Fiber: 1g
- Protein: 6g
- Cholesterol: 95mg