

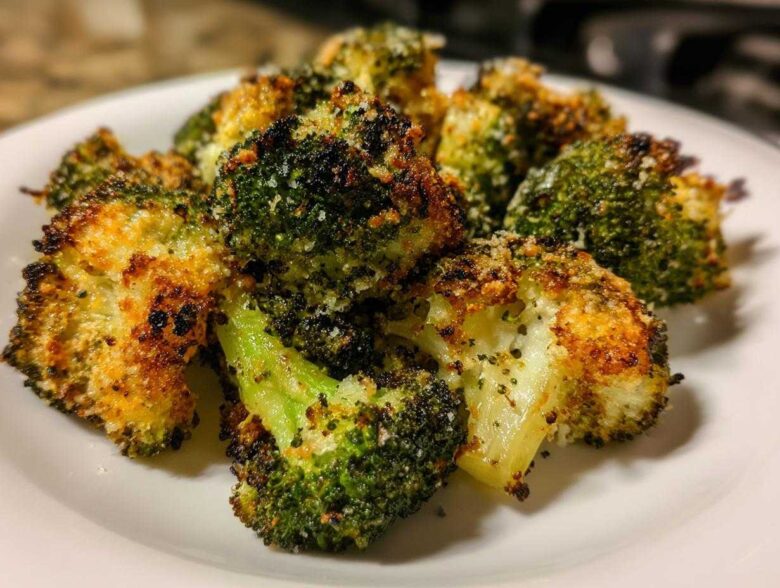
Are you, like me, completely tired of steamed or boiled broccoli that tastes like sad, green mush? I was there. I almost gave up on ever truly *loving* broccoli until a friend showed me this totally wild technique. You take perfectly good florets and you actually… smash them. I know, it sounds reckless! But trust me when I say we are transforming this humble vegetable into something addictive: Crispy Oven Roasted Smashed Broccoli with Garlic Parmesan. This simple method creates amazing texture, and once you coat them in garlic butter, you won’t believe it’s the same boring green stuff. Seriously, this method for smashed broccoli changed my life and it’ll change yours too. You can find some other great ideas over at my general recipe index!
Why This Crispy Smashed Broccoli Recipe Works So Well
I honestly can’t believe how much flavor we pack into this side dish. If you’ve struggled to find the best broccoli recipe out there, this is the one that finally broke through for me. It’s fast, uses simple ingredients, and the texture is unbelievable. This is quickly becoming one of my favorite easy vegetable recipes because it disappears every time I make it.
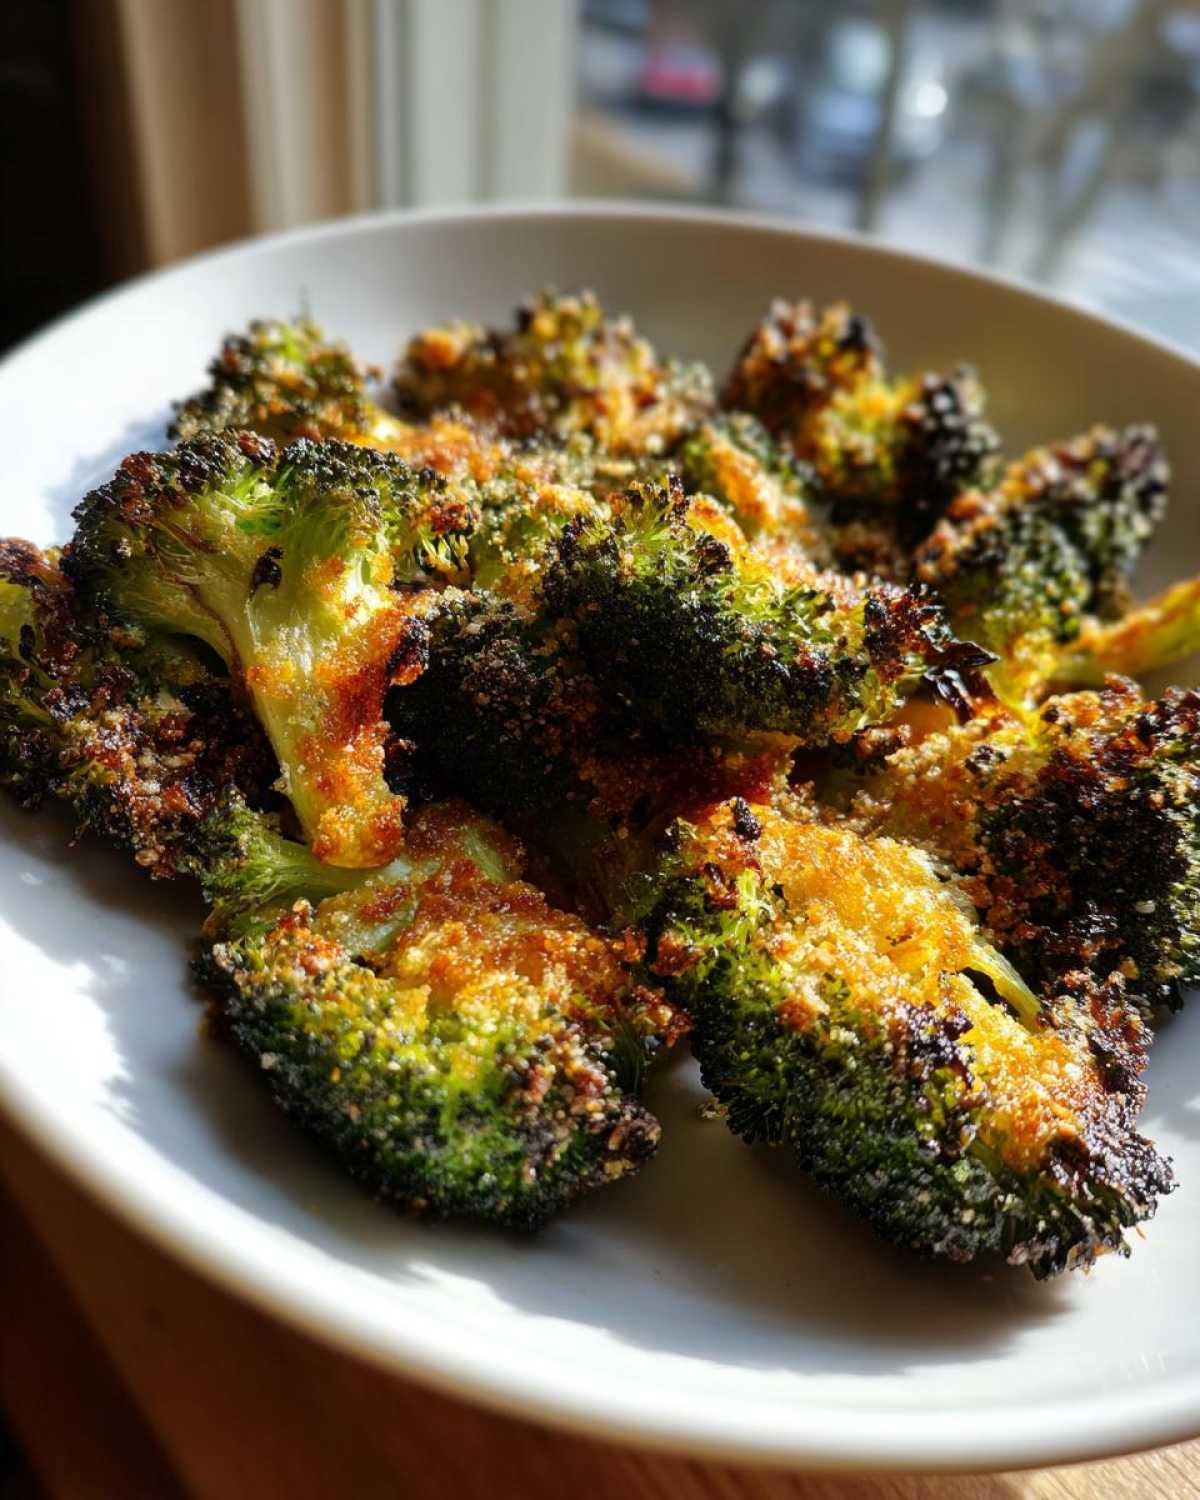
- It gives you phenomenal crispiness you just can’t get from regular roasting.
- The garlic and Parmesan combo makes it totally irresistible—it’s seriously next-level cheesy.
- Prep is so unbelievably fast; you’ll have it seasoned and in the oven in under ten minutes!
It just proves that vegetables don’t have to be boring if you treat them right! Check out my one-pot beans and rice if you are looking for another super simple weeknight winner.
Achieving Maximum Crispiness with Smashed Broccoli
Okay, so the smashing might seem weird, but it’s the key! When you flatten those little florets, you dramatically increase the surface area that hits the hot baking sheet. That means more edges get crispy, charred, and delicious. It’s pure science making your smashed broccoli taste incredible, rather than steaming inside its own layers!
Gathering Ingredients for Your Smashed Broccoli
Let’s talk about what you need for this fantastic Parmesan broccoli. Don’t be intimidated by the list; it’s mostly pantry staples and two heads of broccoli. For the main event, you’ll want 2 large heads of broccoli, and you’ve got to cut those into medium-sized florets—remember, we need them big enough to handle a little smashing later on!
For the glorious coating, we whisk together 3 tablespoons of olive oil and 2 tablespoons of unsalted butter that’s been melted down. Then come the aromatics: 3 cloves of garlic, and you must mince them up nice and small, plus 1/2 teaspoon of garlic powder. Don’t forget your basic seasonings—1/4 teaspoon of salt and 1/4 teaspoon of black pepper. The absolute star ingredient, besides the broccoli itself, is the cheese! You need 1/2 cup of grated Parmesan cheese, and this is going on *after* the first roast, so keep it handy.
Ingredient Notes and Substitutions for Smashed Broccoli
I always preach about fresh ingredients when it comes to flavors like roasted vegetables. If you skip everything else, please don’t skip fresh garlic for your Garlic Butter Broccoli! The jarred stuff just doesn’t have the same punch when it roasts. If you’re dairy-free or need a quick swap, you can totally use nutritional yeast instead of the Parmesan cheese. I’ve tried it, and while it tastes different, it still crisps up beautifully and gives you that cheesy satisfaction.
Also, make sure your butter is really melted, not just warm. It helps the seasonings coat the vegetable evenly before it hits the high heat. That little bit of melted fat is critical for that wonderful roasted texture!
How to Make Smashed Broccoli: Step-by-Step Roasting Instructions
Alright, let’s get down to the business of making this magic happen! Trust me, you’ll want to get your oven preheating right now to 400°F (200°C). Line a large baking sheet—and I mean large! Crowding the pan is the enemy of crispiness. We need space for these little guys to breathe and roast, not steam.
Next up is the actual transformation: place those florets out on your parchment-lined sheet. Grab the bottom of a sturdy glass, maybe one of those heavy tumblers, or a potato masher if you’re feeling fancy. Gently, and I mean *gently*, press down on each floret until it’s flattened out, somewhat like a tiny green pancake. You want a good smash so you get those flat bottoms touching the pan, but don’t smash it into oblivion! We are aiming for smashed broccoli, not broccoli paste. Oops! If you’ve mastered the art of Yorkshire puddings, you know patience is key here, and the same goes for getting this base texture right. You can see how I tackle that tricky technique here.
Preparing and Seasoning the Smashed Broccoli
While you’re working on smashing, whip up your coating. In a little bowl, whisk together that olive oil, the melted butter, your minced fresh garlic, garlic powder, salt, and pepper. It should smell incredible already, honestly. Drizzle that beautiful mix all over the flattened florets. Then, use your hands—yes, hands, it’s the best mixing tool—to gently toss everything until every single smashed piece is coated in that glorious garlic butter blend. Spread them back out so they are in a single layer for maximum contact with the pan. This technique is what guarantees that amazing Crispy Broccoli Side Dish result!
The Two-Stage Roasting Process for Perfect Parmesan Broccoli
Time for the heat! Slide that sheet into the 400°F oven and let them roast undisturbed for 15 minutes. This initial bake softens the inner parts. After 15 minutes, pull the pan out carefully. Now, sprinkle that 1/2 cup of grated Parmesan cheese evenly over everything. It’s going back in for Round Two! Roast for another 5 to 8 minutes. I watch mine like a hawk during this second stage because the cheese can go from perfectly golden to burnt in seconds. If you want an extra edge for super brown spots, you can place it under the broiler for the last minute, but seriously, just stand there and watch it—it happens fast! That melted, bubbly cheese signals the perfect Parmesan broccoli.
Tips for Success When Preparing Smashed Broccoli
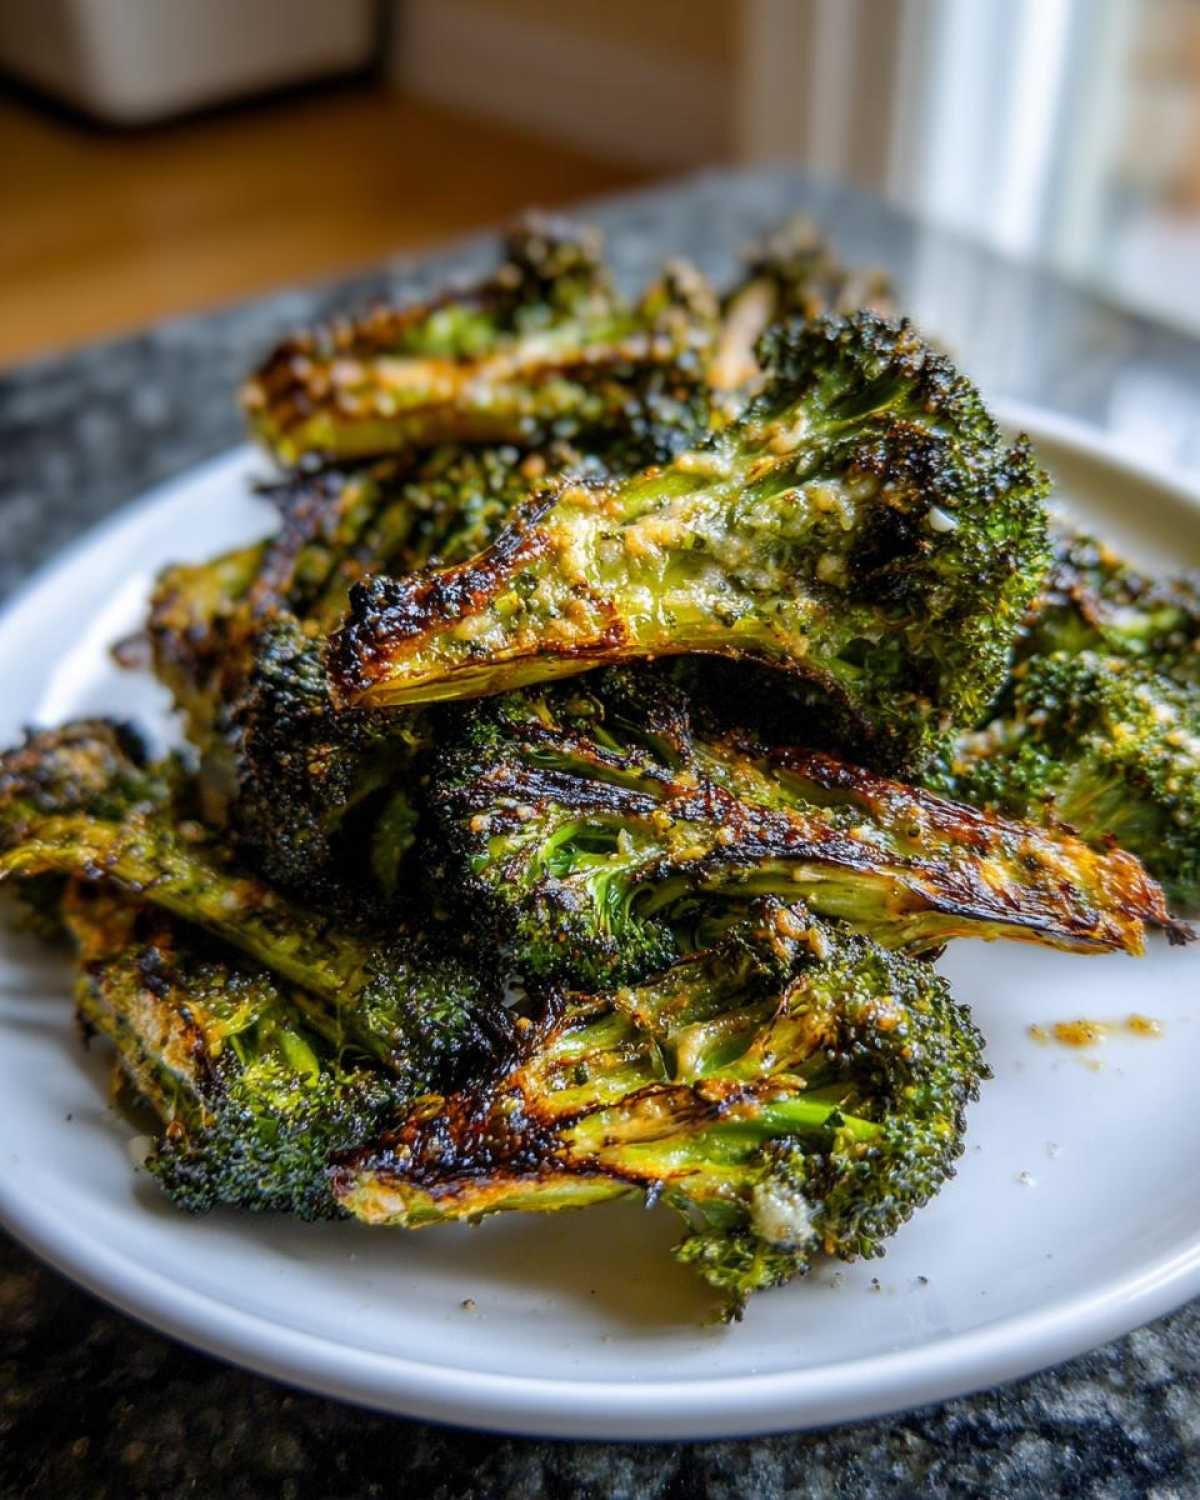
Even though this recipe is wonderfully forgiving, I have a few little tricks I’ve picked up over the years to make sure your batch of smashed broccoli is the crispiest one yet. The biggest game-changer, and I can’t stress this enough, is making sure your florets are totally dry before they even see oil. I mean bone-dry!
If you’re washing your broccoli right before you smash it, take an extra five minutes to spin it in a salad spinner or pat it down with paper towels. Any moisture left on the surface will turn into steam in the oven, and steam messes with crispiness. We want roasting and browning, not steaming!
Next tip is about pan space. When you season the broccoli, make sure you have enough space on that roasting pan so every single piece is touching the metal. If florets are stacked on top of other florets, they can’t crisp up properly. If necessary, pull out a second baking sheet when you make this Garlic Butter Broccoli. It’s way better to use two trays than to crowd one and end up with soggy bottoms.
Also, don’t be afraid of the heat! 400°F is fairly high, but it’s necessary to get that good charring quickly. If you love really dark edges, try my little trick: after the Parmesan goes on the second time, when it’s almost done, slide the pan close to the broiler for about 60 seconds. Just watch it so that cheese goes from golden to perfectly caramelized brown right before it burns. If you want to check out my tips for making a fantastic, moist chocolate cake, you can find that over here!
Serving Suggestions for Your Garlic Butter Broccoli
Now that you have this incredibly flavorful and crispy side—seriously, this Garlic Butter Broccoli is a showstopper—you need to know what to put it next to! Don’t let this deliciousness sit lonely on the plate; it deserves a main act to share the spotlight with. Since this is such an easy preparation, it falls into the category of perfect Quick Dinner Sides that let you spend more time on the main event.
My absolute favorite way to serve this is alongside simple grilled chicken breast or pork chops. The richness of the melted butter and Parmesan cuts through the lean flavor of the meat perfectly. It makes a very basic protein feel instantly elevated, turning it into one of those satisfying, planned-out meals!
If you are going for a steak night, this Cheesy Broccoli Recipe is a fantastic, low-carb alternative to traditional creamy sides like mashed potatoes or heavy creamed spinach. It brings a beautiful, charred vegetable contrast to a rich ribeye. Plus, it counts as getting your greens in, which makes everyone feel a little better about having that second helping of steak!
For a vegetarian meal, try pairing two servings of the smashed broccoli with a good baked sweet potato or a hearty lentil loaf. It adds necessary texture and cheesy depth to softer vegetarian main courses. It’s such a versatile dish; you can truly use it anytime you need Healthy Side Dishes that the whole family will actually eat without complaining. Check out how simple my classic apple cobbler is for dessert, because every great meal needs a sweet finish!
Storage and Reheating Instructions for Leftover Smashed Broccoli
Oh, you made too much? That’s the sign of a successful recipe, isn’t it? Sometimes I hope there are leftovers because this smashed broccoli is just as good, if not almost better, the next day when the flavors have really settled in. But here’s the catch: you have to reheat it correctly if you want to keep that wonderful crispiness we worked so hard for.
First off, storage. Make sure you let any leftovers cool down completely before you try to store them. Put them in a shallow, airtight container. I wouldn’t keep them longer than three days in the fridge, tops. After that, the moisture content starts to really degrade that beautiful roasted texture we achieved. You want to enjoy this Crispy Broccoli Side Dish when it’s fresh, but a day or two later is perfectly fine!
Now, the reheating part is non-negotiable: do not—I repeat, do not—put this in the microwave. Microwaves make roasted vegetables steam, turning your crisp parmesan edges back into soggy bits instantly. Total tragedy.
You have two amazing options to bring back that crunch. The best way, hands down, is to toss them into your air fryer for about 3 to 5 minutes at 350°F. It brings back the texture almost instantly. If you don’t have an air fryer, use your conventional oven. Spread the leftovers back out on a baking sheet—again, do not crowd them!—and bake them at 375°F for about 8 to 10 minutes. You’ll hear them sizzling again, and the cheese will refresh beautifully.
If you’re looking for another recipe that freezes and reheats beautifully, you absolutely have to try my classic moist carrot cake! It warms up so nicely.
Frequently Asked Questions About Smashed Broccoli Recipe
I totally get it; when you see a new vegetable preparation like smashed broccoli, you naturally have a few questions before diving in. I’ve answered the things people ask me most often about making sure this turns out perfectly crispy every single time!
Can I make this Smashed Broccoli Recipe in the Air Fryer?
Oh yes, you absolutely can! If you want the fastest, crispiest result—perhaps for a quick evening snack—the air fryer is your best friend. For air frying, you’ll use the same amount of seasoning mixture but skip the initial baking time. Toss the seasoned, smashed florets and spread them in a single layer in your air fryer basket. You want to cook them at 380°F (about 195°C) for about 12 to 14 minutes total. You’ll need to shake the basket halfway through. Sprinkle the Parmesan cheese on during the last 3 minutes of cooking so it melts nicely but doesn’t burn.
What if I don’t have fresh garlic for my Garlic Butter Broccoli?
While I swear by the fresh stuff, life happens! If you are out of fresh garlic cloves, you can certainly use jarred minced garlic or garlic powder instead. If you are substituting entirely with garlic powder, I’d bump the total powder content up to about 1 teaspoon to get that robust flavor we want in our Garlic Butter Broccoli. Just make sure you mix the powder in really well with the melted butter and oil before you drizzle it over the vegetable.
Can I prepare this Low Carb Broccoli Recipe ahead of time?
You can technically prep the smashing and seasoning ahead of time, but you must store the seasoned broccoli raw in the fridge and let it roast fresh. If you try to roast it and then store it overnight, you lose all that incredible crispness we worked for! If you want something ready to go, stick to my general rules for making things ahead, like my incredibly popular pecan pie muffins—those actually taste better the next day!
Is this Parmesan Broccoli suitable for a healthy snack?
It really is! Since this is one of those Low Carb Broccoli recipes, and the main ingredients are just the vegetable, olive oil, and cheese, it’s quite nutrient-dense. It’s definitely a much better option than chips or crackers when you’re looking for a savory, crunchy item. It satisfies the craving for something salty and rich, while still being packed with fiber!
Estimated Nutritional Data for Cheesy Broccoli Recipe
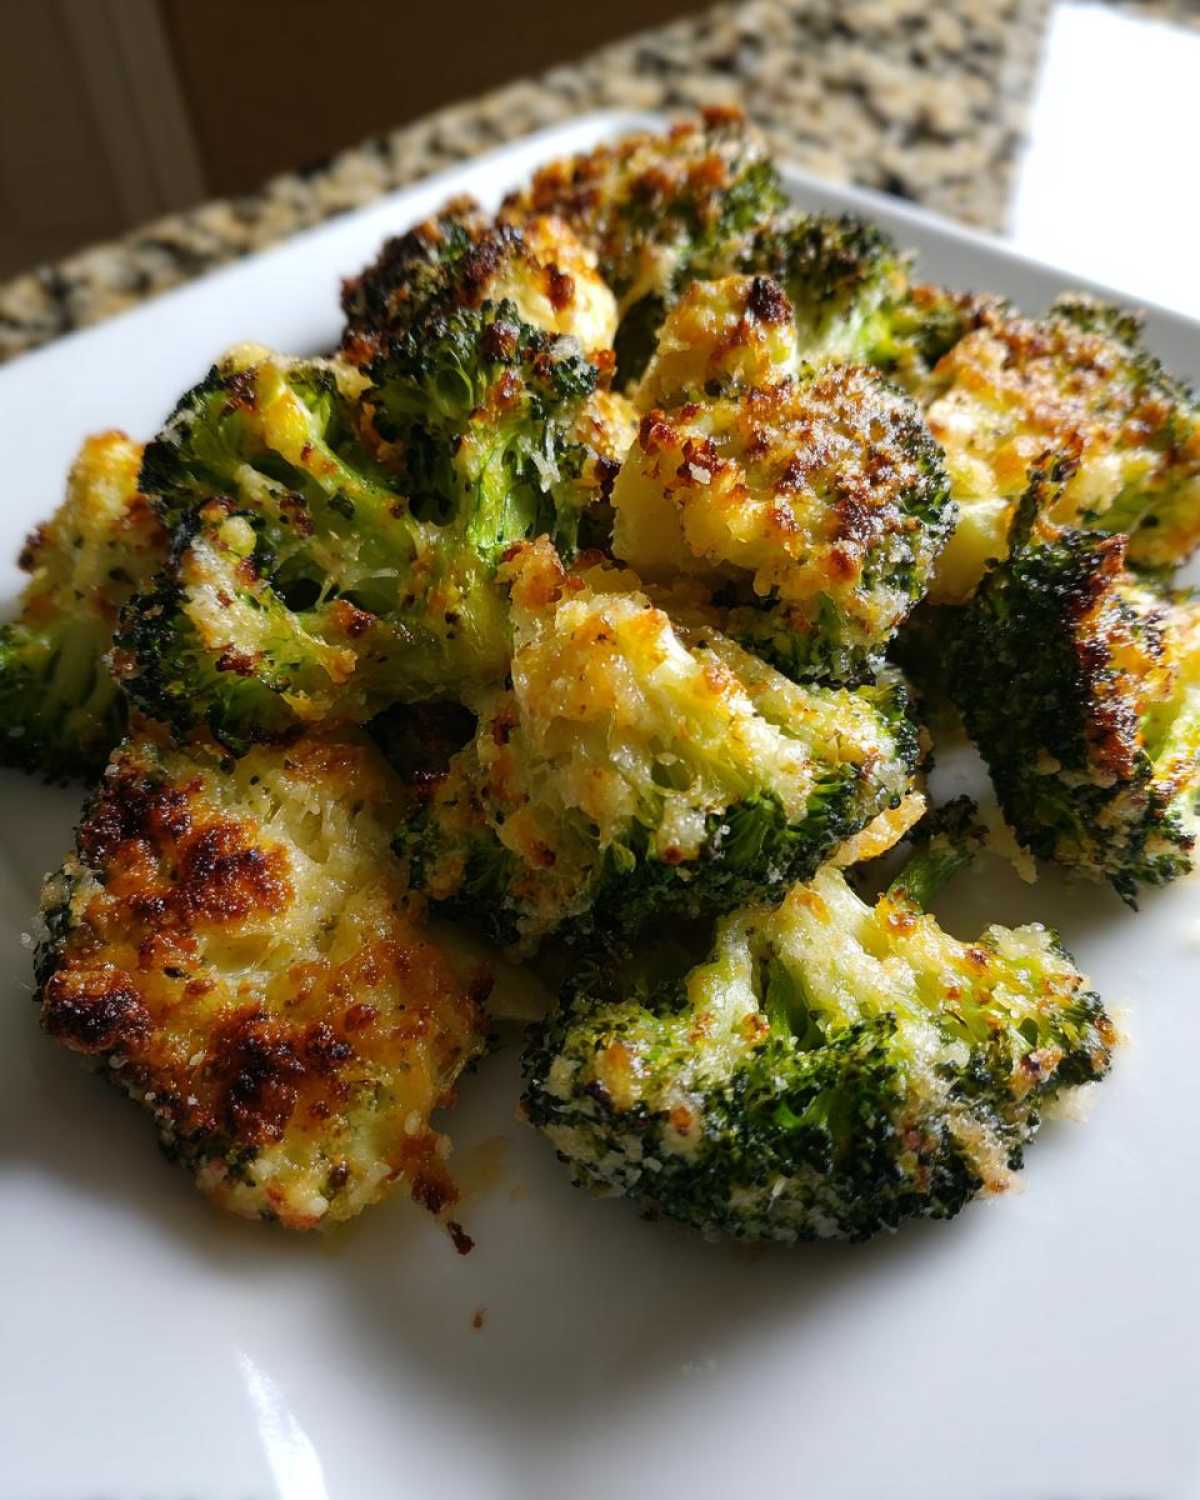
I always get questions about the nutrition for my favorite sides, especially when people are tracking macros or watching carbs. I want to be super clear: the numbers below are my best estimations based on the ingredients listed—this is definitely Option A for a Cheesy Broccoli Recipe! Because we are using simple ingredients here, it’s a fantastic way to get bulk greens in without loading up on unnecessary sugars or fillers.
For one serving size, you’re looking at approximately 150 calories, which is a great side dish number! The fat content comes in around 11 grams, which includes that marvelous olive oil and butter, plus the cheese. Since broccoli is naturally very filling, a serving has about 9 grams of total carbohydrates, but you get 4 grams of that right back as dietary fiber, which is fantastic for keeping you full.
Here is a quick rundown of the key macros to keep you informed:
- Calories: 150
- Fat: 11g
- Carbohydrates: 9g
- Protein: 8g
The sodium count is around 350mg, mostly coming from the addition of Parmesan cheese, so keep that in mind if you are adding extra salt during seasoning. Otherwise, this simple approach to roasting makes for an amazing, guilt-free addition to any meal!
Share Your Crispy Smashed Broccoli Experience
Well, you’ve made it to the best part! If you’ve followed along and have a pan of the most beautifully charred, cheesiest, smashed broccoli sitting on your counter right now, I desperately want to hear about it. That moment when you pull those crispy edges out of the oven is half the fun, right?
Did you go heavy on the garlic butter? Did you sneak a floret or two before it even made it to the dinner table? Tell me everything! Leave a comment right down below and let me know how much you loved this game-changing Easy Vegetable Recipe. Seriously, my heart swells when I hear that someone stopped making boring vegetables!
I always love seeing your creations, so if you snapped a picture of your gorgeous Roasted Vegetable Ideas—especially those brown, crispy corners—please tag me on social media! It fuels my cooking inspiration for weeks, honestly. If you get inspired to bake something sweet next, I just posted the easiest recipe for sugar cookie icing; you should definitely check that out!
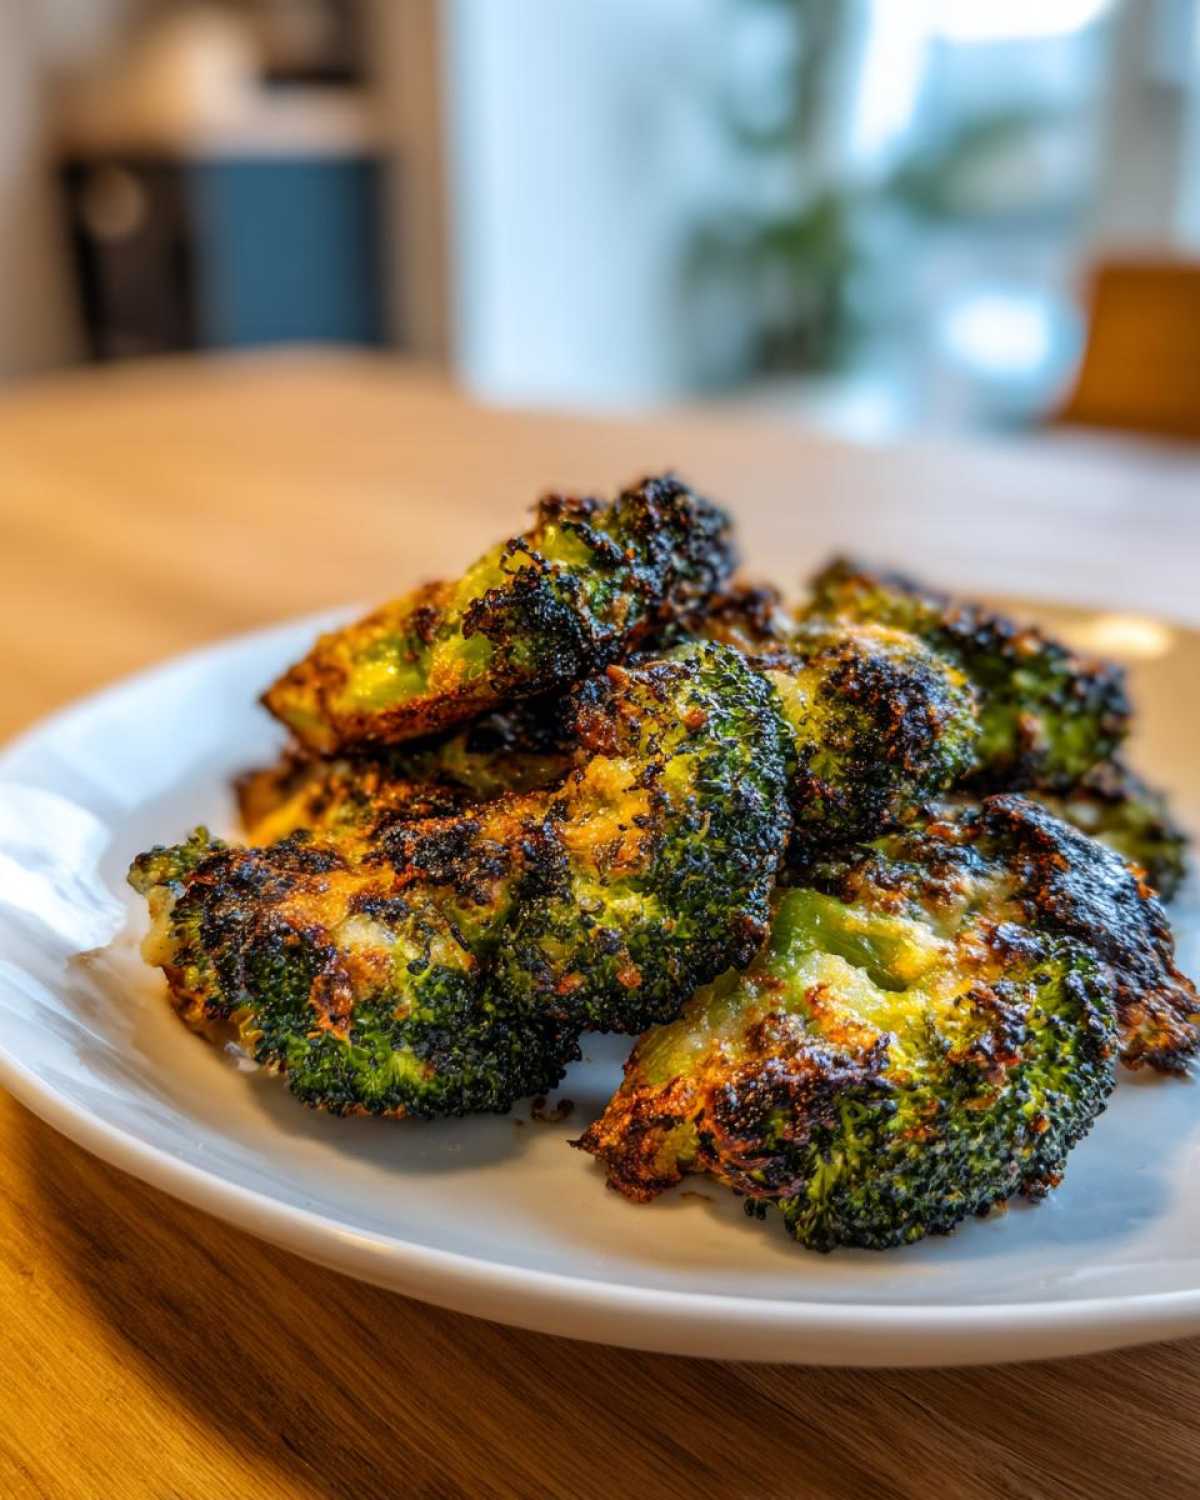
Happy smashing, friends. I hope this becomes a staple side dish in your home, just like it is in mine!
PrintCrispy Oven Roasted Smashed Broccoli with Garlic Parmesan

Make crispy, flavorful smashed broccoli by roasting florets until tender and slightly charred, then tossing them with garlic butter and Parmesan cheese.
- Prep Time: 10 min
- Cook Time: 25 min
- Total Time: 35 min
- Yield: 4 servings
- Category: Side Dish
- Method: Roasting
- Cuisine: American
- Diet: Low Carb Broccoli
Ingredients
- 2 large heads broccoli, cut into medium florets
- 3 tablespoons olive oil
- 2 tablespoons unsalted butter, melted
- 3 cloves garlic, minced
- 1/2 teaspoon garlic powder
- 1/4 teaspoon salt
- 1/4 teaspoon black pepper
- 1/2 cup grated Parmesan cheese
Instructions
- Preheat your oven to 400°F (200°C). Line a large baking sheet with parchment paper.
- Place the broccoli florets on the prepared baking sheet. Using the bottom of a sturdy glass or a potato masher, gently smash each floret until it is flattened but still holds together. Do not over-smash them into mush.
- In a small bowl, whisk together the olive oil, melted butter, minced garlic, garlic powder, salt, and pepper.
- Drizzle the butter mixture evenly over the smashed broccoli. Toss gently with your hands to coat all pieces.
- Spread the broccoli in a single layer on the baking sheet, ensuring the cut sides are facing down for maximum crisping.
- Roast for 15 minutes.
- Remove the pan from the oven. Sprinkle the grated Parmesan cheese evenly over the broccoli.
- Return the pan to the oven and roast for another 5 to 8 minutes, or until the edges are crispy and the cheese is melted and lightly browned.
- Serve immediately as a side dish or snack.
Notes
- For extra crispiness, you can briefly place the pan under the broiler for the last minute, watching carefully to prevent burning.
- If you prefer a stronger garlic flavor, increase the fresh minced garlic to 4 cloves.
- You can substitute nutritional yeast for Parmesan cheese if you need a dairy-free option.
Nutrition
- Serving Size: 1 serving
- Calories: 150
- Sugar: 3
- Sodium: 350
- Fat: 11
- Saturated Fat: 5
- Unsaturated Fat: 6
- Trans Fat: 0
- Carbohydrates: 9
- Fiber: 4
- Protein: 8
- Cholesterol: 15