

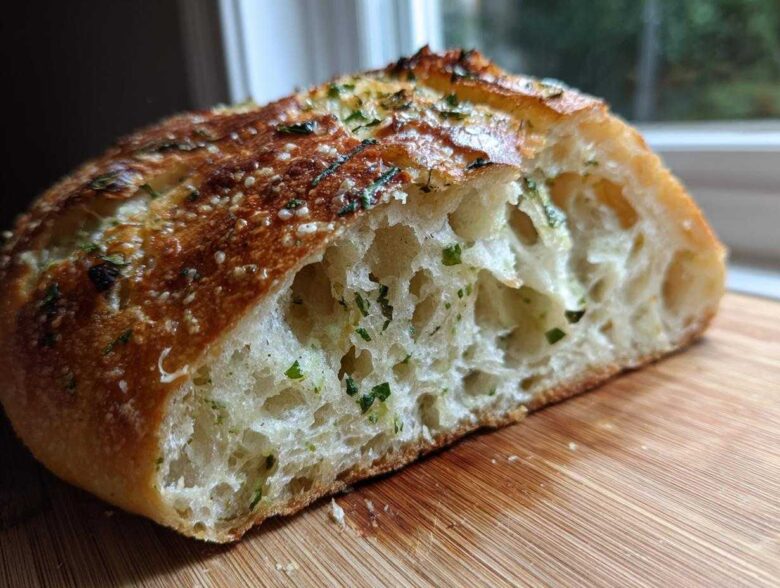
You know those loaves you see in the bakery window? The ones with that incredible, shatteringly crisp crust and the airy, soft crumb inside that you just can’t seem to replicate at home? Well, stop dreaming, because I’ve cracked the code! Honestly, making real, beautiful **artisan bread** used to seem like some secret guild knowledge, right? But trust me when I say this No Knead Artisan Bread recipe is pure magic because it requires absolutely zero hard work. I’ve lost count of how many times I’ve mixed this dough up on a Tuesday night, only to pull out a perfect, rustic loaf come Wednesday morning, ready for slicing. It just works, every single time.
Why This No Knead Artisan Bread is Perfect for Beginners
If you’ve been intimidated by yeast or the sheer elbow grease required for traditional bread making, this is your moment! This recipe truly shines as the ultimate Easy Artisan Bread for anyone stepping into the world of Beginner Bread Making. Forget standing over a counter slapping dough around for ten minutes; you don’t have to do any of that! If you want to see more of my favorite low-effort recipes, check out what else I’ve been working on over at my kitchen blog!
The secret lies entirely in time. That long, slow, 18-hour rest allows the small amount of yeast to do all the heavy lifting—developing flavor and structure without any mechanical effort from you. It’s so reliable, which is exactly what you need when you’re starting out. I promise, this Simple Yeast Bread method builds incredible confidence!
Achieving that Bakery Style Bread at Home
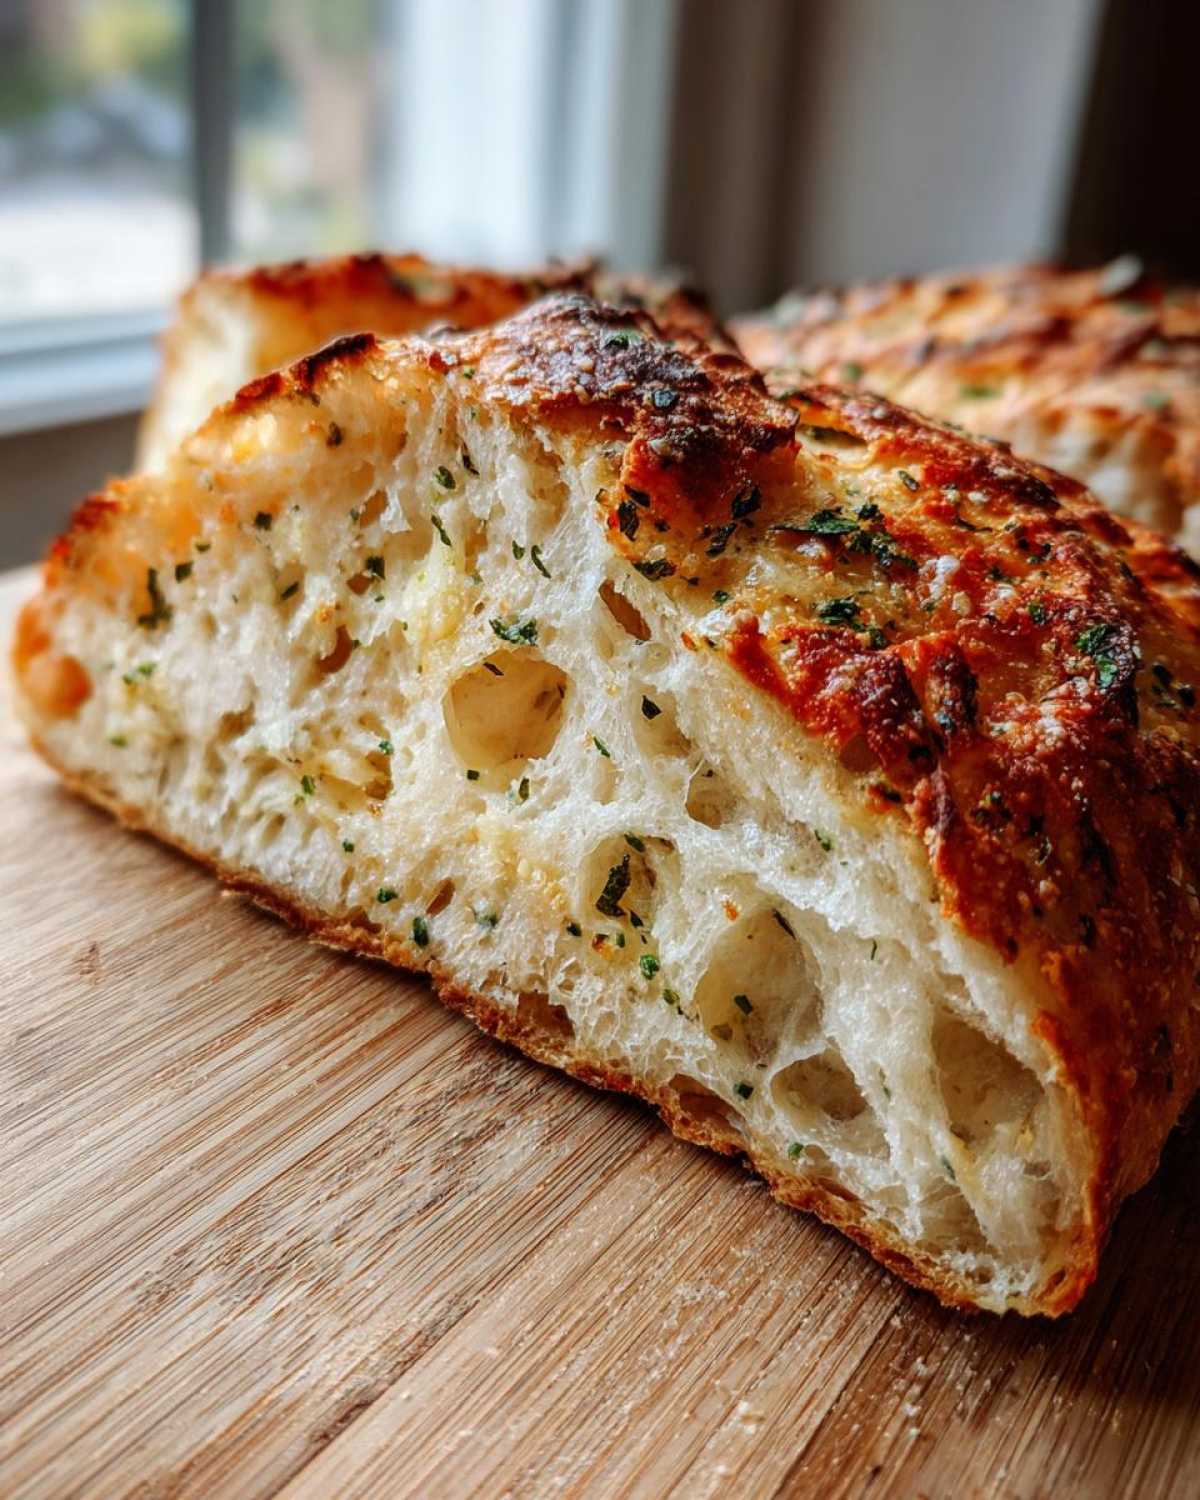
What everyone really wants is that gorgeous contrast, right? That perfect Soft Interior Crispy Crust Bread that makes restaurant bread jealous. This method guarantees it, provided you use the right vessel. That beautiful, shattering crust is developed later when we trap all the dough’s natural moisture inside our very hot pot—the Dutch Oven, which we’ll talk about soon!
Ingredients for Your Garlic Parmesan Artisan Bread
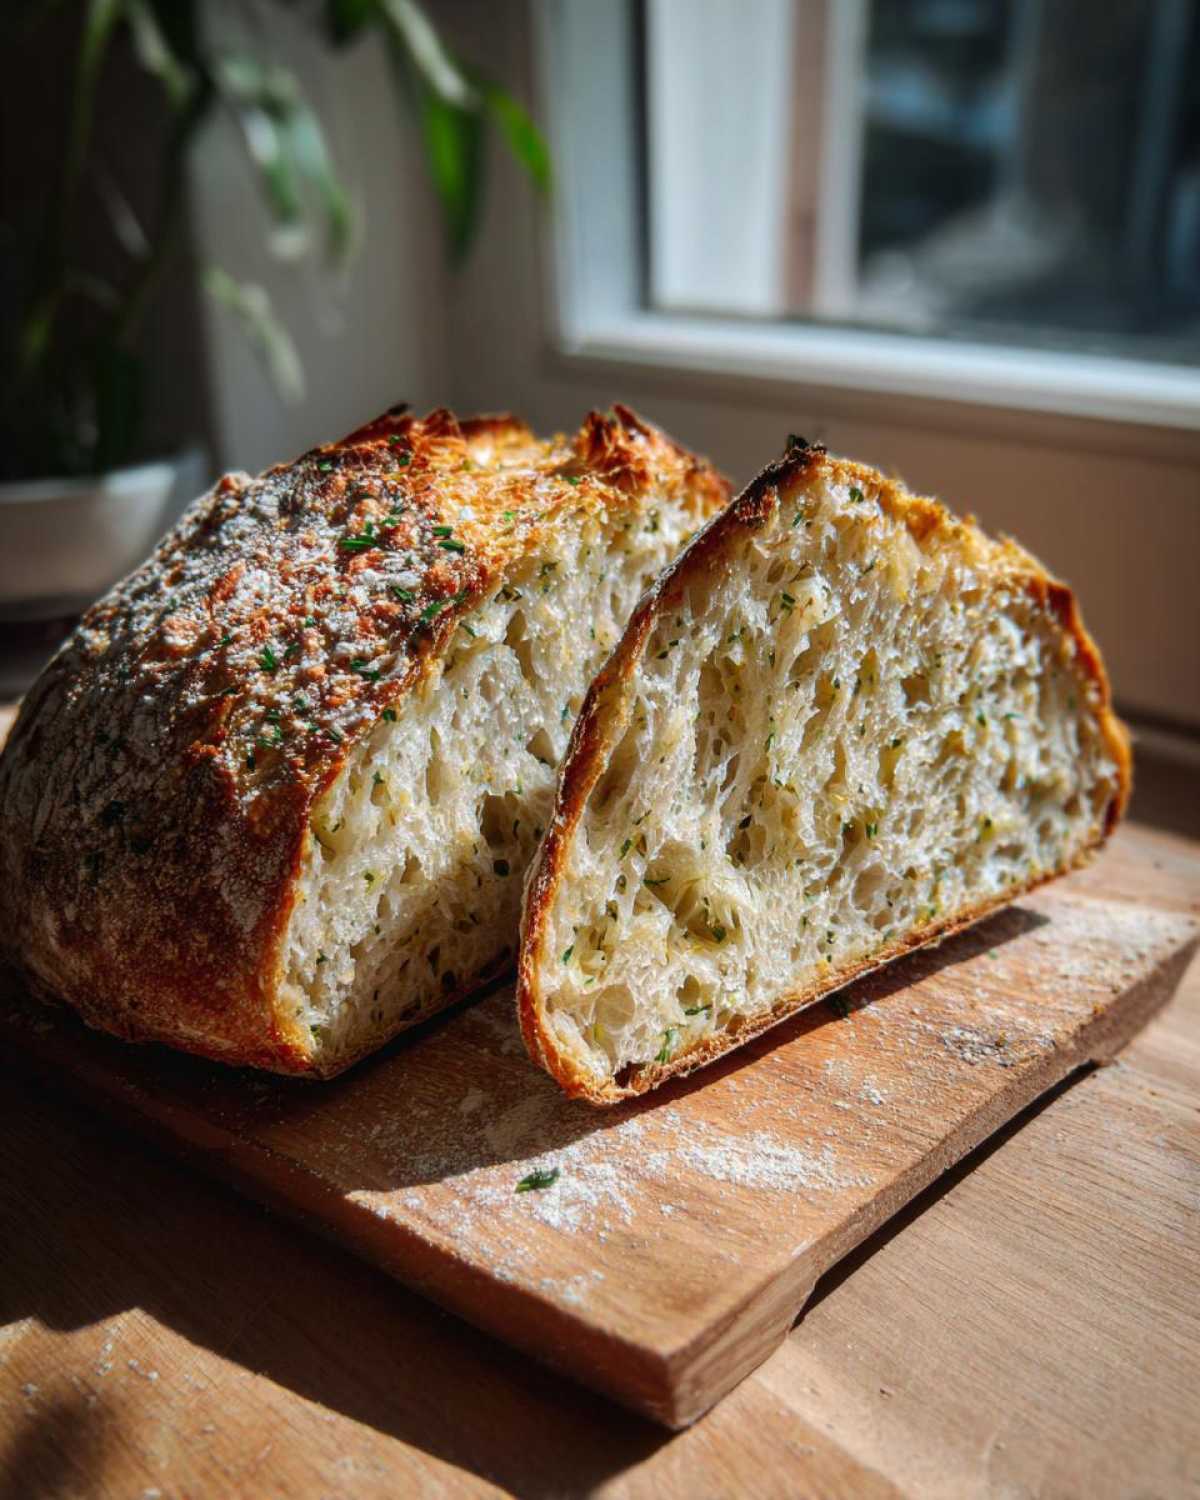
Okay, time to gather our simple supplies! This recipe keeps the list short because we want the flavor of the fresh additions to really pop against that perfect artisan bread base. You’ll need the basics—flour, salt, and yeast—and then our flavor boosters: tangy Parmesan cheese, fresh garlic, and fragrant rosemary.
Make sure you grab the good stuff here! A decent quality Parmesan melts beautifully into the dough, and nothing beats the smell of fresh garlic mingling with the rising yeast. Everything goes into one big bowl later, so measuring accurately now is super helpful.
Ingredient Notes and Substitutions for Artisan Bread
A couple of quick pointers! First, make absolutely sure you’re using instant yeast, not active dry yeast, unless you want to bloom it first. Instant yeast is designed for this low-fuss mixing, and it’s what makes this such a great Easy Bread Recipe. Also, while all-purpose flour works wonderfully for that perfect texture, bread flour will give you a slightly chewier crumb if you have it on hand.
If you’re out of fresh rosemary, don’t panic! You can absolutely swap it for dried, but you’ll want to cut that amount down to about one teaspoon since the flavor concentrates when dried. We want flavor, not overpowering herb dust!
Essential Equipment for Perfect Dutch Oven Baking
Look, I know this is the part people sometimes skip, but for truly spectacular artisan bread, you need the right tool. We are talking about the magical device known as the Dutch Oven! This heavy, cast-iron pot with a tight-fitting lid is non-negotiable if you want that amazing Crusty Homemade Loaf we talked about.
Why? Because that lid traps all the steam released by the dough as it bakes. That trapped steam keeps the crust soft just long enough to allow the bread to expand fully—we call that oven spring! Once the lid comes off, the dry heat hits that wet surface and BAM—the perfect crust forms. If you don’t have one, any heavy pot with a good lid will work for this Dutch Oven Baking method, but I highly recommend investing in one if you plan to make this often!
Step-by-Step Instructions for No Knead Artisan Bread
This is where the magic happens, and I promise you, it’s ridiculously easy! Remember, the longest part of this process is just waiting. If you want to learn more about how to perfect other European-style loaves, check out my guide to Italian Artisan Bread, but for now, let’s focus on getting this cheesy loaf baked!
Mixing the Dough and the Long Fermentation Rest
First up, mix the flour, salt, and instant yeast in a big bowl. Then just dump in the cool water and stir it all together with a wooden spoon until it looks like a shaggy mess. Seriously, stop stirring when you see that—no kneading required! Cover that bowl up tight with plastic wrap and forget about it for 12 to 18 hours. When you come back, your dough will have expanded like crazy and will be covered in bubbles. That’s your sign that the fermentation gods are happy!
Incorporating Flavor and Preheating for Artisan Bread
Once it’s bubbly, gently scrape that dough onto a lightly floured counter. Now we fold in the flavor! Sprinkle that grated Parmesan, minced garlic, and rosemary right over the top. You just need to fold the dough over on itself maybe three or four times—just enough to incorporate the bits. Don’t smash it, or you’ll push out all those gorgeous bubbles you waited all night for! Shape it into a nice little ball, place it on parchment paper, and let it rest for 30 minutes. Crucially, start preheating that oven and your Dutch Oven to 450°F about 20 minutes before that second rest is over!
Baking Technique: Mastering the Steam for Artisan Bread
When the dough is rested and the oven is scorching, carefully lift your dough using the parchment paper (it acts like a sling!) and gently lower it into that screaming-hot pot. Pop the lid back on tight and bake it for 30 minutes. This is the steam bath phase that makes it an amazing piece of artisan bread. Then, take the lid off! Bake it for another 15 to 20 minutes until it’s that deep, beautiful golden-brown color—the color of true bakery success!
Tips for Success with Your Rustic Bread Tutorial
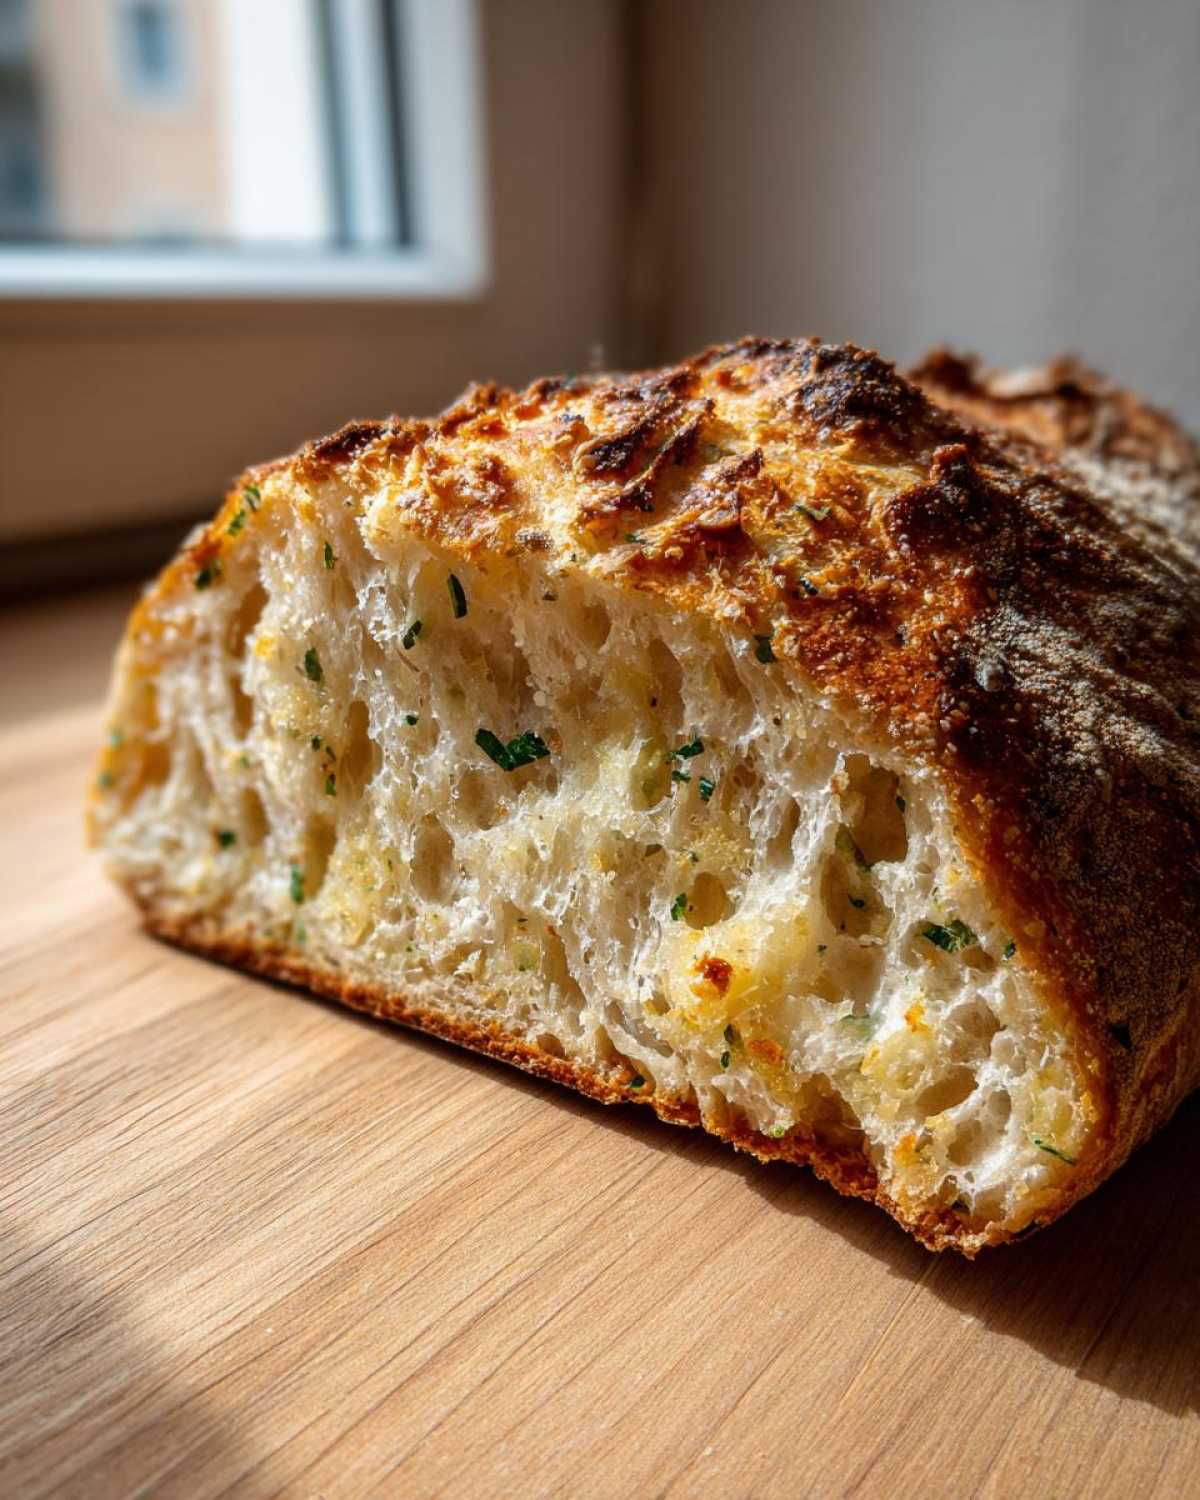
You’ve done the hard part, but don’t rush the finish line! My biggest piece of advice for anyone struggling with a Crusty Homemade Loaf is to respect the cooling time. I learned this the hard way my first time trying a No Knead Crusty Bread recipe. I pulled this gorgeous, fragrant loaf out of the oven, heard the crackle of the crust, and immediately grabbed my serrated knife. Big mistake!
The interior structure is still setting up right there on the cooling rack. If you cut it hot, all that beautiful steam escapes, and you’re left with a gummy, slightly dense layer right under the crust. It’s devastating! Seriously, let this loaf cool for at least an hour—ideally longer—before you slice into it. It’s tough, I know, but it’s the key to true success. If you want another easy, can’t-mess-it-up recipe for when the bread is cooling, you should check out my apple cobbler!
Also, remember to lift the dough gently when moving it into the Dutch Oven. We want that height, and yanking it around will deflate all the hard work the yeast did during that long rest.
Serving Suggestions for This Flavorful Artisan Bread
Now that you’ve created this unbelievably rustic loaf, the real fun begins! Because we bumped up the flavor with Parmesan and garlic, this **artisan bread** stands perfectly well on its own. Honestly, a thick slice dipped into a hearty bowl of tomato soup is all you need. It’s the ultimate comfort food upgrade!
But if you want to get fancy, that garlic aroma screams for a rich, savory spread. You absolutely must try making a batch of homemade aioli to go alongside it—it makes for such an impressive appetizer for guests. You can find my super simple 5-minute garlic aioli recipe here. Trust me, dipping this crusty homemade loaf right into that creamy garlic heaven is worth the 18-hour wait!
Storage and Reheating Instructions for Homemade Artisan Bread
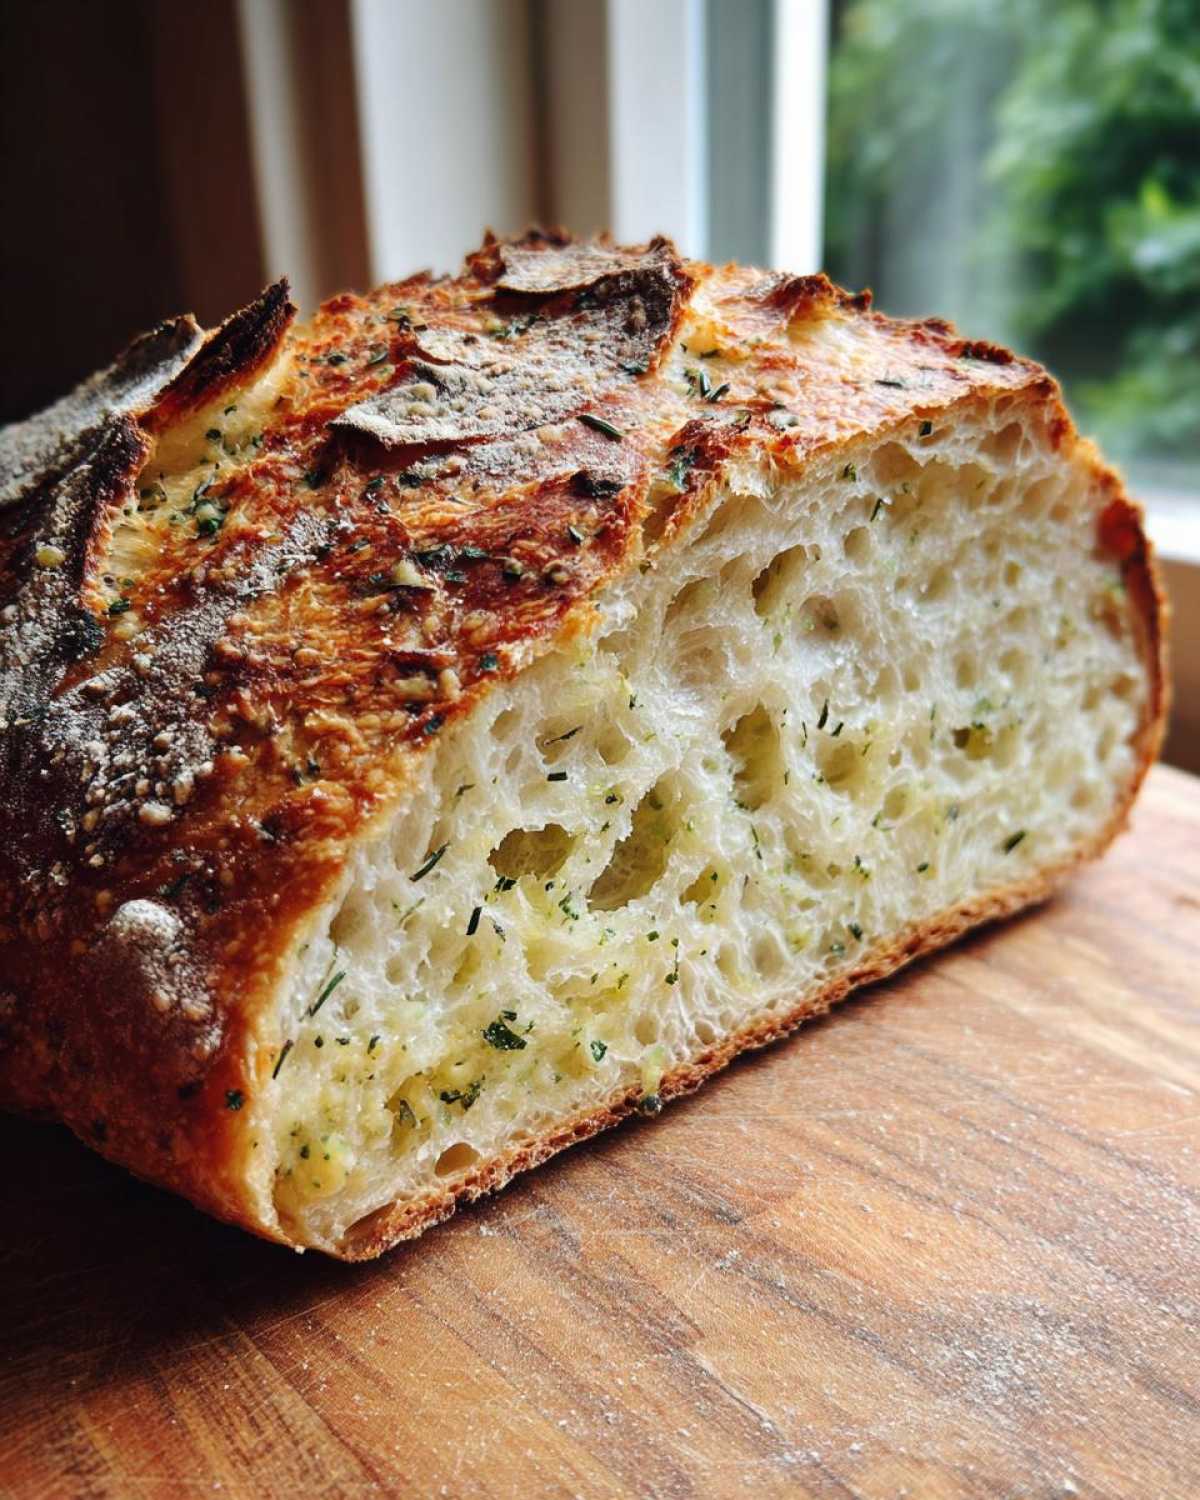
So, you’ve managed to resist slicing into the entire loaf—congratulations! Storing this beautiful bread is key to keeping that hard-earned crust intact. My biggest no-no is the plastic bag. Never, ever store your fresh **artisan bread** in a plastic bag! That traps moisture against the crust, and within hours, your crisp exterior turns instantly soggy. That defeats the entire purpose of our Dutch Oven baking, doesn’t it?
For short-term storage—say, 2 to 3 days—you want to keep it cut-side down on a clean cutting board, or better yet, wrap it snugly in a linen or cotton tea towel. The cloth allows a tiny bit of air to circulate, keeping the interior soft while protecting the crust from drying out entirely.
If you absolutely must store it longer than that, freezing is the way to go, but you need to slice it first. Wrap individual slices tightly in plastic wrap, then pop those into a zip-top freezer bag. That way, you can thaw just what you need!
Reviving That Crispy Crust After Storage
This is the best part about having a crusty loaf, even if it’s a day old: we can bring it back to life! If you’re just reheating a whole loaf or a large piece, spritz the exterior lightly with water and pop it back into a 350°F oven for about 5 to 7 minutes. It’s like magic—that quick blast of dry oven heat crisps up that crust again beautifully.
For a single slice, just pop it right onto a toaster setting that’s a little lower than you’d usually use. You want it warm and crunchy, not burned! This simple reheating trick makes even day-old No Knead Bread taste like it just came out of the oven, ready for dipping into some fresh olive oil or slathering with butter.
Frequently Asked Questions About Making Artisan Bread
It’s totally normal to have a few questions when you’re working with a long-rise dough like this! I’ve tackled the common queries I get about this No Knead Bread Recipe to make sure your first loaf of artisan bread is a huge success. If you have even more questions, feel free to reach out to me through my contact page!
Can I make this No Knead Bread Recipe without a Dutch Oven?
That’s the million-dollar question, isn’t it? Yes, you can! But I won’t lie—the crust won’t be quite as phenomenal. The Dutch oven traps that intense burst of steam that makes the crust so perfectly crisp. If you don’t have one, you can place your dough on a preheated pizza stone or heavy baking sheet, but you must create steam manually. I usually place an empty metal pan on the bottom rack while preheating, and once the bread is in, I carefully pour about a cup of hot water into that bottom pan before quickly closing the oven door. It’s a bit trickier, but it helps achieve that **Soft Interior Crispy Crust Bread** texture!
How long does the dough need to rise if I use active dry yeast?
Great question for anyone whose pantry only stocks the active dry kind! Since instant yeast is designed to be mixed right in with the dry ingredients, active dry yeast needs a little warm-up act first. Before you mix anything, you should let the active dry yeast dissolve in the 1 1/4 cups of cool water for about 5 to 10 minutes until it gets foamy. Once it’s foamy, treat it exactly like the recipe says. The long 12 to 18-hour bulk fermentation time doesn’t really change, as we are relying on the slow fermentation time across the whole period, not the quick bloom!
Also, if you wanted to switch this up—say you wanted to add sweet components like dried cranberries and walnuts instead of the savory garlic and Parmesan—you certainly can! Just fold them in right alongside the cheese and garlic during that gentle shaping step after the long rest. It’s the beauty of this super versatile **Easy Artisan Bread** base!
Nutritional Estimates for This Recipe
Because we all want to enjoy our beautiful homemade artisan bread guilt-free, right? But remember that since this is made by hand in my kitchen, the numbers aren’t going to be as precise as a giant factory, obviously! We are dealing with big flavor here, so the macros are naturally going to shift based on how much cheese you really pack in.
These estimates are based on the recipe data breaking down into about 16 servings. I always keep in mind that the sodium will vary a lot depending on the brand of Parmesan you use, so take these as a friendly guide rather than the absolute final word on your bread!
- Serving Size: 1 slice
- Calories: 220
- Total Fat: 2g (with 1g saturated)
- Carbohydrates: 45g
- Protein: 7g
- Sugar: 1g
You can find more details about how I approach these estimates and ingredient sourcing on my disclaimer page, but honestly, the best nutrition that comes from this loaf is the sheer joy of eating warm, freshly baked crusty homemade loaf!
PrintNo Knead Artisan Bread with Garlic and Parmesan
Make bakery-style artisan bread at home using this simple, no-knead method. This recipe produces a loaf with a crisp crust and soft interior, enhanced with garlic and Parmesan cheese.
- Prep Time: 10 min
- Cook Time: 50 min
- Total Time: 13 hours 0 min
- Yield: 1 large loaf
- Category: Bread
- Method: Baking
- Cuisine: General
- Diet: Vegetarian
Ingredients
- 3 cups all-purpose flour
- 1 1/2 teaspoons salt
- 1/4 teaspoon instant yeast
- 1 1/4 cups cool water
- 1/2 cup grated Parmesan cheese
- 2 cloves garlic, minced
- 1 tablespoon fresh rosemary, chopped
Instructions
- In a large bowl, mix the flour, salt, and yeast together.
- Add the cool water. Stir with a wooden spoon until a shaggy dough forms. Do not overmix.
- Cover the bowl tightly with plastic wrap and let it rest at room temperature for 12 to 18 hours. The dough will become bubbly and increase in volume.
- After the long rise, gently scrape the dough onto a lightly floured surface. Sprinkle the Parmesan cheese, minced garlic, and rosemary over the dough. Fold the dough over itself a few times to incorporate the additions without kneading vigorously.
- Shape the dough into a rough ball. Place the dough ball seam-side down on a piece of parchment paper. Cover loosely with a clean kitchen towel and let it rest for 30 minutes.
- About 20 minutes before the second rest ends, place a Dutch Oven (with the lid on) into your oven. Preheat the oven to 450 degrees Fahrenheit (232 degrees Celsius).
- Carefully remove the hot Dutch Oven from the oven. Lift the dough using the parchment paper and gently place it inside the Dutch Oven.
- Cover the Dutch Oven with the lid and bake for 30 minutes.
- Remove the lid and continue baking for another 15 to 20 minutes, or until the crust is deep golden brown.
- Carefully remove the bread from the Dutch Oven and let it cool completely on a wire rack before slicing.
Notes
- Use a heavy-bottomed pot with a tight-fitting lid, like a Dutch Oven, to trap steam for the best crust.
- If you do not have fresh rosemary, use 1 teaspoon of dried rosemary.
- Cool the bread for at least one hour before cutting to set the interior structure.
Nutrition
- Serving Size: 1 slice
- Calories: 220
- Sugar: 1
- Sodium: 350
- Fat: 2
- Saturated Fat: 1
- Unsaturated Fat: 1
- Trans Fat: 0
- Carbohydrates: 45
- Fiber: 2
- Protein: 7
- Cholesterol: 5