

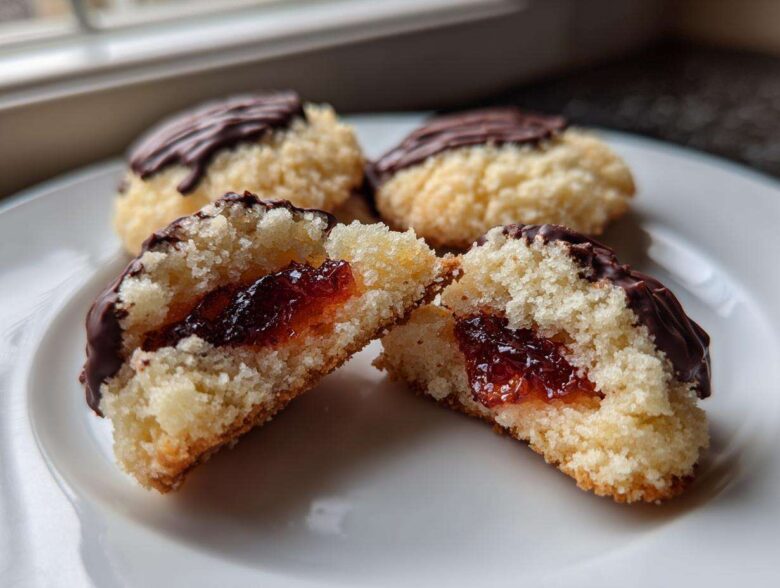
If you’re anything like me, the holidays just aren’t complete without a towering plate stacked high with amazing, buttery cookies. Forget those hard, shortbread imposters! I’m talking about the real deal: Italian butter cookies that feel like they’ve been shipped straight from the best bakery in town. These aren’t just cookies; they are tender, rich little pillows that genuinely melt the second they hit your tongue.
I spent years trying to replicate that airy-yet-dense texture you find at the local Italian pastry shop. My search is finally over! This recipe for Bakery Style Butter Cookies uses just a few adjustments to the classic formula—mostly involving how we treat the butter and sugar—to guarantee that signature melt-in-your-mouth cookies quality. Trust me, once you try this, you’ll never go back to your old recipe. I’ve even linked to some of my other favorite baking adventures over here at my main baking page if you need more inspiration!
Why These Italian Butter Cookies Are Bakery Style Perfection
So, what separates these Italian butter cookies from the sad, crumbly things you sometimes find? It’s all about the structure! Most shortbread relies heavily on fat, which makes it tender but often dense and heavy. Not ours.
We use a little bit of science—namely, getting that butter and sugar incredibly fluffy before adding the eggs. That whipping action introduces air, making these cookies unbelievably light.
This technique, combined with the perfect ratio of flour, gives you that iconic result: a cookie so tender it practically dissolves. They are rich, undeniably buttery, and have that specific melt-in-your-mouth cookies texture that screams authentic. If you’re looking for other textured cookie magic, you might want to check out my guide to soft and chewy peanut butter cookies!
Gathering Ingredients for Authentic Italian Butter Cookies
Okay, listen up! To get true bakery style butter cookies, you can’t just throw random things into the bowl. The quality and preparation of your ingredients are half the battle won here. We aren’t making something hardy; we are aiming for tender perfection, so every single measurement matters.
Don’t even think about grabbing cold butter—that’s instant disaster! The butter needs to be perfectly softened, ready to cream up nicely. Also, please use pure vanilla and almond extracts if you can. Those little flavor notes are what elevate this from a regular butter cookie to something truly Italian. If you’re looking for frosting tips later on, I have a great sugar cookie icing recipe that sometimes crosses over well!
For the Simple Butter Cookie Dough
- 1 cup unsalted butter, softened (seriously, room temperature!)
- 3/4 cup granulated sugar
- 2 large eggs
- 1 teaspoon vanilla extract
- 1/2 teaspoon almond extract
- 3 cups all-purpose flour
- 1 teaspoon baking powder
- 1/4 teaspoon salt
For the Italian Jam Filled Cookies Variations
These additions make the cookies extra special when we assemble them! We are using jam, but you can experiment later.
- 1/2 cup apricot or raspberry jam (apricot is super traditional!)
- 4 ounces semi-sweet chocolate, melted (for dipping)
- 1/4 cup chopped nuts or sprinkles (optional, but highly recommended for that festive look!)
How To Make Italian Butter Cookies Step-by-Step
Alright, let’s get these beautiful italian butter cookies into the oven! This process is fun, but you have to follow the order, or the dough gets a little moody. Don’t rush the chilling step—that’s non-negotiable for getting that perfect shape!
Mixing the Rich Buttery Cookies Dough
First up, grab your biggest mixing bowl. We need to cream that room-temperature butter and sugar together until it’s actually light and fluffy—not just vaguely mixed. That stage is where we trap all the air, which is the secret to the melt in your mouth cookies feel.
Once it looks pale, add the eggs one at a time, followed by your extracts. Mix just until they disappear. Now, for the flour mixture. Add the dry ingredients slowly, on low speed. Stop mixing the second you see the last streak of flour disappear. Seriously, an extra five seconds of mixing here can turn your tender dough into something tough. We want simple butter cookie dough, not tough bread!
Shaping and Baking Your italian butter cookies
Before you start shaping, dump the dough into plastic wrap and let it chill in the fridge for at least 30 minutes. It firms up nicely and makes shaping way easier.
Preheat your oven to 350°F (175°C) and line those baking sheets with parchment paper. This is crucial for easy cleanup! If you have a cookie press, fit it with whatever pretty disc you like—swirls are classic. If you don’t have one, roll the dough into little logs about finger-thick and slice them, or just gently roll small balls and flatten them slightly with a fork, like a peanut butter cookie.
Bake them for just 10 to 12 minutes. You want the edges barely golden. Let them sit right on that hot sheet for about five minutes after pulling them out. If you move them too soon, they might break. Then, gently transfer them onto a wire rack to cool completely before decorating.
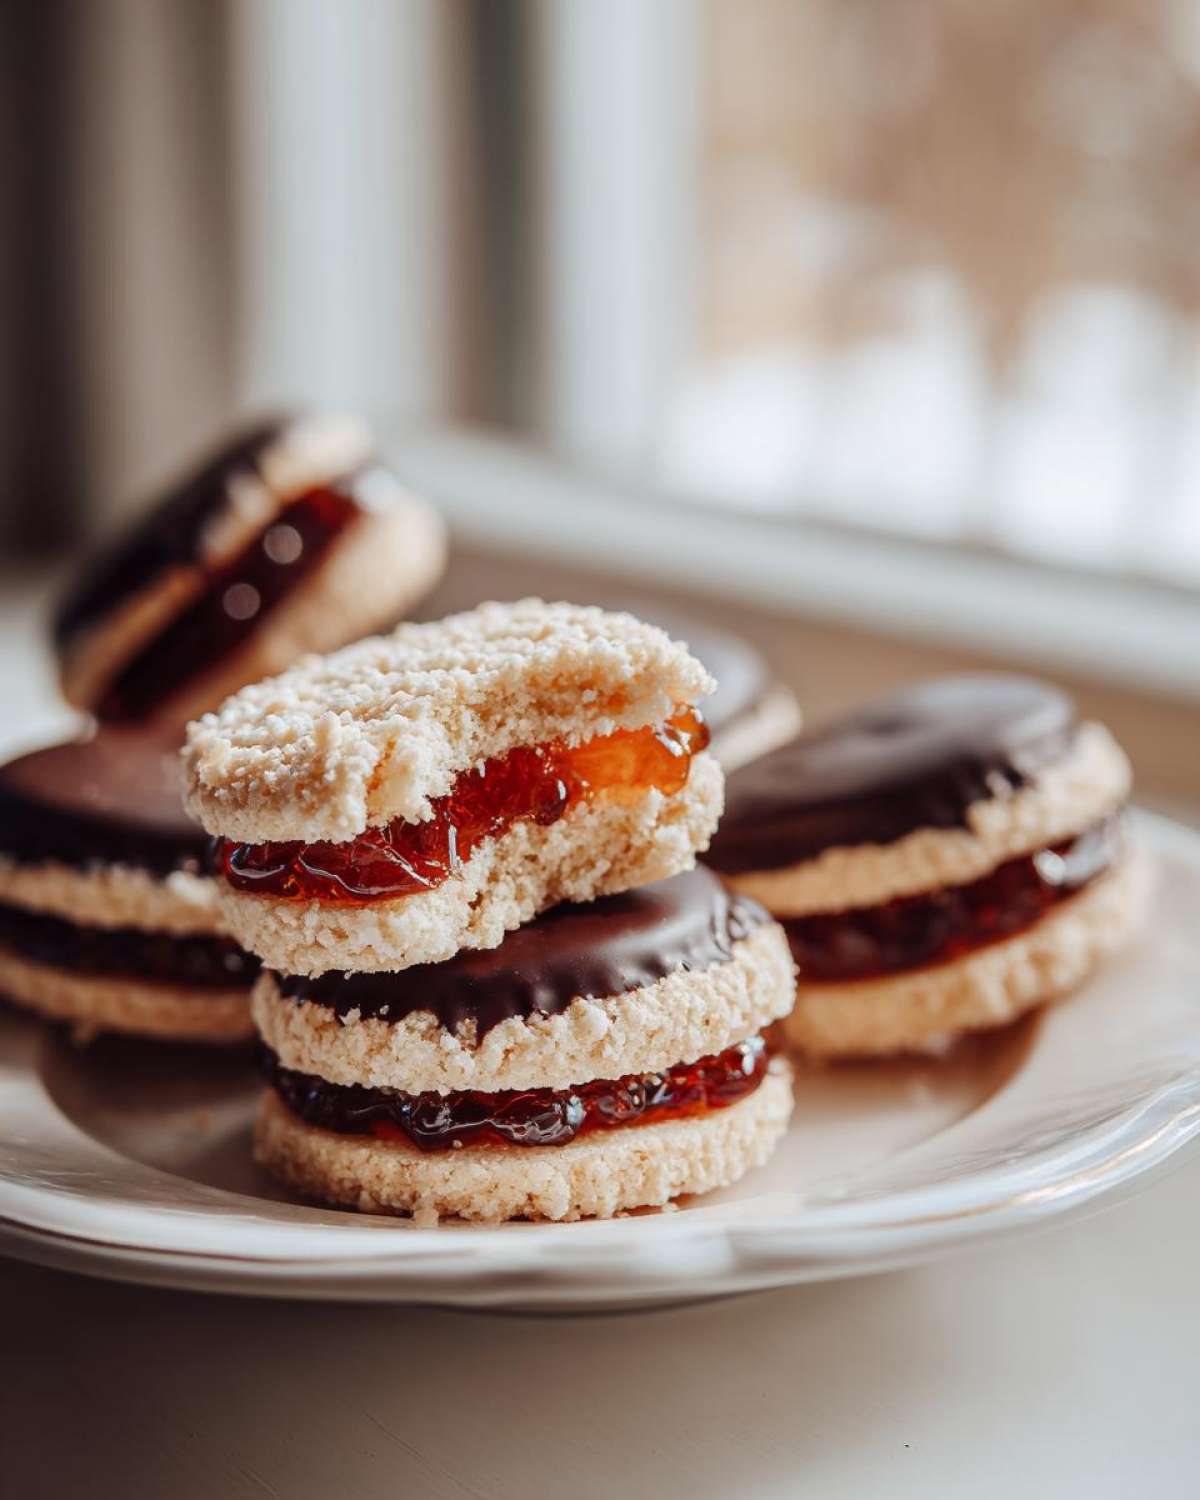
Finishing the Chocolate Dipped Butter Cookies and Jam Filling
Once they are totally cool, you can make the two main variations! For the Italian jam filled cookies, just take two cookies and sandwich them together with a little smear of jam—not too much or it squishes out everywhere! If you’re looking for other gorgeous toppings later on, my recipe for a proper cookie icing that hardens smooth might give you some flair ideas, even though these cookies don’t strictly need it.
For the chocolate dipped butter cookies, melt your semi-sweet chocolate gently. Dip one end of a cooled cookie about a third of the way in. Immediately, while the chocolate is still wet, gently dust it with those chopped nuts or festive sprinkles. Lay them back on the wire rack and resist the urge to touch them until that chocolate is completely set and firm!
Tips for Success When Making Homemade Italian Cookies
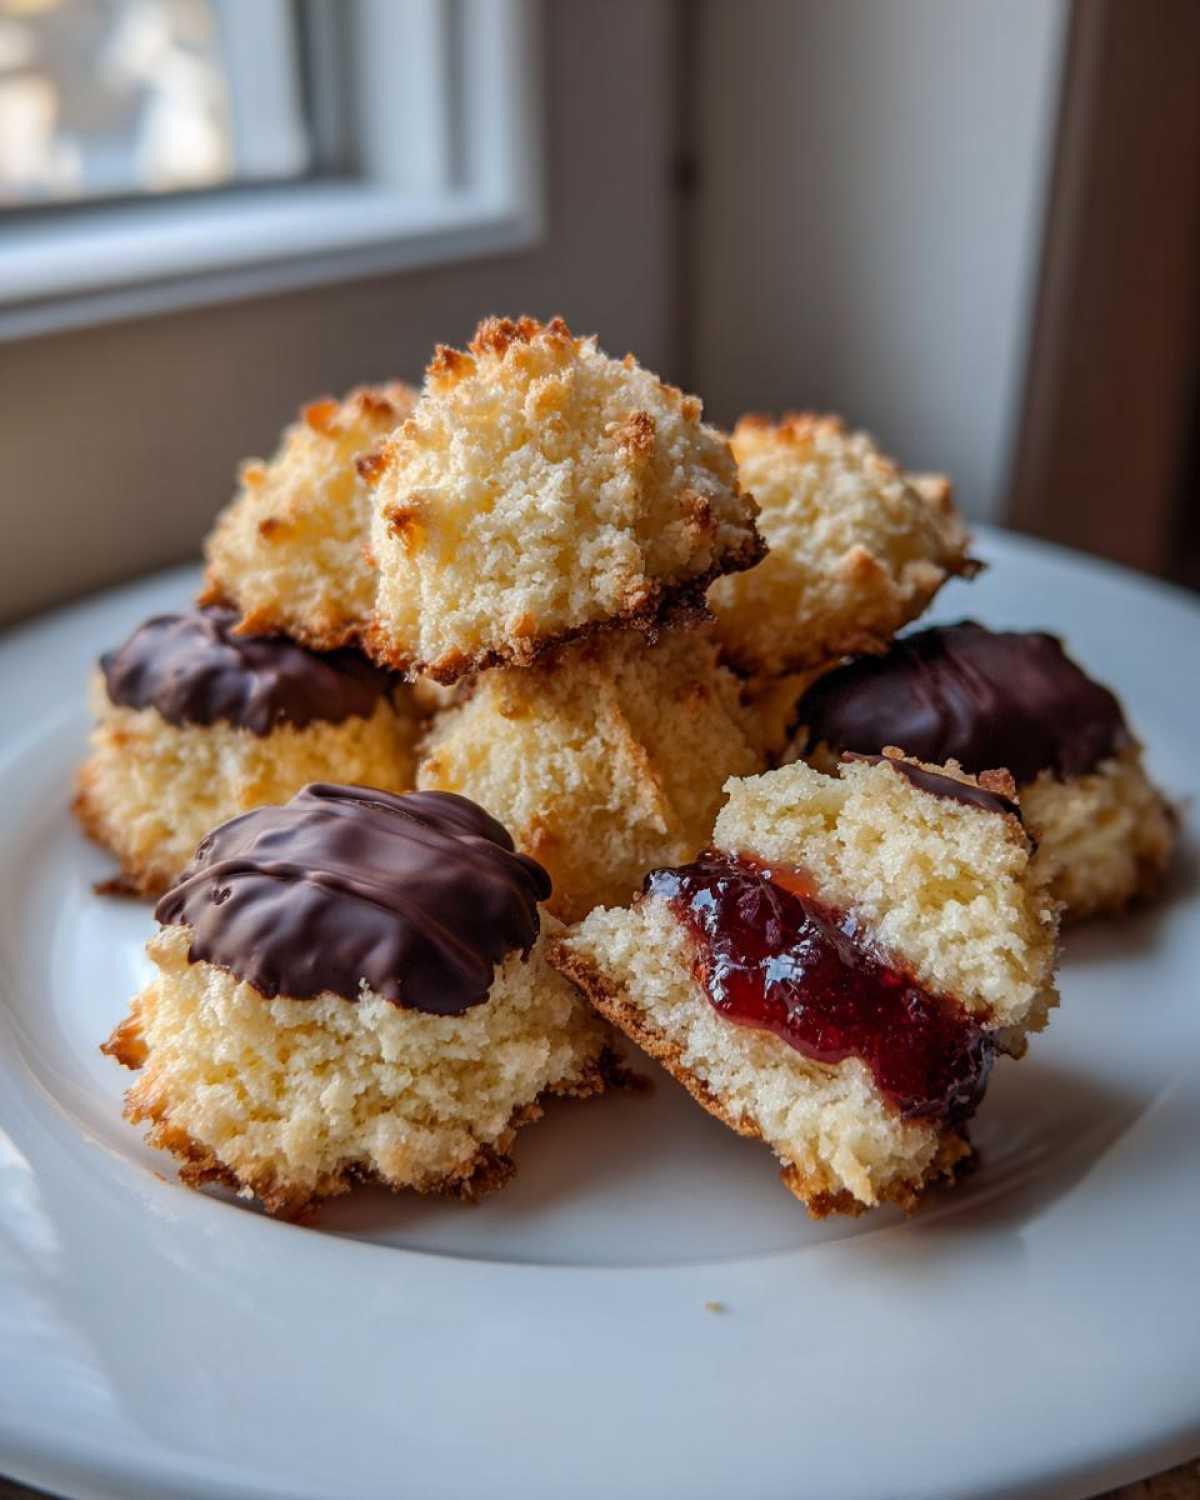
These homemade Italian cookies are forgiving, but a few little tricks will bump them up from great to absolutely legendary. The biggest hurdle people hit is dough spreading, which happens when the butter gets too warm before baking.
My absolute number one tip, straight from the original recipe card, is: always use room temperature butter, but the *moment* you add the flour, you need to chill the dough. That 30-minute chill solidifies the fat just enough so the cookies hold their shape perfectly when they hit the hot oven. You can check out my tips on browning butter in my brown butter chocolate chip post for when you want to experiment with extra richness later!
Also, if you think your cookies look a little plain, don’t panic! You don’t need a fancy press if you don’t have one. Just roll the dough lightly between your palms into balls and press them gently. They will still bake up beautifully as rich buttery cookies.
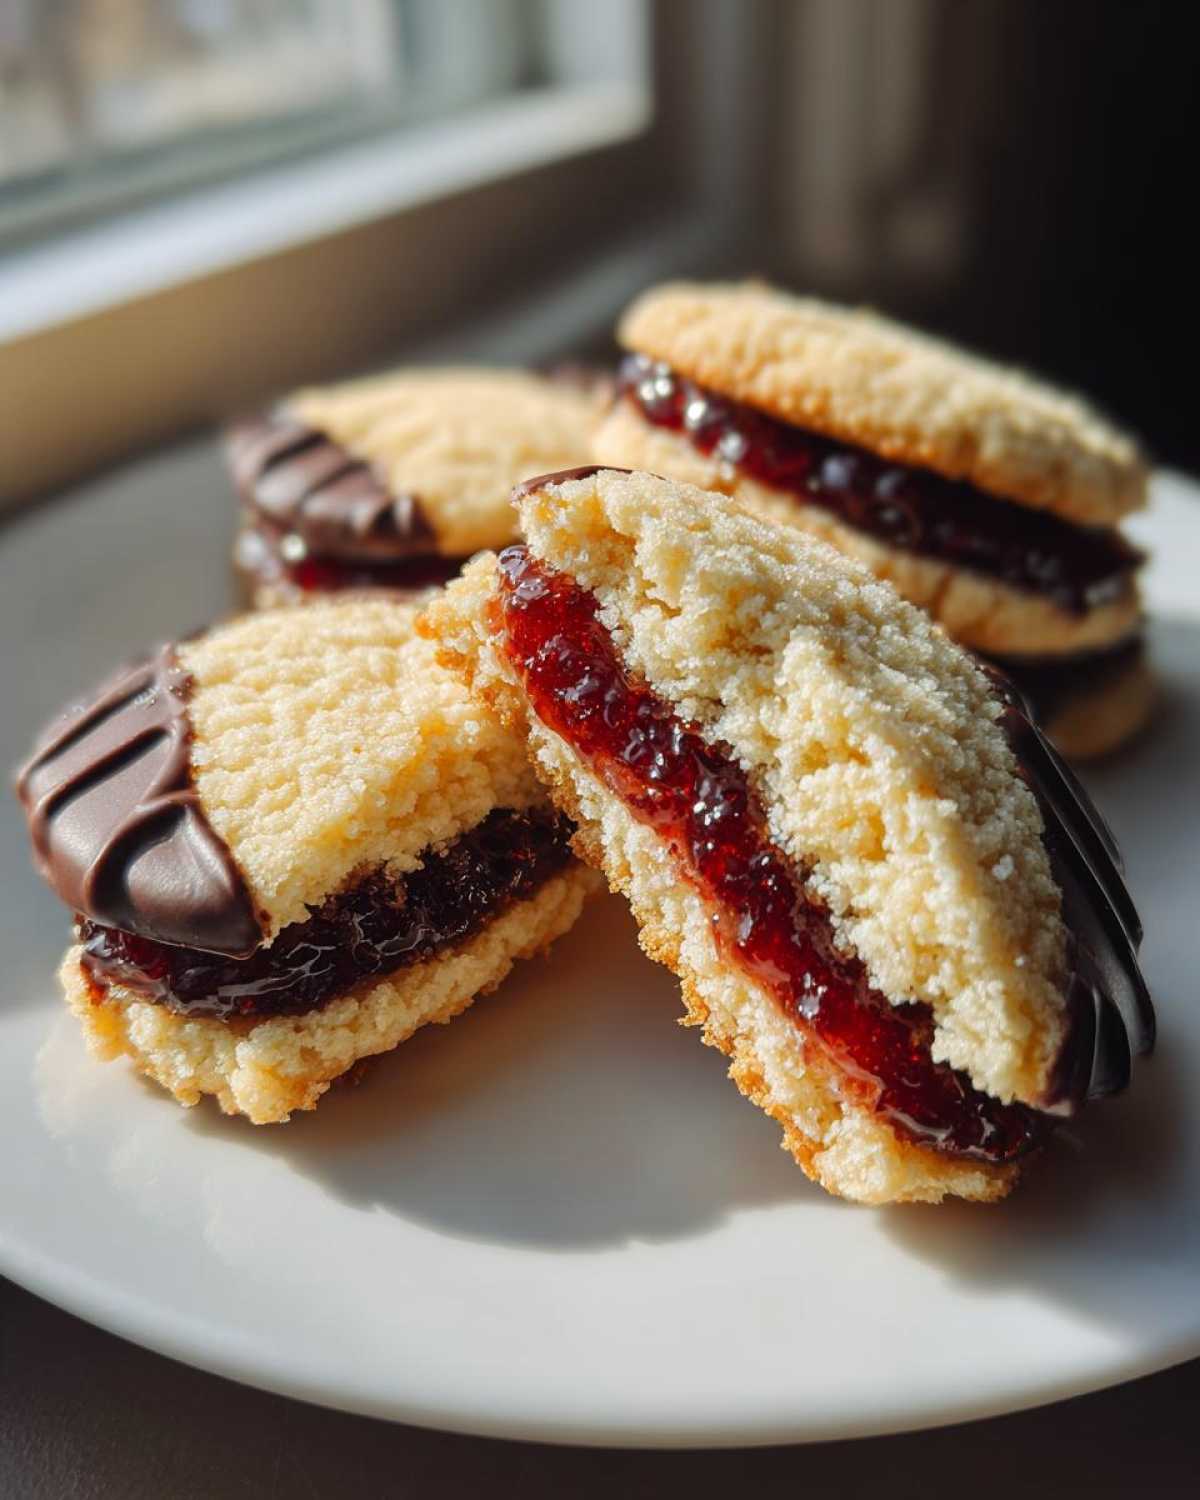
Ingredient Notes and Substitutions for italian butter cookies
One thing I learned early on with these authentic Italian butter cookies is that while the method is specific, the ingredients themselves offer a little wiggle room—as long as you respect the star players! The almond extract, for instance, isn’t just there to make it smell nice; it’s traditional! That subtle nuttiness plays so well with the sweet dairy flavor of the butter. Sometimes I even swap out a tiny bit of the vanilla for pure lemon extract if I’m trying to mimic a Sicilian flavor profile.
If you’re staring at your pantry wondering about other options, here are my go-to substitutions that still respect the spirit of these classic Italian pastry creations. I know for a fact that sometimes you run out of things, so hopefully, these pointers help!
If you decide to swap out the jam—maybe you prefer something sharper than apricot or raspberry—go for it! A good tart cherry jam works wonderfully when you make the Italian jam filled cookies variation. Just make sure it’s on the thicker side so it doesn’t totally ooze out when the cookies warm up!
And chocolate! We use semi-sweet because it balances the cookie’s sweetness perfectly. But if you’re a dark chocolate fan, using a 60% cacao will give you a slightly sharper, more adult bite when you dip the ends. And for a fun twist, try dipping half the cookie and then dusting it with colorful sprinkles before the chocolate sets. Speaking of flavor twists, if you’ve ever made my maple cookies, you know how much background flavor extracts can add!
Remember, the butter has to be unsalted. We control the salt level with that tiny pinch in the dry mix! Salted butter adds too much unknown saltiness, which can throw off the delicate balance we worked so hard to achieve when we creamed everything together.
Storing Your italian butter cookies for Freshness
These italian butter cookies are just as good days later, thank goodness! That rich butter content means they stay soft longer, provided you store them correctly. You want them in a single layer or separated by parchment paper inside a totally airtight container. Don’t crowd them, or the chocolate or jam toppings might stick together!
If you’re planning ahead for the holidays, these are fantastic make-ahead cookies. Freeze the plain, un-dipped and un-filled cookies flat between layers of parchment paper in a freezer bag. They hold up beautifully for up to two months. When you thaw them, they taste nearly fresh-baked. If you’re interested in other make-ahead treats, check out my tips for quick cinnamon roll bites!
Serving Suggestions for Your italian butter cookies
Now that you have these gorgeous, rich buttery cookies, how are you going to show them off? These are the perfect addition to any holiday cookie tray, but they shine brightest when given the right company.
First, forget serving them on a paper plate! These deserve a nice ceramic platter or a wooden board. They are beautiful enough on their own, but the jam filling adds a lovely pop of color, and the chocolate dipped ends look so professional.
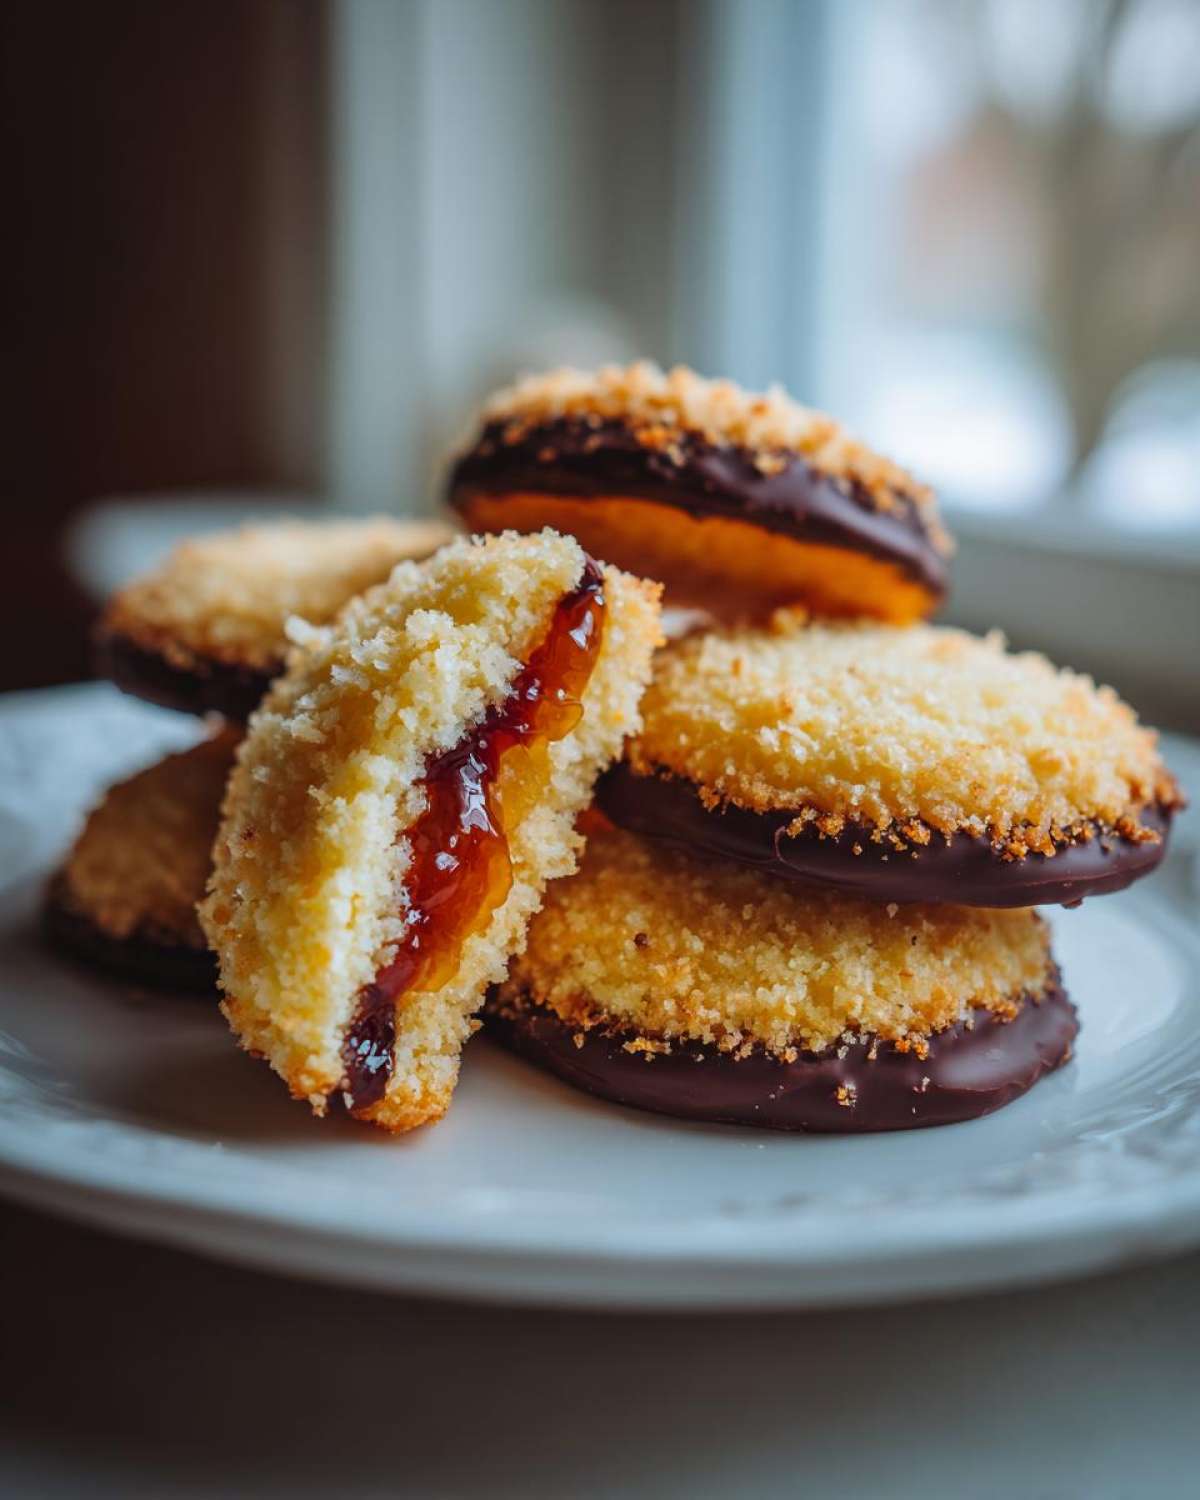
For immediate enjoyment? Nothing beats having one or two of these homemade Italian cookies alongside an espresso or, if it’s mid-morning, a strong cup of black coffee. The bitterness of the coffee cuts right through that intense buttery richness perfectly.
If you are building a massive holiday spread, make sure to mix them with cookies that offer textural contrast. Think chewy versus crumbly. These tender italian butter cookies pair wonderfully next to something crisp, like biscotti, or something spiced, like a gingerbread cookie. If you want to see how I integrate these into a full seasonal spread, check out my guide to making the perfect Italian Christmas Cookies assortment!
Honestly, though, my favorite way to serve them is just handing them out—warm or cool—to anyone who walks into my kitchen while I’m baking. They make instant friends!
Frequently Asked Questions About italian butter cookies
Can I skip using a cookie press to make these Italian Butter Cookies?
Oh, absolutely! Don’t let the equipment scare you off! While a cookie press makes those gorgeous, traditional swirls, you can totally make these rich buttery cookies without one. My grandmother never owned one!
If you don’t have a press, just take a small piece of the chilled dough—about the size of a walnut—roll it gently between your palms into a neat little ball, and then press it down slightly with the tines of a fork to flatten it. They won’t be uniform, but as homemade Italian cookies go, handmade always has the best character!
Is it okay to use salted butter in this Simple Butter Cookie Dough recipe?
I strongly advise against it, honestly. We are aiming for that delicate, pure butter flavor that defines authentic Italian butter cookies. Salted butter introduces an unknown variable because brands use different amounts of salt.
The recipe calls for just 1/4 teaspoon of salt added separately, which gives us perfect control. If you absolutely must use salted, cut out the added salt completely, but I promise, the pure flavor from unsalted butter just makes these melt in your mouth cookies that much better. It’s a small step for a huge flavor reward!
How long will these Bakery Style Butter Cookies last if stored correctly?
These hold up incredibly well, which is why they are perfect for holiday cookie trays! If you keep them totally airtight at room temperature, they should stay fresh and tender for at least a week, maybe even ten days. Remember what I said about keeping them in a single layer between parchment? Do that!
If you need to keep them longer, freezing the un-decorated cookies works wonders. They are a fantastic, easy make-ahead option for parties. If you want to pair them with something fun for dessert later on, you could try my recipe for the most amazing classic apple cobbler!
Why does the dough need to chill before I shape the cookies?
That chill time is mandatory for these babies! The recipe is very high in fat, right? If the dough is too warm when it hits the hot oven, all that butter melts too fast, and you end up with thin, greasy puddles instead of lovely shaped cookies. Chilling the dough for that minimum of 30 minutes solidifies the butter just enough so that when the cookies bake, they hold their beautiful shape while they crisp up on the edges. It’s the key to getting them to look professional!
Nutritional Estimates for these Rich Buttery Cookies
I know, I know, nobody really looks at the labels when we’re talking about incredible italian butter cookies, especially when they are destined for a holiday dessert table! But since this recipe is so rich and buttery, I figured it was only fair to give you a general idea of what you are enjoying in each of these tiny treasures.
Please keep in mind that these are just estimates based on the ingredients listed. If you use tons of chocolate, or if you make gigantic cookies instead of the standard size, these numbers are going to shift around. Also, if you’re looking for a totally different dessert experience, you should check out my surprisingly healthier moist carrot cake recipe, which does have a nutritional breakdown available!
For a single, standard-sized cookie (yield is about 3 dozen), here’s the ballpark:
- Serving Size: 1 cookie
- Calories: 140
- Fat: 8g (5g Saturated Fat)
- Carbohydrates: 15g
- Sugar: 10g
- Protein: 2g
- Cholesterol: 35mg
See? Still worth every single bite! Now go stack those homemade italian cookies high—nutrition counts less when the cookie is this tender!
PrintAuthentic Italian Butter Cookies

A recipe for rich, tender Italian butter cookies that melt in your mouth, with options for jam filling and chocolate dipping.
- Prep Time: 25 min
- Cook Time: 12 min
- Total Time: 37 min
- Yield: About 3 dozen cookies
- Category: Dessert
- Method: Baking
- Cuisine: Italian
- Diet: Vegetarian
Ingredients
- 1 cup unsalted butter, softened
- 3/4 cup granulated sugar
- 2 large eggs
- 1 teaspoon vanilla extract
- 1/2 teaspoon almond extract
- 3 cups all-purpose flour
- 1 teaspoon baking powder
- 1/4 teaspoon salt
- 1/2 cup apricot or raspberry jam (for filling)
- 4 ounces semi-sweet chocolate, melted (for dipping)
- 1/4 cup chopped nuts or sprinkles (optional, for decoration)
Instructions
- Beat the softened butter and sugar together in a large bowl until light and fluffy.
- Add the eggs, vanilla extract, and almond extract. Mix until just combined.
- In a separate bowl, whisk together the flour, baking powder, and salt.
- Gradually add the dry ingredients to the wet ingredients, mixing on low speed until a soft dough forms. Do not overmix.
- Chill the dough for at least 30 minutes.
- Preheat your oven to 350°F (175°C). Line baking sheets with parchment paper.
- Shape the dough using a cookie press fitted with a desired shape disc, or roll small portions of dough and shape them into logs or simple rounds.
- Place cookies on the prepared sheets, leaving about 1 inch between them.
- Bake for 10 to 12 minutes, or until the edges are lightly golden.
- Cool cookies on the baking sheets for 5 minutes before transferring them to a wire rack to cool completely.
- To fill: Sandwich two cooled cookies together with jam.
- To dip: Dip one end of a cooled cookie into melted chocolate. Immediately sprinkle with chopped nuts or sprinkles, if using. Let the chocolate set on a wire rack.
Notes
- Use room temperature butter for the creaming step to achieve the best texture.
- If you do not have a cookie press, you can roll the dough and use a small cookie cutter or shape by hand.
- For a richer flavor, substitute 1/4 teaspoon of the vanilla extract with lemon zest.
Nutrition
- Serving Size: 1 cookie
- Calories: 140
- Sugar: 10
- Sodium: 45
- Fat: 8
- Saturated Fat: 5
- Unsaturated Fat: 3
- Trans Fat: 0
- Carbohydrates: 15
- Fiber: 0
- Protein: 2
- Cholesterol: 35