

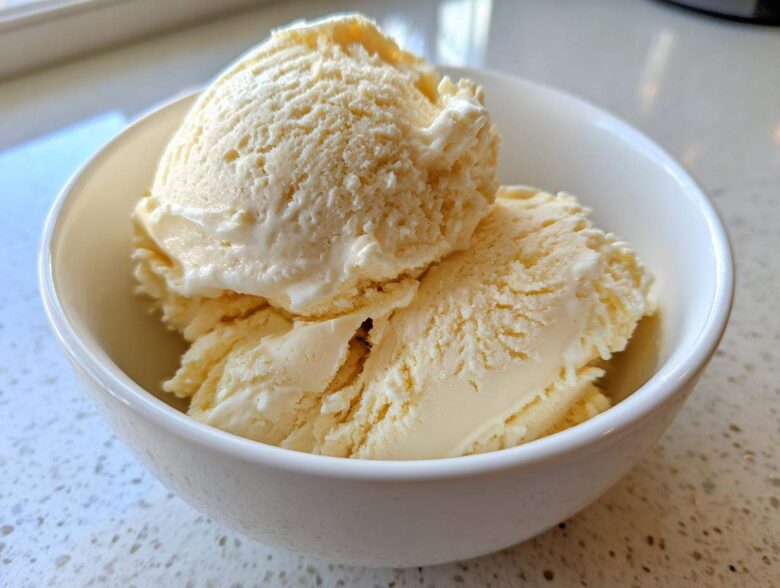
You know those moments when you’re deep into your fitness journey but your sweet tooth starts screaming for something cold and dreamy? I totally get it. Amina and I have spent ages trying to find that perfect intersection where macros meet magic, and wow, have we nailed it this time. Forget anything that tastes like cardboard or requires a fancy machine! We’re making creamy, unbelievable **protein ice cream** right in the freezer. This vanilla version is the ultimate healthy indulgence—so simple, so satisfying, and it’s going to turn your dessert game inside out. Trust me, David is obsessed with how macro-friendly this guilt-free treat is! For more adventures in our kitchen, check out our main blog page!
Why This No-Churn Vanilla Protein Ice Cream is Your New Favorite Healthy Homemade Ice Cream
Listen, I know what you’re thinking: protein ice cream always ends up icy or tastes suspiciously like science powder. Not this time! This recipe is truly one of the best healthy homemade ice cream ideas we’ve ever developed. Our main focus was making sure it was incredibly creamy while keeping the macros friendly, which is why this is rapidly becoming Amina’s go-to among all our High Protein Dessert Recipes.
It’s designed to be satisfying enough that you don’t feel like you’re missing out on anything. We’ve cracked the code on texture using simple pantry staples, giving you a scoop that feels decadent but lets you stick to your goals. It’s seriously the perfect post-workout frozen dessert!
Achieving Creamy Texture in Your Protein Ice Cream
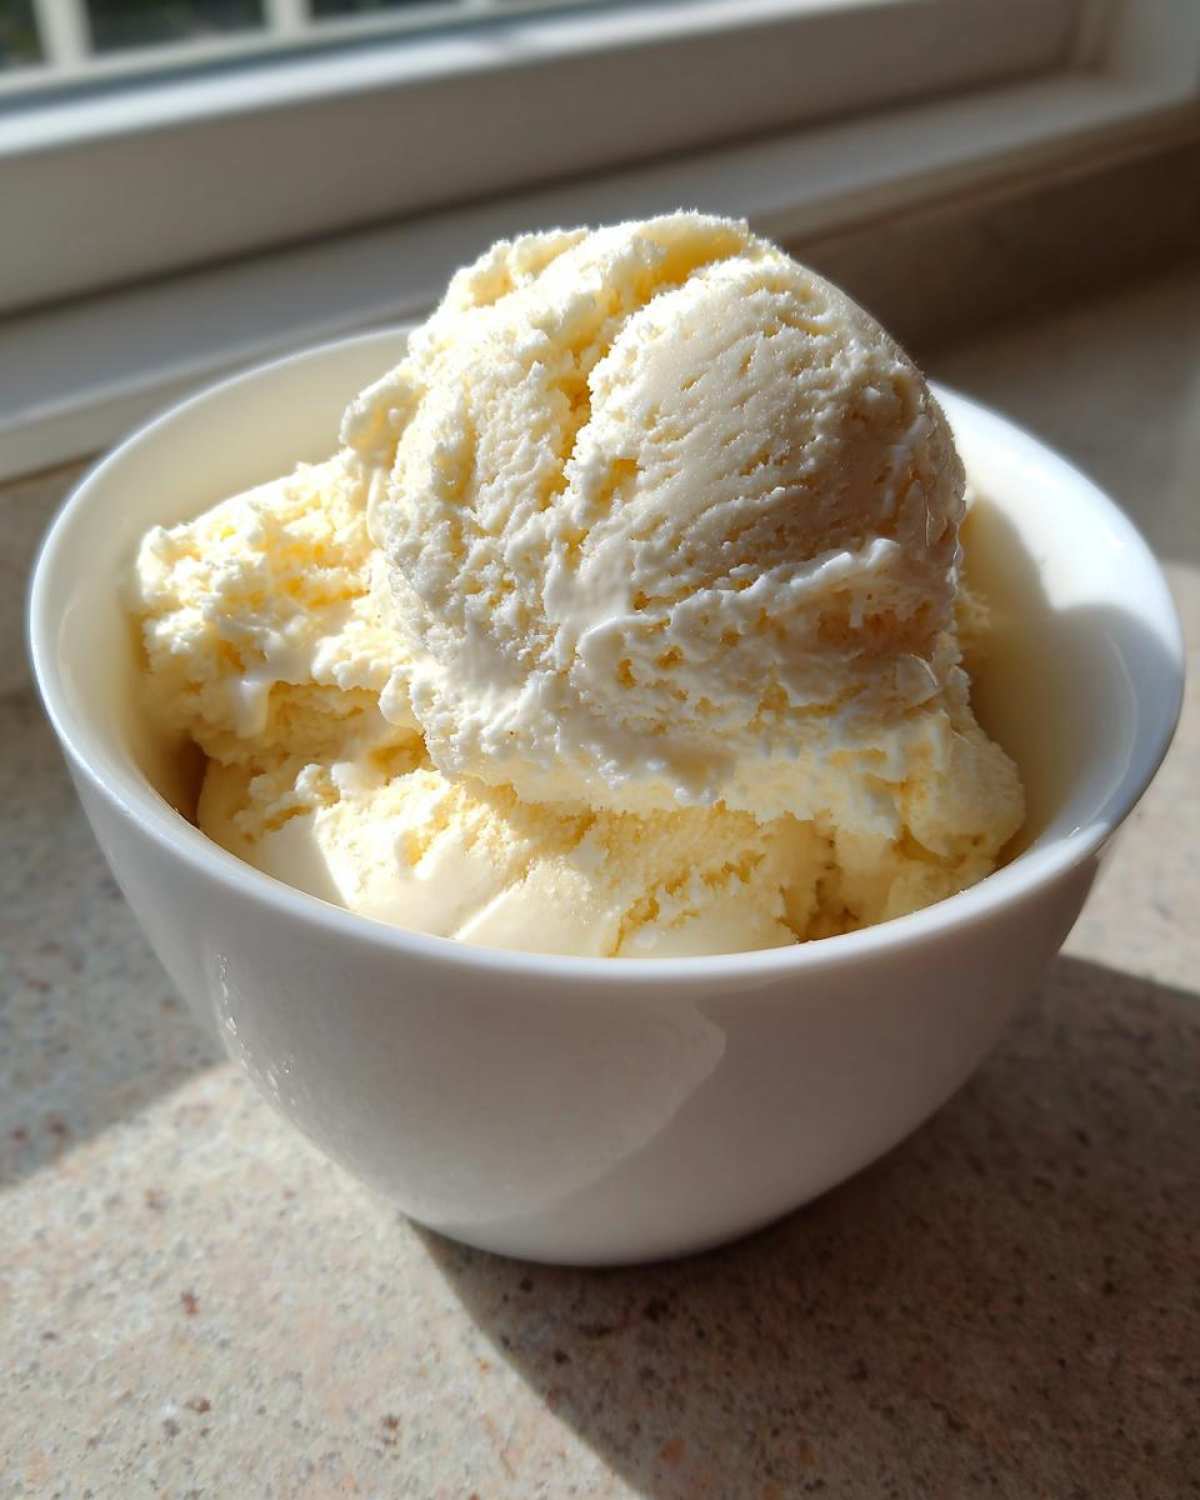
The absolute secret weapon here is Greek yogurt, specifically the full-fat or 2% kind. When you use non-fat yogurt, you risk getting that dreaded rock-hard, crumbly texture after freezing. The little bit of fat in the Greek yogurt prevents those big, sharp ice crystals from forming. It emulsifies beautifully with the protein powder, locking in that soft-serve dreaminess.
Quick tip: Stir the mix really aggressively—like you mean it—before it hits the freezer. You want zero chunks of dry powder, because those dry spots will turn into hard little ice flecks later on.
Making Protein Ice Cream Without a Machine
This is the best part! We are completely skipping the ice cream maker. Seriously, who has counter space for another single-use appliance? Since we aren’t churning, the freezing process changes slightly, but the prep is lightning fast. You mix it up, pour it in a pan, and let the freezer do the rest of the work. It transforms into delicious **protein ice cream** in about six hours. It’s the ultimate testament to how easy making No Churn Protein Ice Cream can truly be.
Gathering Ingredients for Perfect Protein Ice Cream
Okay, assembling the cast for this incredible frozen creation is super straightforward, but clarity here is everything if you want that perfect scoop. We’re keeping this to the absolute essentials so it stays quick, but pay attention to the yogurt fat percentage! For the creamiest result possible when making **protein ice cream**, you absolutely must use a 2% or full-fat plain Greek yogurt. Non-fat dries out too much, trust me.
You’ll also need your favorite vanilla protein powder, almond milk for thinning, a touch of vanilla extract, and a small amount of sweetener—we usually go for erythritol or monk fruit blend to keep the sugar low. It’s all about simple building blocks for these easy protein snacks!
Ingredient Notes and Substitutions for Your Protein Ice Cream Base
When picking your protein, a whey/casein blend is fantastic because casein creates that thicker, milkshake-like body we crave for ultimate richness. If you use 100% whey, you might end up slightly icier, so be ready for that!
Sweetener-wise, feel free to swap the erythritol for xylitol or stevia drops, just adjust to your preferred sweetness level. Now, here’s a big one for those of you following specific fitness paths: this base recipe intentionally leaves out banana! We managed to create a stunning Cottage Cheese Ice Cream Alternative texture without relying on the fruit, so if bananas aren’t your jam in dessert, you are in the right place!
Simple Steps to Prepare Your No Churn Protein Ice Cream
Alright, if you thought making this magnificent **protein ice cream** was going to require standing over a hot stove or babysitting a machine, think again! Amina and I love this part because it’s pure, unadulterated whisking therapy. Grab a medium bowl—nothing fancy needed here—and let’s get those ingredients together. First in goes the Greek yogurt, the almond milk, your vanilla protein powder, sweetener, vanilla extract, and that tiny pinch of salt. Salt might sound weird, but it really makes the vanilla sing, trust me!
Now, we mix! This is where you need to put a little muscle into it. You absolutely must whisk or use a hand mixer until that mixture is spotlessly smooth. If you see dry clumps of powder hiding at the bottom, that’s where textural disaster begins the next day! Once it’s totally uniform—like a perfectly smooth, thick milkshake—pour it right into a loaf pan or a small Tupperware container. Cover it tight and slide it into the back of the freezer. We need a solid six hours for this to set up properly into scoopable slices of dreamy dessert heaven.
Tips for Success When Making Protein Ice Cream
Even though this recipe is super low-effort, how you handle it right before serving makes all the difference between ‘good’ and ‘absolutely divine’. Since this is a non-churn **protein ice cream**, it does freeze up a bit harder than the stuff loaded with stabilizers. So here is my pro tip, straight from my own trial and error!
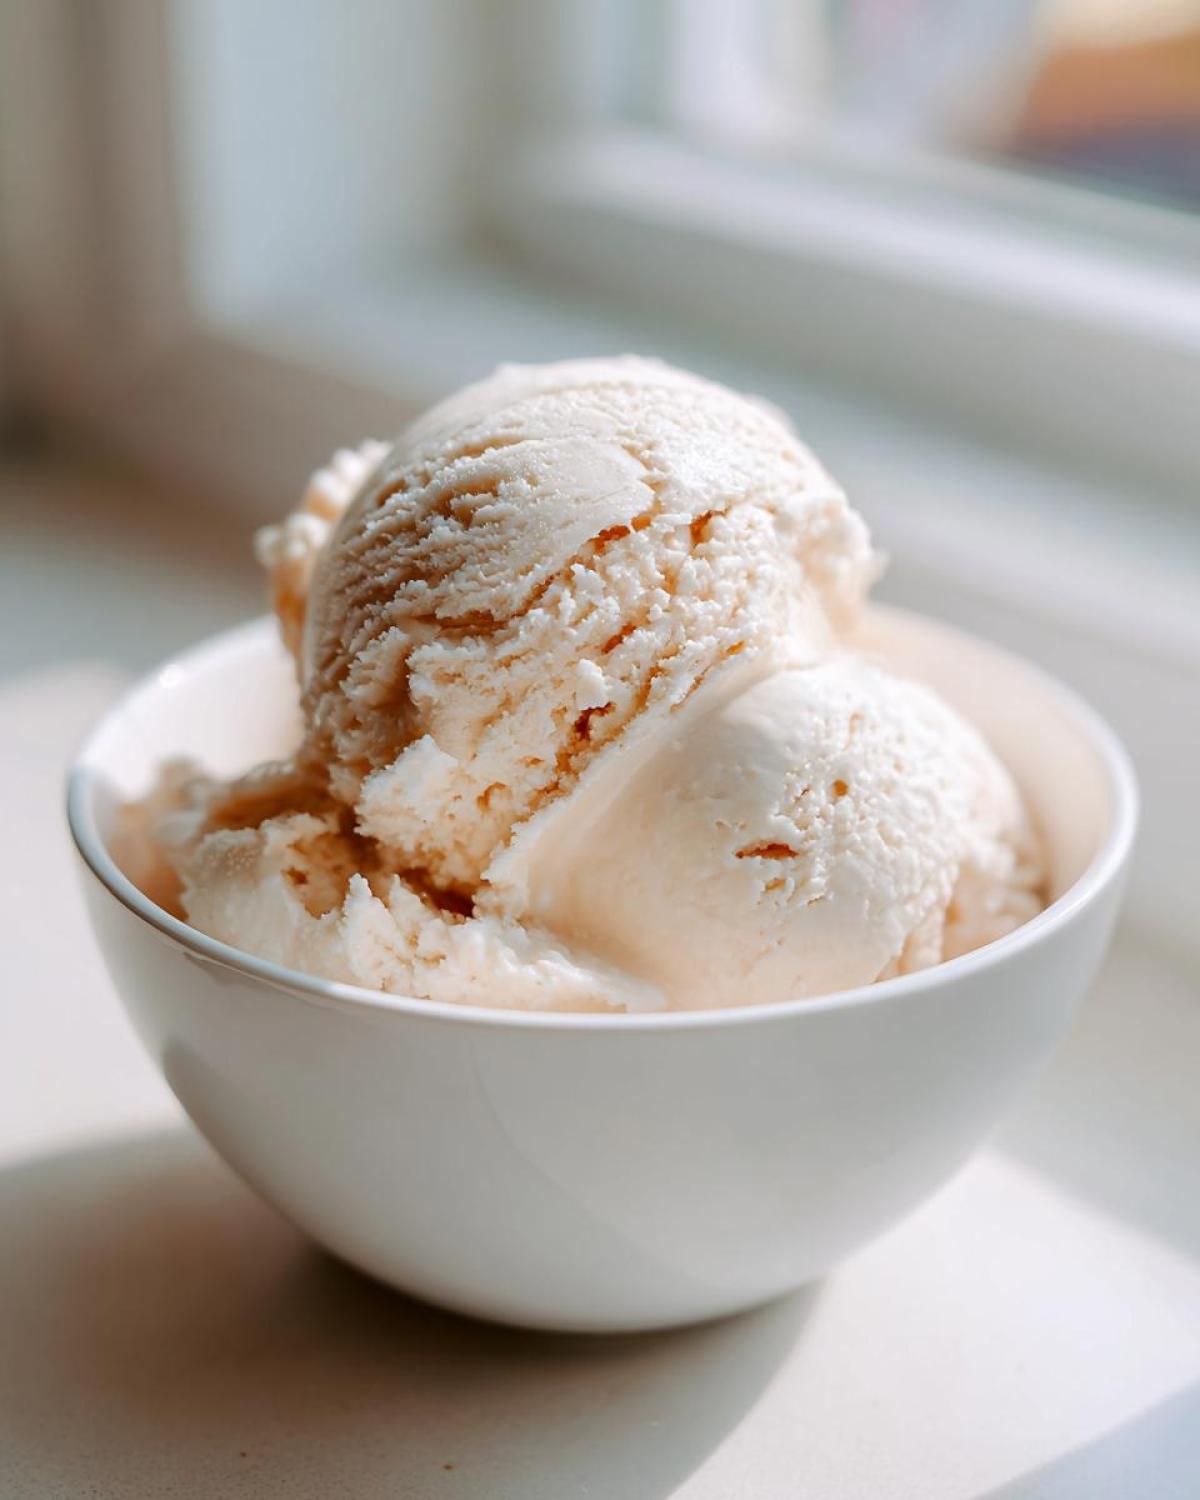
Never, ever try to eat this straight from the deep freeze. You’ll chip a tooth, I swear. You need to let it temper on the counter for about 10 to 15 minutes before you try to scoop it. This waiting game is crucial for letting the Greek yogurt base soften up just enough to achieve that perfect, creamy mouthfeel. Think of it as the final, necessary relaxing time for your macro friendly desserts before they hit your bowl!
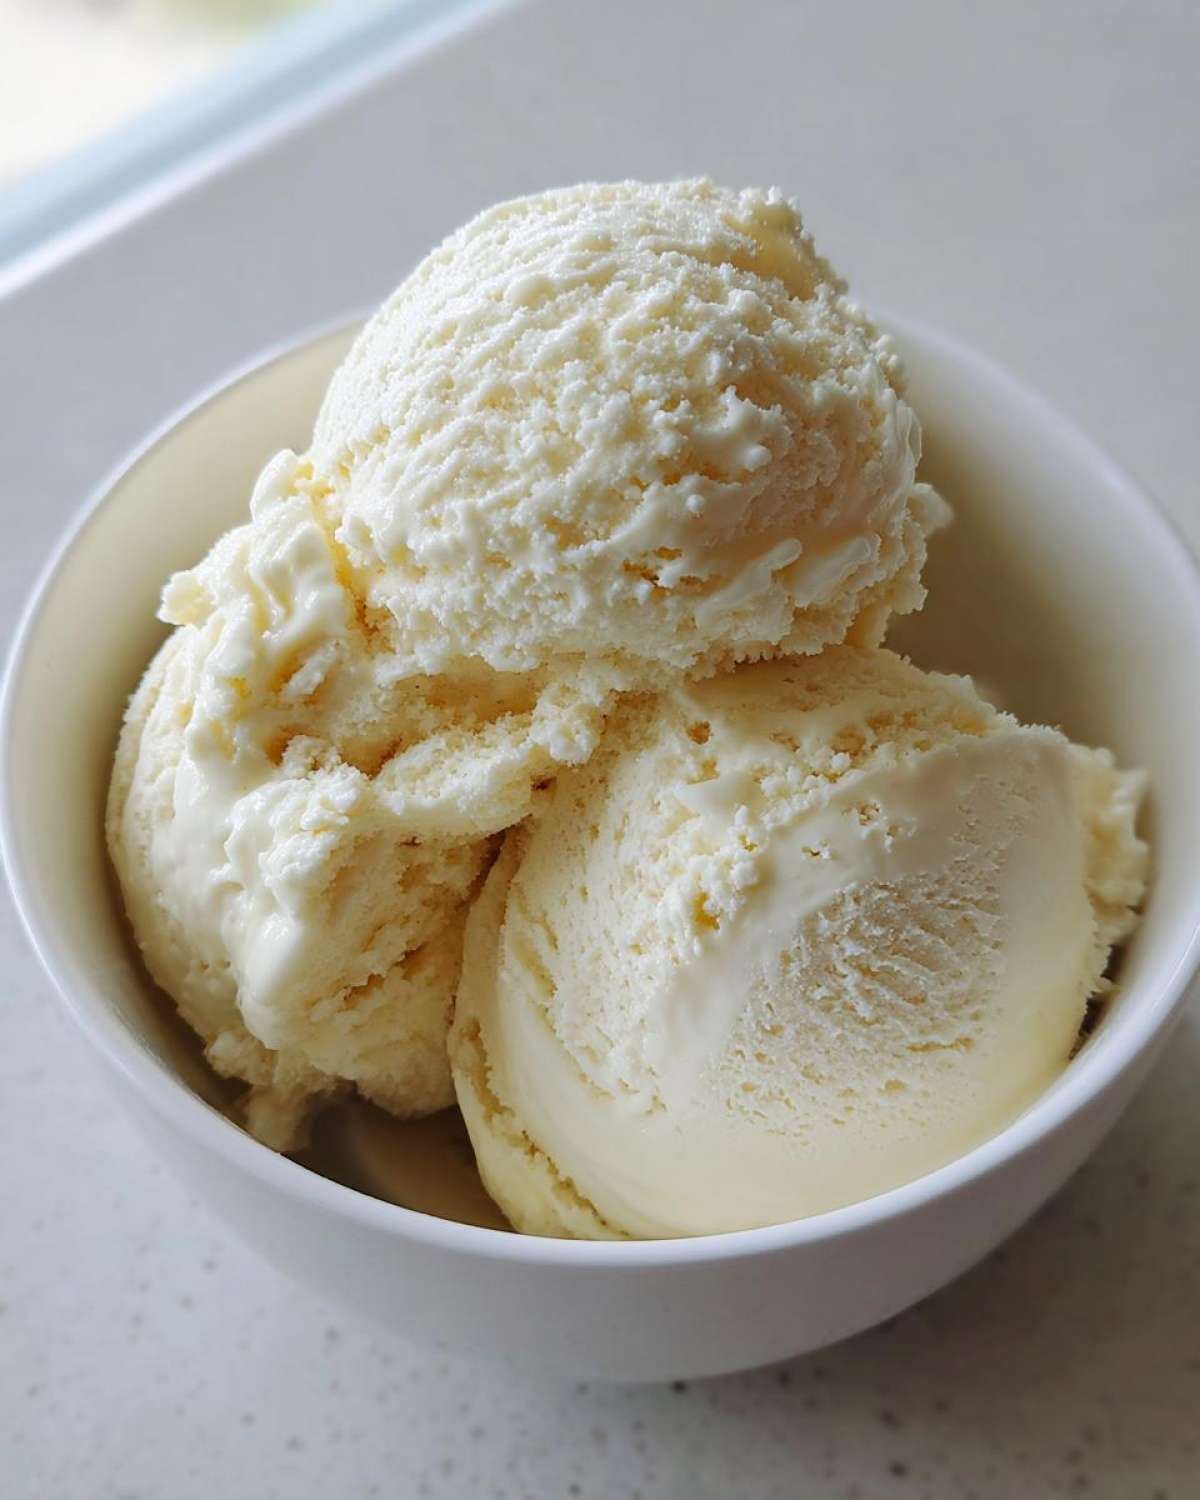
If you find your batch is still too hard after 15 minutes, run a little warm water over the outside of your container for about 30 seconds. That tiny bit of warmth is usually all it takes to loosen things up beautifully.
Serving Suggestions for Your Macro Friendly Desserts
Now that you’ve created this fantastic vanilla **protein ice cream**, the fun part—dressing it up—begins! We keep it simple here because the base is already so good, but a little topping goes a long way in elevating it into one of those truly special Guilt Free Frozen Treats.
I love drizzling just a tiny bit of sugar-free caramel syrup over the top while it’s still slightly firm. Amina prefers hers loaded with fresh raspberries or sliced strawberries for a little natural sweetness and color. If you need crunch, a sprinkle of crushed pecans or almonds works perfectly for healthy fats without adding too much bulk to your macros.
Remember, keep it clean and celebrate that amazing flavor you made in under five minutes of active work! For more vibrant inspiration you can find on our dessert page.
Storage and Reheating Instructions
Since this wonderful **protein ice cream** is a labor of love made without industrial stabilizers, you have to treat it right in the freezer! If you don’t manage to devour the whole batch in one sitting—which I totally respect if you do—storage is key to keeping that creamy texture we worked so hard for.
Always put your leftovers into a truly airtight, freezer-safe container. I’m talking about one with a good, tight-sealing lid. If air gets in there, you’re going to end up with freezer burn crystals layered on top, and nobody wants that chalky surprise when they go for a late-night scoop of dessert!
Now, about reheating—we aren’t really reheating this, are we? It’s ice cream! But if you happen to forget your container on the counter too long (it happens!), it can turn soupy fast because of the yogurt base. If it freezes rock solid overnight, don’t panic and don’t microwave it! Just scrape the top layer off if it looks icy, cover it back up, and let it sit on the counter for a good 20 minutes. That gentle thaw is the only ‘reheating’ this needs to bring it back to perfect scoopability.
Addressing Common Questions About High Protein Dessert Recipes
Since we started sharing this **protein ice cream** recipe online, you all have been sending in the best questions! That’s awesome! It means you’re really trying to make this work for your unique fitness life, and I love that. Let’s dive into a few of the things I keep seeing pop up so you can feel totally confident whipping this up.
We talk a lot about getting that perfect creamy result here, whether you’re a strict follower of the no-churn rules or you love playing with kitchen gadgets. Here are the quick answers to your top queries about making these High Protein Dessert Recipes!
Can I use this base for my Ninja Creami?
Yes, absolutely! I made sure to specify that in the notes because I know so many of you have that machine now. The base for this no-churn vanilla flavor works perfectly as a Creami pint flavor. You mix everything up exactly as written, pour it in, and freeze it fully overnight—at least 10 to 12 hours. When you process it, if it comes out looking crumbly (which sometimes happens with protein powder bases), don’t sweat it! Just add a tablespoon or two of almond milk and run that ‘Re-Spin’ cycle. It smooths right out, giving you that perfect texture.
What is the best protein powder for creamy results?
If you want the silkiest, thickest, most luscious final product—I’m talking about achieving that gold standard of **Healthy Homemade Ice Cream**—you need to lean towards casein protein powder, or a whey/casein blend. Why? Casein absorbs liquid really slowly and creates a much thicker texture when mixed, even before freezing. Whey alone often results in something that feels a little drier or icier once frozen solid. If you only have standard whey, you might need to bump up the milk just slightly, or follow the tip in the notes and add a little cream cheese!
How can I make this recipe low calorie ice cream ideas?
The great news is this recipe is already set up to be a fantastic low-calorie option! If you want to push those numbers down even further, the two biggest levers you can pull are the yogurt fat percentage and the sweetener choice. Always use non-fat, plain Greek yogurt in this case—it will freeze a touch harder than the 2% version, but it drops the overall fat content significantly while keeping plenty of protein. Also, ensure you are using a zero-calorie sweetener like erythritol or monk fruit, as that keeps the sugar content basically zero. That combination is how we nail those super satisfying low calorie ice cream ideas without sacrificing the sweetness!
Nutritional Estimates for This Frozen Treat
I know that for a lot of us diving into making our own **protein ice cream**, tracking macros is just as important as nailing the texture. We weigh everything out in our kitchen to keep things honest, but you always have to remember that brands vary wildly, right? So please use these numbers as a solid guideline, not gospel truth!
These estimates are based on using standard unflavored non-fat Greek yogurt (for the lower calorie count) and a typical whey blend protein powder. Treat this as a starting point for your magnificent healthy homemade ice cream!
- Serving Size: 1/4 of recipe
- Calories: Around 150
- Protein: A fantastic 22 grams!
- Fat: Just about 3 grams
- Carbohydrates: Only 12 grams (with 1 gram of fiber)
- Sugar: Roughly 4 grams (mostly coming naturally from the yogurt)
See? That’s seriously good news for a dessert this creamy. If you used full-fat yogurt or added peanut butter as a topping later on, those numbers will creep up, so just calculate based on what you toss in. That’s the beauty of making it yourself at home!
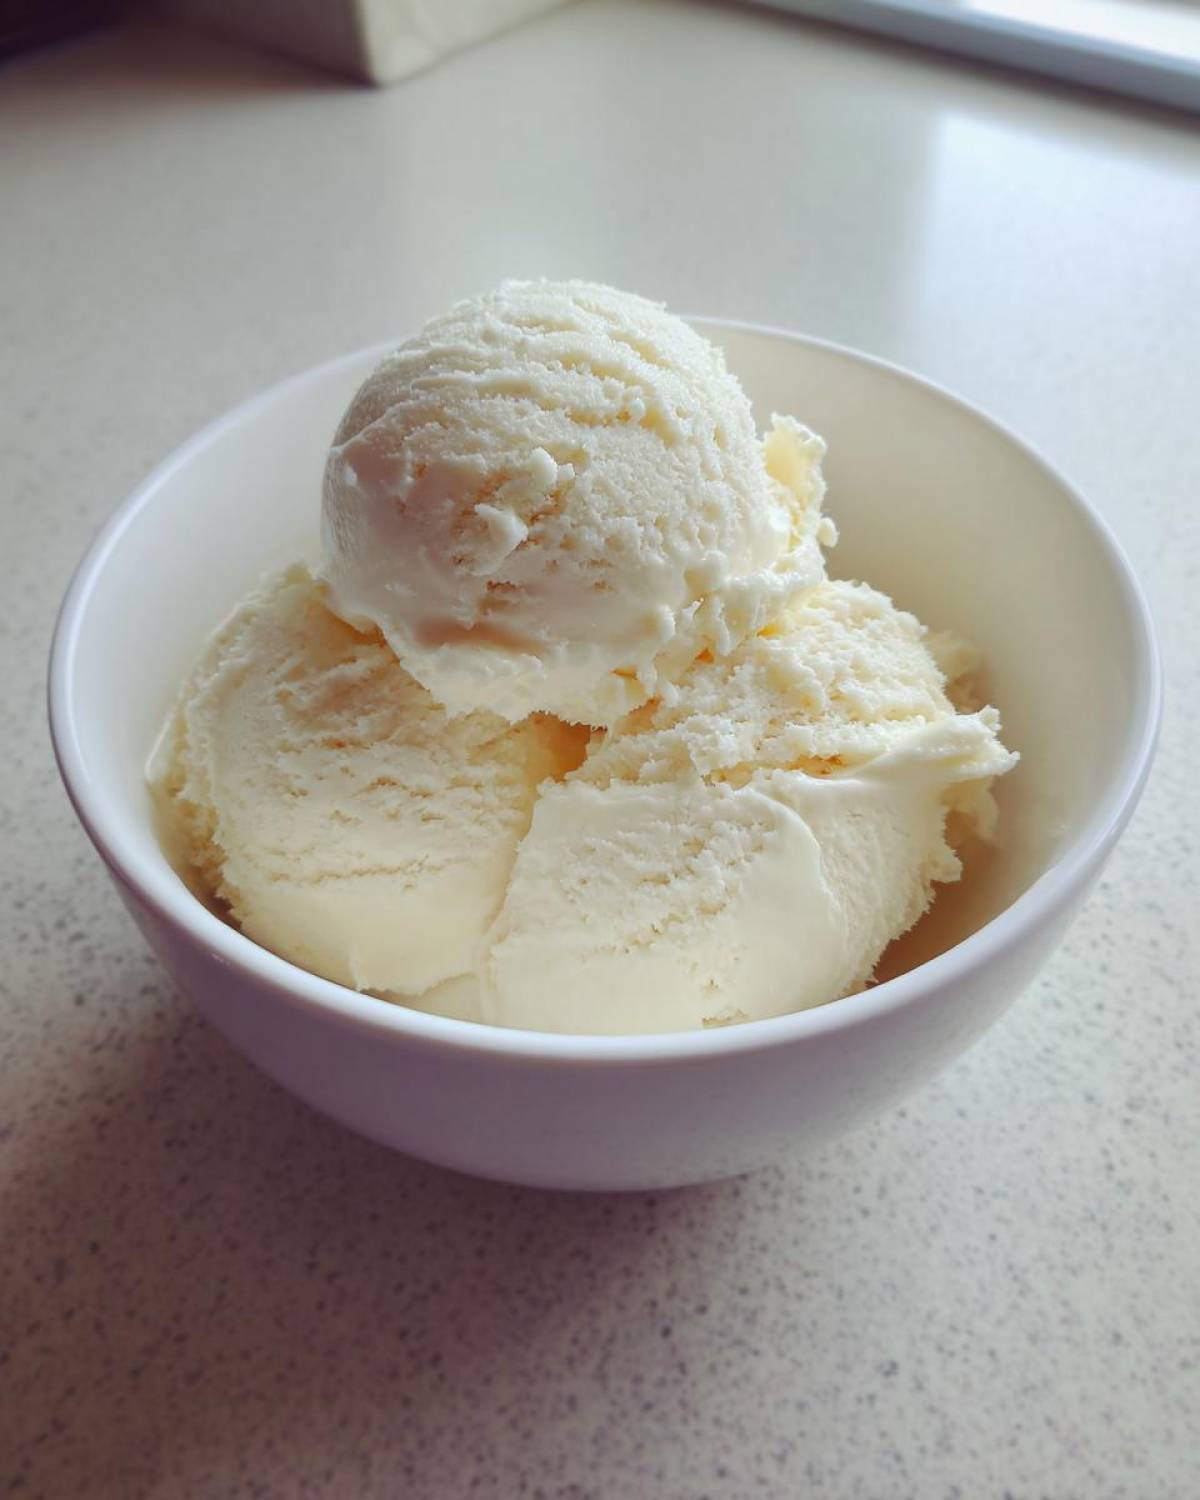
Share Your Spoonful Snap Moment
Wow, that’s it! We made the creamiest, easiest **protein ice cream** ever, and I’m so excited for you to try it. Amina and I really believe that sharing food, even if it’s just digitally, builds a real connection, and we want to hear all about your experience!
Did you follow the vanilla base exactly, or did you maybe sneak in some of those flavor twists we talked about later on? Maybe coffee extract? Or perhaps you went all out with toppings? Seriously, tell us everything in the comments below! Did it freeze up well for you? Did the 10-minute temper time work perfectly?
If you made a batch and snapped a great photo for Instagram or Pinterest, please tag us! Seeing your beautiful scoops of guilt-free indulgence is the highlight of my week. If you want to check out other delicious projects we’ve been sharing online, you can see our latest bakes on our main recipe index.
If you’re looking for even more inspiration on quick, no-fuss frozen treats, you should absolutely browse through some ideas from folks like The Big Man’s World; they always have such great takes on healthy, quick fixes like no-churn protein ice cream. Now go grab a spoon and savor every last bite of your hard work!
PrintSimple No-Churn Vanilla Protein Ice Cream (Guilt-Free Treat)
Make this creamy, high-protein vanilla ice cream without an ice cream maker. It is an easy, macro-friendly dessert perfect for satisfying sweet cravings.
- Prep Time: 5 min
- Cook Time: 0 min
- Total Time: 6 hr 5 min
- Yield: 4 servings
- Category: Dessert
- Method: No-Churn Freezing
- Cuisine: American
- Diet: Low Fat
Ingredients
- 1 cup plain Greek yogurt (2% or full fat for best texture)
- 1/2 cup unsweetened almond milk (or milk of choice)
- 1 scoop vanilla protein powder (whey or casein blend works well)
- 2 tablespoons erythritol or preferred zero-calorie sweetener
- 1 teaspoon vanilla extract
- Pinch of salt
Instructions
- In a medium bowl, combine the Greek yogurt, almond milk, vanilla protein powder, sweetener, vanilla extract, and salt.
- Use a whisk or hand mixer to blend the ingredients until the mixture is completely smooth and uniform. Ensure there are no lumps of protein powder remaining.
- Pour the mixture into a freezer-safe container, like a loaf pan or a small plastic tub. Cover the container tightly with a lid or plastic wrap.
- Place the container in the freezer. Freeze for at least 6 hours, or until firm.
- For the best texture, remove the ice cream from the freezer about 10 to 15 minutes before serving to allow it to soften slightly. Scoop and enjoy your healthy homemade ice cream.
Notes
- For a richer, creamier texture, substitute 1/4 cup of the Greek yogurt with 1/4 cup of light cream cheese or cottage cheese alternative.
- If you own a Ninja Creami machine, use this mixture as your base, freeze it solid overnight, and process it using the ‘Lite Ice Cream’ or ‘Ice Cream’ setting. You may need a splash of milk to re-spin if it is too crumbly.
- This recipe avoids banana, making it suitable for those who dislike that flavor in their frozen treats.
Nutrition
- Serving Size: 1/4 of recipe
- Calories: 150
- Sugar: 4
- Sodium: 150
- Fat: 3
- Saturated Fat: 1
- Unsaturated Fat: 2
- Trans Fat: 0
- Carbohydrates: 12
- Fiber: 1
- Protein: 22
- Cholesterol: 15