

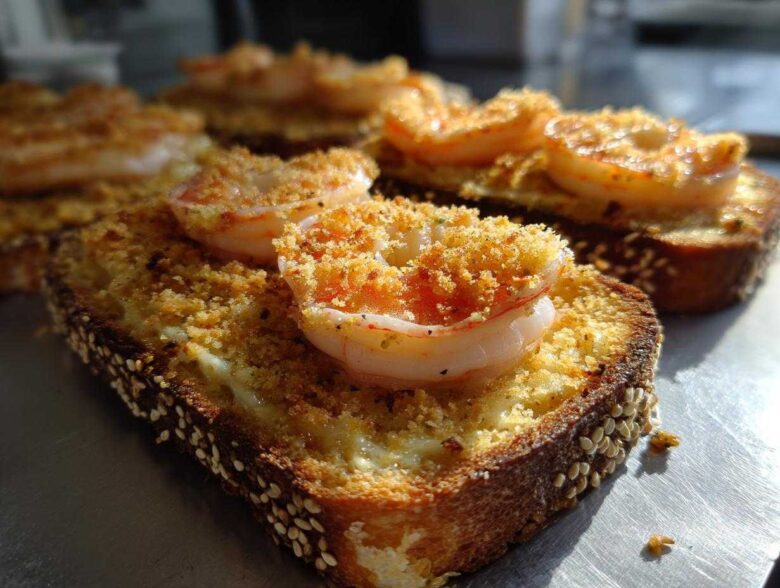
Okay, stop what you’re doing! If you’ve ever been scrambling at the last minute, needing an impressive, savory finger food that screams ‘fancy’ but really only takes about 30 minutes of actual work, then you need this recipe in your life. I’m talking about shrimp toast, but we’re skipping the messy, splattery deep fryer situation entirely. Trust me, my first attempt at frying these resulted in a kitchen that looked like a grease bomb went off!
This version, the oven baked shrimp toast, is my secret weapon for last-minute gatherings. We get that crackly, golden brown crispiness right to the edge, and the shrimp spread itself? It’s so creamy and packed with ginger and sesame flavor. After testing batches until the shrimp mixture wasn’t too wet—because wet bread is the enemy!—I locked in this perfect ratio of cream cheese and mayo. It truly is the easiest shrimp appetizer to pull off, and everyone always asks for the recipe.
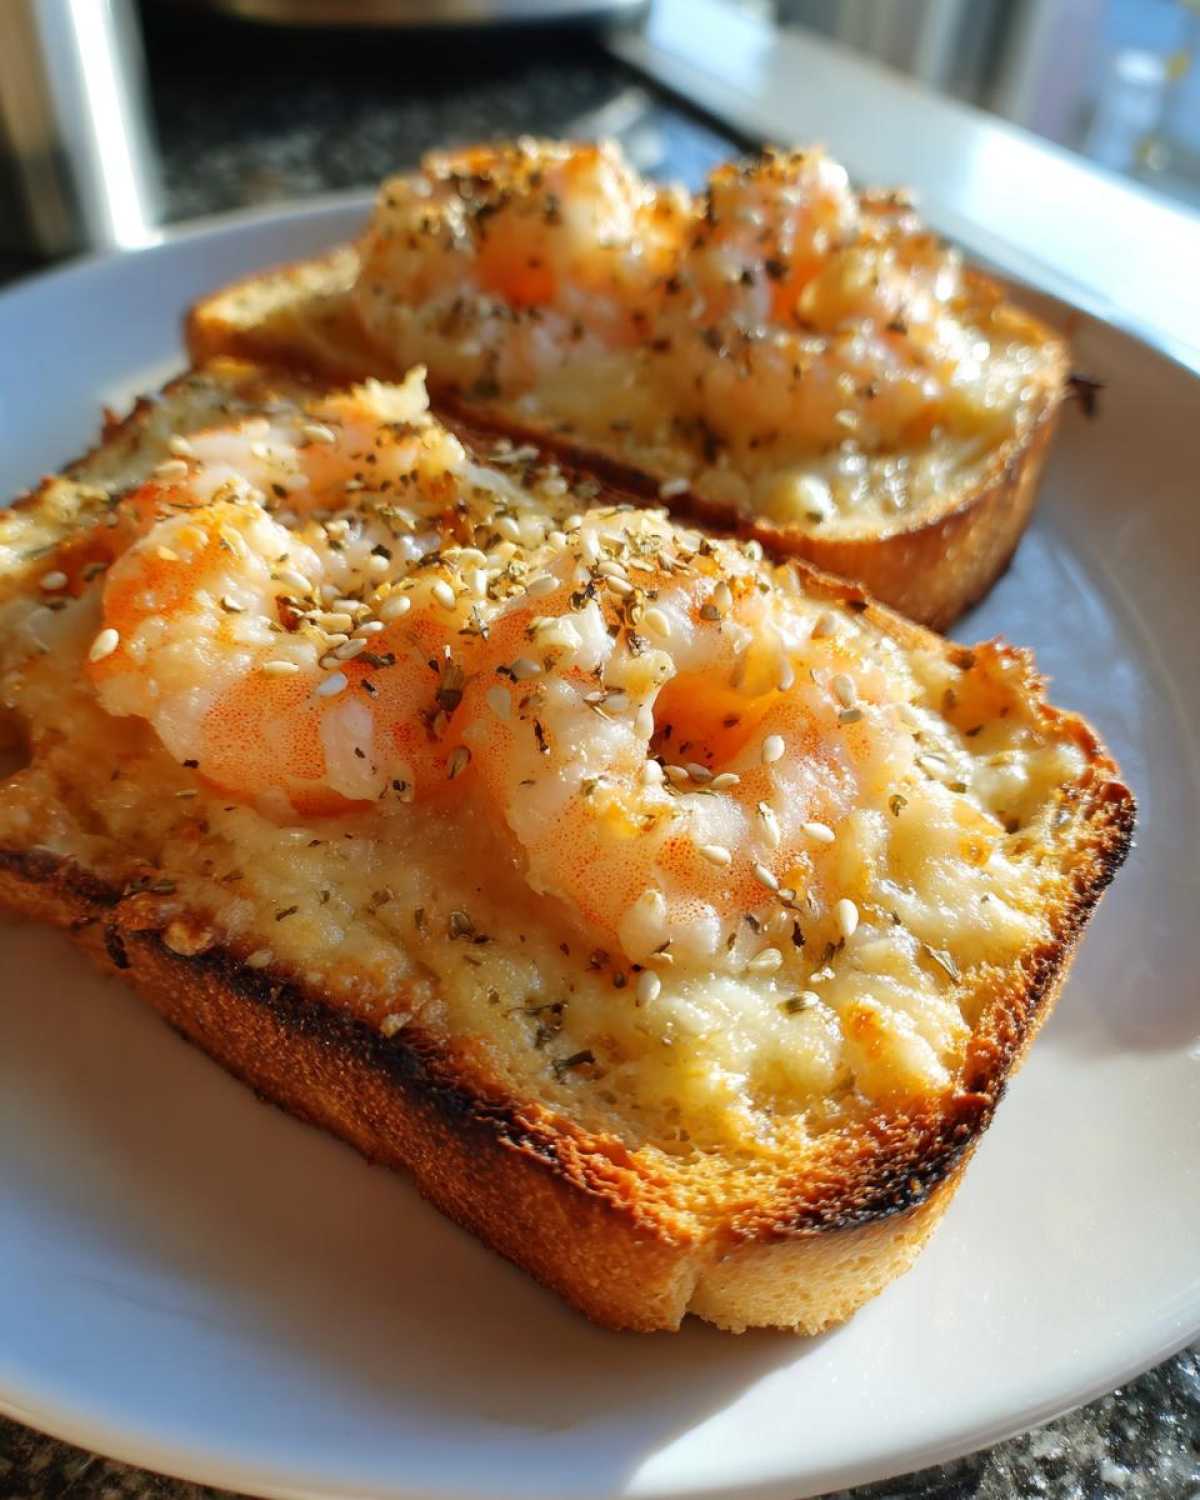
Why This Baked Shrimp Toast Recipe Works So Well
Honestly, I love this recipe because it solves the biggest problem people have with homemade shrimp toast recipe: the mess factor! We’re doing this in the oven, folks, and it comes out just stunning every single time. It’s fast, it hits that savory craving perfectly, and it looks so much more complicated than it actually is. If you need a solid, easy shrimp appetizer, bookmark this page right now.
- It’s quick! We’re talking 30 minutes total from start to finish.
- It’s light! You skip all that heavy oil, making it a better snack overall.
- The spread stays bouncy and full of flavor!
Achieving Crispy Shrimp Toast Without Frying
The secret to getting that amazing texture without dunking it in oil is a two-part attack. First, we use a moderate 400°F heat, which is hot enough to bake the shrimp mixture through gently, but not so high that it scorches the bread before the topping cooks. Second, that light brush of beaten egg on the shrimp side acts like edible glue which helps the bread toast up nicely. That egg wash, plus just a sprinkle of sesame seeds on top, ensures you get that beautiful, golden brown shrimp toast finish we all want!
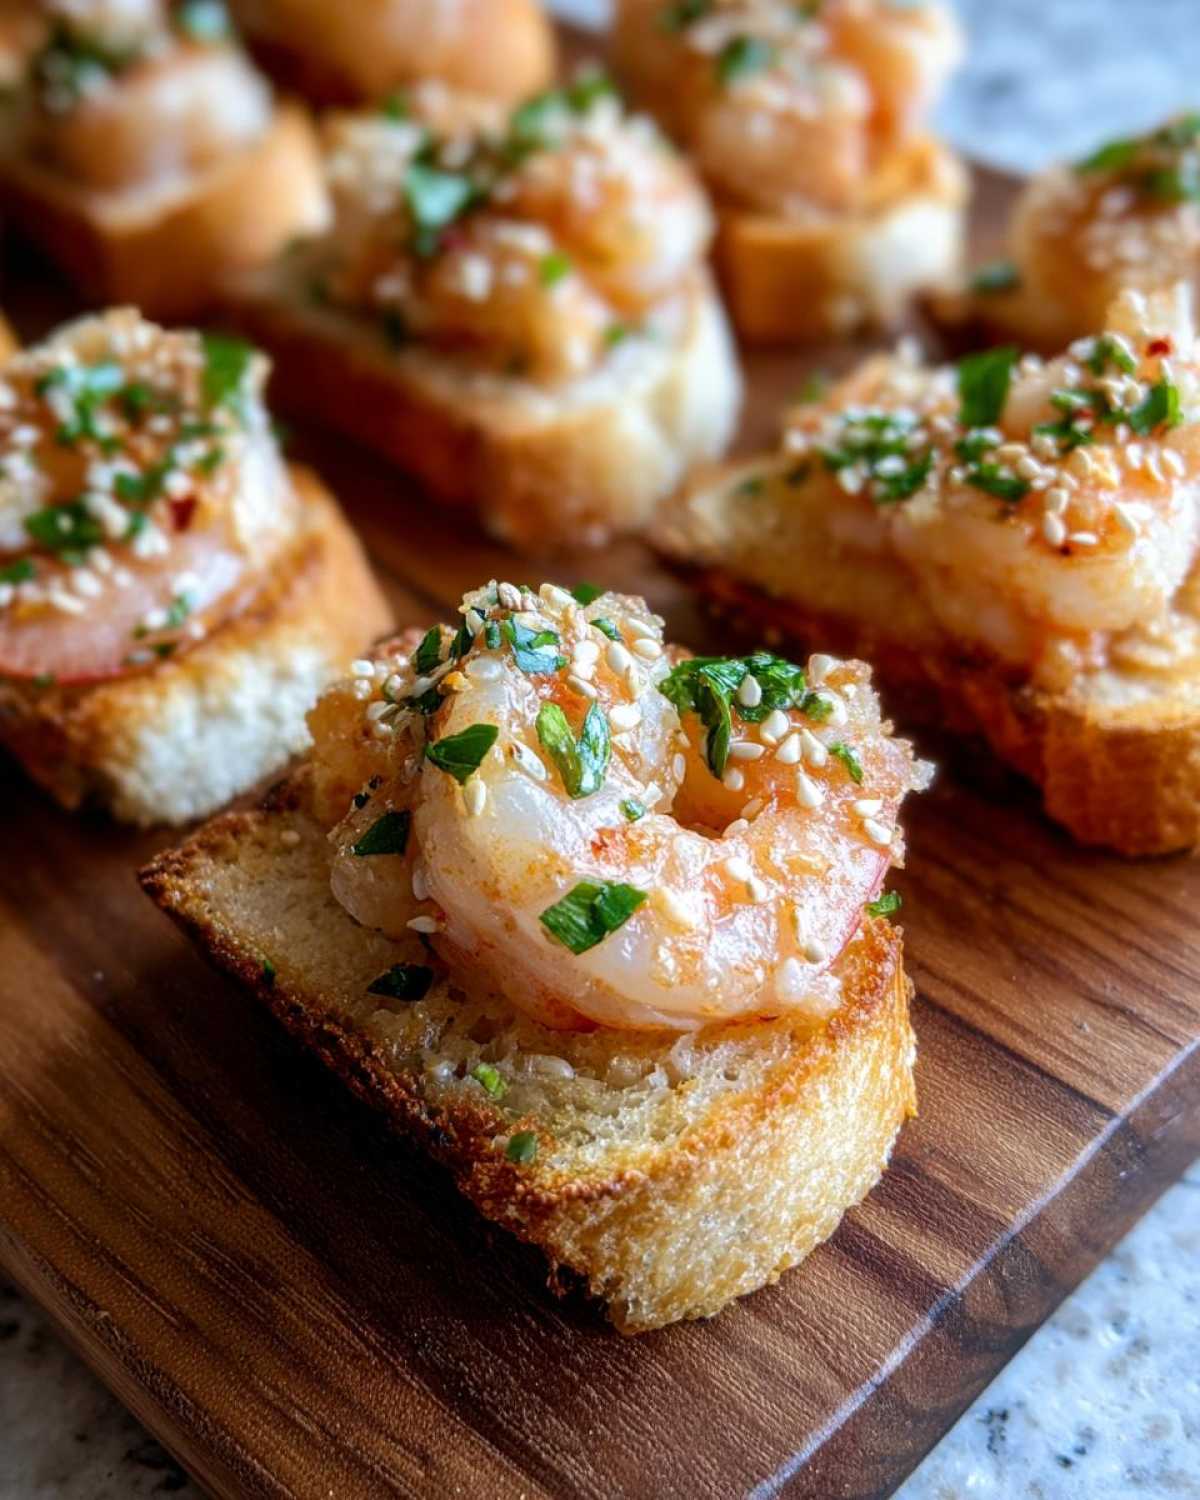
Essential Ingredients for Flavorful Shrimp Toast
When we make this shrimp toast recipe, I always pull the ingredients out because I want to make sure everything is ready to go. Because this is such a quick bake, prep time really counts! You need a full pound of raw shrimp, and please, make sure they are peeled and deveined. Nobody wants to pick through shells! We use 8 slices of standard white bread—the crusts have to go, trust me, they just get too tough when baked.
The binders are super important for the spread. You need about 4 ounces of cream cheese, and it absolutely must be softened completely, almost mushy, so it mixes in without lumps. Then about two tablespoons of mayonnaise brings that necessary richness and moisture. The flavor boosters are the classics: soy sauce, that lovely nutty sesame oil, fresh grated ginger (the jarred stuff just doesn’t sing the same tune!), garlic, and a little white pepper. That’s what gives it that signature Asian shrimp recipe taste.
Ingredient Notes and Substitutions for Your Shrimp Toast
Let’s talk about why we use what we use in the shrimp spread. The cream cheese and mayo aren’t just fillers; they are stabilizers! They hold that minced shrimp mixture together so beautifully when it hits the heat. If you skip them, your topping will likely fall off the bread during baking, and that’s just sad. If you’re making this for a big crowd, you can definitely cut the bread into smaller shapes using a cookie cutter—I often use little stars as a fun party food shrimp trick!
If you’re out of sesame seeds, no sweat, just leave them off. They are purely for looks and a tiny bit of crunch. And about the bread: use what you have, but softer bread works best because it needs to absorb a little bit of the moisture from the topping before it crisps up. If you wanted to make this slightly richer, you could substitute the white pepper for a tiny bit of brown sugar—though I generally stick to the pepper for that more savory vibe.
How to Make Perfect Oven Baked Shrimp Toast Step-by-Step
Okay, get your food processor ready because we are moving fast! This is the part where we turn everything into that incredible, savory topping, and honestly, it only takes about 15 minutes of prep time. Don’t rush the shrimp, though; that’s where people go wrong. I want you to pulse your raw shrimp until it’s finely minced, which means it looks chopped up, but please stop before it turns into a pink liquid paste. We need some texture in there!
Once you hit that perfect mince, toss in the softened cream cheese, mayo, soy sauce, sesame oil, garlic, ginger, and pepper. Mix that just until it’s all uniform and looking beautiful. Now, we move to assembly! Grab those crustless bread slices. You want an even layer of the shrimp mixture spread right on top of one side of the bread. Don’t pile it too high, or it won’t bake through properly.
Preparing the Shrimp Spread for Crispy Shrimp Toast
Seriously, watch that food processor blade! If you let it go too long, you end up with a smooth, gummy texture that just won’t hold up when baked. You want it chunky enough to see distinct bits of shrimp, but fine enough to spread easily. I usually pulse about 8 to 10 short bursts. Once it’s mixed with the cream cheese and mayo, it’s ready to go. This step is what keeps our shrimp toast recipe light years ahead of the bland versions floating around!
Assembly and Baking for Golden Brown Shrimp Toast
After you spread that mix onto your bread slices, grab your beaten egg. We’re using this as a light wash on the shrimp side only—this helps it glisten and adds a touch more color. If you’re using sesame seeds, sprinkle them on now! Pop these bad boys onto a lined baking sheet. Preheat your oven to 400°F. We bake them for about 12 to 15 minutes. You’re looking for the topping to look cooked through and the edges of the bread to be perfectly crisp and lightly golden brown. Pull them out, slice them up, and try not to burn your fingers eating them immediately!
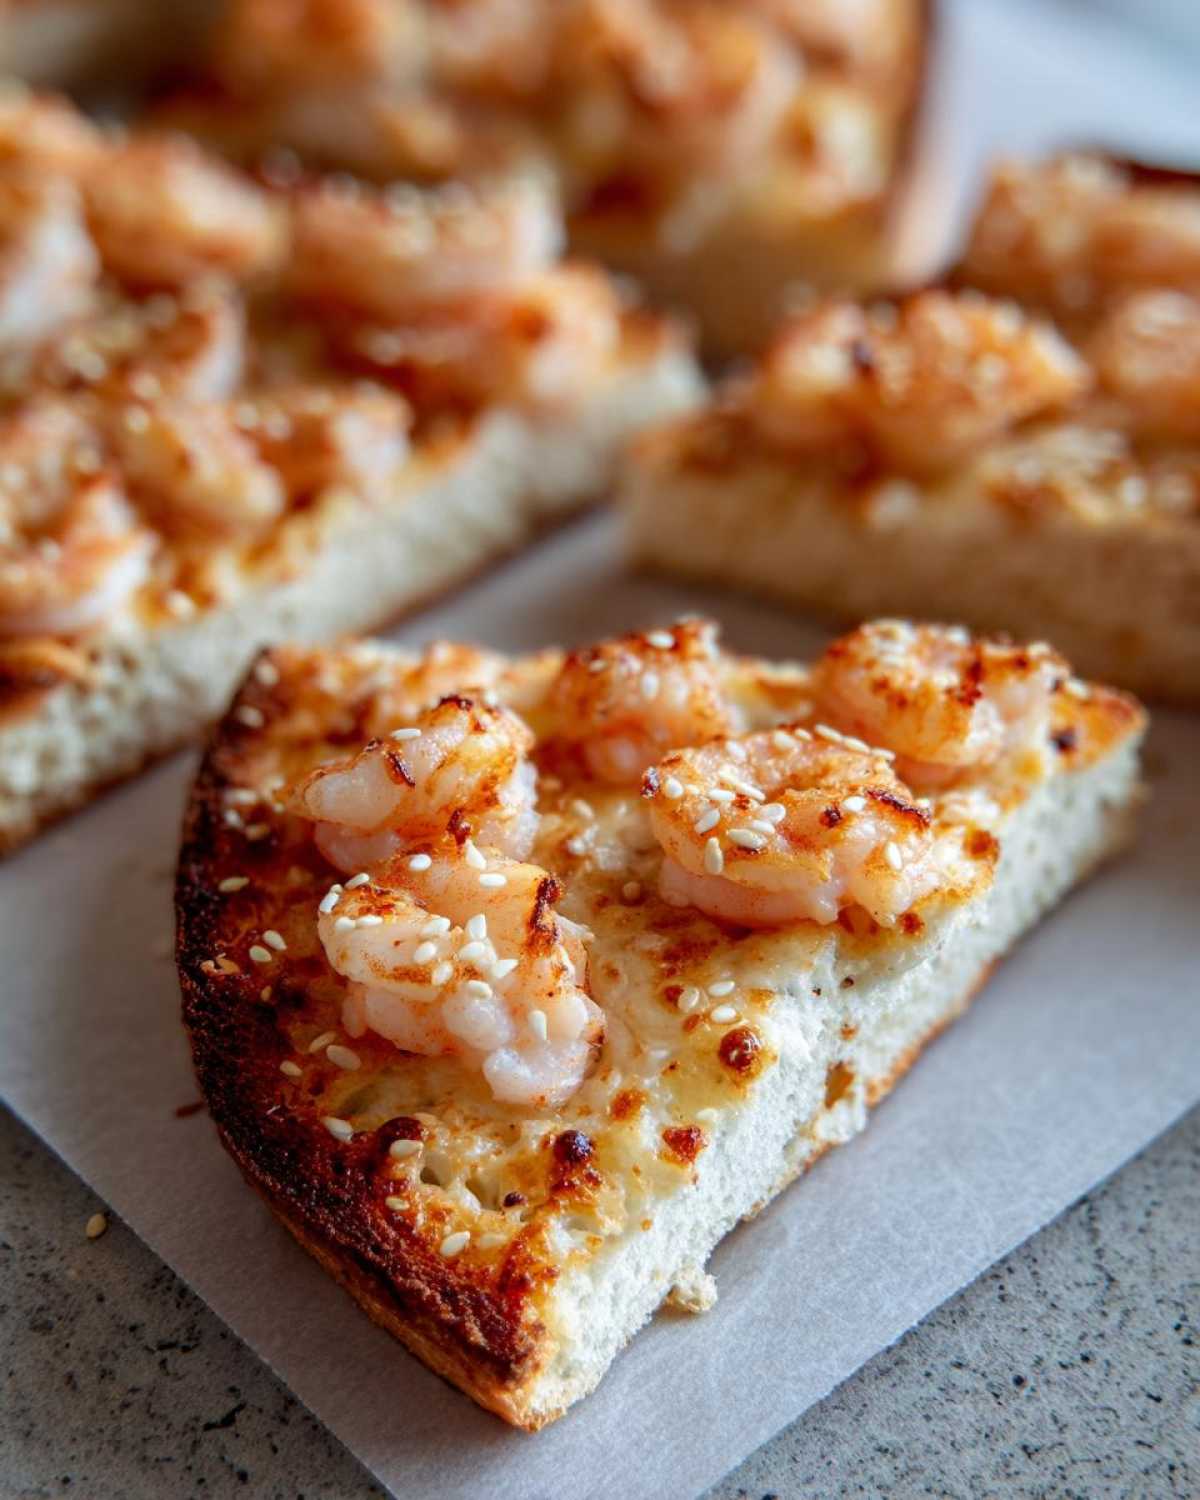
Expert Tips for the Best Shrimp Toast Results
I’ve made this shrimp toast so many times trying to get it just right, and I’ve picked up a few little tricks that really elevate it from “good” to “who made this amazing seafood appetizer recipe?!” These little steps take zero extra time but make a huge difference in texture, especially if you’re worried about achieving that perfect, satisfying crunch. A couple of these actually came straight from my grandma’s handwritten notes, believe it or not!
The absolute number one game-changer I found relates to getting that maximum crispiness. The recipe suggests brushing the top with egg, which is great, but if you want truly shatteringly crisp toast—especially if you’re making these ahead of time—you need to pre-toast the bread first. Before you even touch the shrimp mixture, put those bare bread slices (crusts off!) into the 400°F oven for just about three minutes. It dries them out slightly so they don’t absorb all the moisture from the topping. It’s genius, I tell you!
Another thing people often forget is about the final shape. While cutting them into quarters works fine for most easy appetizer ideas for parties, if you are serving these on a nice platter, using a small round or star-shaped cookie cutter makes them look so much more professional. It wastes a little bread, sure, but presentation matters when you’re serving savory shrimp bites!
Finally, don’t skimp on letting the finished toast cool for just two minutes before transferring them to your serving platter. They need that little bit of time to firm up after they come out of the oven. If you try to move them immediately, they might bend or break, and nobody wants a fractured piece of finger food seafood masterpiece!
Serving Suggestions for Your Savory Shrimp Bites
So, your oven baked shrimp toast is out of the oven, it smells incredible, and now you have to decide how to plate this amazing party food shrimp! Presentation is half the fun, right? I usually stick to one of two cutting methods. For a super casual snack, cutting each slice into neat quarters works great—you get four little squares that are easy to grab. But if I want them to look fancy, I cut them diagonally into triangles. They just look more elegant on a platter, kind of like little edible sailboats!
But seriously, what’s a great appetizer without something amazing to dunk it in? Since our shrimp spread has that lovely sesame and ginger kick, we want sauces that balance that savoriness. My absolute go-to is a good quality sweet chili sauce. It’s sweet, a little spicy, and that bright red color looks amazing next to the golden brown toast!
If sweet isn’t your thing, you can whip up the easiest little dip in about one minute. Just take a small bowl and mix equal parts soy sauce, rice vinegar (not white vinegar, it’s too harsh!), and a tiny drizzle of honey or maple syrup. Stir that up until the honey dissolves. It’s salty, tangy, and cuts through the richness of the cream cheese perfectly. If you’re looking for something richer for another kind of party spread, I sometimes pair these with a zesty garlic dip like my quick garlic aioli recipe—it’s a little unconventional, but oh my goodness, it works!
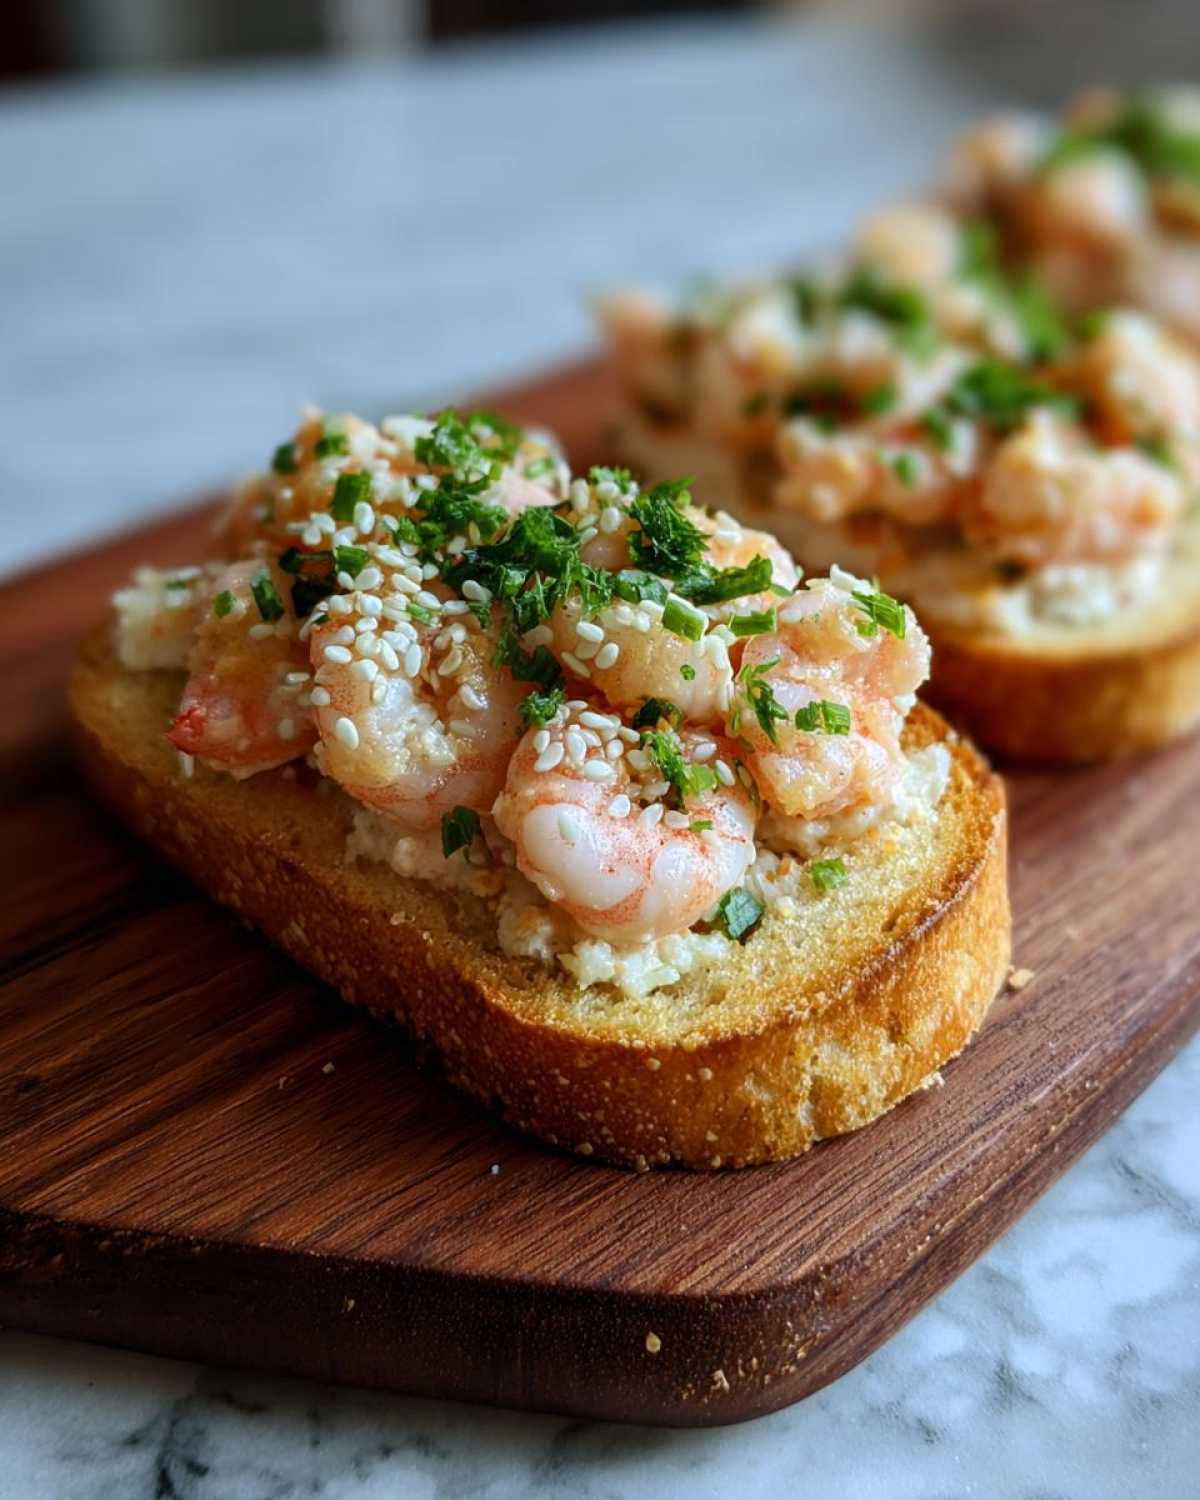
Remember, these little savory shrimp bites are best served warm, so have your dipping stations ready right when they come out of the oven. Nothing ruins a perfect piece of toast faster than letting it get completely cold before anyone dips into anything!
Storage and Reheating Instructions for Leftover Shrimp Toast
I know, right? Sometimes you just make too much of the best quick shrimp snack because it’s just too good to stop at one piece! The great news is that this baked shrimp toast holds up okay, but you have to store it correctly so it doesn’t become sad and soggy. The key difference between making it fresh and reheating it is managing that moisture.
When I have leftovers—which is rare, honestly—I let them cool completely to room temperature first. Putting warm food into a container traps steam, and steam is the mortal enemy of crispiness! Once totally cool, put them into an airtight container. I usually line the bottom layer with a paper towel just to soak up any residual moisture that might try to creep up overnight. Stored this way, they’ll generally be fine for about two days, maybe three if you’re lucky.
Now for reheating. Please, please, please do not use the microwave! I learned this the hard way when I tried to reheat a piece last winter. It got chewy and rubbery, and that lovely crispy texture we worked so hard for was completely lost. Microwaves are great for reheating soups, but skip them for anything you want to stay crunchy.
The best way to bring these back to life is in the oven or toaster oven. Preheat your toaster oven (or regular oven if you’re doing a bunch) to about 350°F. Lay the pieces out on a baking sheet in a single layer—don’t overlap them! You only need about 5 to 8 minutes. Keep an eye on them, but this low-and-slow heat warms the shrimp filling all the way through while refreshing that crunchiness on the bottom of the bread. Pull them out when the edges start looking nice and dry again. Hello, almost-fresh shrimp toast!
Variations on the Classic Shrimp Toast Recipe
Our base recipe for this shrimp toast is absolutely fantastic as is, especially if you’re aiming for that perfect, savory, classic appetizer vibe. But you know me—I can never just leave well enough alone in the kitchen! If you want to start playing around with the flavor profile, I’ve found a couple of tiny additions that can really make your Asian shrimp recipe feel custom-made.
The easiest switch-up is adding some green! Finely chopped scallions are my favorite addition to the shrimp spread. You don’t need a ton, maybe just a couple of tablespoons mixed in with the shrimp paste. They add a lovely little fresh oniony bite without overpowering the ginger and garlic. They also look really pretty sprinkled on top before baking, right along with the sesame seeds.
For a brighter acidity, which I love when serving these bites with heavier dipping sauces, try adding a small splash of rice vinegar right into the shrimp mixture when you add the soy sauce. Just a teaspoon! It brings a wonderful tang that cuts through the richness of the cream cheese. It keeps the structure perfect but just lights up the flavor profile.
Now, I know some of you might be thinking about the more authentic, really traditional versions out there, like the Vietnamese style. We’re talking about Vietnamese shrimp toast, or Bánh Mì Nướng Tôm, if you want to get fancy! That version is often very focused on fresh herbs, usually cilantro, and maybe even some lemongrass mixed into the shrimp. I haven’t perfected that recipe for you yet, because it’s a whole different game than this quick, creamy baked version, but if you ever see it on a menu, definitely give it a try!
Keep these little tweaks in mind for your next party! Changing just one tiny element can make your guests think you spent hours fussing over three different recipes when really, you just spent an extra 30 seconds in the food processor shaking things up!
Frequently Asked Questions About Shrimp Toast
Whenever I post a picture of these little bites online, I always get a flood of questions. People love how easy they are, but they always want to make sure they get that perfect texture. I totally get it! Here are the main things folks always ask me about making the best shrimp toast recipe at home.
Can I use frozen shrimp for this shrimp toast recipe?
That’s a great question about maximizing your time! Yes, you absolutely *can* use frozen shrimp, but you must thaw them completely first. I usually thaw them overnight in the fridge. What’s crucial here is getting as much moisture out as possible after they thaw. Pat them super dry with paper towels before you throw them into the food processor. Any extra water clinging to them will just make your shrimp spread too wet, which is the biggest risk when making this quick shrimp snack!
What is the best bread for shrimp toast?
When I talk about the best bread, soft white bread always wins for me. It has a tight, fine crumb that toasts up beautifully without getting rock hard like sourdough can. The standard sandwich bread works perfectly because it slices evenly and holds the topping well. If you use something too sturdy, the topping might separate from the bread when you cut it. Remember, we cut the crusts off because those edges tend to dry out faster than the center!
Is this oven baked shrimp toast truly crispy?
I wouldn’t call this recipe “fried crispy,” but it is absolutely wonderfully crispy shrimp toast in its own way! If you follow the recipe steps—especially the part about brushing the egg wash on top, and better yet, pre-baking the bread slices for those first three minutes—you will get a beautifully crisp bottom and a fully cooked, slightly chewy topping. A key I stressed earlier is making sure your shrimp spread isn’t wetter than a sponge! Too much moisture seeps into the bread before that heat can activate the crispiness, so keep the layer even and don’t overload it.
Nutritional Estimate for This Quick Shrimp Snack
Okay, so I know we aren’t exactly making this healthy shrimp snack for a health kick, but it is nice to have a ballpark idea of what we’re enjoying, right? Since we baked these instead of frying them, they come out way lighter than traditional preparations, which is something I feel good about when I’m setting out a big plate of these for guests.
The numbers below are just an estimate, and they can change depending on the exact brand of mayonnaise you use or if you decide to use that optional brown sugar instead of pepper. But generally, for two small pieces—say, half a slice of the original toast before slicing—here is a good starting point for our shrimp toast!
- Serving Size: We estimated based on 2 pieces (per serving size listed in recipe card)
- Calories: Around 280 Calories
- Protein: A solid 18 grams! That shrimp really packs a punch.
- Fat: About 14 grams total fat.
- Carbohydrates: Around 22 grams, mostly coming from the bread.
See? Getting nearly 20 grams of protein in a little appetizer is pretty fantastic. It really helps keep things satisfying when you’re snacking and mingling. This is a great, easy party food when you want something flavorful that won’t weigh everyone down!
PrintEasy Baked Shrimp Toast
Make crispy, savory shrimp toast in the oven. This recipe is a simple appetizer or party snack.
- Prep Time: 15 min
- Cook Time: 15 min
- Total Time: 30 min
- Yield: 4 servings
- Category: Appetizer
- Method: Baking
- Cuisine: Asian-Inspired
- Diet: Low Lactose
Ingredients
- 1 pound raw shrimp, peeled and deveined
- 4 ounces cream cheese, softened
- 2 tablespoons mayonnaise
- 1 tablespoon soy sauce
- 1 teaspoon sesame oil
- 1 teaspoon grated fresh ginger
- 1 clove garlic, minced
- 1/4 teaspoon white pepper
- 8 slices white bread, crusts removed
- 1 large egg, beaten
- 1 tablespoon sesame seeds (optional)
Instructions
- Preheat your oven to 400°F (200°C). Line a baking sheet with parchment paper.
- Place the shrimp in a food processor and pulse until finely minced, but not pureed.
- In a medium bowl, combine the minced shrimp, cream cheese, mayonnaise, soy sauce, sesame oil, ginger, garlic, and white pepper. Mix until fully combined.
- Spread an even layer of the shrimp mixture onto one side of each slice of bread.
- In a small bowl, whisk the egg. Brush the top (shrimp side) of each toast lightly with the beaten egg.
- Sprinkle the sesame seeds over the egg wash, if using.
- Place the toasts on the prepared baking sheet, shrimp-side up.
- Bake for 12 to 15 minutes, or until the shrimp topping is cooked through and the edges of the bread are golden brown and crispy.
- Let cool slightly before slicing each piece into quarters or triangles for serving.
Notes
- For extra crispiness, you can lightly toast the bread slices in the oven for 3 minutes before spreading the shrimp mixture.
- If you prefer a traditional presentation, use a small round cookie cutter to cut shapes from the bread before topping.
- You can substitute brown sugar for white pepper if you prefer a slightly sweeter flavor profile.
Nutrition
- Serving Size: 2 pieces
- Calories: 280
- Sugar: 4
- Sodium: 450
- Fat: 14
- Saturated Fat: 6
- Unsaturated Fat: 8
- Trans Fat: 0
- Carbohydrates: 22
- Fiber: 1
- Protein: 18
- Cholesterol: 110