

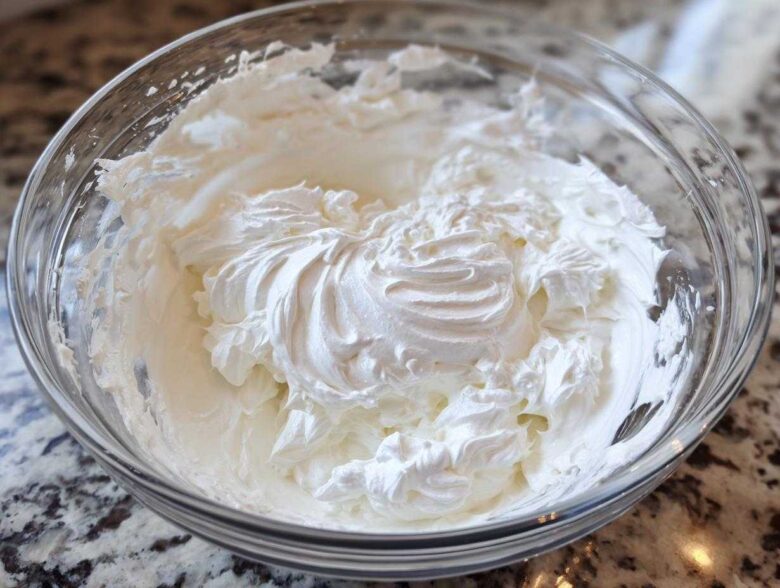
Oh my goodness, let’s talk about the absolute *magic* that is decorating cookies! There is nothing better than seeing a batch of plain sugar cookies transform with vibrant designs. But if you’ve ever tried that old-school icing that just crumbles or stays sticky forever, you know the frustration. I swear, my first attempts with homemade egg white icing? A sticky, scary mess every time! That’s why I never look back—this royal icing recipe changed everything for me.
Seriously, ditch the fear! This recipe uses meringue powder, and trust me, it’s the secret weapon for getting that gorgeous, hard, and super glossy finish. It’s foolproof, designed specifically for gorgeous cookie outlines and flooding. You won’t believe how easy this professional-looking result is to achieve right in your own kitchen.
Why This Royal Icing Recipe is the Best Royal Icing Recipe for Cookies
So, why am I so obsessed with this particular version? Because it delivers exactly what a cookie decorator needs without the headache! Using meringue powder instead of raw eggs just takes away so much guesswork, which is huge for beginners like I used to be. Honestly, if you want that professional, crack-free finish, this is the way to go.
- It keeps things simple: No fussing with separating eggs or worrying about salmonella!
- It locks in consistency: You get smooth results whether you’re piping thin lines or flooding a whole cookie.
- It dries like a dream: This icing sets up beautifully hard, which is crucial for stacking or shipping cookies.
Achieving That Perfect Cookie Icing Recipe Finish
When people ask for the perfect cookie icing recipe, they are really asking for reliability. This recipe gives you that flawless, glass-like surface once it’s totally dry. No puddles, no weeping in humidity—just a crisp, clean design that looks amazing on your holiday cookies or even simple birthday cutouts. It just *works*.
Ingredients for Your Easy Royal Icing Recipe for Cookies
Okay, gathering supplies for your easy royal icing recipe for cookies is super straightforward! It really is just four main players, but paying attention to the details is what makes the difference between good and *great* icing. Make sure your sugar is sifted—trust me, that’s step one for lump-free icing!
- 4 cups confectioners’ sugar, sifted well!
- 3 tablespoons meringue powder
- 6 tablespoons warm water
- 1 teaspoon clear vanilla extract
Ingredient Notes and Substitutions for this Royal Icing Recipe
The absolute star here is the meringue powder; it’s how we manage to pull off this amazing royal icing recipe without eggs while still getting that professional set. If you absolutely cannot find it, you can swap it out, but you need about two *fresh* egg whites for every three tablespoons of meringue powder. Keep in mind raw eggs bring their own risks, which is why I stick to the powder!
Also, if you want pure, stark white icing for those crisp holiday designs, spring for the clear vanilla extract. If you use the standard brown stuff, your icing might look slightly off-white or yellowish. It won’t change the taste much, but for show-stopping cookies, clear vanilla is the way to go!
How to Prepare the Royal Icing Recipe with Meringue Powder
Now for the fun part—mixing it up! This process for our royal icing recipe with meringue powder is so fast once you get the rhythm down. Remember to use that paddle attachment on your mixer, not the whisk! The paddle gives us the density we are aiming for.
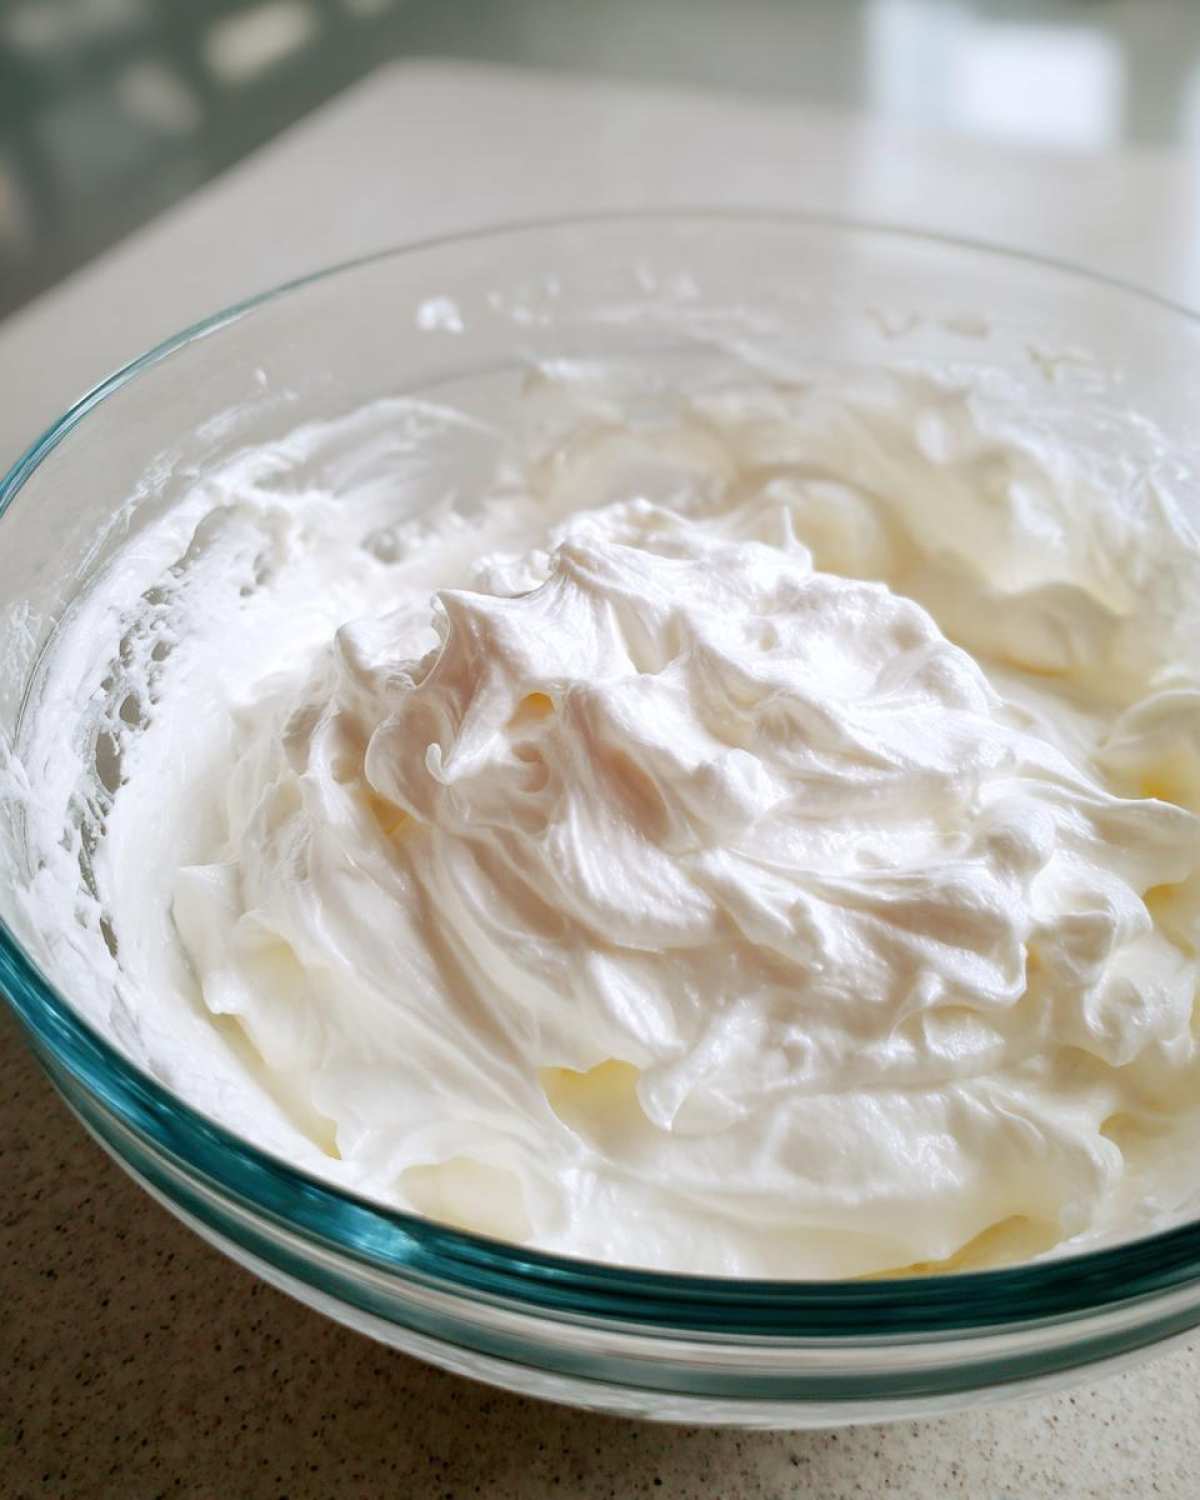
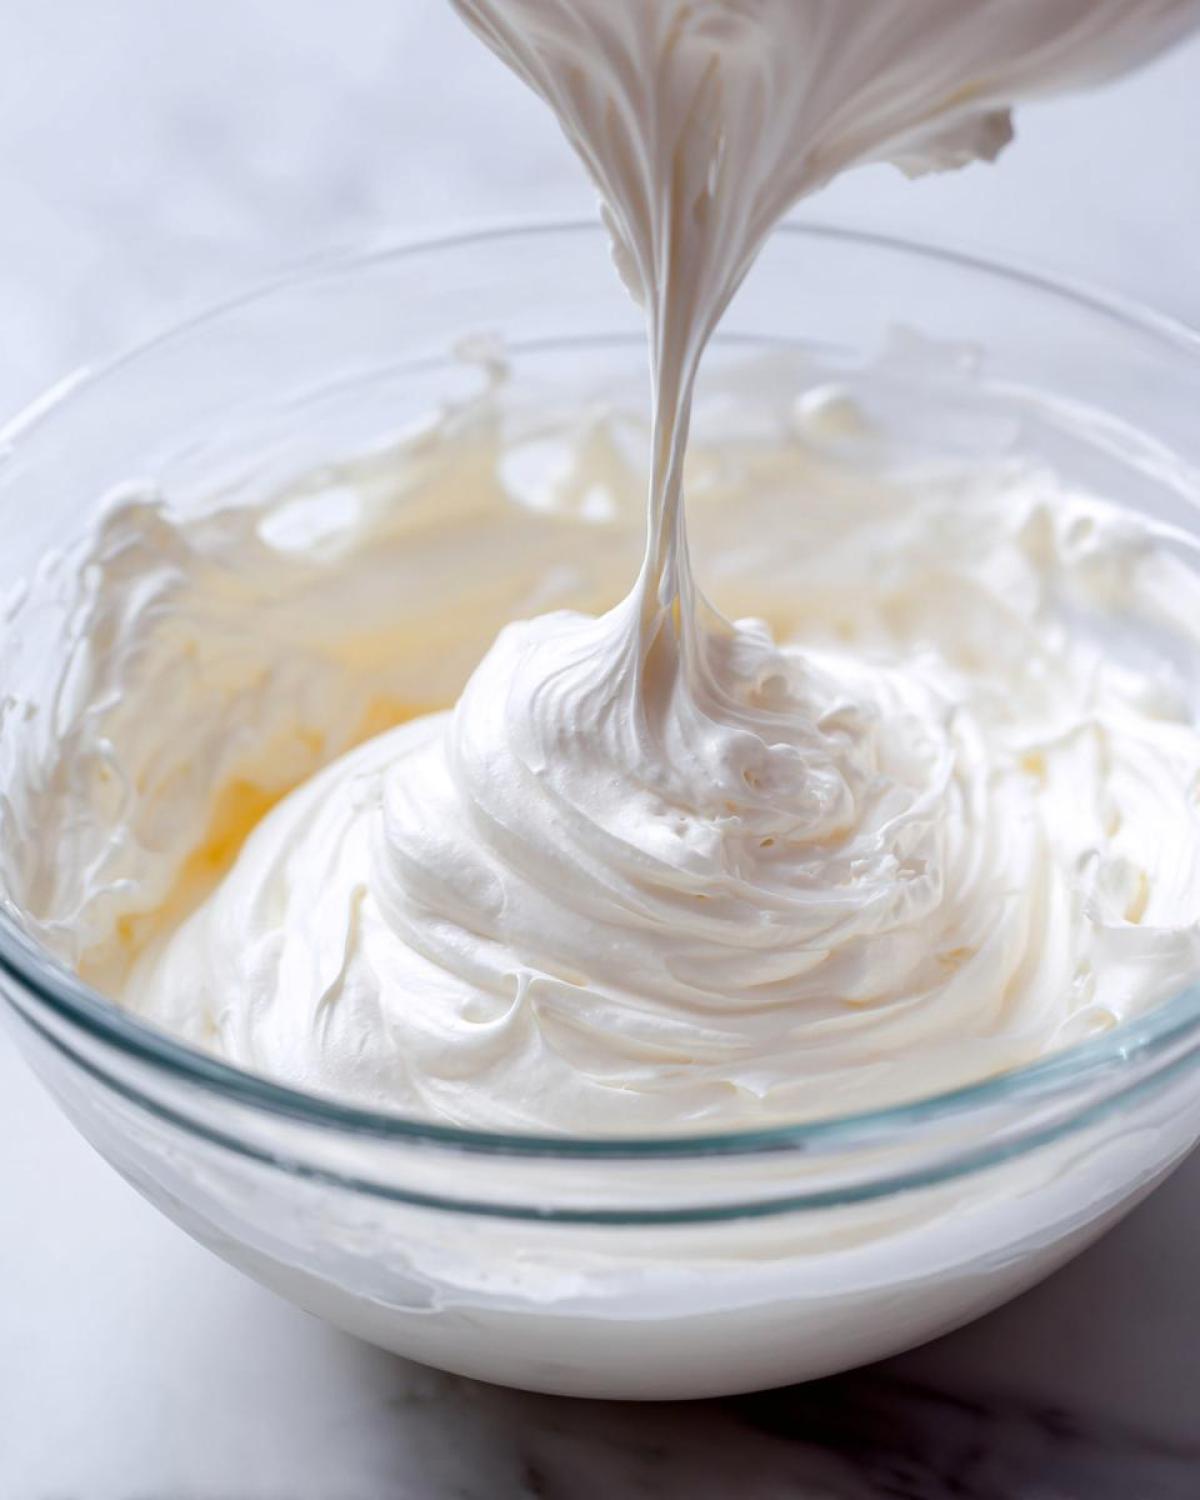
First, get the sifted sugar and meringue powder whisked together dry. Then, pour in your warm water and vanilla. Start slow on low speed until it all just comes together—I mean it, *slowly*, or you’ll have a sugar cloud floating through your kitchen! Once it looks combined, crank that mixer up to medium-high. You have to beat this for a solid 5 to 7 minutes. Don’t skimp! You’re waiting for it to turn seriously stiff, brilliantly white, and beautifully glossy. That’s the sign you’re ready to decorate.
Achieving Smooth Royal Icing Tutorial Consistency
Once you hit that stiff, glossy stage, you have your base consistency, which is perfect for outlining edges. But you know we need multiple consistencies for a full smooth royal icing tutorial session, right? If you need to flood a cookie, you just need to thin it out a tiny bit.
Be extremely patient here: add water one teaspoon at a time. Seriously, a single teaspoon can change things fast! For flooding, you’re looking for that perfect pour where it settles back into itself in the bowl in about 10 to 15 seconds. Too thick and it won’t spread; too thin and it runs right off the edge of your cookie. It takes practice, but this base recipe makes getting that perfect flow so much easier!
Tips for Success with Your Perfect Cookie Icing Recipe
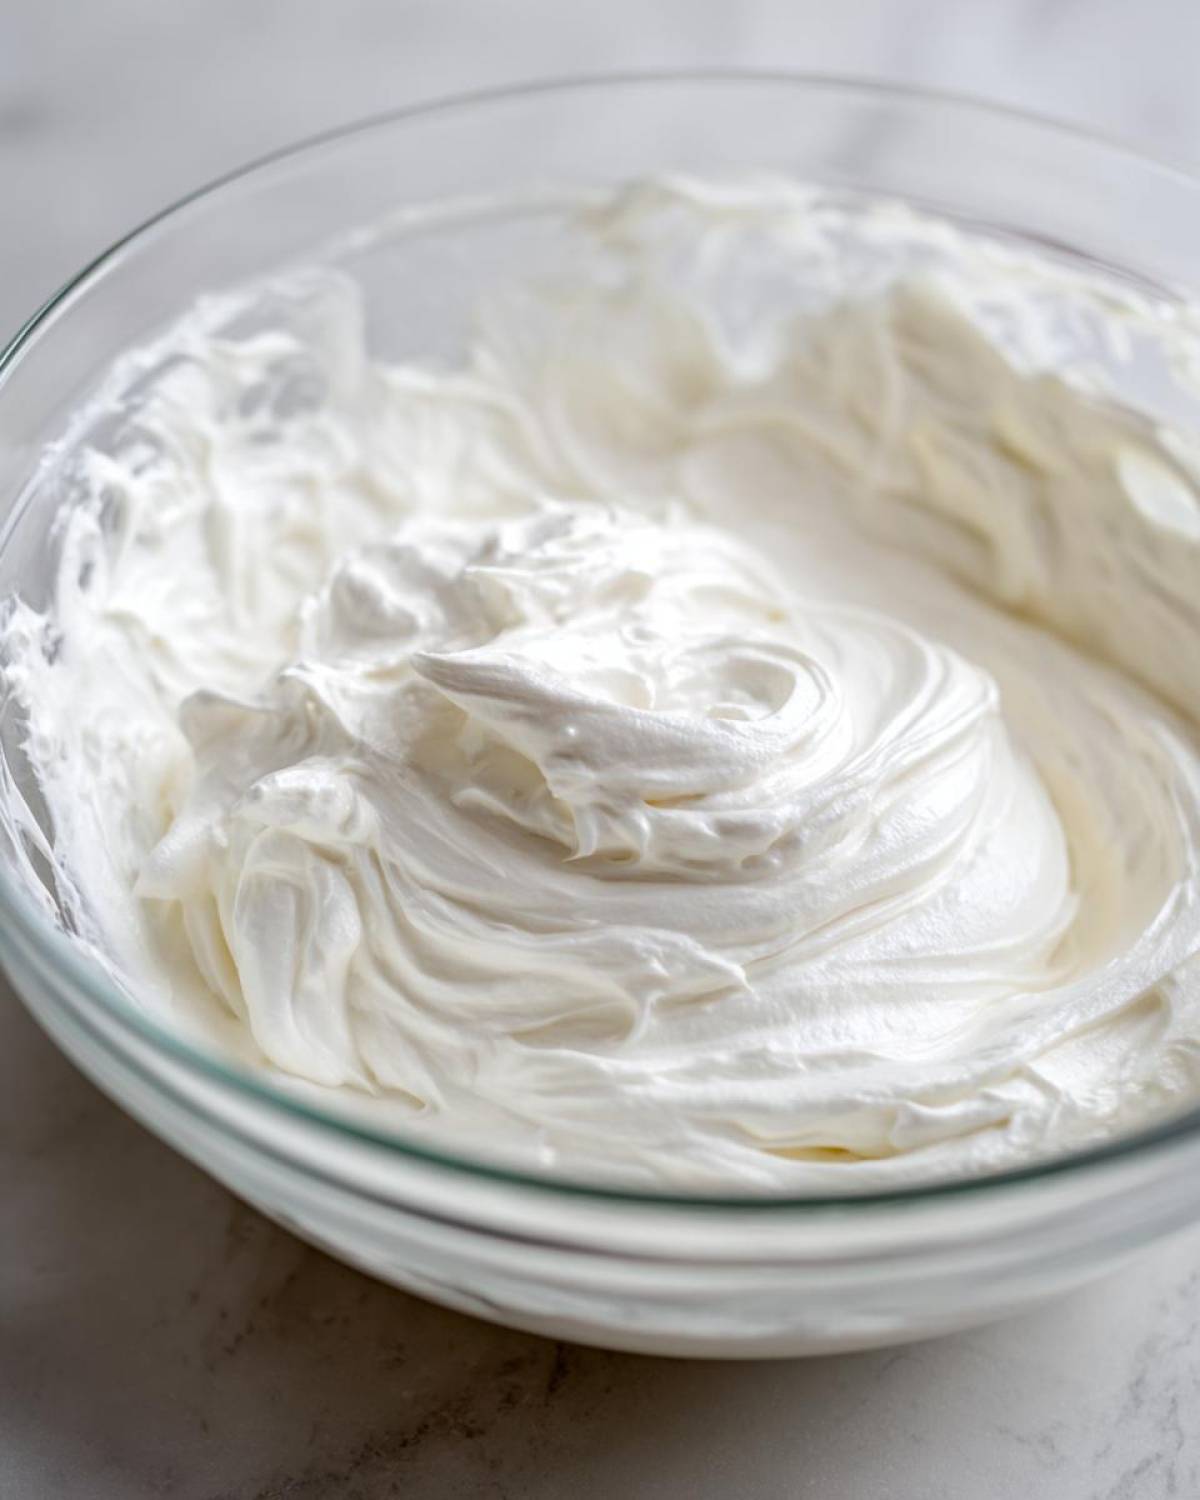
Getting this perfect cookie icing recipe to work flawlessly after all that mixing boils down to a couple of tiny, but mighty, habits. First, I cannot stress this enough: SIFT your confectioners’ sugar! If you skip that, you’ll spend the next ten minutes crushing lumps while your icing is supposed to be setting up. It is absolutely worth the extra sweep of the sifter.
Also, once you hit that perfect glossy stiffness, stop mixing! Over-beating can actually whip in too much air where you don’t want it, leading to bubbly surfaces later on. When you’re done, you need to cover this icing *immediately*. If you are storing it, plastic wrap touching the surface is non-negotiable. Any air trapped between the wrap and the icing means that beautiful surface will skin over and harden prematurely. Don’t let that happen!
Troubleshooting Common Issues with this Royal Icing Recipe
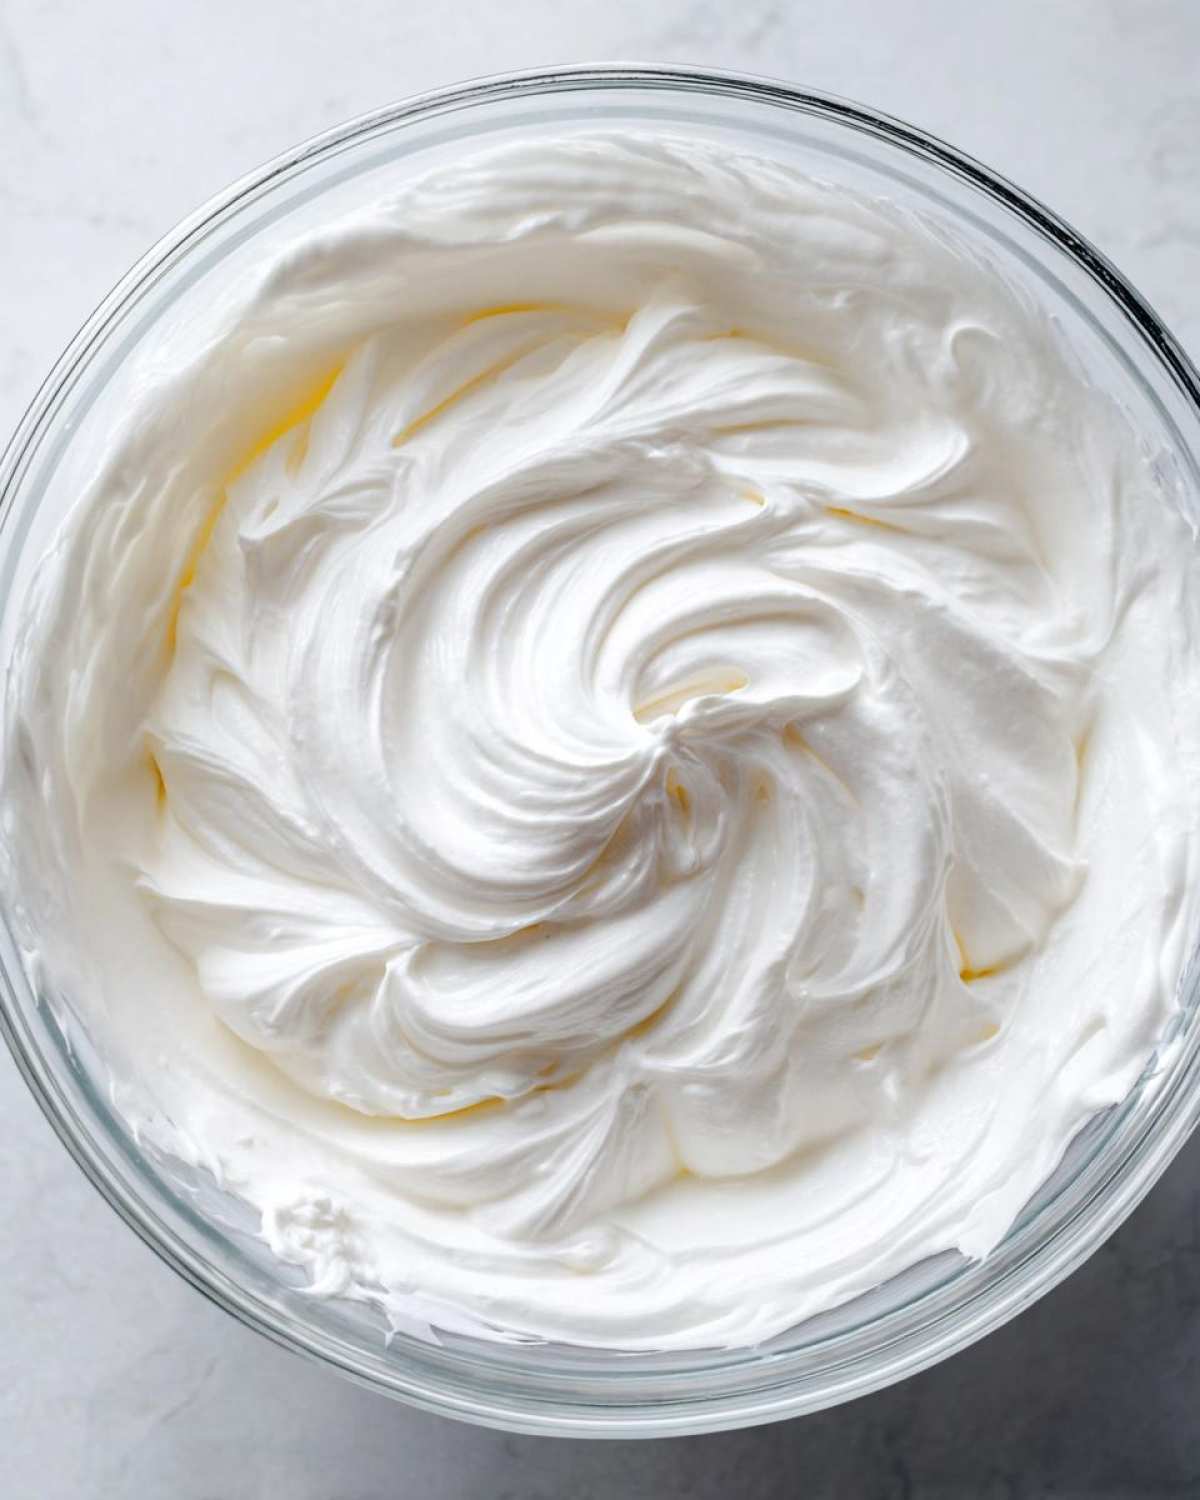
Even with the best setup, sometimes the icing doesn’t behave exactly as planned. Don’t panic or throw it out! This is normal when working with sugar and humidity. This dependable royal icing recipe is usually very forgiving, but knowing these quick fixes saves your decorating session.
We’ve all been there: you’re ready to go, but the icing is just… wrong. Here are the three biggest headaches and what I do to fix them instantly.
Icing is Too Thin (More like soup than icing!)
This usually happens when the kitchen is humid, or you added just a smidge too much water when trying to reach flooding consistency. If you were aiming for outlining stiffness and it’s running everywhere, the fix is super easy: just add more sifted confectioners’ sugar!
Add it slowly—maybe just a quarter-cup at a time—and mix it in gently at first. You want to bring it back up to that perfect stiff peak where it holds its shape when you lift your mixer attachment. It’s much easier to thicken icing than it is to un-thin it!
Icing is Too Thick (It won’t pipe or spread!)
This is generally easier to fix than icing that’s too thin! If your outlining consistency is so stiff it’s cracking, or if your flood icing is barely moving, it just needs a little hydration. Remember how I told you to add water one teaspoon at a time? Now we are paying for not listening to that advice!
Grab a clean spoon and add water, one *teaspoon* at a time, mixing well after each addition. If you need to adjust a whole batch, start with half a teaspoon, mix it thoroughly, check the flow, and keep adding the tiniest amounts until it flows right off the spoon and smooths itself out in about 10 seconds. Remember, slow and steady wins the race here!
Icing Isn’t White Enough or Lacks the Glossy Look
If your icing looks dull or slightly gray when it should be bright white, you’ve probably skipped sifting, or you might have used standard vanilla extract instead of clear vanilla. If it’s the color, sadly, the easiest fix is to make a small new, concentrated batch using only sifted sugar and clear vanilla, and then slowly mix that white batch into your main batch.
For the gloss, that comes almost entirely from enough mixing time. Make sure you’re beating it on medium-high for that full 5 to 7 minutes until it looks genuinely whipped and shiny. If you don’t beat out the air bubbles hiding the gloss, it will often dry out looking chalky instead of dazzling.
Storage and Reheating Instructions for Royal Icing
If you’re anything like me, you probably make a huge batch of icing because you’re planning to decorate for days! The good news is that this sturdy vanilla royal icing recipe keeps really well, which is another win for using meringue powder instead of fresh eggs.
You can definitely keep this icing at room temperature, which is so convenient. Just make sure it’s stored in a truly airtight container. I mean it—put plastic wrap directly onto the surface of the icing so absolutely no air touches it, and then secure the lid tightly. Kept like this, it should stay fresh and perfectly usable for up to two weeks. I usually make a big batch for a week’s worth of cookie decorating!
Now, what happens if you pull it out after a week, and it seems a little stiffer than when you put it away? That’s totally normal! It’s just absorbed a tiny bit of air or dried ever so slightly on the edges. Don’t panic and think you need a whole new batch!
Reviving Stiff Royal Icing
Fixing stiff icing is so simple it barely counts as a step. If your icing looks a bit thick, grab a clean measuring spoon and add maybe half a teaspoon of water—no more to start! Then, you need to re-whisk it, but gently for the first few seconds until the water incorporates. If you still need more give, add water drop by drop until it flows exactly the way you need it to for outlining or flooding.
This sturdiness is why I love it. It’s not just a great cookie icing; I use this exact base recipe for making little gingerbread house details or even sealing my holiday treat boxes. It sets up so reliably for all those construction projects where you need something that won’t droop!
Frequently Asked Questions About This Royal Icing Recipe
I know you probably have a million questions buzzing around since you’re ready to start decorating! That’s totally okay, because getting the hang of royal icing takes a little insider knowledge. This royal icing recipe is so reliable, but knowing these extra little tips just makes your life easier when those cookie orders start piling up!
How long does this icing that dries hard take to set completely?
Oh, the waiting game! This is where humidity plays a huge role, but generally, you’ll see a difference between your outlines and your flood layers. For the piping outlines, if you do them thick, they might firm up enough to touch in about an hour or two if the weather is dry. However, for that fully set, shatteringly hard coat that you can stack cookies with, you need to let the flood layers dry for a full 8 to 12 hours.
If it’s super rainy or humid where you live, I would just let them sit out overnight. Patience is a virtue when you want that **icing that dries hard** perfectly! I usually only move my decorated cookies once the next morning; that way, I know I haven’t smudged anything while trying to move them too soon.
Can I use this as a beginner royal icing guide?
Absolutely, yes! I designed this specific version with new decorators in mind. Because we are using meringue powder, you avoid all the anxiety that comes with handling raw egg whites. This recipe gives you immediate consistency control once you get the hang of adding those few drops of water. It truly is the ultimate beginner royal icing guide because it’s so stable and predictable. If you can measure powdered sugar, you can master this icing!
Can I color this royal icing recipe?
You bet! This base is wonderfully versatile. While we focused on vanilla for a clean look, coloring is so easy. You must use gel food coloring—liquid drops will throw off your carefully measured water ratio and ruin your consistency. Just add a tiny bit of gel color with a toothpick and repeat until you reach your shade.
Just remember one tiny thing: adding too much gel color can sometimes make the icing slightly thinner, so if you are darkening the color considerably, be prepared to add another tablespoon or two of sifted powdered sugar back in to keep that perfect stiff consistency for outlining. It’s all about balance!
Estimated Nutritional Data for this Royal Icing Recipe
Okay, so we all know that when you’re making pretty decorations for cookies, nutrition usually isn’t the top priority, right? Mostly, we are focused on how sparkly and perfect that finish is! But, since you deserve to know everything about this amazing royal icing recipe, here is the data breakdown.
Please keep in mind that royal icing is basically 100% sugar and meringue powder, so these numbers reflect that! These figures are just estimates based on the total volume of icing produced using the recipe ingredients. If you’re using your icing to cover a giant cookie versus a mini one, your personal *actual* intake will change!
- Serving Size: About 1/4 cup
- Calories: 400 (Yep, pure energy!)
- Sugar: 100 grams
- Sodium: 5 mg
- Fat: 0 grams
- Protein: 1 gram
- Carbohydrates: 100 grams
There’s really no fat or cholesterol in this recipe since we aren’t using butter or eggs, which is yet another reason why the meringue powder version is so wonderfully reliable for consistent results. Enjoy those beautiful, sweet decorations!
Share Your Royal Icing Recipe Creations
Now that you have this incredible, easy-to-master royal icing recipe in your toolkit, you absolutely HAVE to show off what you make! Seriously, I get such a thrill seeing how everyone applies this smooth icing to their cookies. Are you outlining intricate patterns? Are you flooding entire batches for a big family gathering?
I really hope this recipe made your decorating day easier and a lot less stressful! If you loved how hard and perfectly glossy your icing set up, please take a second and leave me a little note down below. A quick rating tells me this method is still working perfectly for everyone else, too.
And if you’re sharing your beautiful, professional-looking cookies on social media—please tag me! I live for seeing your vibrant colors and crisp edges. Tagging you back in my stories is my favorite way to say thank you for trying out my tried-and-true methods!
Happy decorating, and can’t wait to see what sugar masterpieces you create!
PrintEasy Royal Icing Recipe Using Meringue Powder

A simple recipe for smooth royal icing made with meringue powder that dries hard and glossy, perfect for decorating sugar cookies.
- Prep Time: 10 min
- Cook Time: 0 min
- Total Time: 10 min
- Yield: About 4 cups
- Category: Baking Decoration
- Method: Mixing
- Cuisine: American
- Diet: Vegetarian
Ingredients
- 4 cups confectioners’ sugar, sifted
- 3 tablespoons meringue powder
- 6 tablespoons warm water
- 1 teaspoon clear vanilla extract
Instructions
- Sift the confectioners’ sugar into a large mixing bowl.
- Add the meringue powder to the sifted sugar. Whisk briefly to combine dry ingredients.
- Add the warm water and vanilla extract to the bowl.
- Using an electric mixer with a paddle attachment, start mixing on low speed until the ingredients are just combined.
- Increase the speed to medium-high and beat for 5 to 7 minutes until the icing is very stiff, white, and glossy.
- If the icing is too stiff for your needs, add water one teaspoon at a time until you reach the desired consistency for outlining or flooding.
- Use immediately or cover tightly with plastic wrap pressed directly onto the surface to prevent drying.
Notes
- For outlining consistency, the icing should hold a soft peak when lifted.
- For flooding consistency, add a few more drops of water until the icing flows smoothly off the spoon and smooths out in the bowl within 10 to 15 seconds.
- Store unused icing in an airtight container at room temperature for up to two weeks.
Nutrition
- Serving Size: 1/4 cup
- Calories: 400
- Sugar: 100
- Sodium: 5
- Fat: 0
- Saturated Fat: 0
- Unsaturated Fat: 0
- Trans Fat: 0
- Carbohydrates: 100
- Fiber: 0
- Protein: 1
- Cholesterol: 0