

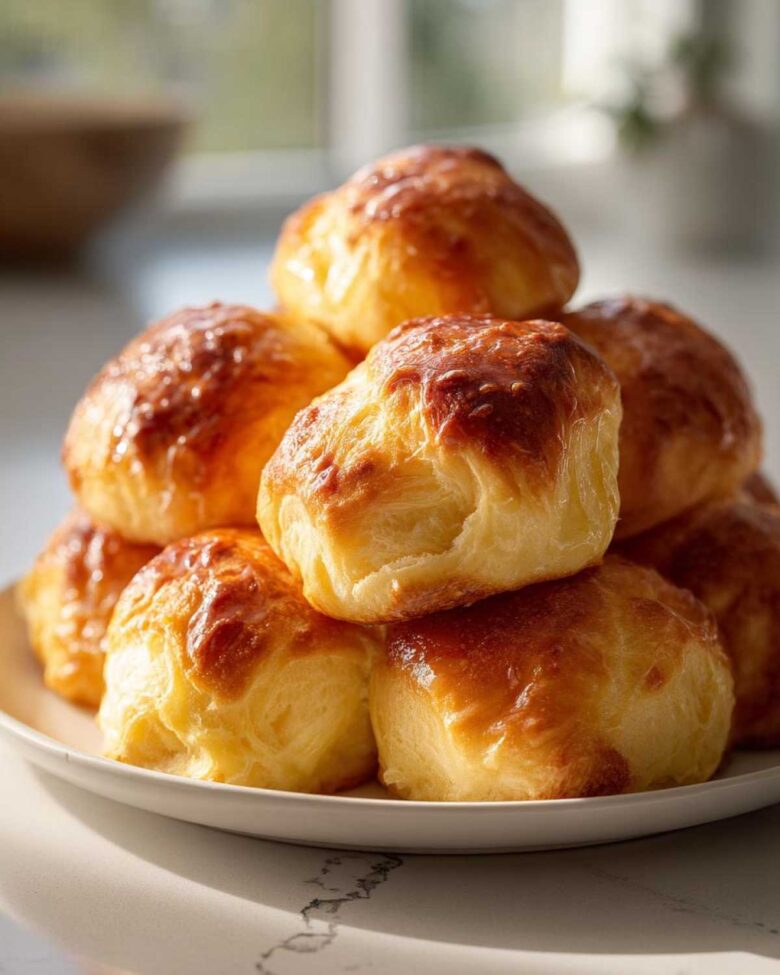
Oh my goodness, if there is one smell that instantly transports me back to Amina’s family kitchen in Lagos, it’s the scent of bread warming up. Forget those dry, sad, store-bought packets! We are talking about real comfort food here. I’m David, and Amina and I are absolutely thrilled to share what we believe are the ultimate soft, fluffy, and buttery dinner rolls you will ever bake. It took us a lot of trial and error after moving to the US to nail this recipe because, for us, this isn’t just a side dish; it’s a memory. These homemade yeast rolls are proof that baking from scratch doesn’t have to be a huge chore. You can read more about our journey and why food is our language over on our About Us page. Trust me on this one, you need these rolls in your life!
Why These Are The Best Homemade Dinner Rolls You Will Ever Make
I know every baker claims their rolls are the best, but these really are different. Store-bought or those boxed freezer kinds just can’t compete with the sheer cloud-like texture you get when you make dinner rolls from scratch. We’ve fine-tuned this classic recipe over years, making sure it knocks out the three things people crave: unbelievable softness, deep buttery flavor, and that satisfying feeling of having made them yourself.
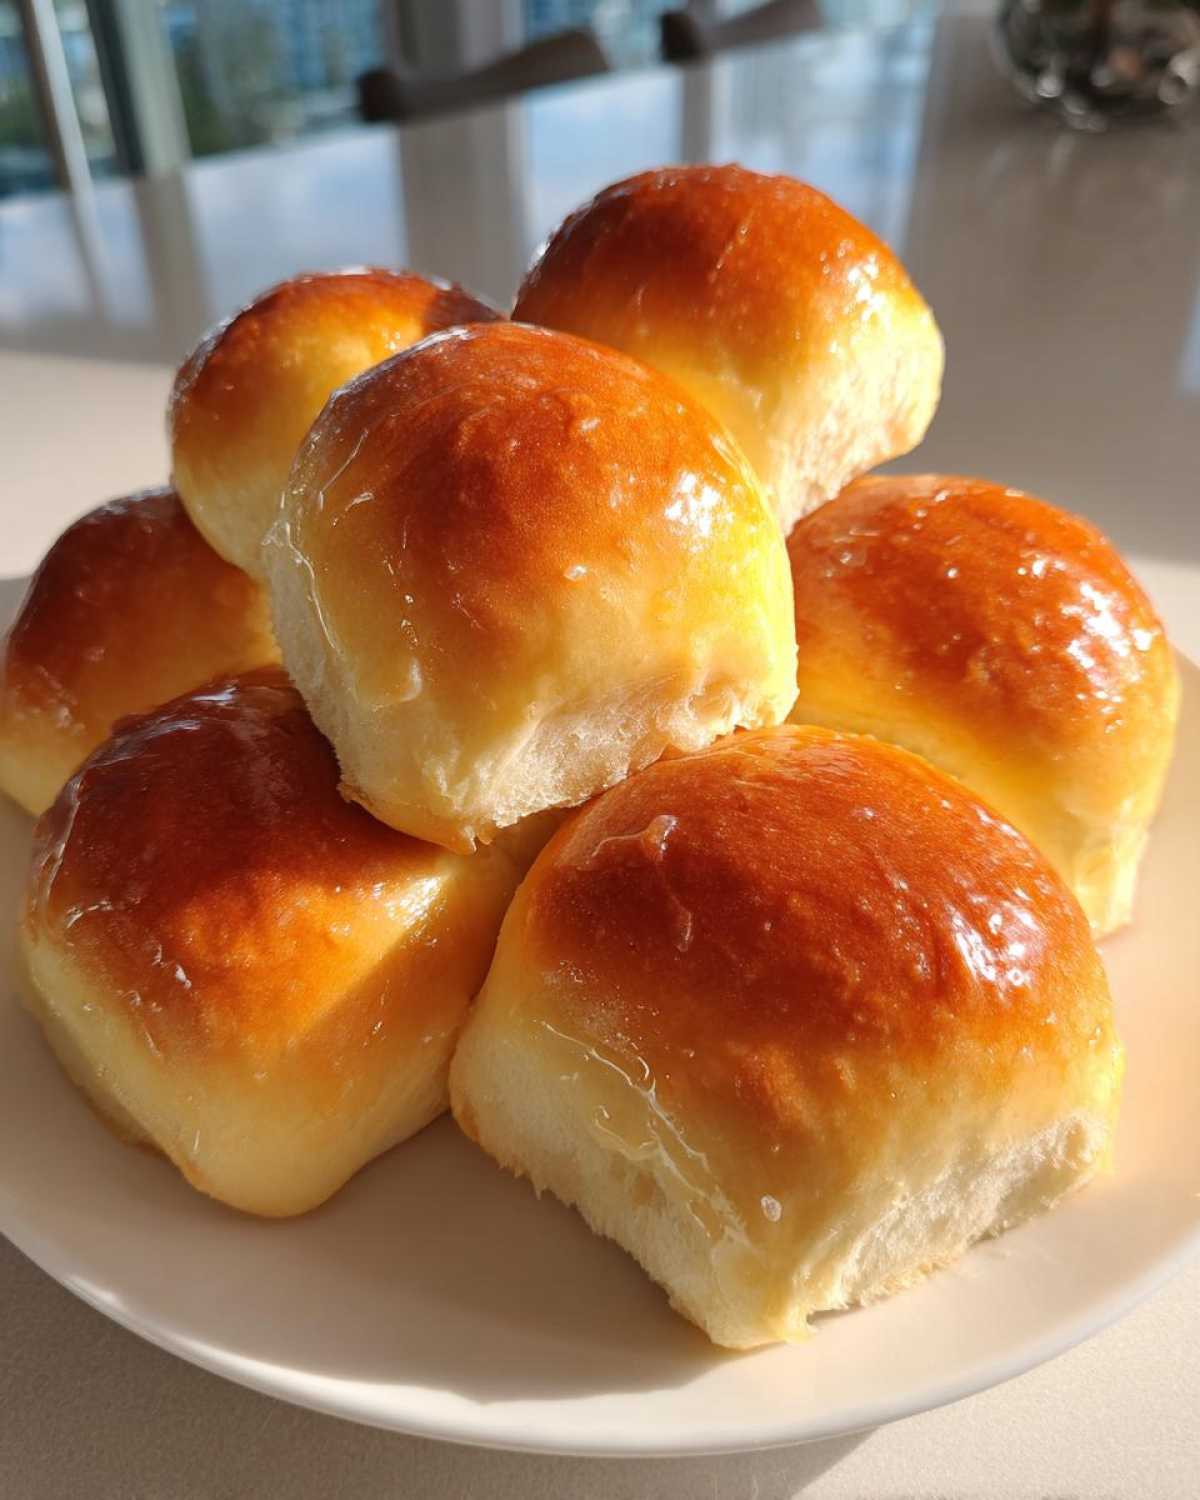
- They possess that signature buttery melt-in-your-mouth quality, far beyond what commercial dough offers.
- This Soft Dinner Rolls Recipe is surprisingly straightforward—no complicated pre-ferments needed!
- The result is truly the Best Homemade Rolls you’ll serve at your next big meal.
Achieving Fluffy Homemade Bread Texture
It all comes down to patience in two key spots. First, watch that yeast! If it doesn’t foam up nicely, you start over; that’s non-negotiable for a good rise. Second, kneading creates the structure. You aren’t just mixing; you’re building the gluten network that traps all that lovely gas. That’s the secret to that gorgeous, airy, Fluffy Homemade Bread texture. Once you master that, you’re golden. If you’ve ever had trouble with baking sides, check out my tips on our apple cobbler recipe—the rising concepts are similar!
Ingredients for Ultimate Soft and Fluffy Dinner Rolls
Okay, Amina always says the best things start simple, and that’s true for these dinner rolls. We don’t need a ton of wild stuff, just quality elements treated right. Make sure your milk is warm—not hot, just cozy for the yeast (aim for that 105 to 115°F sweet spot). Having your egg at room temperature really helps it blend in smoothly with the fatty liquids. The final butter brush is where we get that incredible, soft finish!
- Milk: 1 cup, warmed (it should feel comfortably warm, about 105-115°F)
- Yeast: 2 1/4 teaspoons active dry yeast
- Sugar: 1/4 cup granulated sugar
- Egg: 1 large, room temperature
- Butter: 1/4 cup unsalted, melted (plus the extra 1/2 cup for brushing later!)
- Salt: 1 teaspoon
- Flour: 3 1/2 cups all-purpose flour, plus extra for dusting
- Optional Finish: 1/2 cup melted butter, 1 teaspoon honey, 1/4 tsp cinnamon
Ingredient Notes and Substitutions for Your Dinner Rolls
Listen, the yeast activation is critical. If you skip warming the milk—if it’s too cold, your yeast sleeps; if it’s too hot, you kill it! You want to see that nice foamy cap after 5 minutes. Also, don’t skimp on the butter for the final brush; that’s what gives you that signature rich taste. While you *can* use instant yeast in a pinch, you just skip the waiting period and mix it right in with your dry stuff. But for these buttery yeast rolls, I really prefer the active dry method!
Step-by-Step Instructions to Make Perfect Dinner Rolls
Alright, bread makers, this is where the magic happens! We are following the list almost exactly because, for yeast doughs, consistency is everything. Don’t rush the mixing, and for goodness sake, find a nice warm spot for these beauties to grow. If you want those light, airy pockets that scream ‘Buttery Yeast Rolls,’ you have to give the yeast time to do its job! This process is straightforward, but timing matters. You’ll want to be careful with hydration; it’s easy to add too much flour, which kills the softness we are looking for.
Activating Yeast and Mixing the Buttery Yeast Rolls Dough
First up, proofing the yeast! Pour that warm milk—remember, 105°F to 115°F—into your bowl, sprinkle the yeast and a teaspoon of sugar on top. Wait about 5 to 10 minutes. If you see a thick, creamy foam gathering on the top, you’re good to go! If it looks flat, the milk was likely too hot or too cold, and we have to restart that step. Once foamy, whisk in your remaining sugar, that room-temp egg, the first portion of melted butter, and the salt. Then, slowly incorporate the flour until everything comes together into a shaggy mess. Don’t panic yet; this messy dough is the start of fantastic dinner rolls.
The Rising Process for Perfectly Risen Rolls
Once you’ve kneaded for about 7 minutes until the dough feels smooth and springs back when you poke it—that’s an Amina technique to check the gluten strength—it’s time for the first rest. Oil your bowl, cover it tight, and find a nice warm corner. We are looking for it to fully double in size, which usually takes an hour. After you punch it down gently and shape your rolls into those lovely little spheres, they need a second nap. Cover them loosely and let them sit until they are puffy and almost touching in the pan. These little pillows are what give us those Perfectly Risen Rolls every single time! If you’re interested in making things ahead of time for a busy day, check out our guide on overnight prep; the principle of letting things rest applies here too!
Creating Texas Roadhouse Style Rolls: The Buttery Finish
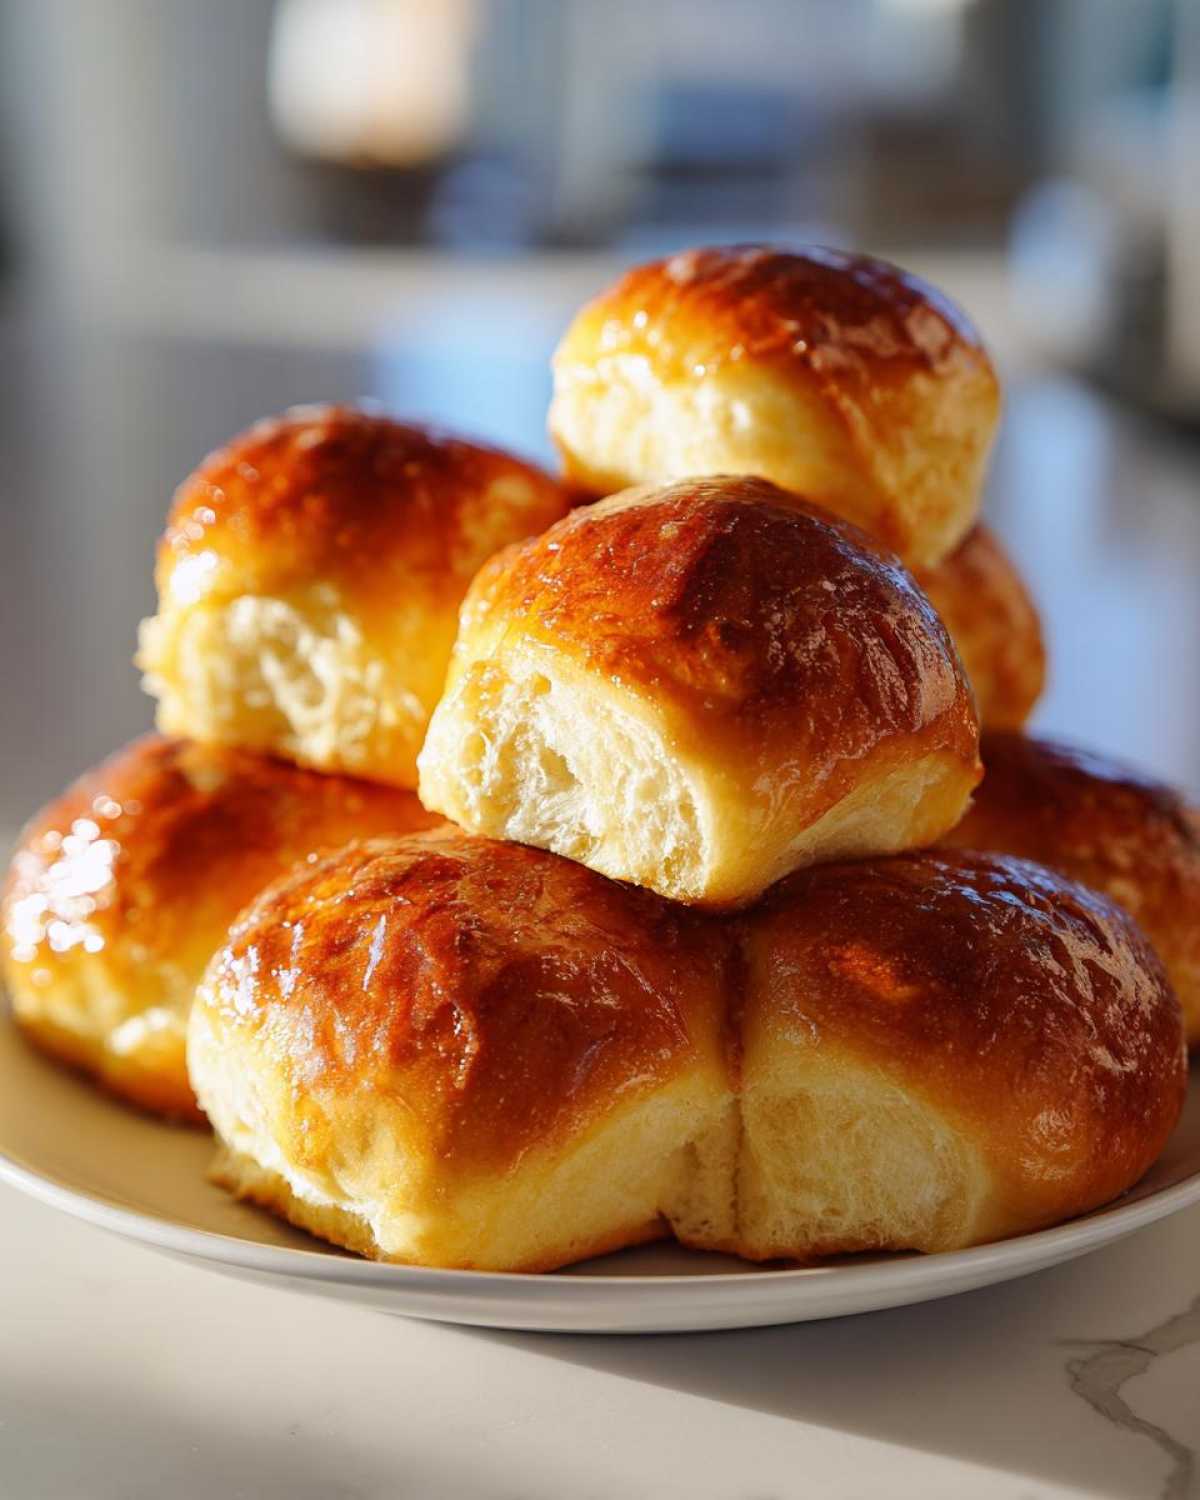
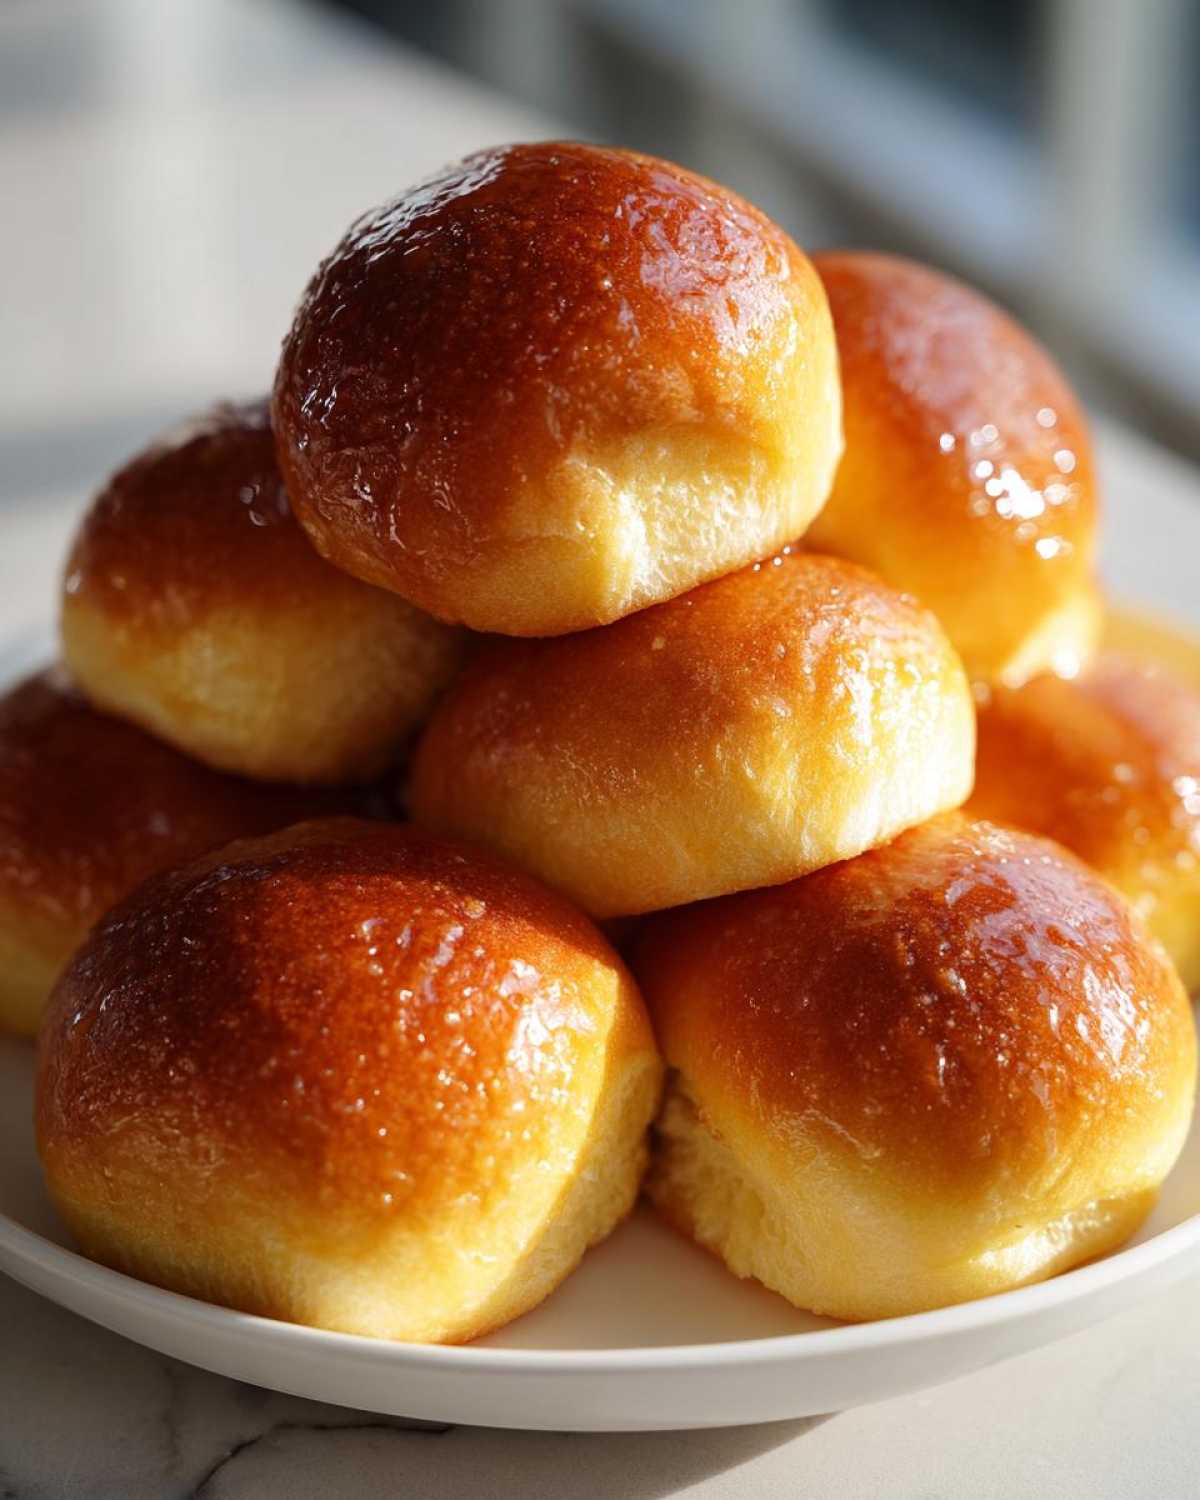
Now, I know many of you are secretly hoping these taste just like those famous restaurant rolls, and I am here to deliver! This final step is our secret sauce for that irresistible, slightly sweet, golden crust that makes everyone reach for seconds. Seriously, this is the key to nailing that Texas Roadhouse Style Rolls Copycat vibe. As soon as those rolls come out of the oven golden brown, you *must* move fast.
Take that remaining melted butter—the half cup you melted specifically for brushing—and pour it right over the hot tops. Don’t be shy! For that extra layer of sweet comfort, mix in just one teaspoon of honey and a tiny pinch of cinnamon, then brush that glorious mixture all over the tops. The residual heat melts the topping right into the crust. This makes them tender and slightly sweeter than our classic batch. If you love brushing flavor onto warm baked goods, you’ll adore the glaze technique we use on our maple cookies!
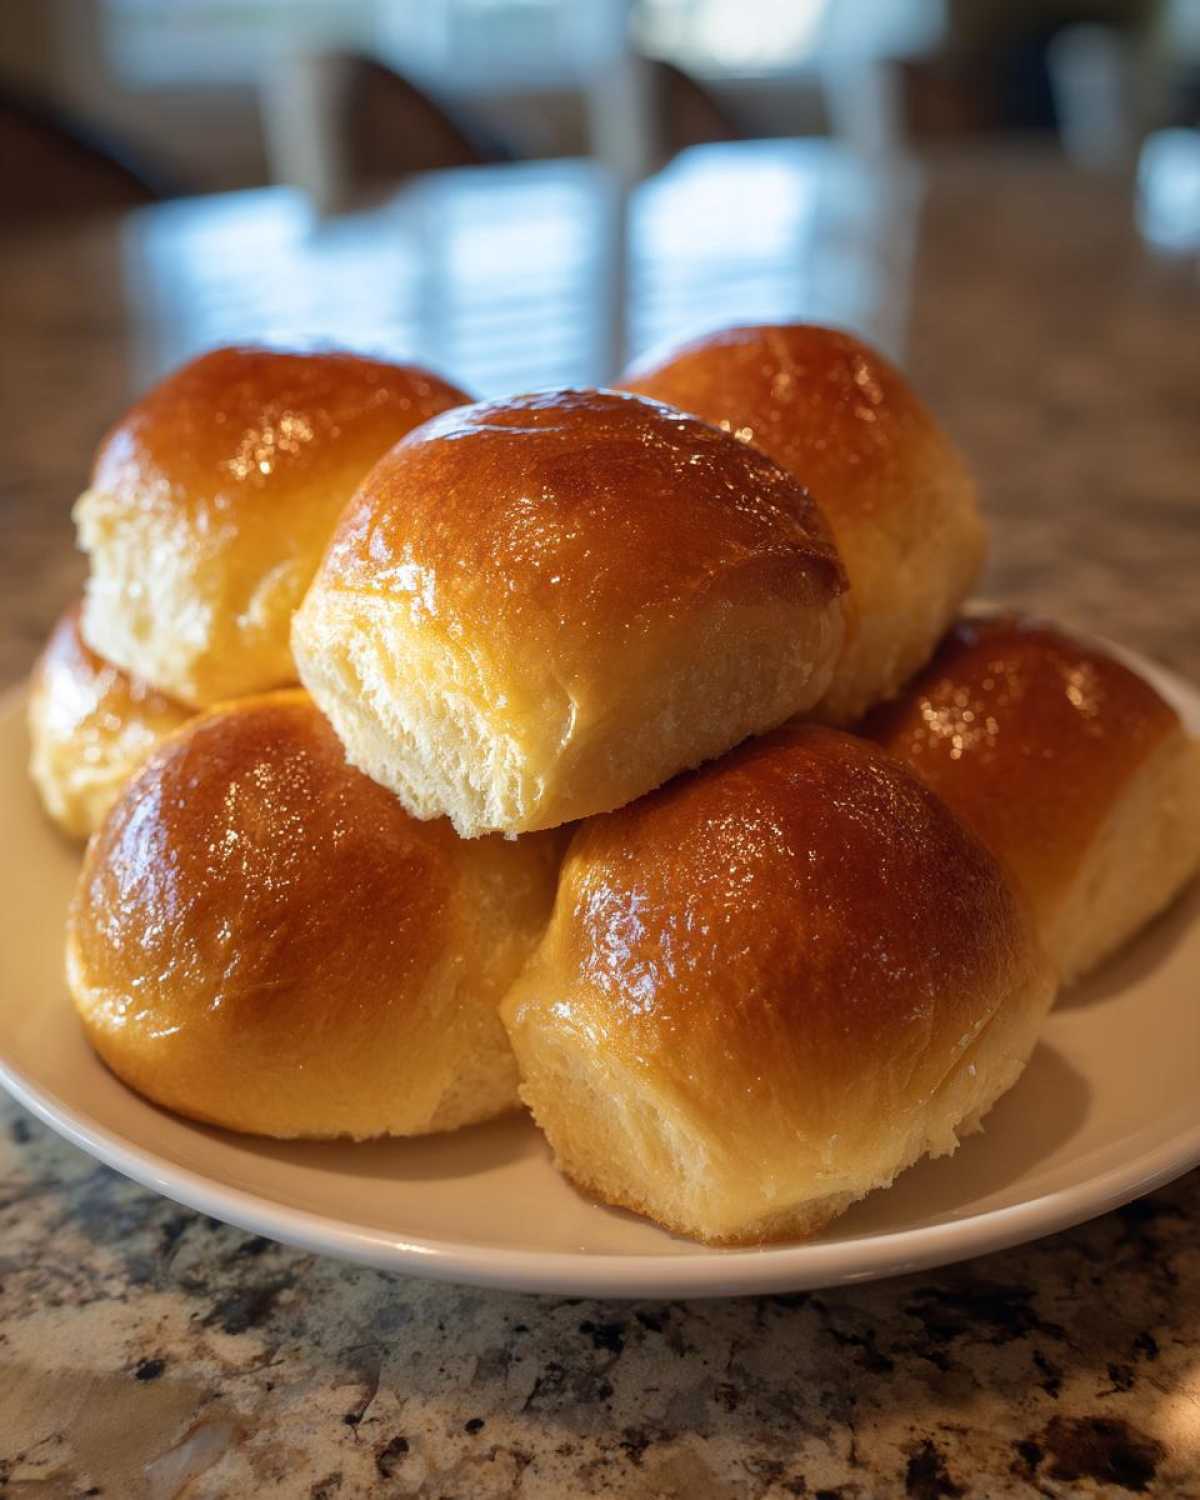
If you want to see how another fantastic blogger tackles that specific savory-sweet finish, you can check out their detailed technique right here. Honestly, these rolls are best served warm, but if you can hold off until they cool down enough not to burn your mouth, you’ve got more willpower than me!
Tips for Success with Your Dinner Rolls Recipe
Baking with yeast can sometimes feel like walking a tightrope, right? You want these dinner rolls to be pillowy, and sometimes the humidity in our kitchen here in the States makes the dough behave completely differently than it did back in Lagos! My biggest tip is to adjust your flour measurement slightly if you’re in a humid spell; the dough should feel soft but not sloppy when you knead it. Don’t feel like you have to dump the whole 3 1/2 cups in at once!
Also, please, please do not overbake them! They go from perfectly golden to slightly dry in a heartbeat. That beautiful golden color right when they come out is your cue. If you want to make sure you remember how we achieved that perfect texture, I wrote down some notes on how I handle my chewy cookies; sometimes the principles of baking are universal!
Making Old Fashioned Dinner Rolls Ahead of Time
This is a lifesaver, especially when you’re juggling holiday cooking! If you’ve finished shaping your rolls, but you aren’t ready to bake them yet, don’t fret. You can absolutely plan ahead. After placing them in the pan for that second rise, cover that pan tightly and stick it right in the fridge. They can take a nice, slow chill for up to 12 hours. Just remember, baking them straight from the fridge means you’ll need about 5 to 10 extra minutes in the oven so they cook all the way through. These Old Fashioned Dinner Rolls are perfect for letting all those flavors meld overnight!
Variations for Your Homemade Dinner Rolls
Part of the fun of learning to bake something foundational like these dinner rolls is playing around once you’ve mastered the basics. Amina loves seeing how we can switch things up without messing up that soft, buttery texture we worked so hard to achieve! Once your rolls are shaped but before the final rise, you have lots of room to customize. Trust me, you won’t need to go back to the store-bought plastic bags once you explore these options.
If you want something savory for dipping into soup—oh, you have to try adding garlic! You can quickly whip up a simple garlic butter and brush it on just before baking, or even mix some dried herbs into that final butter brush. It turns them into something closer to a Garlic Butter Rolls Recipe. For the sweet tooth crowd, a sprinkle of coarse sugar on top before the last rise gives you wonderful Sweet Dinner Rolls as they bake.
Speaking of savory, if you want an easy dipping sauce to go along with your bread, you absolutely must check out our ultra-easy five-minute garlic aioli. It takes two minutes and is the perfect partner for these warm rolls!
Storage and Reheating Instructions for Leftover Dinner Rolls
Look, these dinner rolls are so good, you might actually have leftovers—though I doubt it! If you do, keep them airtight, like in a sturdy zip-top bag on the counter, for up to three days. They will start to firm up a bit, but don’t worry, we bring them right back to life! They make for an amazing easy side bread for weeknights.
The absolute best way to revive them is in a low oven—maybe 300°F for about 5 to 7 minutes. That gives them back their soft texture. If you are in a panic and need one roll *now*, a quick zap in the microwave (about 10 seconds) works, but it crisps them up faster. If you’re making my beans and rice later in the week, just save the rolls for that!
Frequently Asked Questions About Making Dinner Rolls
We get so many great questions every time we post about baking bread, and that’s wonderful! I love hearing from you all. Figuring out the little kinks in your first batch is part of the journey, especially when chasing that perfect fluffy bread. Here are a few things I hear often about making dinner rolls.
Why didn’t my dinner rolls rise properly?
Nine times out of ten, this comes down to the yeast or the environment. Did you check your water temperature? If it was too hot, you killed it. If it was too cool, it slept through the whole process! Also, make sure your kitchen isn’t freezing cold. Yeast thrives in warmth for that first big proof. If you bake in a cold room, try warming your oven briefly (just turn it on and off quickly to take the chill out) then turn it off before putting the covered bowl inside. Keep aiming for that double in size!
Can I skip kneading if I use a stand mixer?
You absolutely can leverage the power of a stand mixer fitted with the dough hook! I still like to knead by hand for a few minutes just to “feel” the dough—it’s very meditative—but the mixer will do the heavy lifting. You knead until the dough clears the sides of the bowl and passes the windowpane test, which means you can stretch a small piece thin enough to see light through it without tearing. That elasticity is what makes these such soft dinner rolls!
Can I use bread flour instead of all-purpose flour?
Yes, you can! Bread flour has a higher protein content, which generally leads to a slightly chewier, less melt-in-your-mouth texture. If you want the softest possible result, stick with the all-purpose flour called for in the recipe, as it keeps the crumb tender. However, if bread flour is all you have for these yeast roll recipes, use it, but maybe reduce the kneading time slightly!
How do I get that shiny, perfect crust without the honey finish?
That golden sheen is thanks to the final generous brushing of melted butter immediately out of the oven. If you skip the optional honey mixture, just brush on that pure melted butter—it seals in the moisture and gives you a beautiful gloss. Sometimes if the oven is too hot, the butter burns before the rolls are cooked, so keep an eye on that 375°F. For more baking wisdom, feel free to browse my general baking posts here!
Serving Suggestions for These Fluffy Homemade Bread Rolls
Honestly, these rolls are amazing just pulled apart hot from the pan with a generous smear of salted butter—that’s my go-to way to test if they came out right! They truly elevate any meal, bringing that classic Comfort Food Baking feeling to your table. They are non-negotiable at our Thanksgiving and Christmas dinners, but they are sturdy enough for everyday use too.
They soak up delicious gravy better than any store-bought version you’ll find. If you’re making something liquidy or stew-like, these are your best friend. If you want a really comforting meal to go with your fresh-baked bread, try my recipe for cowboy soup—it’s hearty and wonderful for dipping!
Serving Suggestions for These Fluffy Homemade Bread Rolls
Honestly, these rolls are amazing just pulled apart hot from the pan with a generous smear of salted butter—that’s my go-to way to test if they came out right! They truly elevate any meal, bringing that classic Comfort Food Baking feeling to your table. They are non-negotiable at our Thanksgiving and Christmas dinners, but they are sturdy enough for everyday use too.
They soak up delicious gravy better than any store-bought version you’ll find. If you’re making something liquidy or stew-like, these are your best friend. If you want a really comforting meal to go with your fresh-baked bread, try my recipe for cowboy soup—it’s hearty and wonderful for dipping!
PrintThe Ultimate Soft and Fluffy Homemade Dinner Rolls (Classic Buttery Recipe)
Bake incredibly soft, fluffy, and buttery dinner rolls from scratch. This classic yeast roll recipe is easy to follow and yields perfect results every time, making them better than store-bought options for your family meal or holiday table.
- Prep Time: 20 min
- Cook Time: 20 min
- Total Time: 1 hour 40 min
- Yield: 12 large rolls
- Category: Side Dish
- Method: Baking
- Cuisine: American
- Diet: Vegetarian
Ingredients
- 1 cup warm milk (105-115°F)
- 2 1/4 teaspoons active dry yeast
- 1/4 cup granulated sugar
- 1 large egg, room temperature
- 1/4 cup unsalted butter, melted
- 1 teaspoon salt
- 3 1/2 cups all-purpose flour, plus more for dusting
- 1/2 cup (1 stick) unsalted butter, melted, for brushing
- 1 teaspoon honey (optional, for Texas Roadhouse style finish)
- 1/4 teaspoon ground cinnamon (optional, for Texas Roadhouse style finish)
Instructions
- Activate the yeast: Pour the warm milk into a large bowl. Sprinkle the yeast over the milk and add 1 teaspoon of the sugar. Let it stand for 5 to 10 minutes until foamy. This shows your yeast is active.
- Mix wet ingredients: Whisk the remaining sugar, the egg, and the 1/4 cup of melted butter into the yeast mixture. Add the salt.
- Combine dry ingredients: Gradually add the flour, one cup at a time, mixing until a shaggy dough forms.
- Knead the dough: Turn the dough out onto a lightly floured surface. Knead for 6 to 8 minutes until the dough is smooth and elastic. It should be soft but not sticky.
- First rise: Place the dough in a lightly oiled bowl, turning to coat. Cover the bowl with plastic wrap or a clean kitchen towel. Let the dough rise in a warm spot for 1 to 1.5 hours, or until doubled in size.
- Shape the rolls: Gently punch down the risen dough. Divide the dough into 12 equal pieces for large rolls or 18 pieces for smaller rolls. Roll each piece into a smooth ball.
- Second rise: Arrange the dough balls in a greased 9×13 inch baking pan, leaving a small space between each roll. Cover the pan loosely and let the rolls rise again for 30 to 45 minutes, or until puffy.
- Preheat and bake: Preheat your oven to 375°F (190°C). Bake the rolls for 15 to 20 minutes, or until they are golden brown on top.
- Brush with butter: Immediately after removing the rolls from the oven, brush the tops generously with the remaining 1/2 cup of melted butter.
- Optional Texas Roadhouse Finish: For a sweet, buttery topping, mix the optional honey and cinnamon into 2 tablespoons of the melted butter and brush this mixture over the hot rolls.
- Serve warm: Let the rolls cool slightly before serving warm. These are the best homemade rolls you will make!
Notes
- For quick dinner rolls, you can sometimes reduce the second rise time, but do not rush the rising process if you want truly fluffy bread.
- If you need make ahead dinner rolls, you can refrigerate the shaped rolls (after the second rise) for up to 12 hours. Add 5-10 minutes to the baking time if baking directly from the refrigerator.
- These rolls freeze well after baking. Cool completely, place in an airtight container, and freeze for up to three months. Reheat in a warm oven.
Nutrition
- Serving Size: 1 roll
- Calories: 180
- Sugar: 4
- Sodium: 180
- Fat: 7
- Saturated Fat: 4
- Unsaturated Fat: 3
- Trans Fat: 0
- Carbohydrates: 26
- Fiber: 1
- Protein: 4
- Cholesterol: 25