

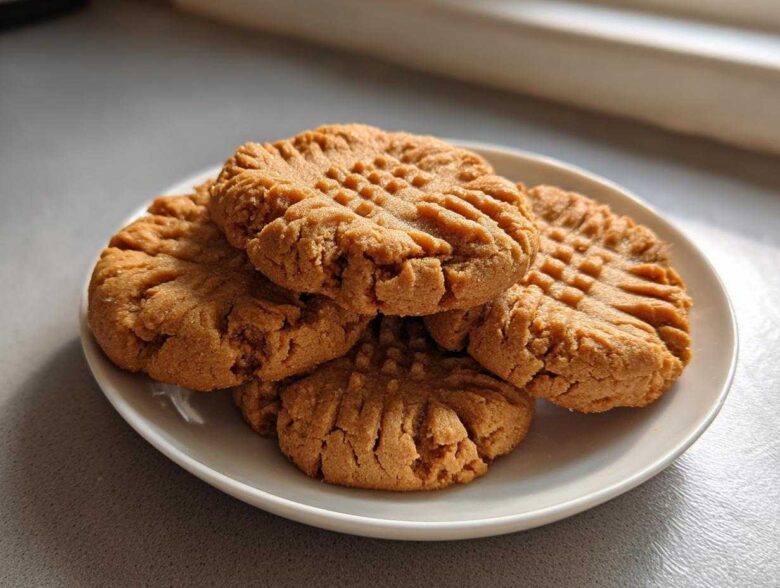
Oh, the smell of peanut butter baking—it instantly takes me back! When I picture those classic cookies David and I share, I’m instantly transported back to my grandmother’s kitchen. She made them whenever the mood struck, and they always had that *perfect* bite: edges just slightly crisp, giving way to a wonderfully soft, melt-in-your-mouth center. These **peanut butter cookies** aren’t just another recipe; they hold the sweet weight of memory for me. We worked hard to nail down the exact ratio of sugars and fats to make sure you get that famous texture every single time, no guessing required.
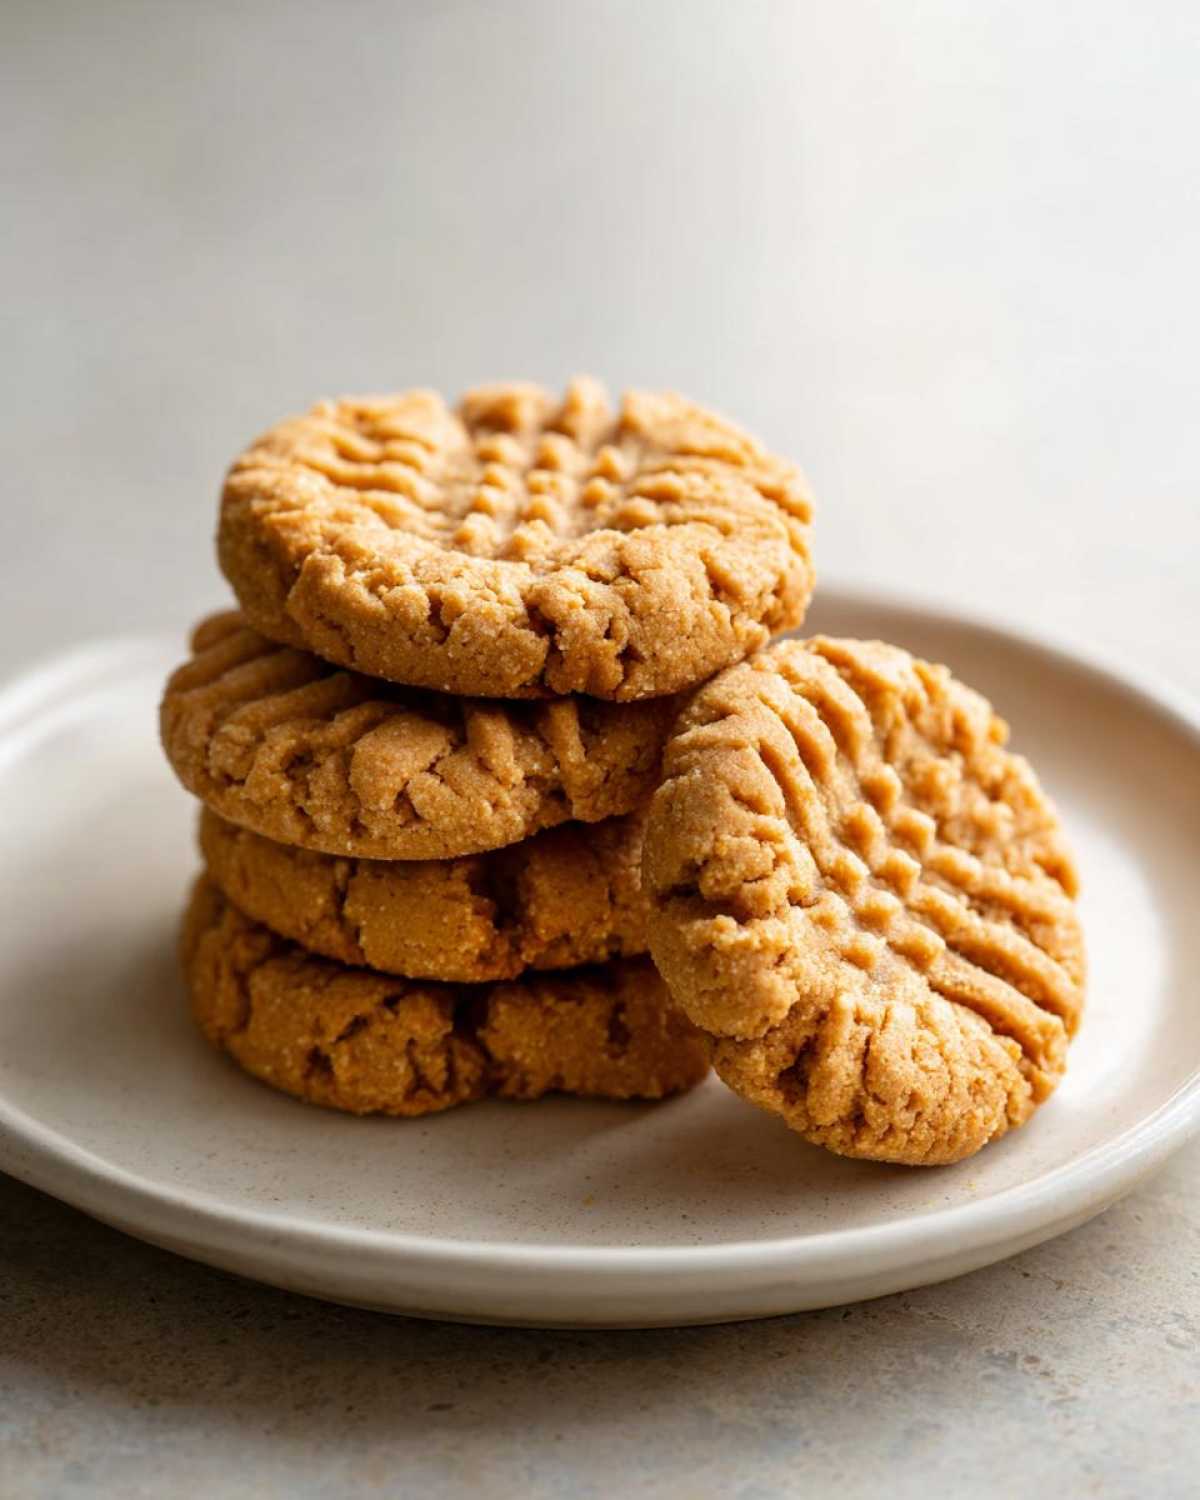
If you’ve been hunting for that quintessential, nostalgic cookie—the one that feels like a warm hug—you’ve absolutely found it here on Spoonful Snap. We put our heart into this, and David thinks these are so good they inspired half of our favorite memories together! You can see more about our kitchen journey right here.
Why This is the Best Peanut Butter Cookies Recipe You Need
I know, I know, everyone claims their recipe is the best! But trust me when I say that these **peanut butter cookies** are special because they finally solve the spreading problem while still keeping that iconic texture we all crave. They’re simple enough for a quick weeknight treat, but so good they feel like a real celebration.
Here’s why you’ll want to save this one to your favorites board:
- They have that beautiful, golden-brown edge that snaps just right.
- The center stays surprisingly soft and tender, melting in your mouth.
- They use basic pantry staples—nothing fussy involved!
If you’re looking for more variations on that beloved flavor, check out my post on soft and chewy peanut butter cookie alternatives.
Achieving Crispy Tender Cookies Every Time
The secret to that perfect duality—the crisp exterior and the soft interior—really comes down to the blend of sugars we use here. We use equal parts granulated and packed light brown sugar. That slight difference in molasses content found in the brown sugar helps keep the insides tender while the granulated sugar helps those edges set beautifully and get that lovely golden color during baking. A quick bake time seals the deal!
Gathering Ingredients for Classic Peanut Butter Cookies
Okay, let’s get down to business and talk ingredients! For the best **peanut butter cookies**, precision matters, especially with fats and sugars, but don’t let that scare you. Remember, we want that famous texture, and that starts right here.
I usually insist on using creamy peanut butter for the base mix because it incorporates so smoothly into the batter, giving us that uniform, tender center. Make sure your butter is actually softened—set it out about an hour before you start! We use both white sugar and light brown sugar, but please make sure that brown sugar is nice and packed into your measuring cup for the right sweetness levels.
Ingredient Notes and Substitutions for Your Peanut Butter Baking
The quality of your peanut butter really dictates the final flavor here. If you use a natural, runny peanut butter, your dough might be a touch softer, so consider chilling it for an extra 15 minutes—it helps big time with spreading!
For the leavening agents, we need both baking soda and baking powder. That combination is what helps us get those slightly crisp edges without making the cookie cakey. Don’t mess with the baking soda! It reacts with the acid in the peanut butter to give us that lift and slight tang we love in **traditional cookies**.
Step-by-Step Instructions for Homemade Peanut Butter Cookies
Now we get to the fun part—making the dough! Follow these steps closely because the technique for creaming the fats and sugars sets the foundation for the fantastic texture in these **peanut butter cookies**. First thing’s first: get your oven set to 350°F (175°C) and line those baking sheets. Parchment paper is our best friend here!
We start by creaming together the softened butter, the peanut butter, the granulated sugar, and that lovely packed brown sugar. You need to beat this mixture until it’s genuinely light and fluffy. I mean it—don’t stop early! When it looks pale yellow and airy, you’ve built the proper structure for a tender cookie. Then, mix in your eggs one at a time, followed by that hint of vanilla extract. If you want to see how using brown butter changes things entirely, check out my post on brown butter chocolate chip cookies—it’s magic!
Mixing the Dough for Perfect Peanut Butter Cookies
While your wet ingredients are looking beautiful, whisk your dry ingredients—flour, baking soda, baking powder, and salt—together in a separate bowl. Now, this is crucial for texture: add those dry ingredients to the wet mixture gradually, mixing only on low speed until they just come together. Seriously, stop mixing the *second* you don’t see any more flour streaks. Overmixing develops gluten, and that is how you get hard cookies. We want tender!
The Classic Crosshatch Technique for Peanut Butter Cookies
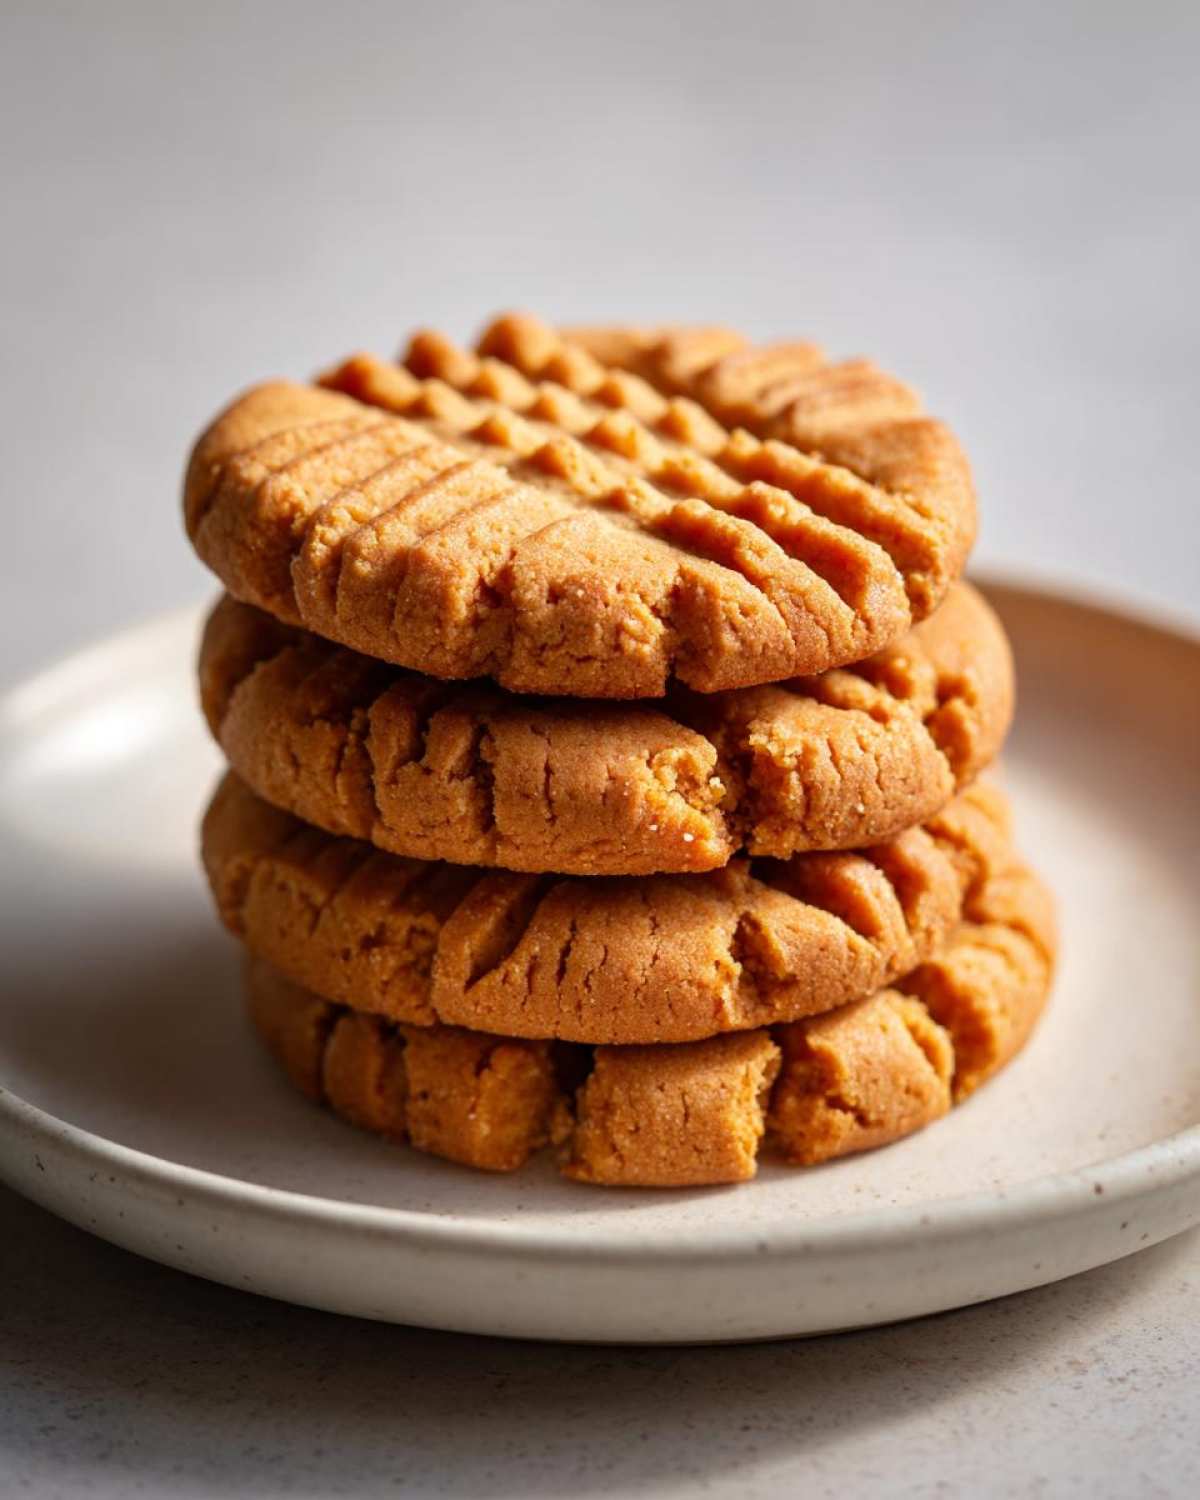
Once the dough is ready, roll it into little balls—about 1.5 tablespoons is perfect—and set them about two inches apart on your lined sheets. Now, grab a fork! This is the signature move for **classic peanut butter cookies**. Press down once in one direction, then pivot your fork ninety degrees and press again, creating that perfect crosshatch pattern. This technique ensures the thick dough bakes evenly and flattens out just enough to give those chewy centers we love in our **homemade peanut butter cookies**.
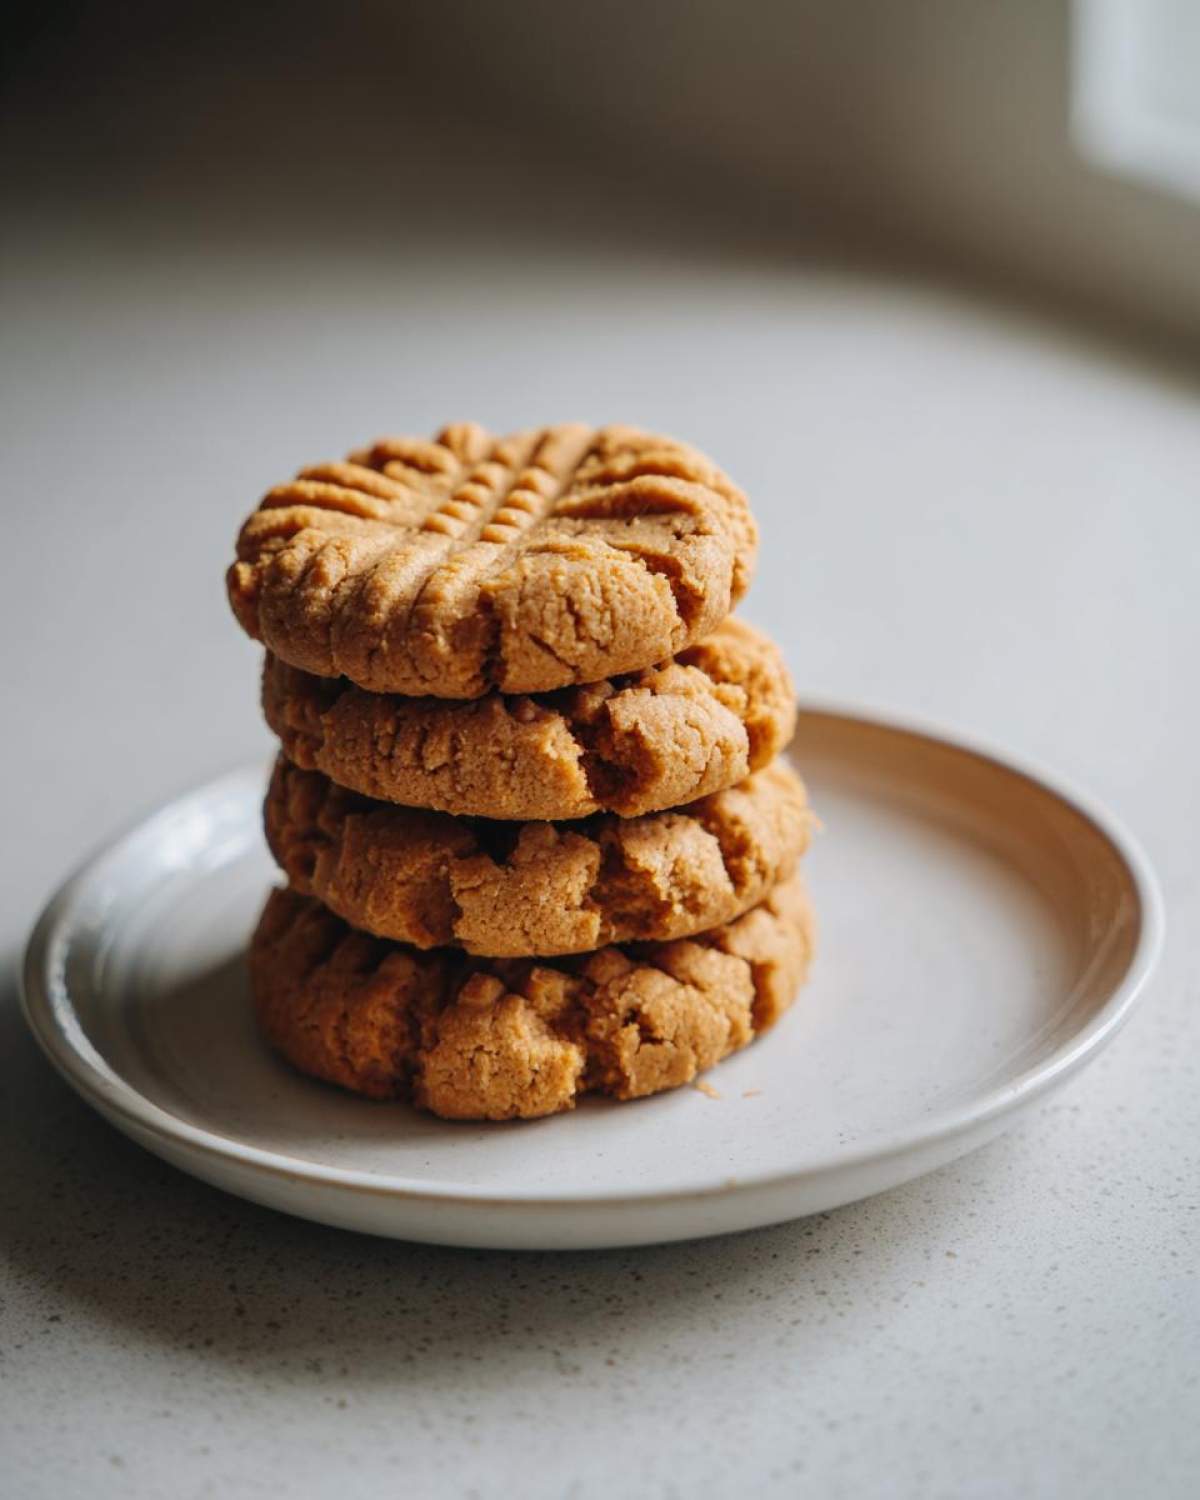
Baking Times and Cooling for Crispy Tender Cookies
Getting these babies out of the oven at *exactly* the right moment is the final step to achieving those amazing **peanut butter cookies**! You’re looking for the edges to be nicely golden brown. Don’t worry that the very center looks a little soft when you pull them out; that’s actually a good thing! That slight softness is what guarantees that tender bite we are famous for.
The cooling process is just as important as the baking time, so don’t rush it! Leave the cookies alone on that hot baking sheet for a solid five minutes after they come out. This allows them to set up properly without falling apart. After that initial rest, gently move them over to a wire rack to cool completely. This keeps the bottoms from getting soggy and locks in that wonderful crispy tender cookie texture.
Tips for Success with Traditional Cookies
I always get asked how to make sure these **peanut butter cookies** turn out perfectly every single time, even when my kitchen in the summer gets a little too toasty! My main advice, based on what my grandmother taught me, always comes down to temperature management.
First, if you are finding your dough is spreading too soon—you know, looking almost greasy before it even hits the oven—please try chilling the dough! Even 30 minutes in the fridge makes a huge difference in keeping those cookies thick and gorgeous. Also, if you enjoy a deeper, nuttier flavor in your **peanut butter baking**, using an unsweetened, natural peanut butter is the way to go. It changes the moisture slightly, but the flavor boost is unreal.
When it’s super hot here in the US, sometimes the dough gets soft while I’m rolling it. If that happens, just pop the tray of dough balls back into the fridge for ten minutes! It firms things up just enough to handle that crosshatch finish without smearing everything. If you’re looking for ideas on decorating once they’re cool, I have a great post on making cookie icing that hardens smooth!
Storage and Reheating Instructions
These **classic cookie recipes** are so good, you probably won’t have many leftovers, but just in case you manage to save some, you’ll want to keep them stored correctly to maintain that perfect texture!
For short-term freshness, keep your cookies in an airtight container right there on your counter at room temperature. They hold up beautifully for about four to five days. After that, they start to lose a little bit of that tender center magic you worked so hard to create.
If you need them to last longer than five days, you absolutely can freeze them! Lay them flat on a cookie sheet until they are totally frozen solid, then transfer them to a heavy-duty freezer bag. They’ll be good for up to three months this way. The best part about freezing them is that when you want one later, you don’t even need to thaw them fully.
To bring back that just-out-of-the-oven deliciousness, pop a cookie (or a few!) onto a microwave-safe plate for about 10 to 15 seconds. It just warms them up enough to soften the center slightly again. For maximum texture restoration, I actually prefer popping them into a warm oven (about 300°F) for just two minutes. That gives you the ideal balance of crispy edge and warm, tender middle without drying them out!
Serving Suggestions for Classic Cookie Recipes
Oh, this is where the joy really begins! Sure, they are phenomenal all by themselves, but what good is a batch of freshly baked, **classic cookie recipes** if you don’t pair them with something equally comforting? When the smell of warm peanut butter fills our house, David immediately starts looking for the milk!
For me, nothing beats dipping one of these cookies into a cold glass of whole milk. That combination feels so pure and nostalgic, it’s like being a kid again! If you are looking for a truly decadent experience—especially on a chilly evening—you absolutely have to try one of these cookies alongside a warm mug of something rich and soothing. We have an incredible recipe for creamy crockpot hot chocolate that seriously complements the salty-sweetness of these cookies perfectly.
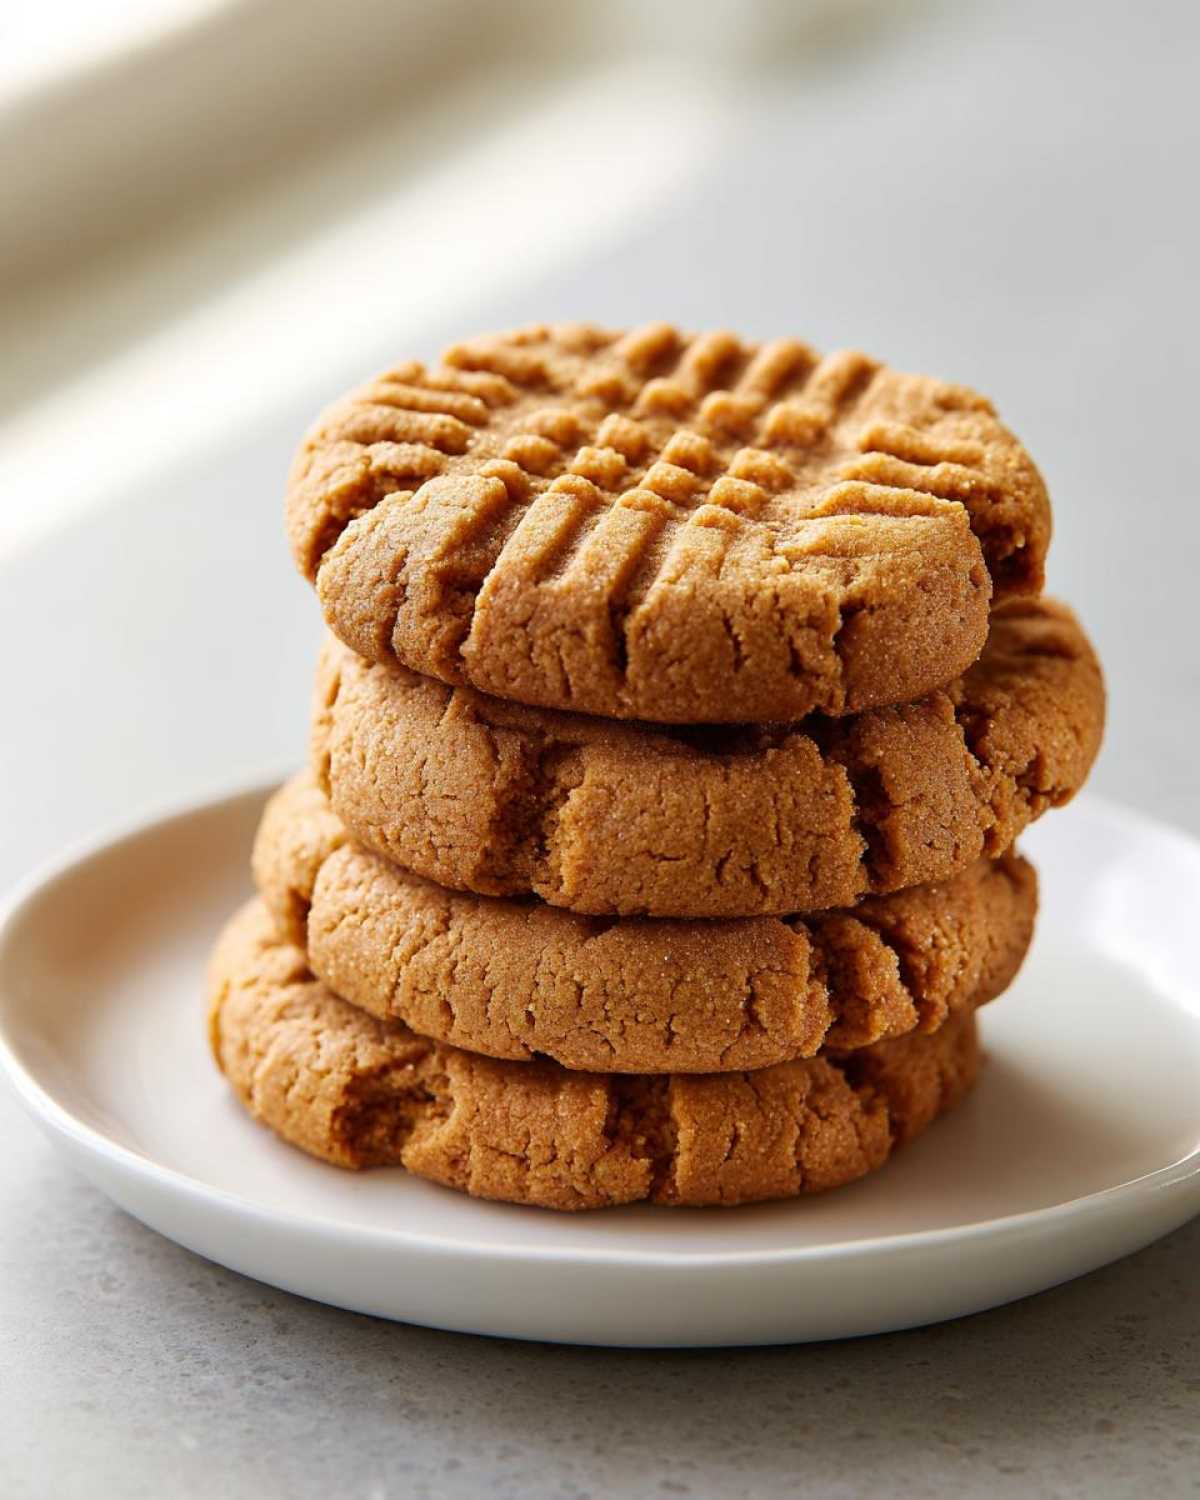
But my favorite way to turn this into a real dessert moment is topping a warm cookie with a scoop of vanilla bean ice cream. The ice cream melts just slightly against the warm cookie, and that’s perfection right there. For the grown-ups, a strong, black cup of coffee—or even a cool iced coffee on a hot day—cuts through the richness of the peanut butter beautifully. These cookies are sturdy enough to handle anything you throw at them!
Frequently Asked Questions about Peanut Butter Cookies
I always collect the questions readers send me after they’ve tried making a batch of **peanut butter cookies**. It’s so helpful to talk through the common little hiccups so your next batch turns out exactly like ours!
Why did my peanut butter cookies spread too much?
Oh, spreading is the arch-nemesis of a thick cookie! Usually, this happens for two reasons. First, if your butter or peanut butter was too warm when you mixed them, the dough just won’t hold its shape when it hits the heat. Second, if the dough didn’t chill briefly, it spreads faster than it can set. Remember my tip? If your kitchen is warm, pop the dough balls in the fridge for 30 minutes—it really helps these **classic peanut butter cookies** stay thick and satisfying.
Can I use crunchy peanut butter in this recipe?
Yes, you absolutely can! If you prefer a little crunch in those **homemade peanut butter cookies**, swapping in crunchy peanut butter works just fine. Now, the texture will change slightly because those crispy chunks break up the smooth, tender center just a bit. I still recommend using the creamy for the *base* mixture if you want that ultra-soft interior, but feel free to substitute half or all of it for a different experience in your **traditional cookies**.
Another quick one: People often ask about swapping out the butter. While I highly recommend sticking to the butter and peanut butter for the best fat ratio, one reader told me she had success substituting the butter with a high-quality vegetable shortening for one batch of her **crispy tender cookies**, though she noted the flavor was definitely less rich!
Sharing Your Peanut Butter Cookies Success
That’s it! You’ve made them—the very best **peanut butter cookies** you’ll ever taste, with that perfect snap on the edge and that soft, comforting middle. I truly hope the aroma brought back as many wonderful memories for you as it does for David and me. Baking is always better when you share the results, both the cookies and the happy stories that come with them!
We absolutely love hearing how your batches turned out! Did you manage to get the perfect crosshatch pattern on the first try? Please hop down to the comments section and let me know how many batches you’ve already made this week—I won’t judge, promise! Knowing you loved this recipe helps us keep sharing all of our family’s **classic cookie recipes** with you.
If you took a gorgeous picture of your glorious golden cookies, please share it on social media and tag us! We adore seeing our Spoonful Snap creations out in the world. You can see all the other exciting things we’ve been cooking up on our main blog page. Thank you again for baking with us today. Happy cookie making!
PrintClassic Crispy-Tender Peanut Butter Cookies
Follow this simple recipe for the best homemade peanut butter cookies, achieving perfect crispy edges and soft centers every time.
- Prep Time: 15 min
- Cook Time: 12 min
- Total Time: 27 min
- Yield: 24 cookies
- Category: Dessert
- Method: Baking
- Cuisine: American
- Diet: Vegetarian
Ingredients
- 1 cup (2 sticks) unsalted butter, softened
- 1 cup creamy peanut butter
- 1 cup granulated sugar
- 1 cup packed light brown sugar
- 2 large eggs
- 1 teaspoon vanilla extract
- 1 3/4 cups all-purpose flour
- 1 teaspoon baking soda
- 1/2 teaspoon baking powder
- 1/2 teaspoon salt
Instructions
- Preheat your oven to 350°F (175°C). Line baking sheets with parchment paper.
- In a large bowl, cream together the softened butter, peanut butter, granulated sugar, and brown sugar until the mixture is light and fluffy. This step is key for texture.
- Beat in the eggs one at a time, then mix in the vanilla extract.
- In a separate medium bowl, whisk together the flour, baking soda, baking powder, and salt.
- Gradually add the dry ingredients to the wet ingredients, mixing on low speed until just combined. Do not overmix your cookie dough.
- Scoop the dough into balls, about 1.5 tablespoons each, and place them 2 inches apart on the prepared baking sheets.
- Use a fork to press down on each ball to create the classic crosshatch pattern, pressing once in one direction and then again perpendicular to the first press.
- Bake for 10 to 12 minutes, or until the edges are golden brown. The centers will look slightly soft.
- Let the cookies cool on the baking sheet for 5 minutes before transferring them to a wire rack to cool completely.
Notes
- For extra peanutty flavor, use a natural, unsweetened peanut butter.
- If you want a chewier cookie, slightly underbake them by about one minute.
- Chilling the dough for 30 minutes before baking helps prevent the cookies from spreading too much.
Nutrition
- Serving Size: 1 cookie
- Calories: 180
- Sugar: 13
- Sodium: 110
- Fat: 10
- Saturated Fat: 4
- Unsaturated Fat: 6
- Trans Fat: 0
- Carbohydrates: 22
- Fiber: 1
- Protein: 4
- Cholesterol: 25