

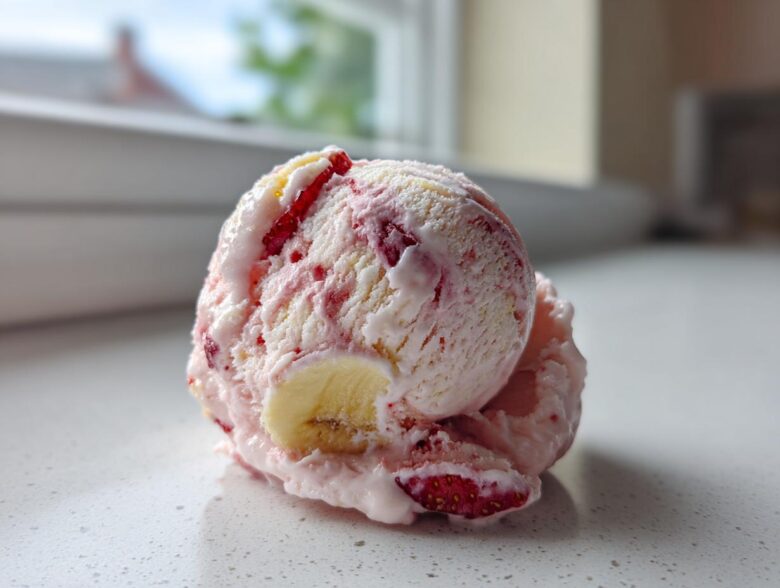
When the sun is blazing and you’re dreaming of something cold, sweet, and just a little bit tropical, you need this recipe in your back pocket. Forget pulling out that dusty old ice cream maker—honestly, who has the time or the freezer space? I promise you, this **Strawberry Banana Ice Cream** is going to change your summer dessert game forever. It’s so incredibly easy, truly! Bananas and strawberries are such a classic pairing, right? That perfect marriage of creamy sweetness from the banana and that little bit of tartness from the berries just hits all the right notes.
We’re using the no-churn method here, which means we get that luscious, scoopable texture with zero effort, making it the ultimate quick fruit treat.
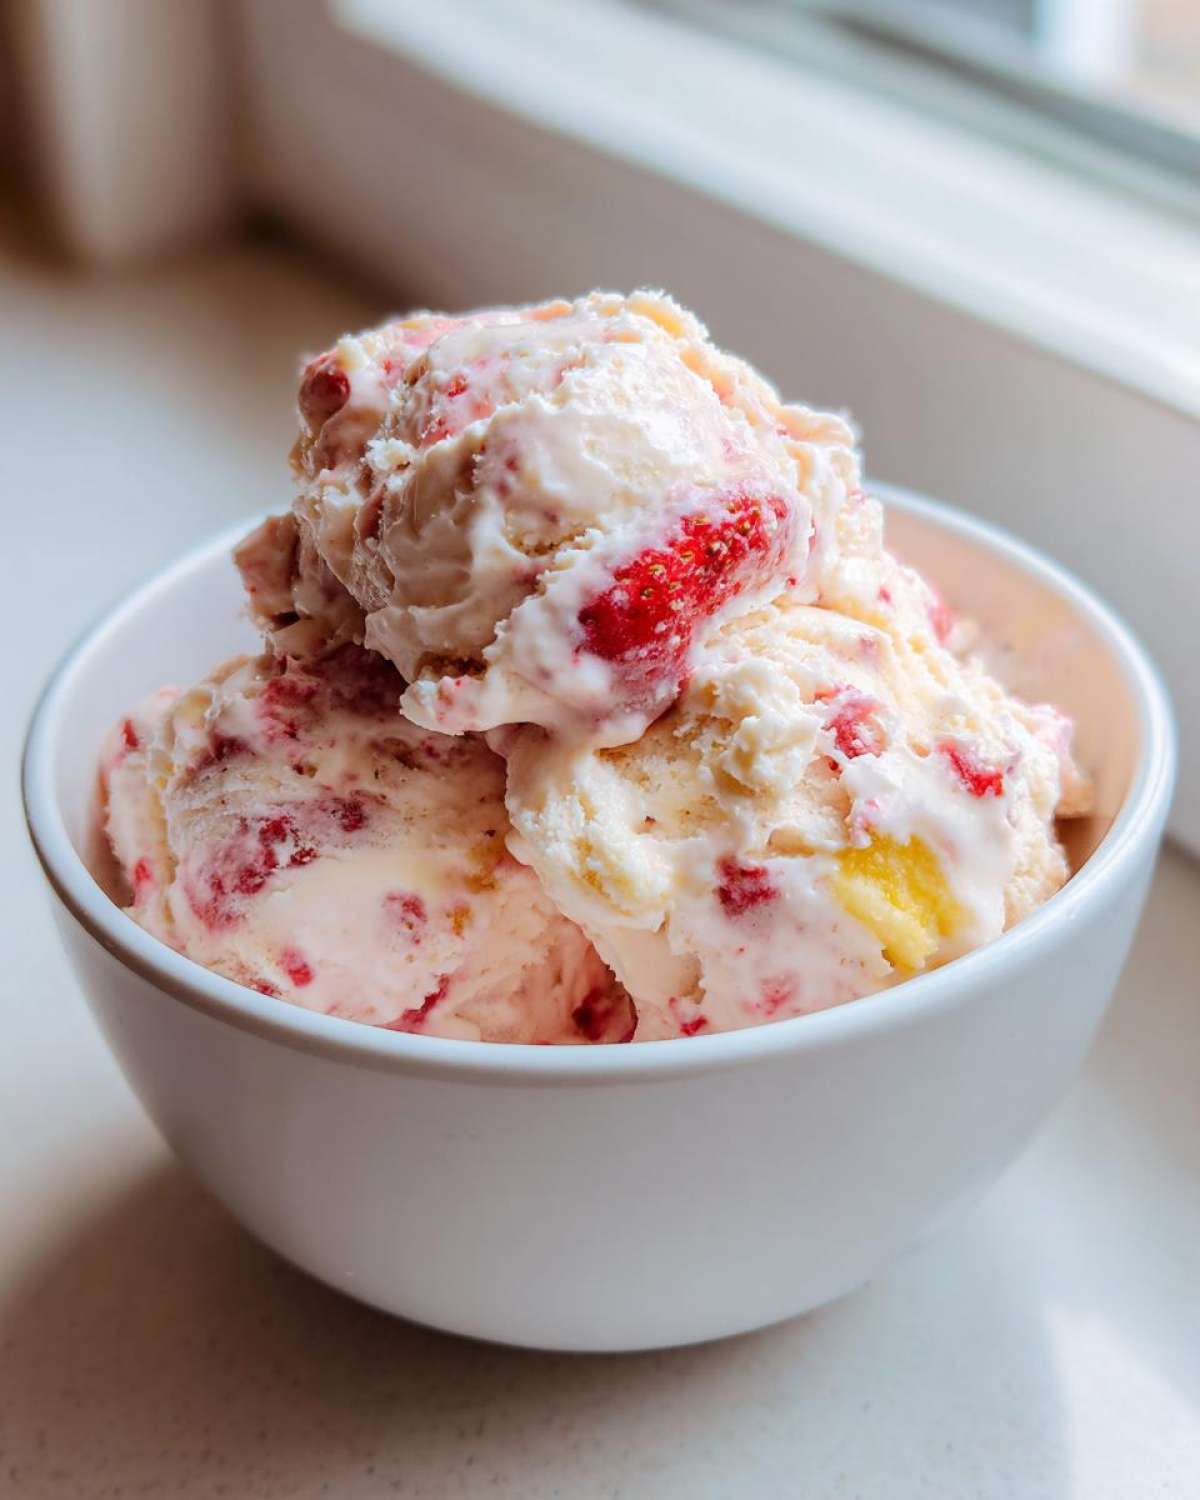
Why This No Churn Strawberry Banana Ice Cream Recipe Works (Easy Strawberry Banana Ice Cream)
When people hear “homemade ice cream,” they often picture hours of churning or complicated machines. Not here! This **Strawberry Banana Ice Cream** is foolproof because we skip the machine entirely. It’s all about maximizing flavor with minimal elbow grease. Trust me, this is the kind of recipe you’ll be bragging about at every single summer barbecue. Need a dip to go with your next batch of fruit? Check out this easy fruit dip recipe while you wait for it to set!
- You can whip this up faster than you can decide what movie to watch tonight. Seriously, after chilling the base ingredients, the active mixing takes maybe fifteen minutes tops.
- The texture is shockingly close to traditional scooped ice cream—creamy, rich, and unbelievably smooth.
Quick Strawberry Banana Treat Preparation
The beauty of this method is how fast that initial part goes. You’re just whipping heavy cream—that’s the air—and then gently folding everything else in. We aren’t waiting for anything to temper or thicken over heat. Once the fruit is folded in, it’s straight into the freezer. It’s the ultimate low-fuss dessert when you need something tasty *now* (well, mostly now—it needs to freeze, obviously!).
Achieving Creamy Fruit Ice Cream Texture
How does it get so perfectly smooth without churning? It’s magic, sort of! We rely on two superstars. The heavy cream, whipped to stiff peaks, traps all that air, which keeps it light. Then, the sweetened condensed milk acts like a secret weapon against ice crystals, keeping everything beautifully soft. That fantastic combination results in a wonderfully Creamy Fruit Ice Cream that scoops like a dream!
Ingredients for the Best Strawberry Banana Ice Cream Recipe
Okay, let’s talk stuff. This is where we set the stage for the absolute best **Strawberry Banana Ice Cream** you’ve ever scraped out of a pan. Remember, because we aren’t using a machine, the quality and preparation of these few ingredients matter *a lot*. Don’t even think about bringing warm cream near this project; we need everything chilled to get that perfect texture!
For the base, you’ll need:
- 2 cups heavy whipping cream, it MUST be ice cold.
- 1 (14 ounce) can sweetened condensed milk, also cold. Seriously, chill this for an hour beforehand if you can!
- 1 teaspoon vanilla extract. A little splash of flavor makes a huge difference. If you ever need to elevate a frosting, check out my vanilla buttercream frosting recipe—it uses the same principle of relying on pure ingredients!
Now for the fruit. This is where the actual flavor comes from, so grab the best you can find:
- 1 cup fresh or frozen strawberries, chopped down into small pieces.
- 2 ripe bananas, mashed well. I mean it—mash them until they’re practically liquid baby food.
That’s it! Only five main things, and yet it tastes like a gourmet frozen dessert. It’s so simple, you practically can’t mess it up, but getting that cream whipped right is half the battle!
Step-by-Step Instructions for Homemade Strawberry Banana Ice Cream
Putting this together is almost ridiculously simple, but you need to respect the air we’re building into this mixture! We’re making Homemade Strawberry Banana Ice Cream here, and the secret is layering the aeration correctly. Just follow these steps exactly, and you’ll have the creamiest result without ever turning on that churning machine. If you’re curious about making things ahead of time, you simply must check out my ultimate guide to overnight oats for fantastic prep-ahead breakfasts!
- First, grab your large mixing bowl and your electric mixer. Since that heavy cream needs to whip up beautifully, make sure your bowl and the beaters are nice and cold. Dump in that 2 cups of cold heavy whipping cream and get whipping! You’re aiming for stiff peaks—when you lift the beaters out, the peaks should stand straight up and not flop over. This usually takes about 3 to 5 minutes depending on your mixer’s mood.
- While that’s happening (or just after you put the whipped cream aside), take your second bowl. Gently mix the cold sweetened condensed milk together with the vanilla extract until they are happy friends. Keep stirring gently!
- Now, we lighten the base. Take about one-third of your beautiful stiffly whipped cream and gently fold it into the condensed milk mixture. This lightens the heavier liquid so it doesn’t deflate all the air you just worked so hard to incorporate.
- Gently fold in the remaining whipped cream. This is crucial: fold until *just* combined. If you mix too much here, you’ll lose the airy base.
- Finally, gently fold in the chopped strawberries and those perfectly mashed bananas until those pieces are just evenly scattered throughout.
- Pour this whole lovely mess into your freezer-ready loaf pan or whatever airtight container you picked out.
- Cover it really well. I like using plastic wrap pressed right onto the surface before putting the lid on—this stops freezer burn!
- Tuck it into the freezer for a minimum of 6 hours. Patience is a virtue, especially when waiting for perfect **Strawberry Banana Ice Cream**!
Whipping the Cream Base
Listen, you cannot rush stiff peaks. If your cream isn’t stiff, your base will be soupy, and you’ll end up with a sweet, fruity block of ice instead of ice cream. Expert tip: put your bowl and beaters in the freezer for ten minutes before you start. When you whip the cream, start on medium speed and increase slowly. You’ll know it’s ready when you dip a spoon in, and the cream stands up proud like a tiny soldier salute! Don’t overbeat it into butter now!
Combining the Base and Fruit for Strawberry Banana Ice Cream
Folding is an art! You are not stirring; you are gently lifting the bottom layer of the mix up and over the top layer. Use a spatula and scrape down the sides of the bowl gently. We are preserving all those tiny air bubbles created during the whipping stage. Add the fruit last because you don’t want to bruise it or crush the trapped air as you incorporate the heavy mixture.
Tips for Success with Your Strawberry Banana Ice Cream
Even though this is the easiest **Strawberry Banana Ice Cream** you’ll ever make, there are a few tiny secrets that make the difference between “good” and “absolutely unforgettable.” I’ve been making this batch for years, and I learned the hard way what works and what doesn’t when dealing with fruit in a no-churn base. If you want that perfect texture every time, pay attention to how you treat your fruit and how you tuck it away in the freezer!
These little adjustments really help maintain that fresh, vibrant fruit flavor throughout the whole freezing process. If you’re looking for another impressive but easy recipe, you have to try my brown butter chocolate chip cookies—the nutty depth is just everything!
Ripeness and Fruit Preparation
Let’s talk bananas first. You want them seriously ripe—like, flecked with brown spots, getting a little soft on the counter ripe. If they are too yellow, they don’t mash properly, and you end up with slightly firm chunks of plain banana in your creamy dessert. We want smooth sweetness blending in! For the strawberries, chop them up pretty small. If your pieces are too big, they get rock hard when frozen, and you risk busting a tooth! Small pieces allow them to integrate better with that condensed milk base, ensuring the strawberry flavor punches through evenly.
Freezing and Storage Guidance
The number one enemy of any homemade ice cream, even no-churn recipes, is freezer burn or ice crystal formation. The key is to seal it off from air! After you pour the mixture into your loaf pan, don’t just drop the lid on. Take a sheet of plastic wrap and gently press it directly onto the surface of the ice cream mix. This creates a barrier right where air usually sits on top. Then seal it with the actual lid. This little step prevents those fuzzy white crystals from forming, keeping your **Strawberry Banana Ice Cream** silky smooth for weeks!
Making a Healthy Banana Strawberry Ice Cream Variation
I know, I know—this no-churn recipe uses condensed milk, which gives it that fantastic texture, but sometimes you want something a little lighter, right? Especially when you’re featuring such naturally sweet fruit like bananas and strawberries. We absolutely can shift this into a more Healthy Banana Strawberry Ice Cream territory!
The main area we have control over is that sweetness level. If you want an easier swap that skips the dairy entirely, you should absolutely dive into looking at natural sweetener ice cream recipes. But sticking close to this base recipe, here are my thoughts on keeping things a little cleaner:
First off, the condensed milk is mostly sugar and structure. You can absolutely try cutting it down—maybe by a third—but you need to warn yourself that the texture might get a little icier since you’re removing some of the sugar solids that keep it soft. It’s a trade-off! If you reduce it, you’ll definitely need more vanilla to boost the flavor components.
My favorite way to gently manage the sugar load? Keep the condensed milk, but lean heavily on choosing perfectly ripe bananas. When bananas are super ripe, they bring maximum natural sweetness to the party. I also tend to use frozen strawberries instead of fresh sometimes, even in this recipe, because often the frozen ones have a slightly more intense, tart flavor that cuts through the richness, making you feel like you need less added sugar overall.
If you want to be really adventurous and get away from the condensed milk entirely, you are leaving the “no-churn” world and stepping into the “nice cream” zone. That’s where you just blend the frozen fruit! But for keeping that wonderfully soft, creamy feel without a machine, leaning on those perfectly ripe bananas is your best bet for a healthier approach to this delicious frozen dessert.
Serving Suggestions for this Simple Fruit Ice Cream
Once your beautiful, creamy frozen dessert is ready to scoop, the real fun begins because now you get to decorate it! We kept the base flavors classic, which means they pair perfectly with almost anything you throw on top. Since this is such a kid-friendly recipe, I love making the topping process part of the fun occasion.
You don’t need fancy sauces or complicated layers to make this feel special. Sometimes the simplest toppings enhance that fresh fruit flavor the best. If you’re looking for something else to serve alongside your scoops, don’t forget you can check out this easy fruit dip recipe for a lighter side dish!
Here are a few ways I like to dress up a bowl of this frozen treat:
- A light dust of sweetness: A sprinkle of powdered sugar or even a tiny bit of finely shredded coconut adds a lovely visual contrast without overpowering the fruit.
- Chocolate Drizzle: A thin stream of melted dark chocolate hardens beautifully against the cold ice cream. It’s a classic pairing that makes everything feel instantly gourmet.
- Toasted Nuts: If you aren’t worried about appealing to picky eaters, a light sprinkle of toasted pecans or walnuts adds a fantastic crunch that contrasts the smooth texture we worked so hard to achieve. Just toast them quickly in a dry pan until they smell fragrant, then let them cool!
- Extra Fresh Fruit: Sometimes, the best garnish is more of what’s inside! Slice up a few extra strawberries or bananas and use them to top your scoop right before serving. It just screams “freshness.”
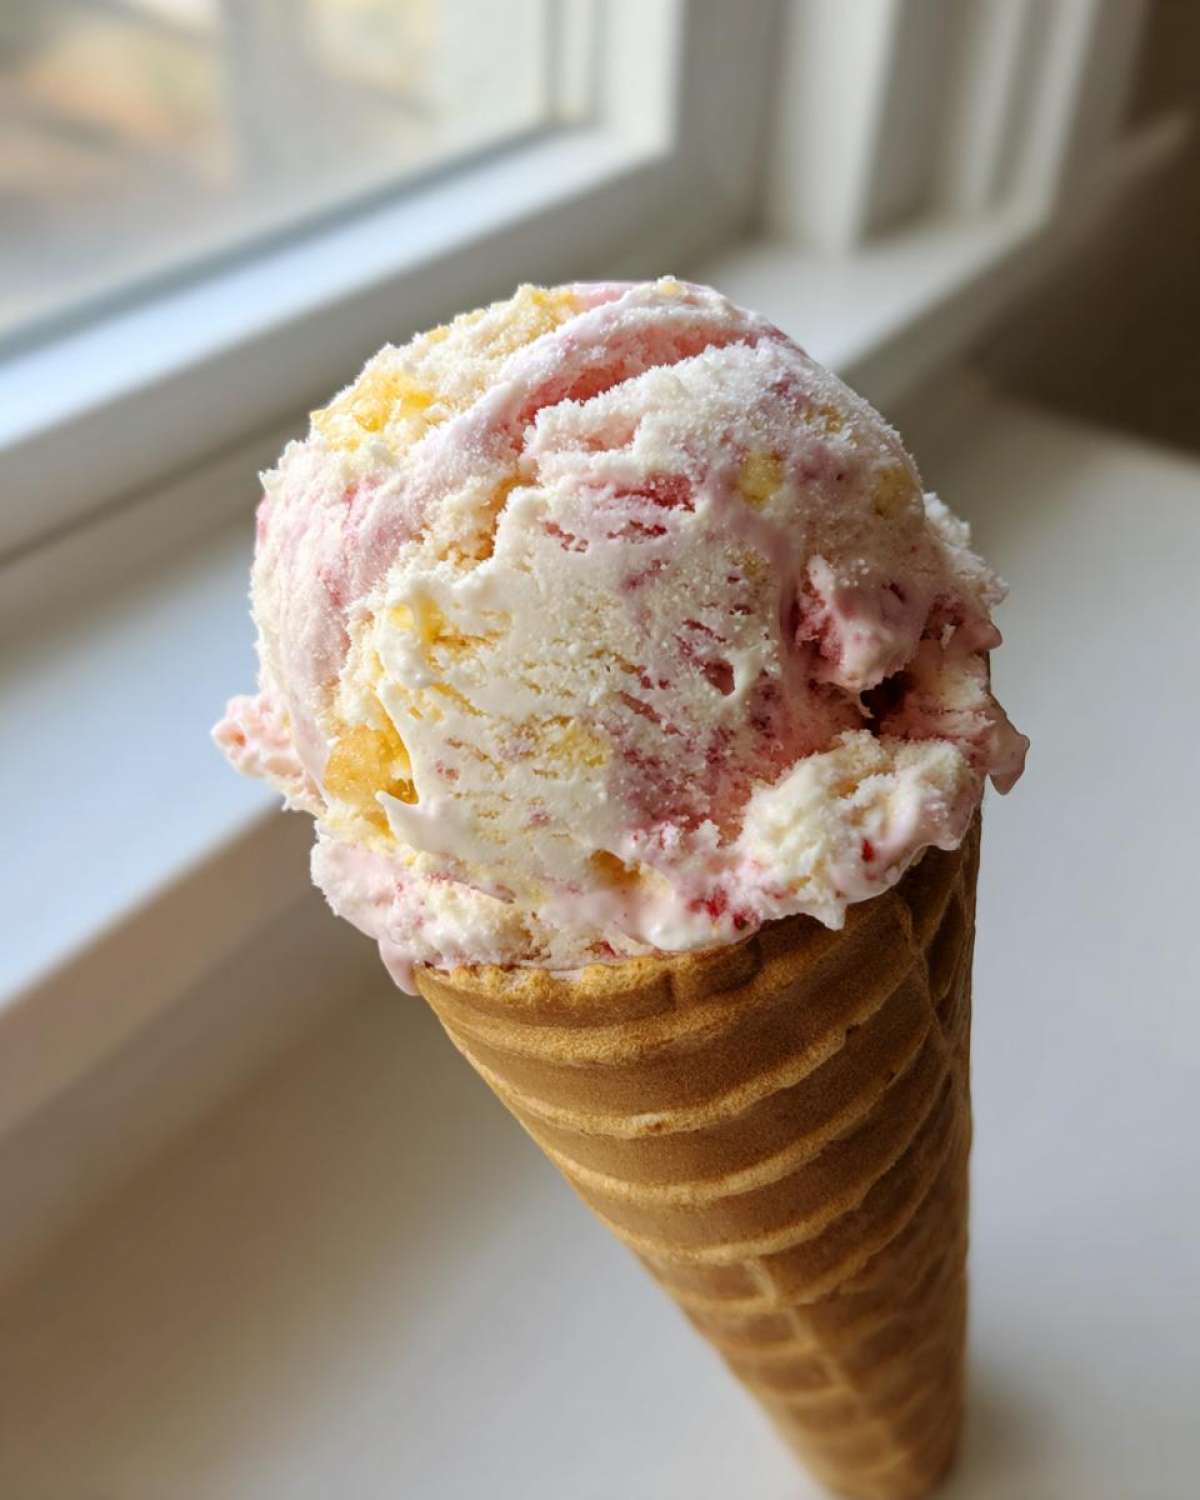
Remember, since this is a **Simple Fruit Ice Cream**, the goal is usually to enhance, not hide, the strawberry and banana magic! Keep it light, keep it fresh, and serve it fast before it starts melting!
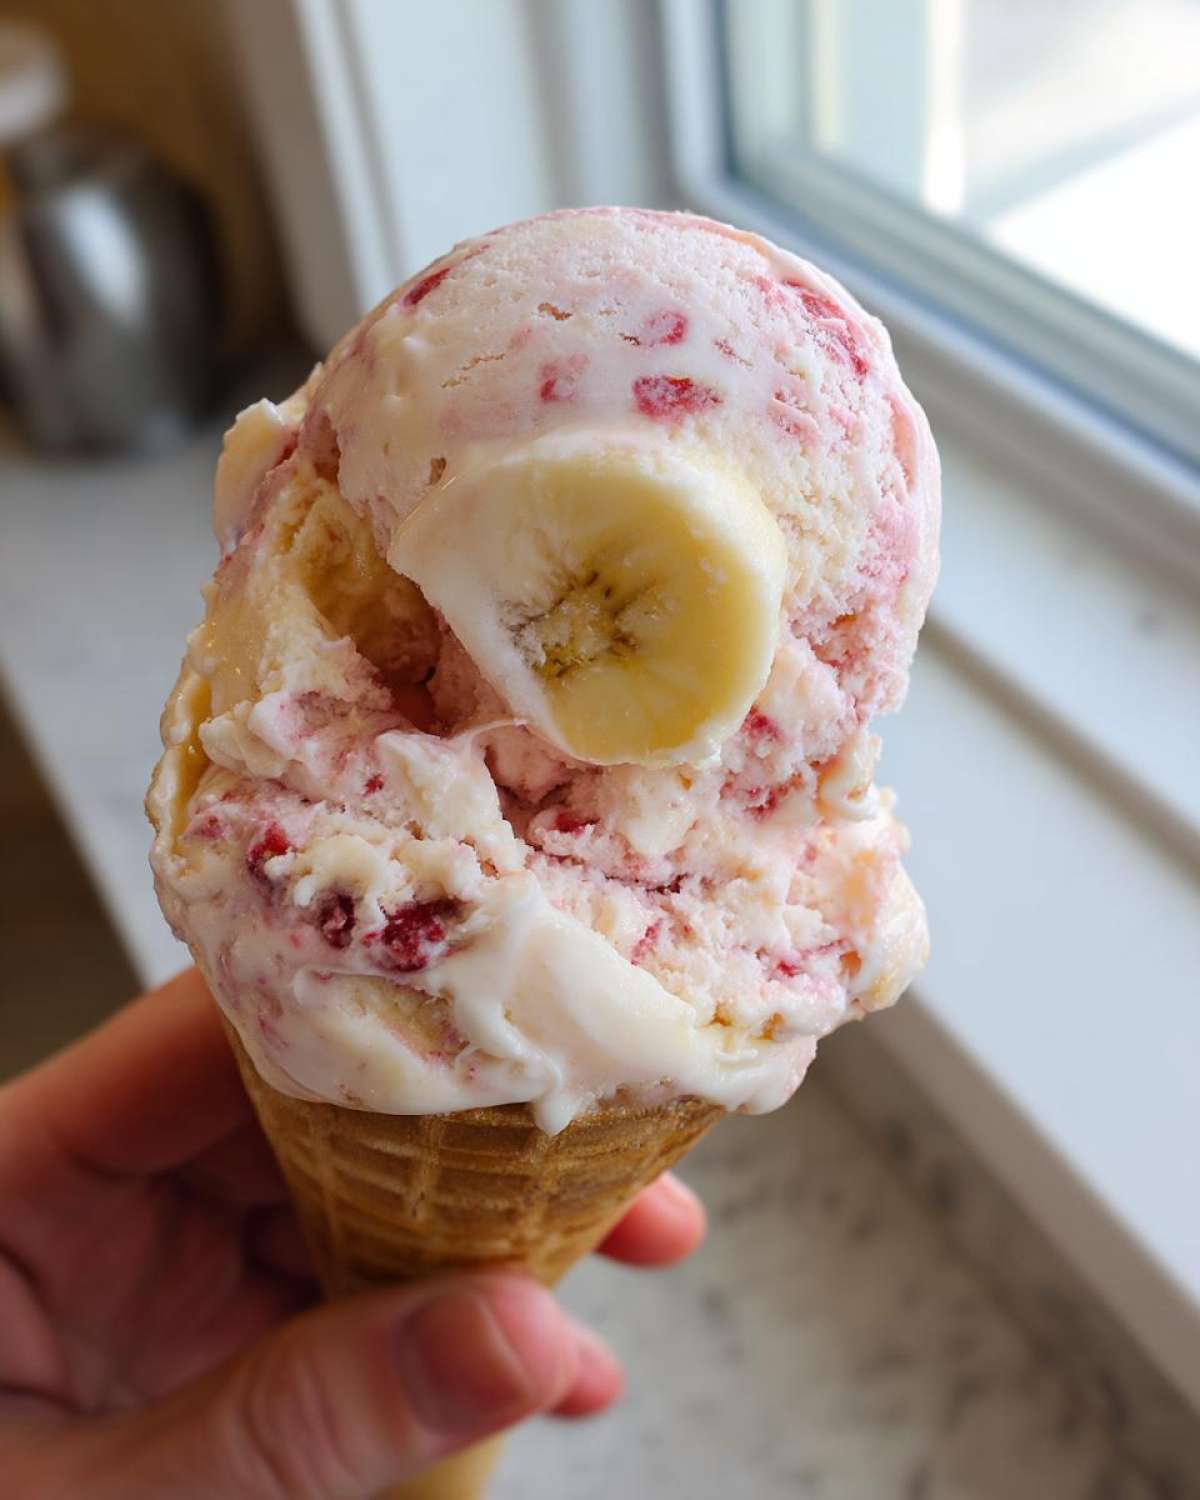
Storage and Reheating Instructions for Strawberry Banana Ice Cream
So, you made it! Your **Strawberry Banana Ice Cream** is sitting there in the freezer looking perfect, and maybe you haven’t eaten it all in one sitting—good for you! The question now is, how do we keep this perfection locked in? Since this is a no-churn recipe, storage is slightly different than commercial ice cream, but it’s still pretty straightforward.
The goal is to protect it from the harsh reality of your freezer air, which loves to turn soft treats into frosty hockey pucks. We are sticking to that airtight container we used for freezing, but we need to be mindful of how long we keep it around.
Long-Term Storage Tips
You want to keep this treat protected, right? Even though the condensed milk helps keep things creamy, air exposure is still your enemy for anything frozen longer than a week. If you find leftovers after the first day, make sure that lid is sealed so tight you almost need a crowbar to get it open the next time! Honestly, if you did the plastic wrap trick I mentioned earlier—pressing it right onto the surface—you’ve done 90% of the work.
Realistically, this **Strawberry Banana Ice Cream** is best in the first week. After about ten days, the banana flavor starts to flatten out a little, and you might notice the texture is just slightly firmer than when it was first frozen. It’s still perfectly edible, but the fresh magic starts to fade. If you need to store it for months, you might want to wait until you’re ready to eat it before folding the fruit in, but for a week or two? You are totally safe!
Getting the Perfect Serving Temperature
This is arguably the most important step for any homemade frozen dessert! If you pull this straight from the deep freeze and try to scoop it immediately, you’ll strain your wrist, and probably chip a bowl. We need a little thaw time!
I let mine sit out on the counter for about 10 to 15 minutes before I even think about grabbing the ice cream scoop. If your kitchen is super warm, maybe only give it 7 or 8 minutes. You want it to soften just enough around the edges that your scoop glides through it effortlessly. It should still be largely frozen, firm enough to hold its shape on a cone, but softened enough to taste all that creamy goodness. Don’t leave it too long, though! Bananas turn mushy fast once they start warming up, and you’ll lose that beautiful texture we worked for during the whipping stage!
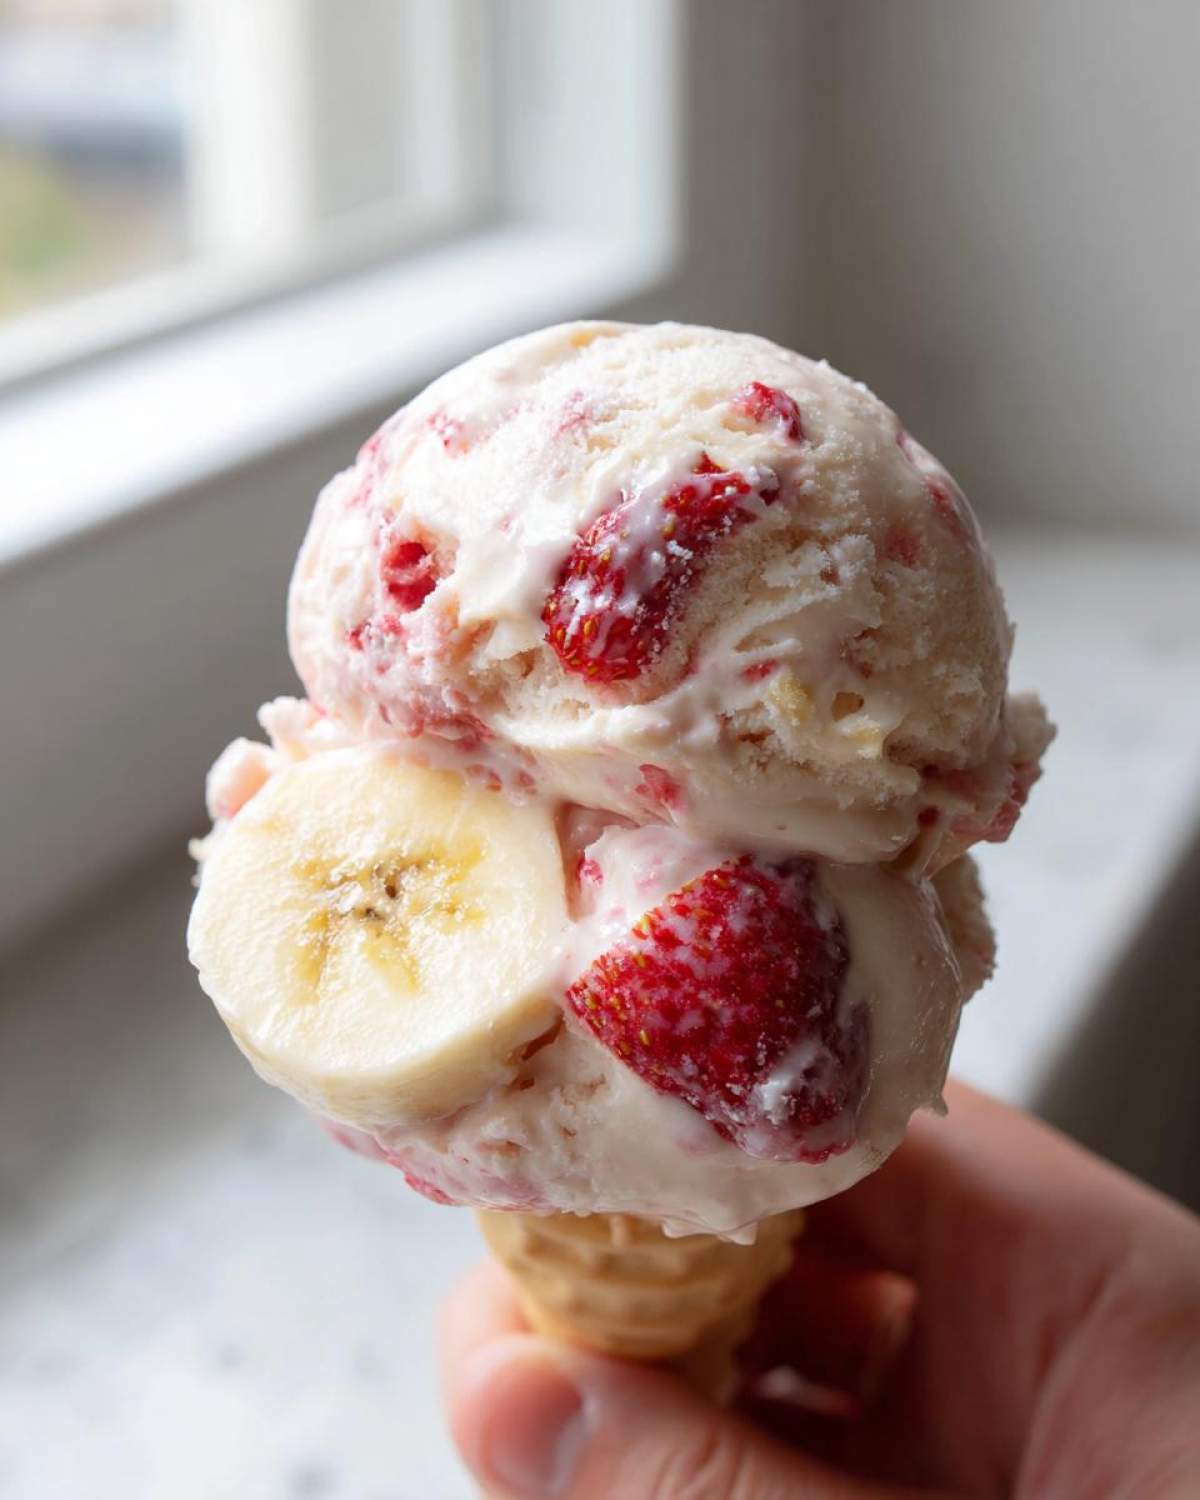
Frequently Asked Questions About Strawberry Banana Ice Cream
I get so many notes from people who have tried this recipe, and that’s the best part about cooking for friends! Most of the questions center around texture—which makes sense, since we’re skipping that big churning machine. But don’t worry, we can troubleshoot just about anything to get you the perfect scoop of **Strawberry Banana Ice Cream**!
Can I make this recipe vegan or dairy-free?
That’s a great question, especially since so many of us are trying to lighten things up or avoid dairy! Yes, you absolutely can adapt this! If you’re aiming for a Dairy Free Strawberry Banana Frozen Dessert, you need alternatives for the heavy cream and the condensed milk. For the cream, I suggest using a high-quality, full-fat canned coconut cream, making sure you chill the can overnight so the thick cream separates. Whip that exactly as you would the heavy cream!
That said, if you want to go fully plant-based and skip the dairy entirely, you are honestly entering the realm of “Nice Cream,” which you can explore more deeply if you look into making a full vegan pumpkin pie recipe—the techniques for blending frozen fruit are similar! For dairy-free, you can sometimes substitute the condensed milk with store-bought vegan condensed milk, but honestly, relying on very ripe, almost caramelized frozen bananas blended perfectly is often the best route for a true Vegan Strawberry Banana Nice Cream!
Why is my homemade Strawberry Banana Ice Cream not scooping well?
If you’re struggling to get a scoopable texture from your **No Churn Strawberry Banana Ice Cream**, it usually boils down to one of three things. First, did you whip the cream enough? If the peaks weren’t stiff, you didn’t build enough air structure, and it freezes solid. A soft base freezes hard!
Second, how long did you freeze it initially? If you see hard chunks, it usually means it didn’t freeze long enough, or perhaps you added too much liquid relative to the fat and sugar content. My default setting is 6 hours, but if your freezer runs very cold, it might need a touch longer.
Third, and this is important: Did you substitute the condensed milk? If you tried to use regular sweetened milk or skim milk, you removed too much sugar and fat, which are what keep this **Homemade Strawberry Banana Ice Cream** from turning into an ice block. If it’s too hard, just let it sit on the counter for a solid 15 minutes before trying to scoop again. That small window makes a world of difference!
Nutritional Estimate for This Strawberry Banana Ice Cream
Listen, I’m a cook, not a dietitian! I focus on getting great flavor into your bowl, but providing transparency about what’s in this delicious treat is super important to me. Since this recipe is so heavy on the dairy fat needed for that amazing no-churn texture, it’s not exactly a light snack, but wow, is it worth it!
The numbers below are just an estimate based on the ingredients listed, assuming six standard scoops. This is just a guideline, so please take it with a giant grain of salt and check out my full disclaimer page for general info on how I calculate these figures!
Here’s what the breakdown usually looks like for one serving (about 1/2 cup):
- Serving Size: 1/2 cup (but who stops at half a cup, right?)
- Calories: About 310
- Sugar: Around 35 grams (A lot of this comes naturally from the fruit and the condensed milk!)
- Total Fat: Roughly 16 grams
- Saturated Fat: About 10 grams (Remember, that comes from the necessary whipping cream!)
- Carbohydrates: Around 38 grams
- Protein: About 5 grams
- Cholesterol: Roughly 60 mg
If you were to use my suggestions from the “Healthy Variation” section—cutting back on the condensed milk or relying more on very ripe bananas—you could certainly bring those sugar and fat numbers down, but remember what I said: that structure relies heavily on the fat content! Enjoying this wonderful frozen dessert in moderation is the key to happiness!
PrintNo-Churn Strawberry Banana Ice Cream
Make creamy, homemade strawberry banana ice cream without an ice cream maker using this simple no-churn method.
- Prep Time: 15 min
- Cook Time: 0 min
- Total Time: 6 hr 15 min
- Yield: 6 servings
- Category: Dessert
- Method: Freezing
- Cuisine: American
- Diet: Vegetarian
Ingredients
- 2 cups heavy whipping cream, cold
- 1 (14 ounce) can sweetened condensed milk, cold
- 1 teaspoon vanilla extract
- 1 cup fresh or frozen strawberries, chopped
- 2 ripe bananas, mashed well
Instructions
- In a large bowl, whip the cold heavy cream with an electric mixer until stiff peaks form. This takes about 3 to 5 minutes.
- In a separate bowl, gently mix the cold sweetened condensed milk and vanilla extract.
- Fold about one-third of the whipped cream into the condensed milk mixture to lighten it.
- Gently fold the remaining whipped cream into the mixture until just combined. Do not overmix.
- Gently fold in the chopped strawberries and mashed bananas until they are evenly distributed.
- Pour the mixture into a freezer-safe loaf pan or airtight container.
- Cover the container tightly with plastic wrap or a lid.
- Freeze for at least 6 hours, or until firm enough to scoop.
Notes
- For easier mixing, ensure your bananas are very ripe and mashed smoothly.
- If using fresh strawberries, chop them into small pieces before folding them in.
- For a slightly firmer texture, freeze the mixture for 1 hour before adding the fruit, then continue freezing.
Nutrition
- Serving Size: 1/2 cup
- Calories: 310
- Sugar: 35
- Sodium: 65
- Fat: 16
- Saturated Fat: 10
- Unsaturated Fat: 6
- Trans Fat: 0
- Carbohydrates: 38
- Fiber: 2
- Protein: 5
- Cholesterol: 60