

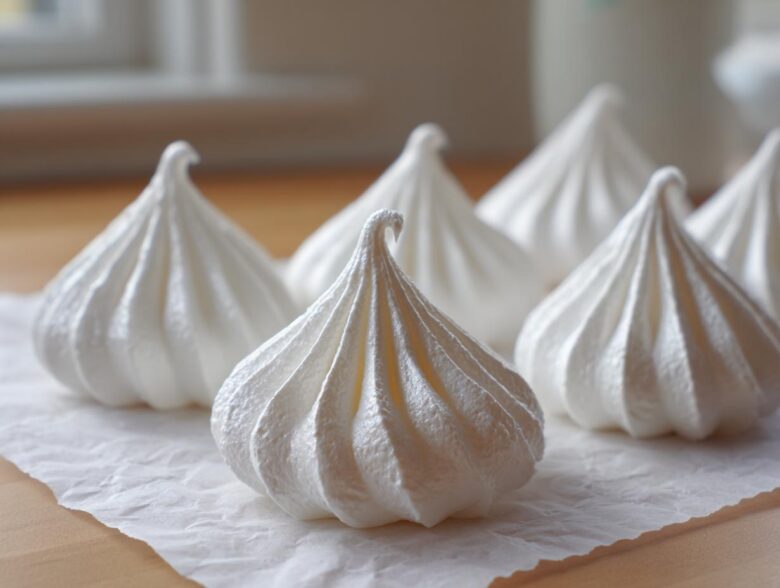
Oh, friends, I have to tell you about the most magical little dessert! When David and I started Spoonful Snap, I knew I had to share my secrets for the most delicate sweets—the ones that feel fancy but come together with almost nothing. Seriously, just egg whites and sugar! If you’ve ever been scared of making meringue cookies because you thought they’d weep, crack, or deflate the second they hit the counter, then you are in the absolute right place. This is my grandmother’s foundational French meringue, perfected over years of practice. Trust me, this is the ultimate, easy recipe you’ve been searching for. When you master this, you create cookies that are shatteringly crisp on the outside but just melt away inside. It’s pure joy in one tiny bite!
Why This Easy Meringue Cookies Recipe Works Every Time
I know, I know—baking with egg whites can feel like walking a tightrope! But that’s where my grandmother’s tried-and-true method for these meringue cookies steps in. She always said that once you understand the structure, it stops being chemistry and starts being magic. This French meringue technique is the secret weapon. It skips the complicated heating steps that some bakers go through, and goes straight for creating the most delightfully Light and Airy Cookies you’ve ever tasted. If you want to know more about getting the best results when baking these crisp treats, you should check out my dedicated post on getting those super crisp meringue cookies. Trust me, this is the ultimate, easy recipe you’ve been searching for. We are aiming for that perfect texture: a delicate, impossibly crisp shell that gives way to a pillowy, soft center. That’s the hallmark of a truly Perfect Meringue Texture, and this recipe nails it almost every single time, even if you’re just discovering these Delicate Sweet Treats for the first time.
The Science Behind Perfect French Meringue Cookies
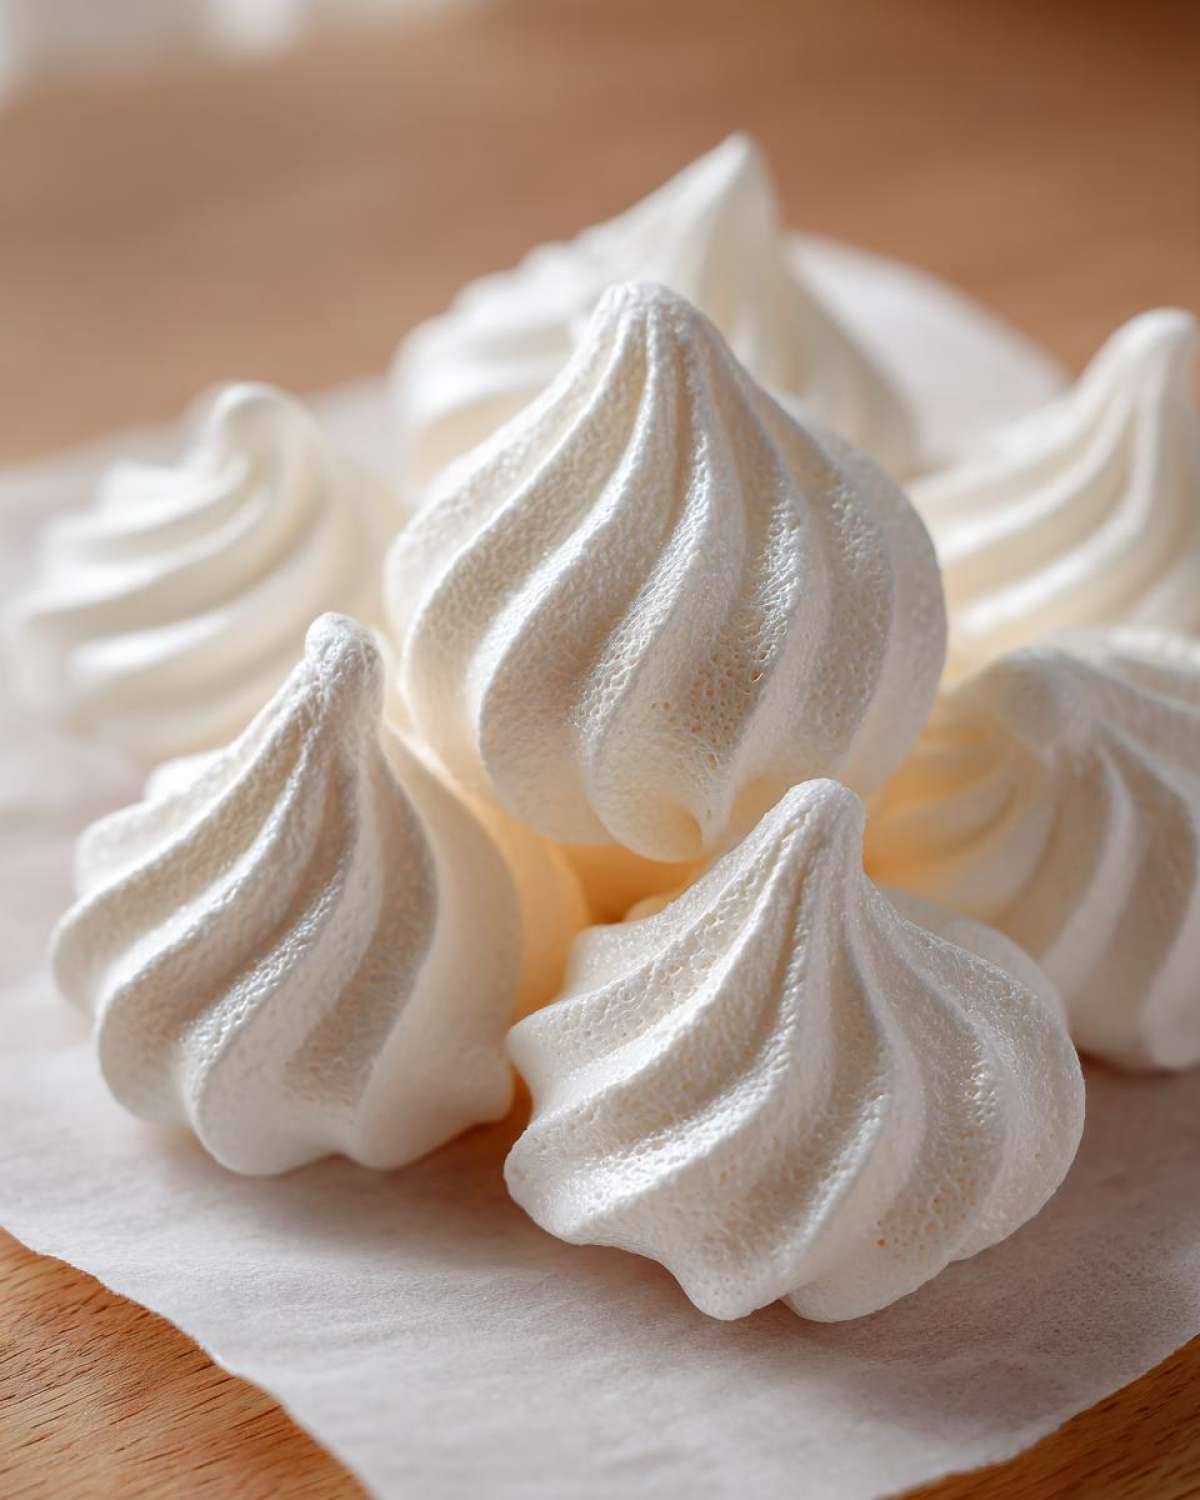
What stops these from collapsing? It comes down to two powerful helpers. First, the cream of tartar. It’s acidic, and it helps strengthen the protein structure of the egg whites, making them super stable. Second, you have to add the sugar so slowly! We add it tablespoon by painstaking tablespoon while the mixer is running. This slow incorporation allows the sugar to dissolve completely into the egg foam rather than just sitting at the bottom. That way, when you bake them, they dry out into that perfect, shatter-crisp shell we all dream about.
Gathering Ingredients for Your Meringue Cookies Recipe
Alright, let’s talk about what you need because with meringue cookies, ingredient quality is everything! I always joke that this is one of the simplest Simple Egg White Desserts you can make, which is true, but you must respect the simple ingredients you *do* use. This base recipe is naturally spectacular for anyone needing Gluten Free Meringues, by the way—there’s no flour involved at all! We’re keeping our list short and sweet, just like the final product. Grab these four things, and let’s get ready to whip up a cloud.
- 4 large egg whites, room temperature
- 1 cup granulated sugar
- 1 teaspoon pure vanilla extract
- 1/4 teaspoon cream of tartar
- Pinch of salt
Ingredient Notes and Simple Egg White Desserts Swaps
This is where I preach! Cleanliness is absolutely non-negotiable here. If there’s even a speck of yolk or any oil on your bowl—and I mean *any*—your egg whites simply won’t whip up to their full volume. I use my stand mixer bowl, and I wipe it down one last time with a paper towel dipped in vinegar just to be certain it’s pure. Wipe, wipe, wipe! Also, please stick to good old granulated white sugar for this French method. You need that sharp structure; brown sugar or powdered sugar will mess up the texture and you won’t get the right crispness we are after. For the egg whites, make sure they sit out on the counter for about 30 minutes before you start. Cold egg whites just don’t reach the lofty heights that warm ones do. It’s a small step, but it matters so much for these delicate sweets!
How to Prepare Your Light and Airy Cookies: Step-by-Step Instructions
Now that we have our perfectly clean bowl and room-temperature magic makers (the egg whites!), let’s get whipping. This is where we turn liquid into cloud-stuff—it’s truly amazing! I want you to feel totally confident, so let’s take this slow. This process is perfect for anyone new to Baking Meringue for Beginners. First things first: get that oven ready! We don’t want browning, just drying, so set your oven to its absolute lowest temperature—mine usually sits right around 180°F (82°C). Line two big baking sheets with parchment paper. Don’t try to get fancy with non-stick spray here; the paper is your friend for easy release later!
Pop those egg whites and that pinch of cream of tartar into your stand mixer. Start whipping on medium speed until they get foamy and you see soft, floppy peaks. They look like soft-serve ice cream, you know? Now, here comes the patience part, which is crucial. Start drizzling in that cup of sugar, just a slow trickle, a spoonful at a time. Seriously, if you dump it in, the whole thing deflates, and we don’t want sad, soggy meringue! I usually count to ten between each spoonful. Once all the sugar is in, turn it up high until you reach those stiff, beautiful peaks. If you want some tips on quick frosting ideas for later, I wrote a whole thing about my favorite sugar cookie icing, which uses a similar structure technique!
Achieving Stiff Peaks for Classic Meringue Kisses Recipe
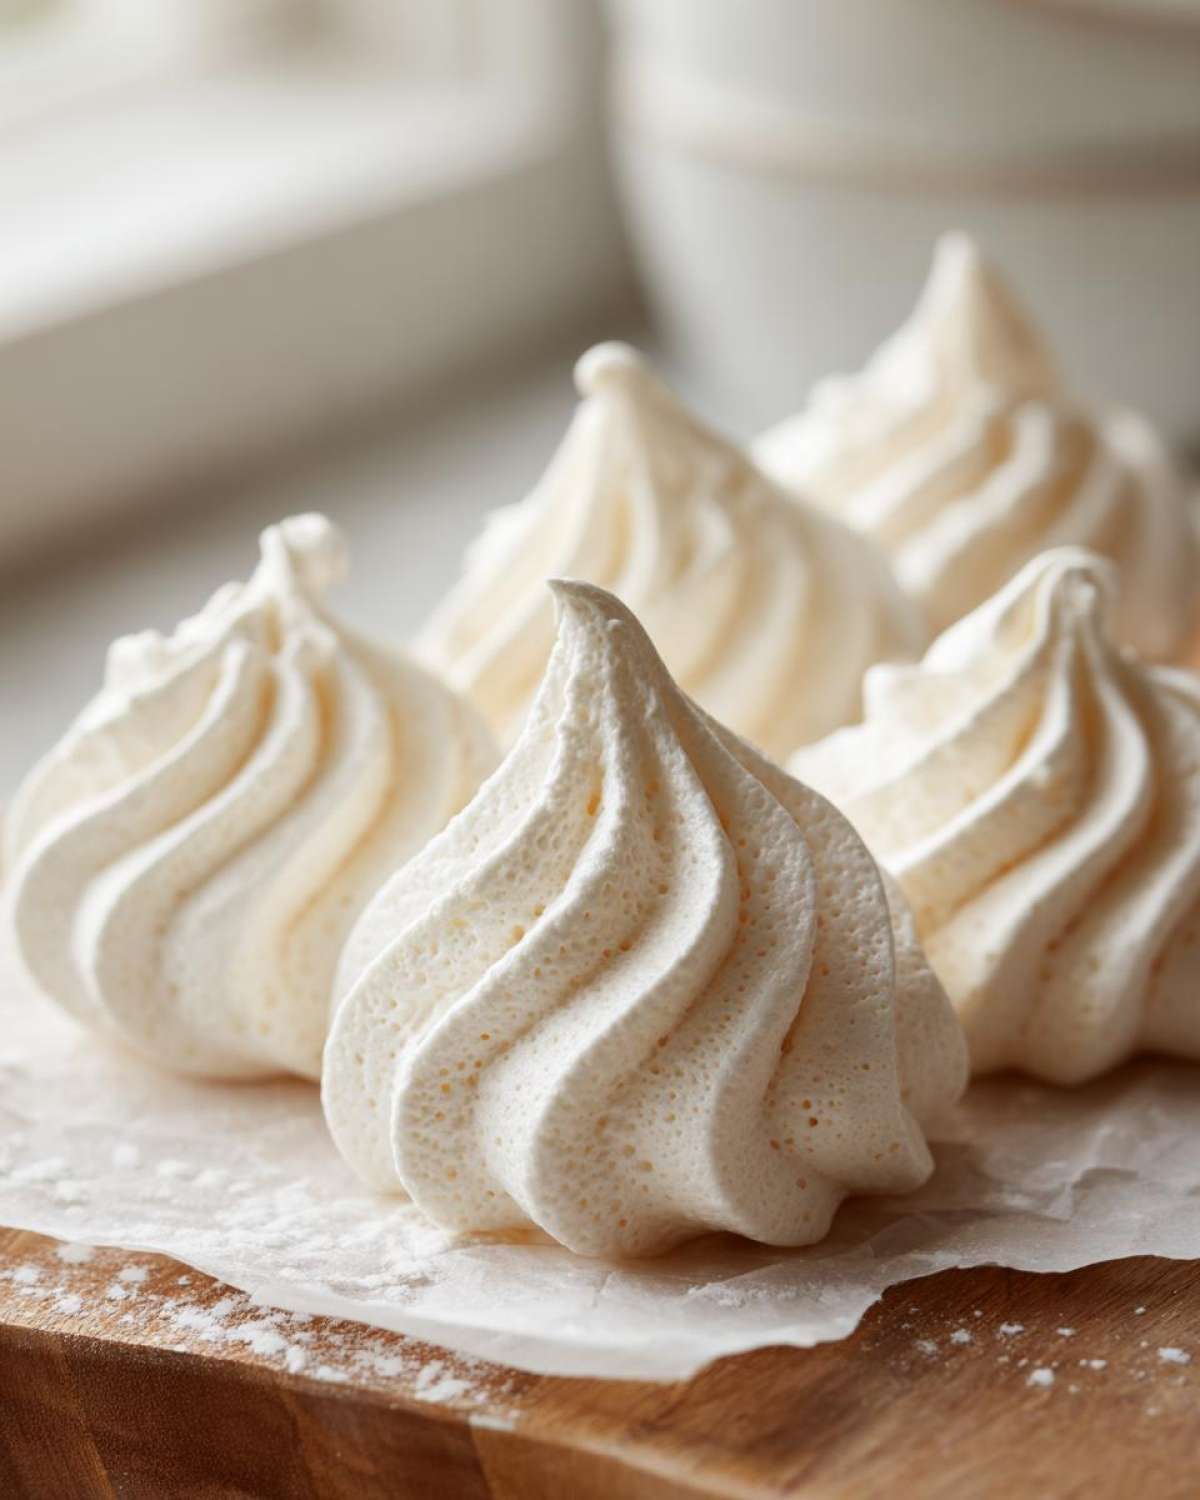
How do you know when you’ve gone far enough? You’ll see the meringue is bright white and incredibly glossy—it should look like polished marble. When you lift the whisk, the peak that forms should stand straight up without flopping over; that’s stiff peak status for your Classic Meringue Kisses Recipe! The true test I learned from my Auntie is the ‘rub test.’ Take a tiny bit between your thumb and forefinger and rub them together. If you can feel *any* sugar granules, keep whipping! If it feels completely smooth, you’re done mixing. Stop right there. Over-mixing at this stage is what causes weeping later on—we are aiming for perfect, stable meringue cookies, not disaster!
The Crucial Drying Phase for Crispy Meringue Treats
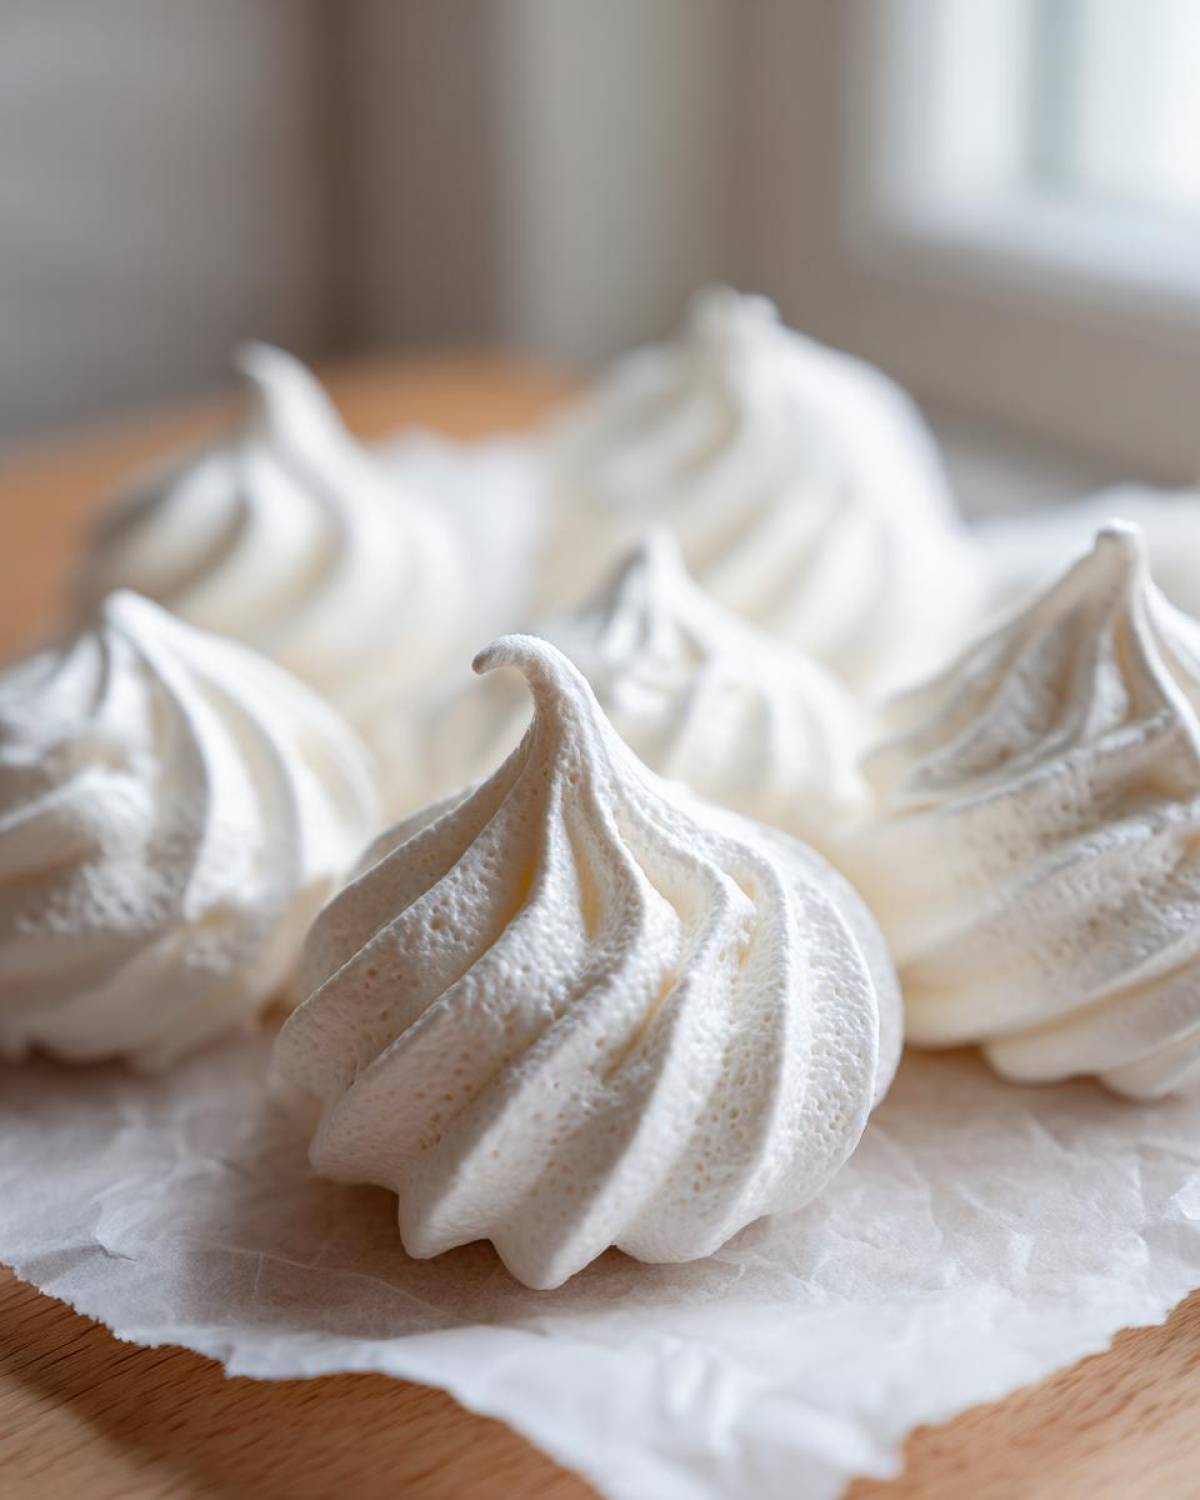
Once you’ve piped out your little kisses—tip them out slowly and carefully!—they need to dry, dry, dry. Pop them into that low oven for about an hour and a half to two hours. Remember, they aren’t truly baking; they are slowly dehydrating. You want them to look set and sound hollow when tapped gently, but they shouldn’t be brown at all! This is the step people rush, and it ruins everything. Once the time is nearing its end, turn the oven OFF. Don’t open the door! Just prop it open a crack with a wooden spoon—I learned this trick from a wonderful source; you can read about making French meringue too if you want the deep dive—and leave those delicate shells inside for at least another hour, or even overnight if you can resist! That slow cool-down prevents nasty cracking and makes sure you get those totally Crispy Meringue Treats.
Flavor Variations for Your Homemade Meringue Gifts
While my original Vanilla Meringue Recipe is pure, sweet perfection, sometimes you just need a little zing, especially when you’re getting ready for a massive cookie swap! These little clouds are the perfect vehicle for adding fun flavors. Remember that beautiful, stiff meringue we made? Whatever you choose to add—flavoring or color—it must be gently folded in right at the very end, after the sugar is fully dissolved. We are trying to keep all that lovely air we just whipped in there, so treat the meringue like it’s spun glass! It’s so rewarding to turn these into gorgeous Holiday Meringue Cookie Ideas that look professional but are secretly so easy.
Creating Festive Peppermint Meringue Cookies
For a wonderful winter treat that feels super festive, you simply must try the peppermint swirl. This variation is fantastic for gifting—they look like tiny, sweet snowballs! Once your meringue is perfectly stiff and glossy, gently fold in about a teaspoon of pure peppermint extract. Be careful not to overmix; just two or three gentle folds is plenty. If you want that lovely red and white swirl, reserve about a third of the meringue before adding the extract. Take a piping bag fitted with a star tip and alternate scooping the plain white meringue and the peppermint meringue into the bag. When piped out, you get that beautiful, festive contrast! If you’re looking for more holiday flavor ideas that pack a punch, you should check out my recipe for our favorite candy cane brownies.
Easy Jello Meringue Cookie Recipe Color and Flavor
If you saw someone raving about Jello Meringue Cookie Recipe variations on Pinterest, they weren’t kidding! This is such a simple way to get vibrant color and a slight fruity tang without messing up the chemistry. You just need about one tablespoon of the dry Jello powder—any flavor works! Wait until the meringue peaks are stiff, then gently sprinkle the powder over the meringue. Fold it in with the lightest of hands until you just see streaks of color appear. I prefer to do just a few swirls so that the cookie remains mostly white but has these beautiful, subtle ribbons of pink, green, or blue running through it. It’s such an easy trick to elevate these from simple sweet treats to stunning desserts, and you can see how others have done beautiful swirls over at Lucia’s site for holiday inspiration.
Tips for Success When Making Meringue Cookies
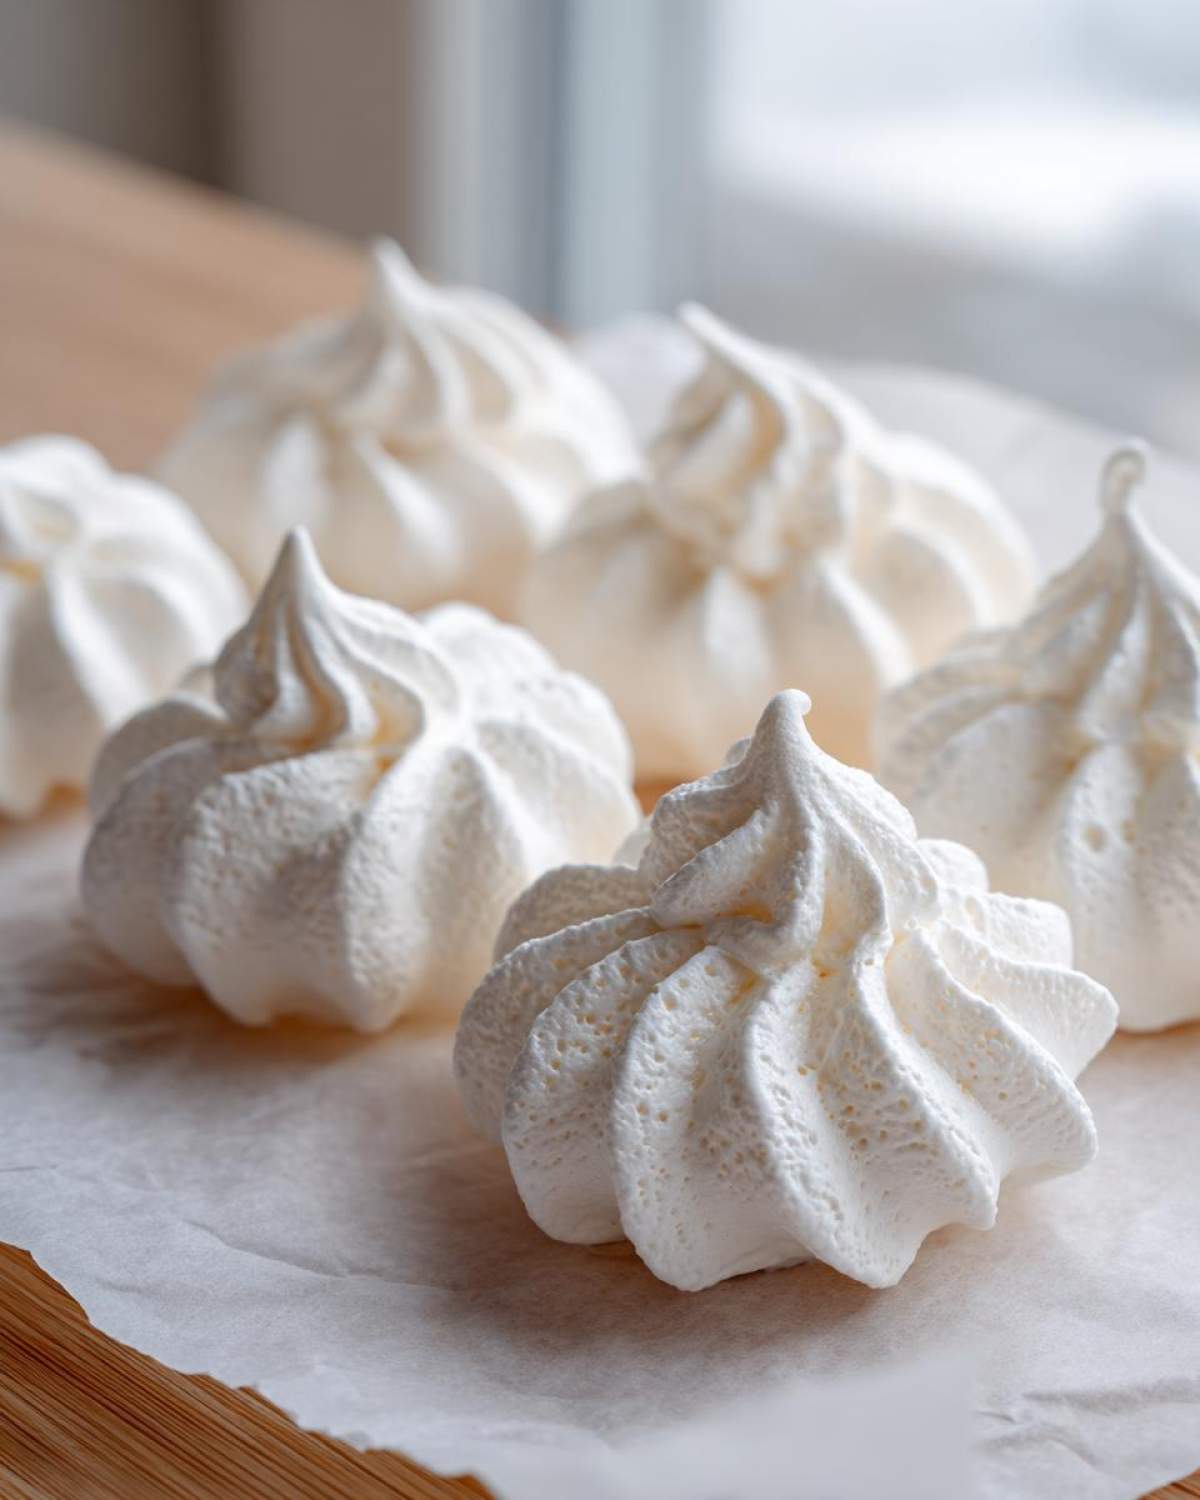
Making these gorgeous, delicate sweets is super satisfying, but you have to treat your egg whites right! If you follow the recipe exactly, you’re already 90% there, but let me give you the three things I focus on obsessively to ensure I get those non-sticky, crunchy, Melt in Your Mouth Cookies every single time. First, that humidity factor! If it’s raining outside, skip the meringue. Seriously! Meringue is essentially sugar holding onto air, and humid air is already too full of water vapor to let your cookies dry out properly; they will stay sticky, no matter how low your oven setting is. Check the forecast!
Second, we already talked about the grease-free bowl, but it bears repeating because it’s the number one reason people fail. Wipe down your implements! Even the tiniest bit of oil from a previous batch or a drop of yolk will stop your egg whites from achieving the fluff required for those stunning meringue kisses. Make sure your egg whites reach that perfect stiff peak before you even entertain the idea of moving on. This step takes time, and rushing it means you sacrifice the beautiful structure you are trying to build.
My grandmother, who made the most breathtakingly perfect meringue cookies, had one specific piece of advice for me whenever I got frustrated waiting for the low oven to dry them out. She didn’t worry about the oven temperature as much as she worried about what happened *after* the baking time. She told me, “Amina, the bake only sets the shape; the cooling process is what seals the crispness.” That’s why we insist on that slow cool-down inside the turned-off oven. It prevents the outside from shocking when it hits cooler air, which causes those frustrating cracks. If you’re looking for other classic holiday recipes that require patience, you should check out my favorite moist carrot cake; it teaches a similar lesson about slow transformation in the oven!
Storing Your Delicate Sweet Treats
Okay, we did it! We have racks full of the most gorgeous, delicate, melt-in-your-mouth meringue cookies. Now for the crucial next step: keeping them perfect! These are not like chocolate chip cookies that thrive on sitting out. Meringue cookies are basically sugar magnets for moisture in the air, and humidity is their absolute nemesis. If you leave them out on the counter, they will start getting sticky and soft in just a few hours—and trust me, nobody wants a sticky meringue kiss!
The rule here is simple: airtight containers only! I use sturdy cookie tins with parchment paper lining, or really heavy-duty Ziploc containers. Make sure they are completely dry inside before you add the cookies. I usually wait until they are fully room temperature and completely cool from the oven—like, I leave them on the counter overnight after baking—before I even think about packing them away.
You can keep them stored this way at room temperature for a good week, easy. But here’s the warning from Amina’s kitchen: Do not try to freeze them. I tried once, thinking I was being clever, and it was disaster! The moisture from the freezer air clung to them, and they came out weeping and gooey. These little clouds are best enjoyed fresh within a week, but honestly, judging by how fast David eats them, they never last that long anyway!
Serving Suggestions for Meringue Cookies
You’ve done the hard part—you’ve made these delicate, impossibly light Melt in Your Mouth Cookies! Now, how do we show them off? Honestly, just seeing them piled up on a pretty platter makes my heart happy, but these little puffs deserve a little fanfare on serving day. They look amazing simply placed next to a steaming cup of coffee or hot chocolate. The contrast between the hot drink and the crisp, cool sweetness is just heavenly.
If you’re celebrating something big, like a birthday or even just surviving a tough week, stack a few on top of a simple dessert! They make the most elegant, zero-fuss cake toppers. Imagine them nestled around the edge of a chocolate cake—instant elegance! If you have a favorite creamy dessert, like a silky pudding, these are wonderful crumbled over the top for texture. Speaking of smooth, if you ever make my creamy stovetop rice pudding documented here at my favorite rice pudding recipe, crumble a few vanilla meringues over your bowl instead of the cinnamon for a totally different experience.
My favorite way to serve them when hosting holidays, though, is assembling them into tiny sandwiches. Find two meringue cookies that are roughly the same size and spread a tiny layer of something creamy in the middle—vanilla buttercream works great, but a thin layer of raspberry jam also adds a lovely color and tang. They become tiny, bite-sized desserts that just disappear the second they hit someone’s hand. Enjoy showing off these stunning, simple treats!
Frequently Asked Questions About Meringue Cookies
I get so many lovely messages asking about specific stages of the meringue process, and that’s wonderful! It just means you’re paying close attention, which is the secret to perfect baking. Since we are making such delightfully Delicate Sweet Treats here, sometimes a few extra details can clear up any confusion. That’s why I wanted to gather a few common questions right here. Don’t forget, if you want to know more about David and me, you can always hop over to our About Us page!
Can I make these meringue cookies without a stand mixer?
Yes, you absolutely can! These are truly Simple Egg White Desserts that don’t *require* fancy equipment, but just know that your arm is going to get a serious workout! If you are using a handheld electric mixer, it’s doable, but you need to be diligent about scraping down the sides often. If you’re doing this entirely by hand with a balloon whisk? Wow, I salute you! You’ll likely need about 20 minutes of non-stop, vigorous beating to reach those stiff peaks. My biggest piece of advice if you’re beating by hand is to make sure your bowl is metal or glass, not plastic. Plastic bowls sometimes retain invisible grease residue, and we just can’t risk that fat interfering with our beautiful egg whites!
Why did my meringue weep or crack after baking?
Oh, the dreaded weep! Weeping—when little beads of sugary syrup form on the surface of your meringue cookies—usually happens for one of two reasons. Nine times out of ten, it means the sugar wasn’t fully dissolved before you put them in the oven. That grit sinks to the bottom and leaks out as it bakes. That’s why we spent so much time checking for that smooth rub test! Cracking, on the other hand, is almost always a temperature shock. It means the outside baked too fast and set before the inside could slowly dry. That’s why we turn the oven off and let them cool gradually inside. Be patient; that slow cool-down equals non-cracked, perfect Crispy Meringue Treats!
What is the best oven temperature for meringue cookies?
The best temperature for almost all French meringue recipes is incredibly low. Remember, we aren’t baking them in the traditional sense; we are drying them out slowly. You want the temperature set as low as your oven will go, generally between 175°F and 200°F (80°C–95°C). If your oven dips below 175°F, it might not dry them fast enough to set the structure, and if it gets much hotter than 200°F, you risk them browning or developing that sticky syrup weep we talked about. Low and slow is the name of the game for achieving that wonderful, crisp shell!
Do I have to use cream of tartar for this meringue kisses recipe?
You really, truly should. While there are substitutes—a tiny splash of white vinegar or lemon juice works in an absolute pinch—the cream of tartar is the professional standard for stabilizing the protein in the egg whites. It gives you that fantastic insurance policy against deflation, making sure you get those tall, firm peaks necessary for a beautiful Meringue Kisses Recipe. Since this recipe relies heavily on just a few ingredients, cutting out the stabilizer can lead to soft, unstable foam that won’t hold its shape when piped!
Share Your Meringue Cookie Creations
Now that you have conquered the art of the perfect, delicate *meringue cookies*, the best part is showing them off! My heart just swells when I hear from you all—especially when someone says they finally overcame their fear of egg whites and made these fluffy clouds successfully.
I truly want to see what you created! Did you stick with the classic vanilla? Or did you get brave and try the Peppermint swirl or maybe even color them pink for Easter? Head down to the comments section below and give this recipe a rating. A simple five-star review helps other bakers feel the confidence to jump in and try these too!
If you snap a picture of your *light, airy cookies*, please tag us on social media! Seeing your beautiful, delicate sweet treats makes all the careful whipping worth it. We always share our favorite community photos on our main blog page. Remember what David always says? Cooking should be a celebration, not a chore. Making these meringue kisses is a perfect snap of joy captured in a sweet, crisp bite.
Thank you, from the bottom of our hearts, for baking with us today. We’re Amina and David, and we hope these delightfully melt-in-your-mouth treats bring a little magic (and a lot less fuss!) to your kitchen. Happy baking, everyone!
PrintThe Ultimate Easy Meringue Cookies Recipe: Light, Crisp, and Perfect Every Time

Learn how to make light, airy meringue cookies that are crisp on the outside and melt in your mouth soft on the inside. This simple French meringue recipe is foolproof for beginners and perfect for holiday baking or edible gifts.
- Prep Time: 20 min
- Cook Time: 120 min
- Total Time: 140 min
- Yield: About 3 dozen
- Category: Dessert
- Method: Baking
- Cuisine: American
- Diet: Gluten Free
Ingredients
- 4 large egg whites, room temperature
- 1 cup granulated sugar
- 1 teaspoon pure vanilla extract
- 1/4 teaspoon cream of tartar
- Pinch of salt
Instructions
- Preheat your oven to the lowest setting, usually between 175°F and 200°F (80°C and 95°C). Line two large baking sheets with parchment paper.
- Place the egg whites and cream of tartar in the clean, dry bowl of a stand mixer fitted with the whisk attachment. Beat on medium speed until soft peaks form.
- Slowly add the granulated sugar, about one tablespoon at a time, while the mixer runs on medium-high speed. Wait about 30 seconds between each addition. This slow addition is key to stable meringue.
- Once all the sugar is added, increase the speed to high and beat until the meringue is stiff, glossy, and holds firm peaks. When you rub a small amount between your fingers, you should not feel any sugar granules.
- Beat in the vanilla extract on low speed just until combined.
- Transfer the meringue to a large piping bag fitted with your desired tip (a star tip creates classic meringue kisses).
- Pipe small mounds or kisses onto the prepared baking sheets, leaving about one inch between each cookie.
- Bake (or dry out) the meringue cookies for 1.5 to 2 hours, depending on their size. The goal is to dry them completely, not brown them.
- Turn off the oven, prop the door open slightly with a wooden spoon, and allow the cookies to cool completely inside the oven for at least 1 hour, or preferably overnight. This prevents cracking.
- Once completely cool and dry, store the meringue cookies in an airtight container at room temperature.
Notes
- Use room temperature egg whites; they whip up higher and faster than cold ones.
- Ensure your mixing bowl and whisk attachment are completely free of any grease or water; fat prevents the meringue from forming stiff peaks.
- For festive color or flavor variations, gently fold in 1 tablespoon of Jello powder or a few drops of peppermint extract just before the final mixing stage.
- If you do not have a piping bag, you can drop spoonfuls onto the sheet for a rustic look.
Nutrition
- Serving Size: 2 cookies
- Calories: 60
- Sugar: 15
- Sodium: 5
- Fat: 0
- Saturated Fat: 0
- Unsaturated Fat: 0
- Trans Fat: 0
- Carbohydrates: 15
- Fiber: 0
- Protein: 1
- Cholesterol: 0