

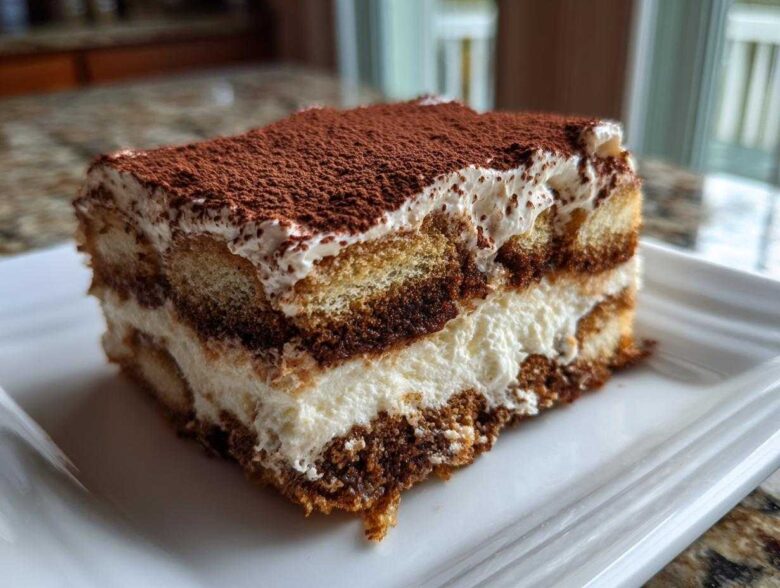
Oh my goodness, if you love when two perfect desserts decide to get married, you are going to lose it over this creation! I live for those moments in the kitchen where you take two completely iconic flavors—the creamy richness of cheesecake and the bittersweet, coffee-soaked magic of true Italian tiramisu—and just smash them together. It sounds wild, I know, but trust me, the **tiramisu cheesecake** is pure alchemy. The deep, dark espresso just cuts through the richness of that buttery mascarpone filling perfectly. It’s intense, it’s luxurious, and honestly, it’s my secret weapon for impressing people without turning on the oven!
For this recipe, we are keeping things blissfully simple and focusing on that gorgeous, silky smooth texture that only a no-bake treat can deliver. We aren’t wrestling with a water bath or worrying about cracks here. We are heading straight for the fridge, and I promise, the results will be better than anything you find at a fancy bakery. If you love this flavor profile, you absolutely must check out my classic guide to [easy no-bake tiramisu] too!
We are heading straight for the fridge, and I promise, the results will be better than anything you find at a fancy bakery. Check out how easy it is to build these layers!
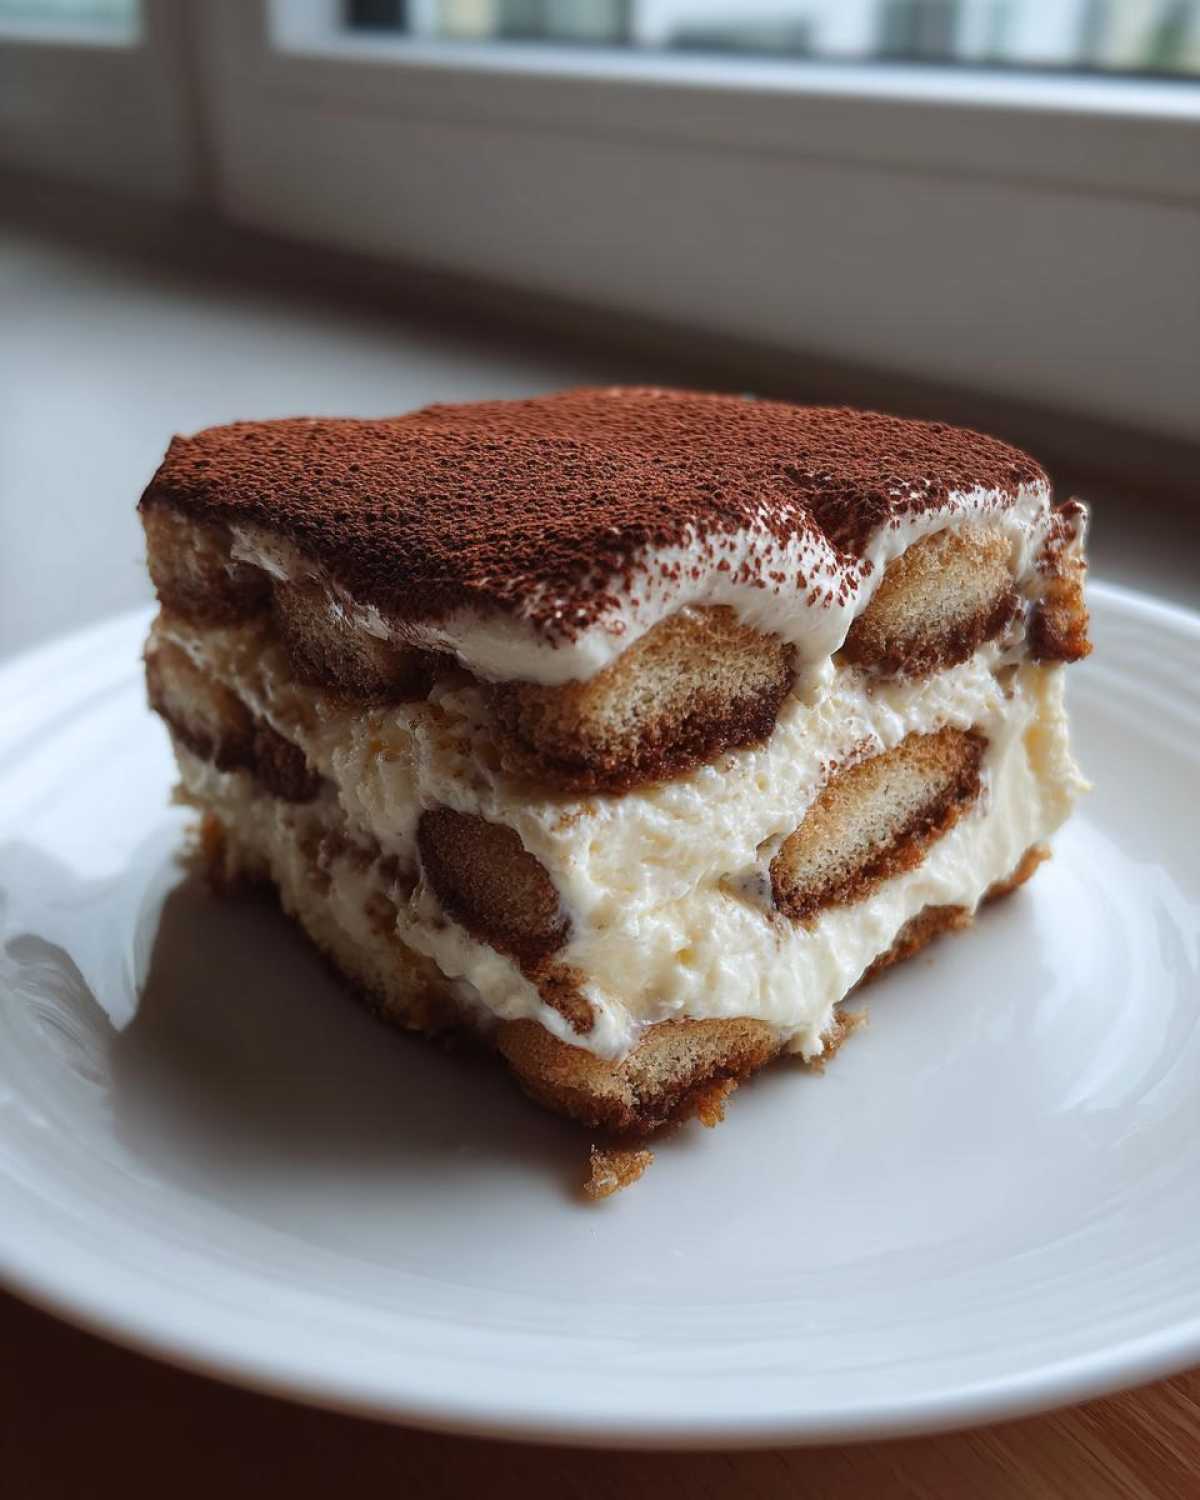
Why This No Bake Tiramisu Cheesecake is Your Next Showstopper Dessert
Seriously, if you need a dessert that looks like you spent three days sweating over it but actually took less than an hour of active work, this is it. This **tiramisu cheesecake** is packed with benefits that busy cooks (like us!) absolutely need in our rotation.
- It’s the ultimate no-oven dessert—hello, cool summer kitchen!
- It’s perfect for make ahead dessert ideas because it needs that long chill time anyway.
- The texture is just incredible—so creamy and light.
- It’s guaranteed to be a dinner party showstopper dessert!
Key Attributes of Our Tiramisu Cheesecake Recipe
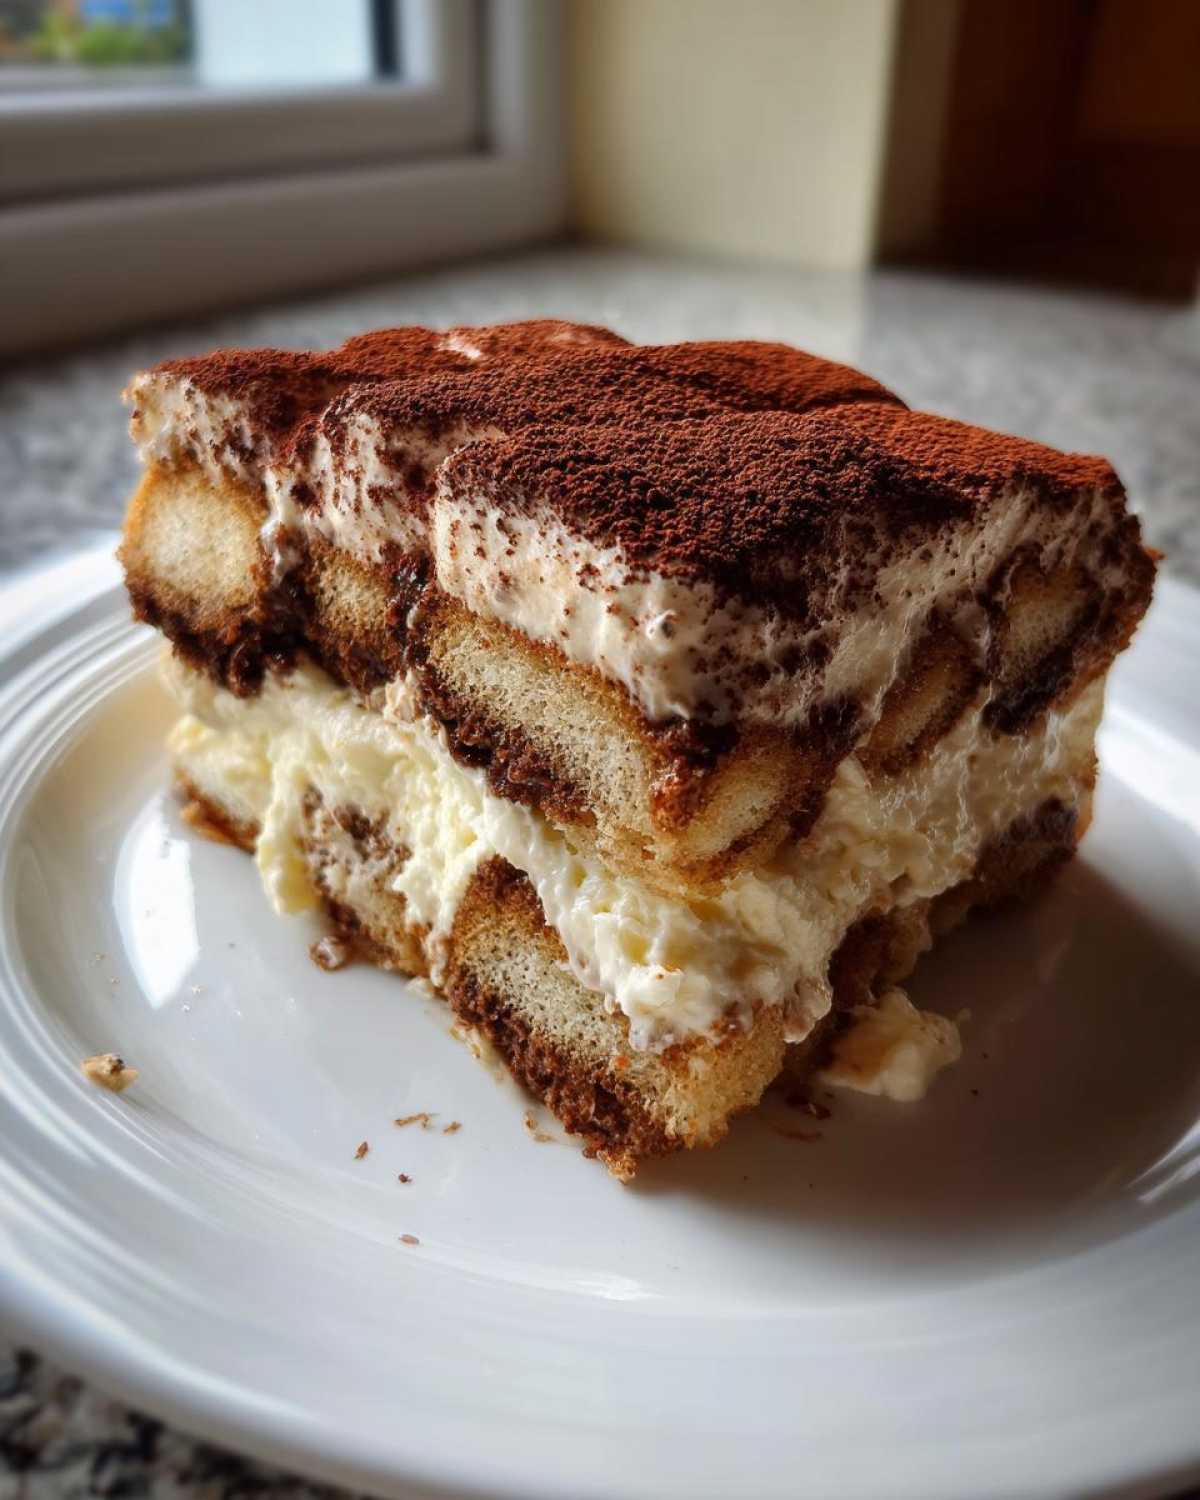
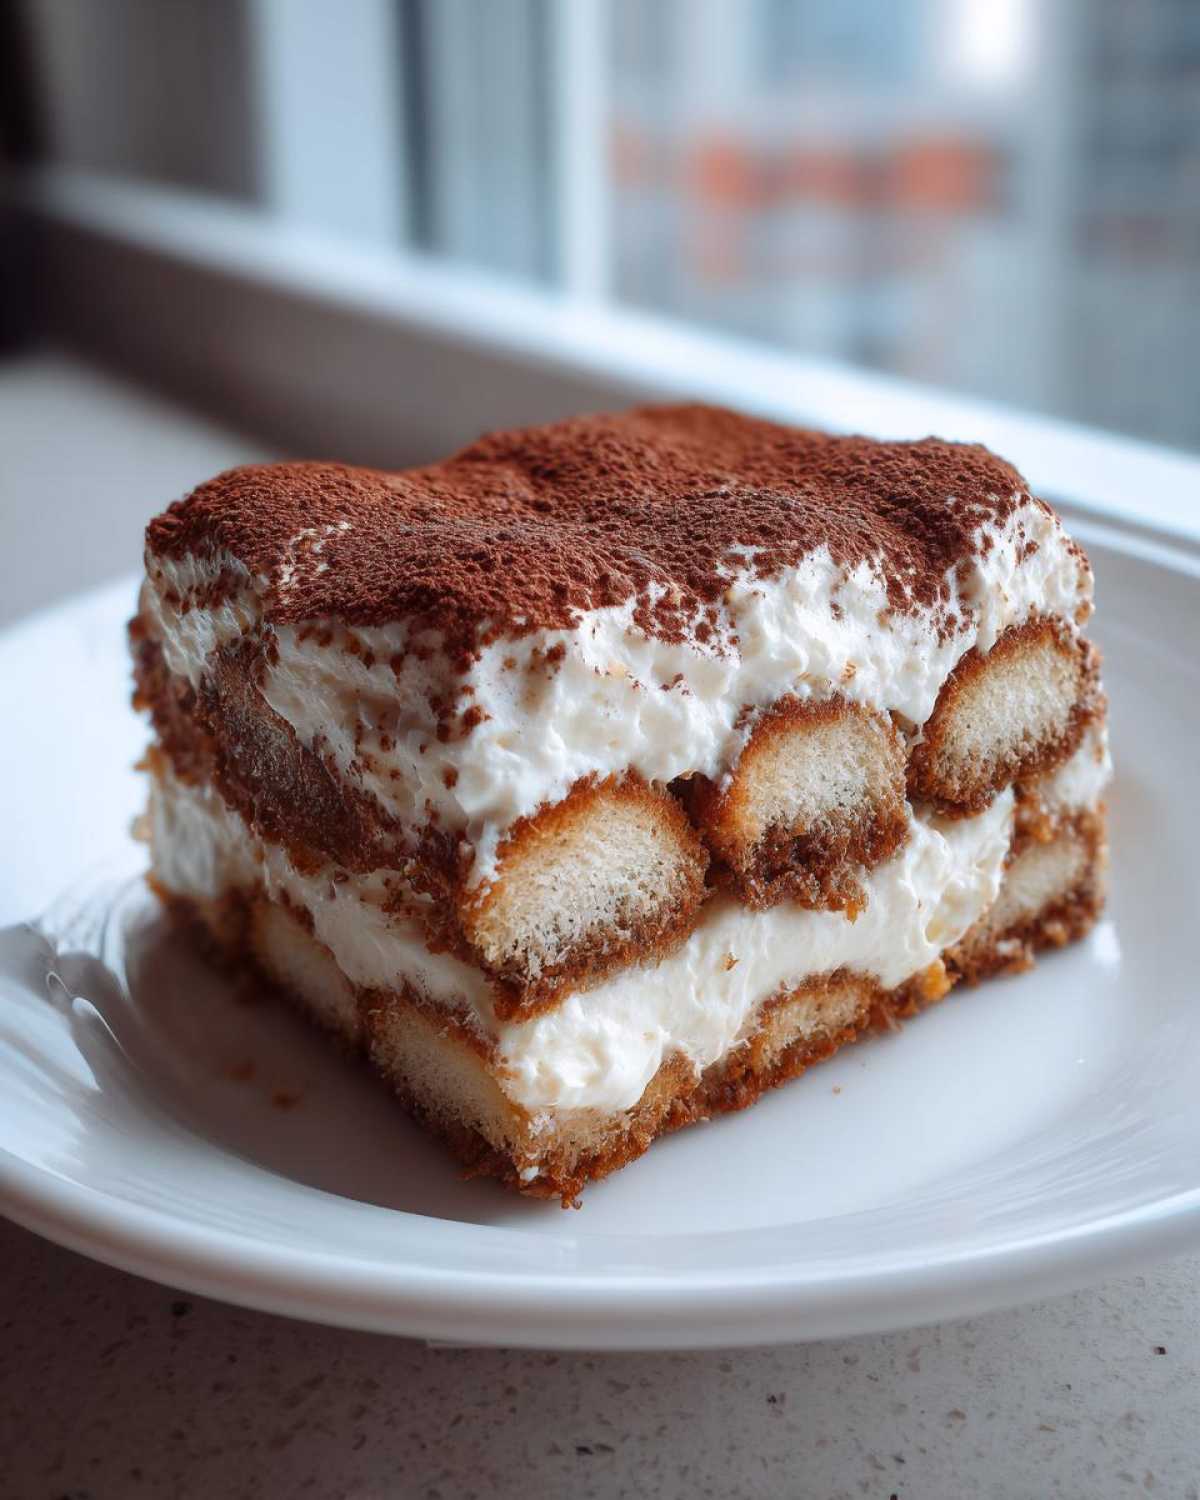
What sets this fusion apart is that silky smooth cheesecake texture—it just melts in your mouth. We trade out some of that dense, cakey quality of traditional tiramisu for pure, dreamy creaminess. Then we hit you with that intense espresso blast that cuts through the richness. That balance between the sweet cheese filling and the robust coffee soak is what makes this **tiramisu cheesecake** truly special. You’ll see those dark, coffee-soaked layers peeking out, and you just know you’re about to eat something amazing.
Gathering Ingredients for Your Creamy Mascarpone Dessert
Okay, let’s talk about what you need to grab. Forget fussy things; this list is simple but demands quality where it counts—especially that cheese! We need graham cracker crumbs for a sturdy base, the usual suspects like butter and sugar, and then the stars: cream cheese and mascarpone. You’ll need a full 8 ounces of that gorgeous **mascarpone cheese**, and listen closely—it absolutely must be room temperature, or you’ll get little lumps. Trust me, we want this filling smooth as silk! We are building up the layers for a fantastic layered cheesecake recipe here.
We also need heavy cream whipped up stiff, vanilla for warmth, and of course, a cup of espresso that’s already cooled down. Don’t skimp on the coffee concentrate here; that’s where our **tiramisu cheesecake** gets its signature kick!
Ingredient Notes and Substitutions for Tiramisu Cheesecake
Since this is a **coffee cheesecake fusion**, the coffee is non-negotiable for flavor, but you can adjust the strength! If you only have instant coffee, mix about 2 tablespoons of dark roast instant coffee into 1 cup of very hot water, then let it cool completely. That’s usually strong enough.
Regarding the liqueur—if you don’t want alcohol, skip it! The flavor is primarily delivered by the espresso anyway. And for the ladyfingers? If you can’t find the classic Savoiardi (the hard, dry kind), you can use vanilla wafers or even thin shortbread cookies for your base layer, though you might need to soak them just a hair longer. Remember, room temperature mascarpone is key for that perfectly smooth top layer when making your **tiramisu cheesecake** filling.
Step-by-Step Instructions for the No Bake Tiramisu Cheesecake
Alright, this is where the magic happens! Don’t be intimidated by the layering; it’s actually super straightforward assembly work. First things first: we need a solid foundation for our masterpiece. Mix up your graham cracker crumbs, sugar, and melted butter, and press that firmly into your 9-inch springform pan. Pop that crust into the freezer right away; it needs to chill for a solid 15 minutes while you handle the amazing filling. Now you can get to making that velvety filling before starting the fun part of this snickerdoodle cheesecake cousin!
Once the filling base is done, it’s time for the espresso dip. This is crucial for that authentic **tiramisu cheesecake** flavor!
Mastering the Espresso Ladyfinger Layer in Your Tiramisu Cheesecake
This step separates the good from the *great*. You need a shallow dish with your cooled espresso and optional coffee liqueur ready to go. Grab a ladyfinger and dip it quickly—I mean a second, maybe two at most! If you soak them too long, they disintegrate, and that ruins the structure of your whole layered cheesecake recipe. You want them just moistened, not soggy bombs! Arrange that first layer snugly over the chilled crust. Then, spread half your decadent filling evenly over the cookies. Repeat the dipping process for the second layer of ladyfingers, top with the remaining filling, and smooth the top beautifully.
Chilling and Finishing Touches for the Ultimate Dessert Mashup
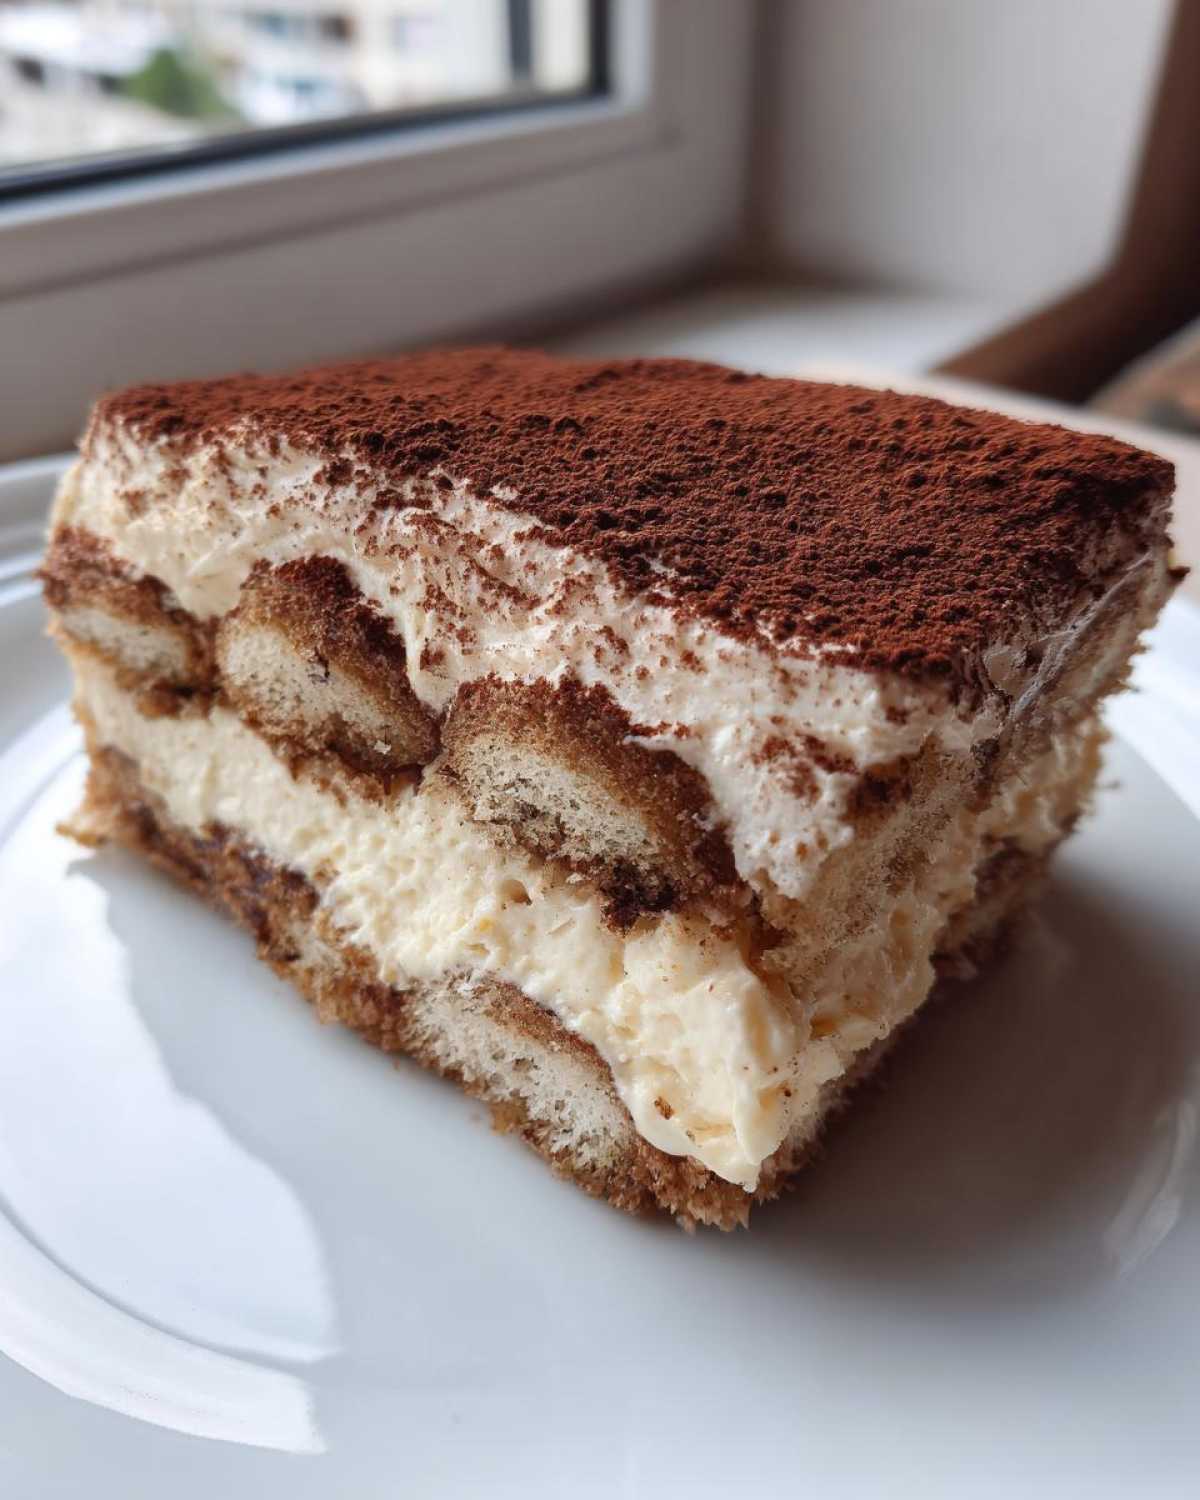
Now comes the hardest part: waiting! You absolutely must refrigerate your **tiramisu cheesecake** for a minimum of 6 hours, but I always push for overnight chilling. That long chill time is what allows the mascarpone filling to set up perfectly firm, giving you that perfect slice without any sad slumping. Once it’s rock solid, carefully release the springform ring. Now for the grand finale! Dust the entire top generously with good quality unsweetened cocoa powder. Make sure you dust it evenly so every slice of this ultimate dessert mashup looks stunning before serving.
Tips for Success When Making Tiramisu Cheesecake
I’ve learned a few tricks over the years to make sure this **tiramisu cheesecake** comes out absolutely flawless—honestly, it’s mostly about how you handle the whipped cream. To get that signature silky smooth cheesecake texture, you need to whip your heavy cream until you get stiff peaks. Don’t stop too early, or it won’t hold its loft!
When you fold that whipped cream into your mascarpone mixture, you have to be gentle. Use a spatula and cut straight down the middle, then sweep up and over, turning the bowl as you go. Don’t stir vigorously; we are trying to keep all those lovely air bubbles that make the filling so light!
Also, while the graham cracker crust is firm, if you are worried about cutting neat slices, line the bottom of your springform pan with a circle of parchment paper before pressing the crumbs in. This little trick, which I use for my easy classic apple cobbler recipe too, ensures a clean release every single time. You want that perfect look when you dust on that cocoa!
Variations: Exploring Baked Tiramisu Cheesecake Options
Now, I know some of you out there *love* that classic, denser cheesecake texture that you can only get from turning on the heat. If you’re craving a **baked tiramisu cheesecake**, it’s totally doable, but it’s a different beast! The main difference, besides, you know, baking it, is that you usually reduce the amount of whipped cream or skip it entirely since the eggs do the heavy lifting for structure in the oven.
If you go the baked route, you’ll want to check out my main guide on [homemade chocolate cake recipe] for tips on managing oven heat consistency. A baked version generally bakes at a lower temperature, around 325°F, until it’s just set but still jiggly in the middle. This makes it a much longer project, which is why I adore the no-bake version for weeknights! But hey, either way you slice it, if you’ve got **mascarpone cheese** and coffee involved, you can’t really go wrong.
Serving Suggestions for Your Tiramisu Cheesecake
Once you’ve unveiled that gorgeous, cocoa-dusted top, the hard work is done! Since this **tiramisu cheesecake** is already so rich and flavorful, you don’t need a ton of heavy sides. I find that a little brightness really elevates the coffee notes. A few fresh raspberries or sliced strawberries on the side are just perfect. They add a lovely color contrast and a little tartness that cleanses the palate!
If you want something a little extra, grab some dark chocolate shavings—not too much, just a light scattering—for texture. You can even serve it alongside a simple, light vanilla bean whipped cream, though honestly, my favorite companion is always just a strong cup of espresso, just like my favorite easy fruit dip recipe needs a good dipper!
Storage and Reheating Instructions for Leftover Tiramisu Cheesecake
I truly hope you have leftovers because this **tiramisu cheesecake** is even better the second day once those coffee flavors really sink in! You need to store it tightly covered in the fridge. It stays wonderfully fresh for about four to five days. Seriously, it keeps that amazing texture for days!
If you must freeze it—which I only do if I’m hiding it from myself—wrap the entire, uncut cake very tightly in plastic wrap, then foil. It freezes well for up to a month. When you’re ready to eat it, you absolutely have to thaw it slowly in the refrigerator overnight. Quick thawing is the enemy of a creamy mascarpone dessert; slow thawing keeps that beautiful texture intact!
Frequently Asked Questions About Tiramisu Cheesecake
I get so many helpful questions about this **tiramisu cheesecake**, and honestly, they are all great! Because we are merging two classic Italian desserts, people always want to know how flexible the recipe is.
You mentioned making it without alcohol, which is a very common question, plus we need to talk about getting that perfect espresso flavor in this carrot cake recipe cousin!
Can I make this Tiramisu Cheesecake without alcohol?
Yes, absolutely! You can easily skip the coffee liqueur. Since we rely so heavily on that coffee flavor for our **cream-cheese mascarpone dessert**, the best trick is to just use a bit more of your cooled espresso in the soaking liquid—maybe bump it up to 1 1/4 cups total liquid. That way, you keep that intense flavor profile without needing any alcohol at all. It’s still just as decadent!
What is the best coffee to use for this Coffee Cheesecake Fusion?
If you have an espresso machine, use that! That’s what gives you the deepest, richest flavor needed for a proper coffee cheesecake fusion. However, if you don’t have an espresso maker, don’t panic! Make a very strong brew using a Moka pot or even a standard drip machine, but use half the amount of water you normally would for the coffee grounds. The key for this **tiramisu cheesecake** is strong, concentrated coffee, not weak diner coffee!
Another question I get a lot is about the pan size. Since this is a no-bake recipe, stick to a 9-inch springform pan. If you use an 8-inch pan, the filling layers will be too thick and it might not set quite right, even with overnight chilling. For best results and that amazing look we want, stick to the specified pan size for this Italian cheesecake idea!
Share Your Decadent Tiramisu Cheesecake Experience
Okay, now that you’ve made this incredible **tiramisu cheesecake**, I absolutely need to hear about it! Cooking is so much more fun when we share the results, right?
Did you manage the espresso soak perfectly? Did you go for the simple cocoa dusting or dress it up with chocolate shavings? I want to know what your favorite moment was while making this ultimate dessert mashup!
Please leave a rating right here on the blog so others know what you thought. If you snapped a picture of your gorgeous, layered dessert, tag me on social media! Seeing your creations always makes my day and reminds me why I love sharing these recipes with you all. Happy baking (or, well, happy *no-baking*)!
PrintDecadent No-Bake Tiramisu Cheesecake with Espresso-Soaked Ladyfingers
Make a creamy, no-bake cheesecake that combines the rich flavor of tiramisu with a smooth cheesecake texture, featuring coffee-soaked ladyfingers.
- Prep Time: 30 min
- Cook Time: 0 min
- Total Time: 6 hr 30 min
- Yield: 10 servings
- Category: Dessert
- Method: No Bake
- Cuisine: Italian Fusion
- Diet: Vegetarian
Ingredients
- 1 1/2 cups graham cracker crumbs
- 1/4 cup granulated sugar (for crust)
- 6 tablespoons unsalted butter, melted
- 1 package (8 ounces) cream cheese, softened
- 8 ounces mascarpone cheese, room temperature
- 1 cup powdered sugar, sifted
- 1 teaspoon vanilla extract
- 1/2 cup heavy whipping cream, cold
- 1 cup strong brewed espresso, cooled
- 1 teaspoon coffee liqueur (optional)
- 24-30 ladyfingers (Savoiardi)
- Unsweetened cocoa powder, for dusting
Instructions
- Prepare the crust: Mix graham cracker crumbs and 1/4 cup granulated sugar. Press the mixture firmly into the bottom of a 9-inch springform pan. Chill for 15 minutes.
- Beat the cream cheese and mascarpone cheese in a large bowl until smooth. Add the sifted powdered sugar and vanilla extract. Mix until just combined.
- In a separate bowl, whip the cold heavy cream until stiff peaks form. Gently fold the whipped cream into the cheese mixture until smooth.
- Prepare the soaking liquid: Combine the cooled espresso and coffee liqueur (if using) in a shallow dish.
- Quickly dip each ladyfinger into the espresso mixture, one at a time. Do not over-soak.
- Arrange a single layer of soaked ladyfingers over the chilled crust. Break pieces if necessary to fit.
- Spread half of the cheesecake filling evenly over the ladyfinger layer.
- Add a second layer of dipped ladyfingers.
- Top with the remaining cheesecake filling and smooth the top with a spatula.
- Cover the pan loosely with plastic wrap and refrigerate for at least 6 hours, or preferably overnight, until firm.
- Before serving, carefully remove the springform ring. Dust the top generously with unsweetened cocoa powder.
Notes
- For a stronger coffee flavor, use 1 1/2 cups of espresso for soaking.
- If you prefer a baked version, bake the cheesecake at 325°F for 50-60 minutes and cool completely before adding the ladyfinger layers.
- You can substitute vanilla wafers or shortbread cookies for the ladyfingers if needed.
Nutrition
- Serving Size: 1 slice
- Calories: 450
- Sugar: 35
- Sodium: 180
- Fat: 30
- Saturated Fat: 18
- Unsaturated Fat: 12
- Trans Fat: 0
- Carbohydrates: 38
- Fiber: 1
- Protein: 8
- Cholesterol: 95