

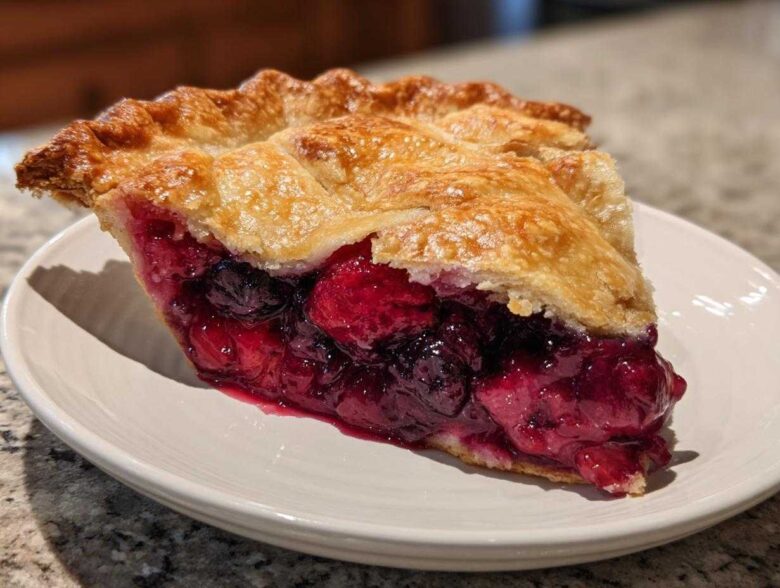
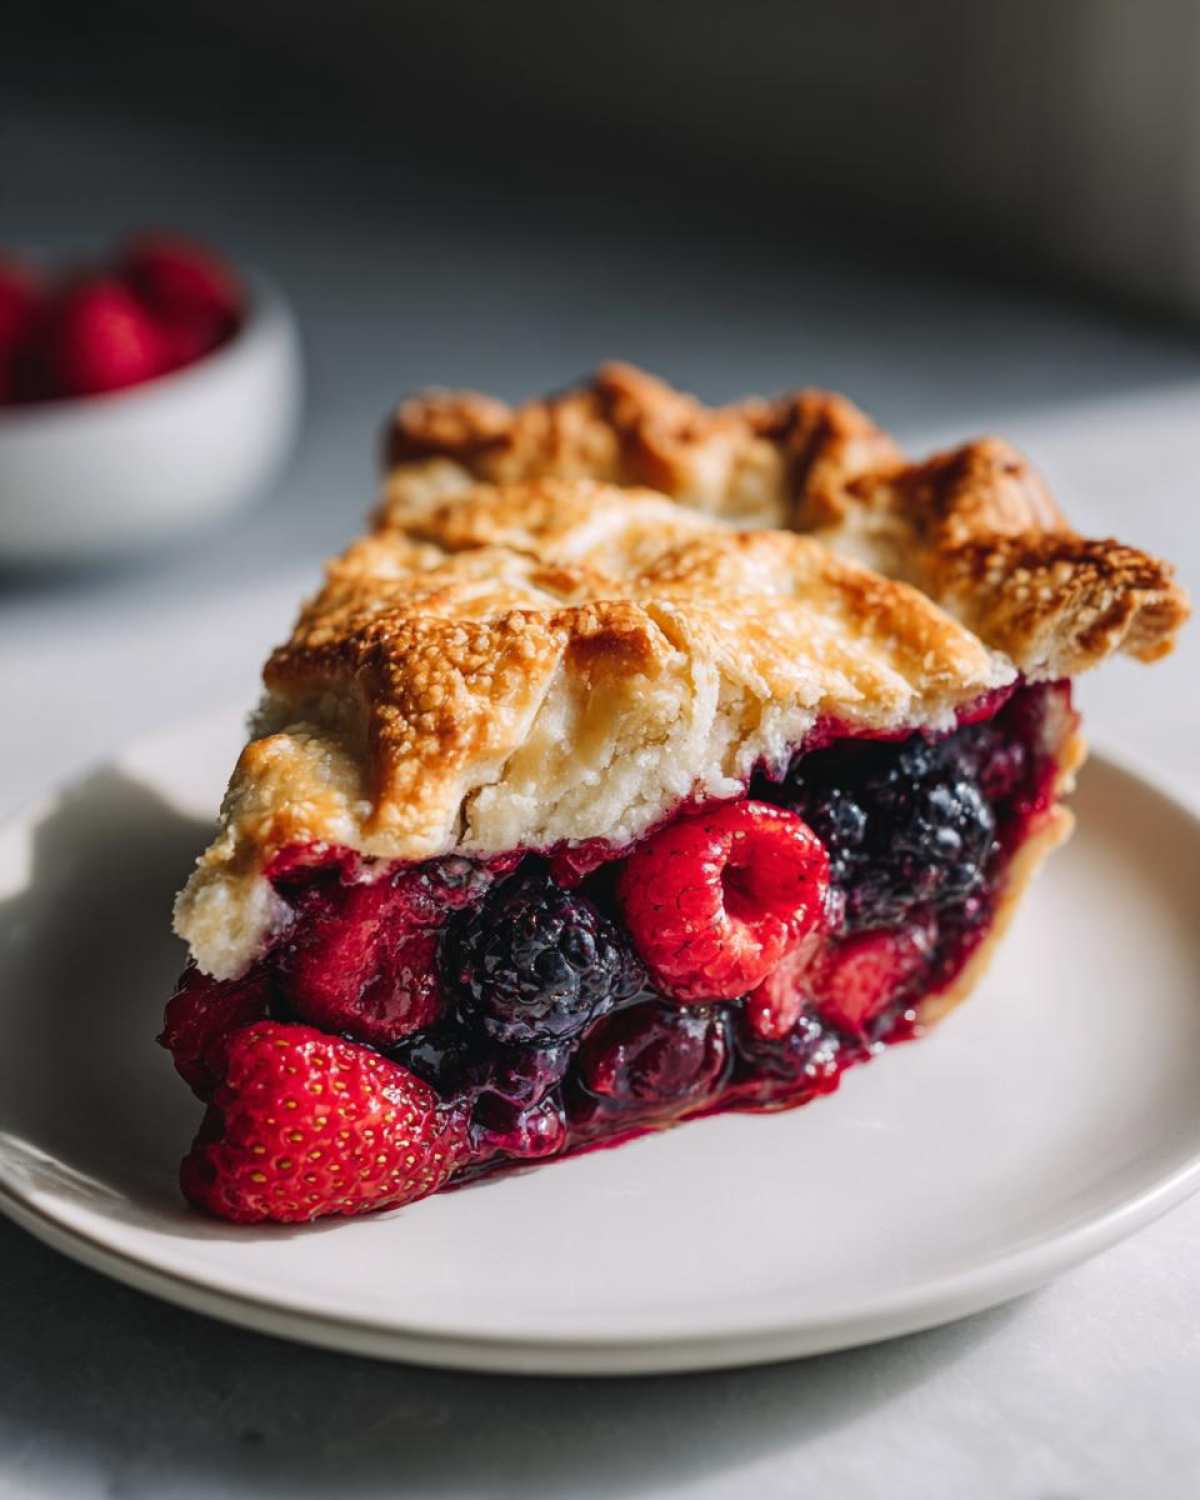
If summer had a flavor, believe me, it would taste exactly like this pie. When those berries are perfectly ripe—that tart punch from the raspberries, the soft sweetness of the blueberries, and the juicy strawberry bursts—you just have to celebrate them! For years, I tried everything to get that perfect, sturdy filling that never leaks everywhere when you slice it, and I finally cracked the code.
This isn’t just any fruit pie; this is my foolproof recipe for the absolute **best triple berry pie** you’ll ever bake. We’re talking about a crust that shatters beautifully into buttery layers, and a filling so perfectly set you could eat it with a fork the moment it cools down. Honestly, this recipe is based on years of perfecting my grandmother’s essential techniques, and I promise, it’s the only one you’ll ever need for the perfect summer tartness.
If you want to see all my best baking tips in one place, check out my main blog section!
Why This is the Best Triple Berry Pie Recipe You Will Ever Make
When you are dealing with mixed berries, folks often run into two huge headaches: either the bottom crust turns soggy or the filling runs everywhere like soup when you try to slice it. Ugh, that’s the worst!
Well, trust me on this one; this recipe fixes all that melodrama right up front. We use a secret combination of thickeners and a two-stage bake that ensures structure without sacrificing flavor. This is the ultimate summer dessert because it respects the fruit!
Key Features of Our Homemade Berry Pie
- We guarantee a flaky crust that stays crisp, not tough.
- The filling hits that sweet and tart spot perfectly—it’s bright!
- It’s incredibly adaptable; you don’t have to worry about using only fresh berries; frozen works like a charm too.
- You can find that full recipe detail right over here for your baking adventure.
Gathering Ingredients for Your Triple Berry Pie
Okay, let’s talk about what we need. Getting the right stuff is half the battle, especially when it comes to that famous flaky crust. My biggest piece of advice? Temperature matters here more than anywhere else in the recipe. If your butter isn’t frigid, you’re going to end up with a tough crust, and honestly, who has time for tough crust?
For this pie to sing, we need quality fruit and we need the right binder for the juices. Don’t forget to check out my favorite cookie recipes too, especially if you need a quick chewy fruitcake cookies!
Crust Components for a Flaky Pie
You’ll need the basics, but treated right. Make sure the butter is truly, deeply cold and cut into small cubes—think dime-sized pieces. That’s what creates those flaky pockets!
- 2 1/2 cups all-purpose flour
- 1 teaspoon salt
- 1 cup (2 sticks) **cold unsalted butter**, cut into small cubes
- 1/2 cup **ice water**, plus more if needed
The Sweet and Tart Berry Filling Mix
This is where the magic happens. The cornstarch is your MVP here; it grabs all those delicious juices and keeps them from turning your bottom crust soggy. It makes for such a juicy pie filling!
- 6 cups mixed berries (strawberries, blueberries, raspberries), hulled and halved if large
- 1 1/2 cups granulated sugar
- 1/4 cup **cornstarch** (Pay attention here—this is key for setting the filling!)
- 1 tablespoon lemon juice
- 1/4 teaspoon ground cinnamon
- And for the lovely golden finish: 1 large egg, beaten (for egg wash), and 1 tablespoon coarse sugar (for topping).
How to Make the Flaky Crust for this Triple Berry Pie
Listen, people get scared of making dough from scratch, but honestly, this is where you win or lose with any homemade berry pie. We are striving for those beautiful, delicate layers, and that only happens if you treat the butter like it’s fragile fine china. If you want a serious **flaky pie crust tutorial**, you need to keep everything icy cold and never, ever overwork the dough. Overmixing develops gluten, and gluten means tough slices—we are aiming for melt-in-your-mouth flakiness!
If that sounds intimidating, it shouldn’t! Once you master this technique, you’ll never look at store-bought disks again. Seriously, try rolling out your pie dough next to my incredible classic apple pie recipe; the steps are almost identical!
Mixing the Dough: Achieving Perfect Texture
First, whisk your dry ingredients. Then, drop in that cold, cubed **unsalted butter**. Use a pastry blender or, even better, just your fingertips, working quickly! You want the butter cut into the flour until it looks like coarse crumbs, but you absolutely must have some lumps the size of little peas remaining. These are your flakiness insurance! Start adding that **ice water**, just a tablespoon at a time. Mix it with a fork until the dough just barely holds together when you squeeze a handful. Stop mixing immediately when the flour streaks disappear.
Chilling and Preparing the Dough Disks
Once it comes together, divide the shaggy mass right in half. Gently form each half into a flat, thick disk—don’t knead it! Wrap both disks tightly in plastic wrap. Now, this is important: chill them in the fridge for at least one full hour. An hour is the minimum, by the way! If you can let them rest for two hours, even better. This resting time lets the gluten relax and means your dough won’t fight you when it’s time to roll it out later.
Assembling the Perfect Triple Berry Pie Filling
Alright, we’ve got our chilled, happy dough ready to go, and now it’s time to tackle the filling so we don’t end up with a watery mess when dessert time rolls around. This is the critical step on **how to make berry pie filling** that actually sets up gorgeous and firm. You want that perfect, slightly tart sweetness when you bite in, not just a pool of purple juice!
The secret is simple: we gently combine everything *before* it hits the bottom crust base. Don’t crush your berries while you mix; we want them to hold their shape! Just toss them gently in a big bowl with the sugar, the cornstarch—remember, our setting agent champion—and that little splash of lemon juice for brightness.
If you are looking for another fantastic berry recipe, you have to check out my blackberry pie recipe next! It uses a similar filling technique.
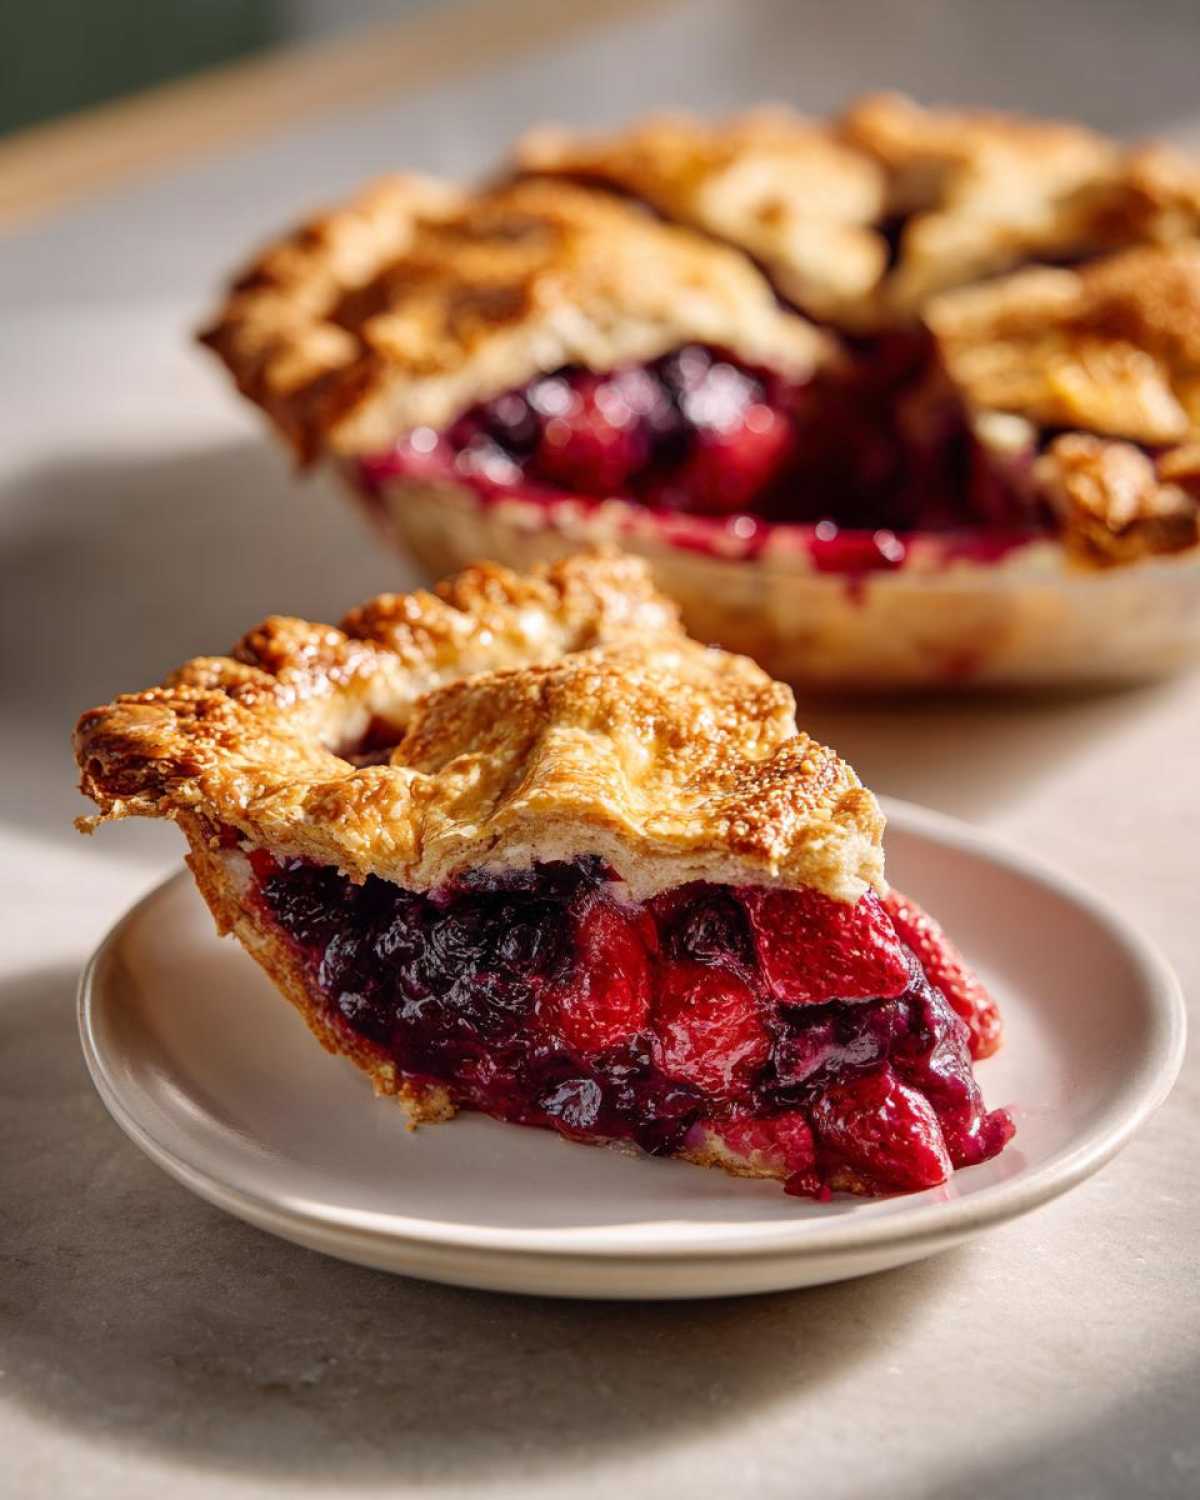
Step-by-Step Instructions for Baking Your Triple Berry Pie
Now that we have our firm dough resting and our luscious berry filling ready to go, it’s time for the fun part—assembly before we head to the oven! This is when your baking really comes together. Remember, we’re making a classic American pie here, and presentation counts!
If you need more technical guidance on rolling dough, that handy recipe link has some great visual aids for practice rounds!
Laying the Bottom Crust and Filling
Lightly flour your counter and roll out one chilled disk into a circle that’s about 12 inches across. Gently ease that dough into your 9-inch pie plate. Don’t stretch it; just let it settle in! Trim the edges so you have about an inch of overhang past the rim. Next, pour in all that beautiful berry mixture you tossed together. If you really want to enrich the flavor, drop a few tiny little dots of leftover cold butter right on top of the berries—it’s optional but so good!
Creating the Lattice Pie Top and Sealing
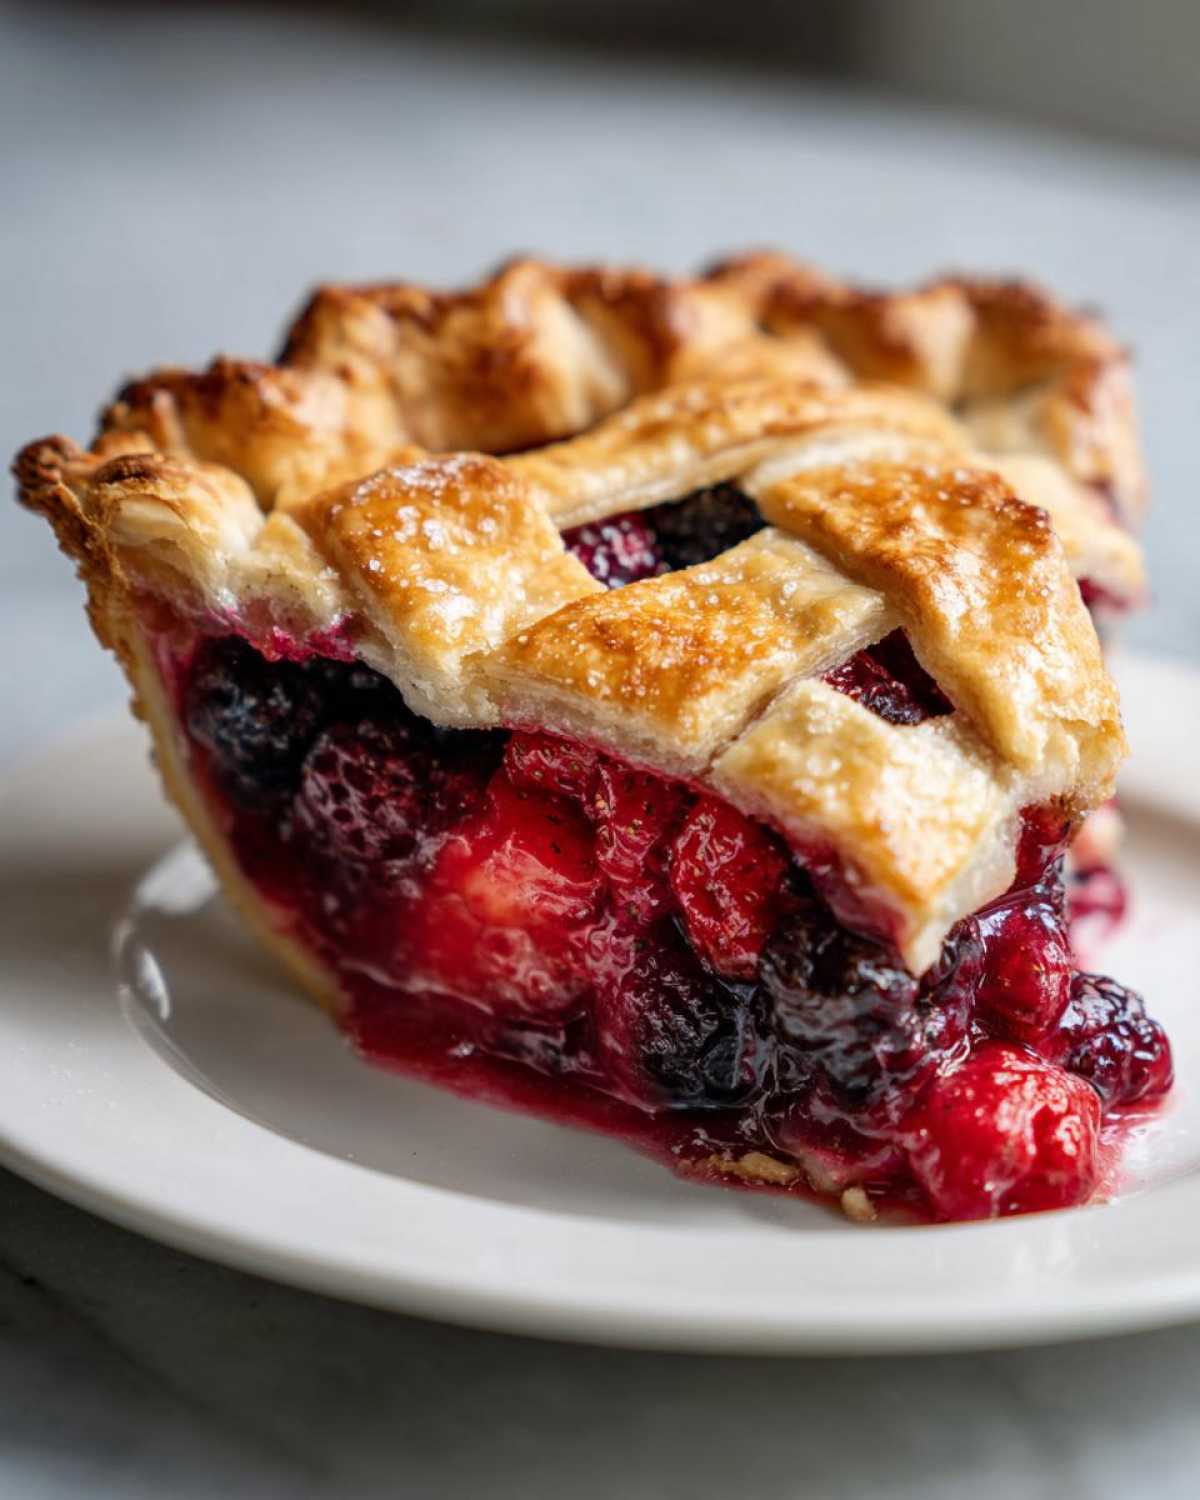
Roll out your second disk. Now you choose your adventure! If you’re doing a lattice, cut strips about an inch wide and start weaving them over your filling. If you’re just doing a full top, lay it right on top, but you absolutely MUST cut vents—three or four decent slits right in the middle—so the steam can escape. If those juices boil over, they melt the crust shut! Crimp those top and bottom edges together tightly to seal everything in. Finally, brush the top generously with that beaten egg wash, and sprinkle it with coarse sugar for that bakery sparkle.
Baking Schedule and Cooling Time for Best Results
Here’s where patience pays off. Preheat your oven to a hot 425 degrees F. Set the pie on a baking sheet (trust me, things might bubble over!). Bake for just 15 minutes at this high heat. Then, reduce the temperature down to 375 degrees F and bake for another 40 to 50 minutes. If the edges start looking too dark, just pop on some foil strips. The hardest part? You must let this pie cool completely—at least four hours! That long cooling time is what allows that cornstarch magic to happen, making sure your filling is perfectly set and ready for slicing!
Tips for Success with Your Homemade Berry Pie
If you want this to be your go-to, easy fruit pie recipe, remember these little tricks! The biggest thing is the berries themselves. Seriously, if you’re using frozen berries straight from the freezer, do not thaw them first! Just toss them right into the mixing bowl like they are. This helps keep the filling temperature down so the cornstarch can do its thickening job properly.
And don’t forget to peek at my easy classic apple cobbler recipe if you ever need a break from pie dough; sometimes you just need that rustic topping!
Variations on the Classic Triple Berry Pie
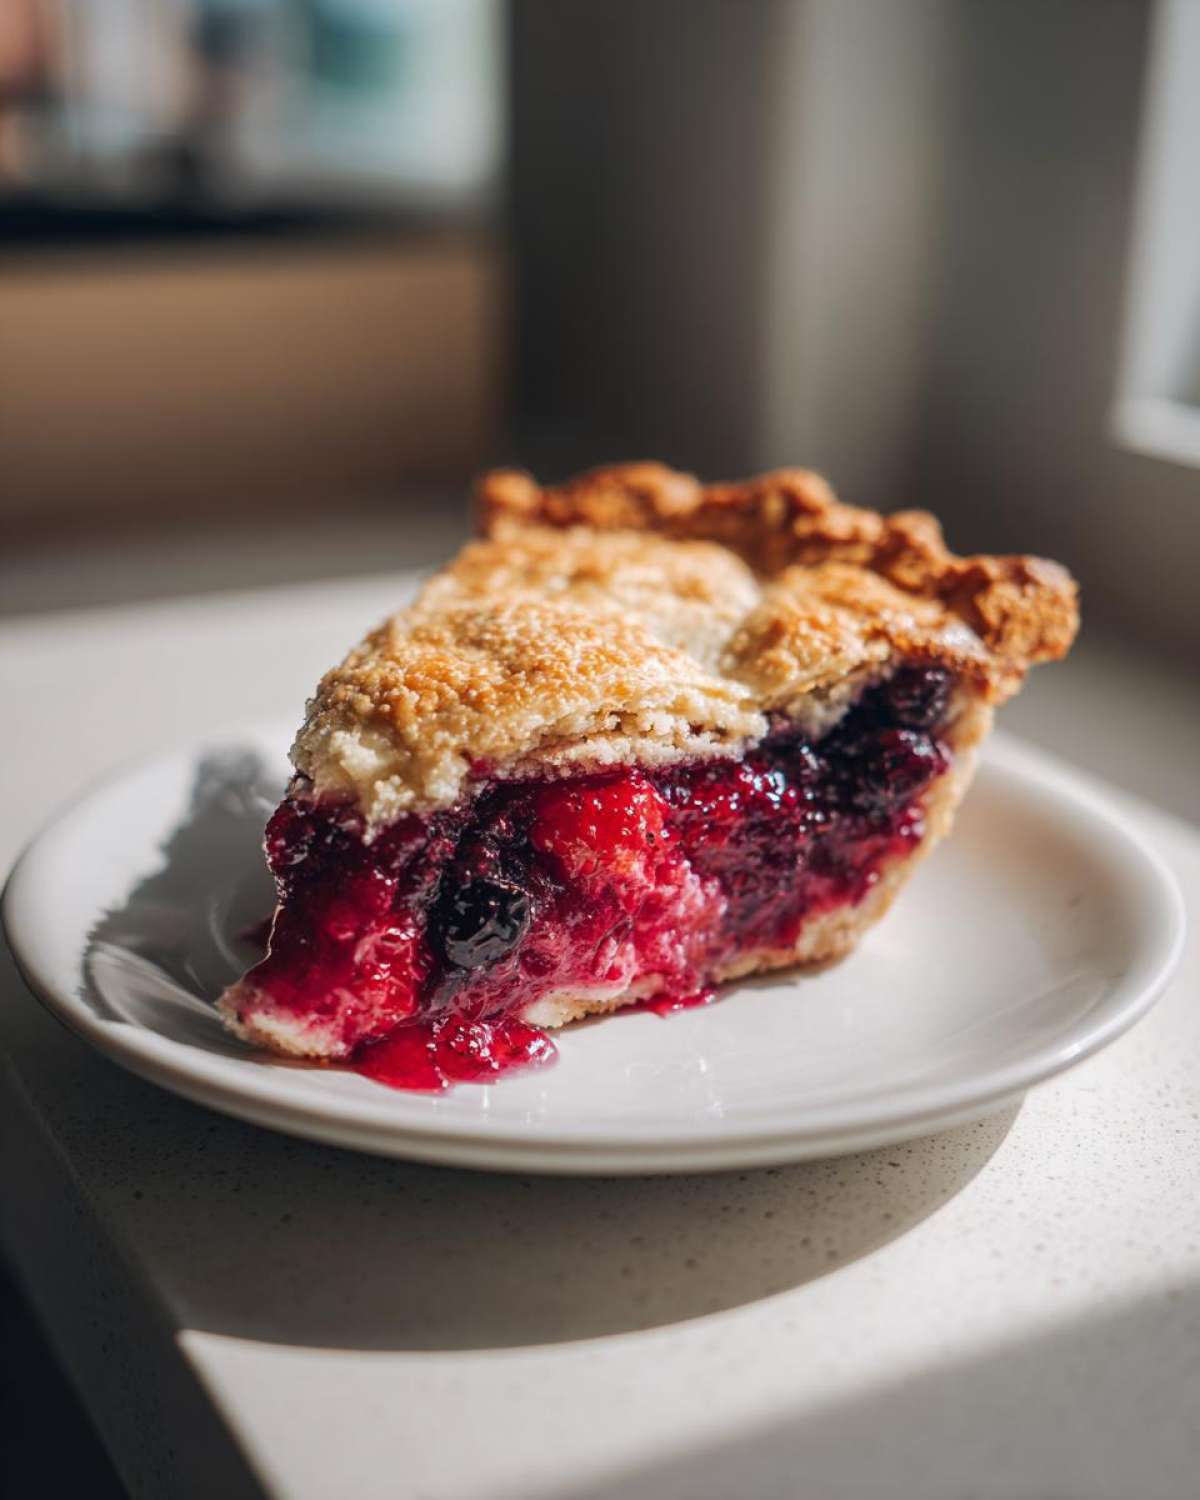
While this classic lattice top is my absolute favorite way to present this pie, you can certainly mix things up! If you’re feeling less fussy, skipping the top crust entirely and using a crunchy topping instead makes a fantastic **berry crumble pie**. Just mix up those simple ingredients from the notes until crumbly and sprinkle it generously right over the berries.
I also hear from a lot of you looking for different dietary options. You can adapt this filling for a delicious cranberry crumble bars recipe base if you want to try something different, or remember that homemade crust can often be substituted easily for gluten-free or vegan doughs if you have a favorite recipe you trust!
Storing and Serving Your Triple Berry Pie
Oh, the moment of truth! You’ve waited four hours (and maybe snuck a peek or two), and now you have this gorgeous, deep-colored pie sitting on the counter. How do you keep that perfection for next time? Easy, but specific rules apply!
Because of that wonderful cornstarch-thickened filling, you can absolutely leave this pie sitting right out on the counter if you cover it lightly with some foil or plastic wrap. If your kitchen runs super warm, or if you simply made the recipe weeks ahead, popping it into the fridge is fine. Just let it warm up to room temperature for about an hour before you plan to slice it; cold pie crusts tend to taste harder.
Reheating is optional but nice if you like it warm. Just pop individual slices into the microwave for about 15 to 20 seconds. Don’t heat the whole pie at once unless you want runny filling again! And serving suggestions? Don’t even get me started!
- A big scoop of good quality vanilla bean ice cream is the classic pairing for a reason—the hot/cold contrast is divine.
- A dollop of freshly whipped cream with just a little vanilla stirred in is also amazing.
- If you want to try my easy fruit dip recipe, you can serve a tiny bit on the side for extra creamy flavor, though honestly, this pie stands totally on its own!
How long can you keep it? If you store it properly, it tastes fantastic for a good three days on the counter. Use a pie carrier or a container with just enough room so nothing presses on the crust!
Frequently Asked Questions About Making Triple Berry Pie
When you’re baking something this special, it’s totally normal to have a few questions bounce around in your head. I’ve gathered the ones I get asked the most since I started sharing this recipe for my perfect **triple berry pie**!
What is the secret to preventing a runny triple berry pie?
Oh, that runny filling is the bane of every baker’s existence! The secret is twofold, really. First, you must measure that cornstarch correctly; don’t skimp on it! Second, and this is non-negotiable, you have to let the pie cool completely—at least four hours on a wire rack. If you slice it hot or even warm, those juices haven’t had time to fully gel and set up yet. Patience equals a perfect slice!
Can I use frozen berries in this recipe?
Yes! Absolutely you can use frozen berries. I often do myself when fresh strawberries aren’t quite in season yet. The important thing is that you do not thaw them first! Toss them straight from the freezer into the sugar and cornstarch mixture. They release more liquid, which is why we rely heavily on that cornstarch, but thawing them just mucks up the texture before baking even starts.
How far in advance can I make the pie dough?
The dough is your best friend when made ahead! Once you form those two disks and wrap them tight, you can chill them safely for up to three days, sometimes even four if your fridge is super cold. If you need to keep it longer than that, wrapping it again and popping it into the freezer for up to three months works brilliantly. Just remember to thaw it overnight in the fridge before you roll it out and assemble!
If you have any other burning questions while you’re baking, feel free to drop me a line over at my contact page!
Nutritional Estimates for One Slice of Triple Berry Pie
Now, I’m not a nutritionist, so please take these numbers with a giant grain of salt—or, in our case, a few pinches of sugar! Baking is an art of love, not precise science when it comes to counting calories. These estimates are based on the recipe exactly as written, but if you swap out butter for shortening or use extra-sweet berries, things will change, right?
For those of you who like to keep track while enjoying your slice of summer heaven, here is the general breakdown for one serving of this amazing **homemade berry pie**:
- Serving Size: 1 slice
- Calories: 420
- Sugar: 35g
- Sodium: 210mg
- Fat: 24g
- Saturated Fat: 15g
- Unsaturated Fat: 9g
- Trans Fat: 0g
- Carbohydrates: 52g
- Fiber: 3g
- Protein: 5g
- Cholesterol: 60mg
Keep in mind that if you load up on the egg wash or go heavy on the coarse sugar topping, those numbers go up! Still, for a classic American pie made with real fruit, I think that is a pretty reasonable trade for pure happiness.
Share Your Homemade Berry Pie Creations
You know, seeing your finished pies is honestly the best part of sharing these recipes with you all! That moment when you pull that golden-brown beauty out of the oven, or when you finally slice into that perfectly set filling—I want to see it!
Please, please, please leave me a star rating right below this section. It helps me know what’s working, and honestly, I get a huge kick out of seeing that little number climb up!
But far better than a rating? Seeing your creation! Snap a photo of your beautiful **triple berry pie**—especially if you rocked that lattice top—and tag me on social media! If you want to learn more about my kitchen philosophy and why I love sharing these family classics, head over to the About Us page!
Don’t be shy! Let’s celebrate this perfect summer dessert together. Happy baking, everyone!
PrintClassic Triple Berry Pie with Flaky Crust

A recipe for a classic American pie featuring strawberries, blueberries, and raspberries, made with a homemade flaky crust and a perfectly set, sweet and tart filling.
- Prep Time: 45 min
- Cook Time: 65 min
- Total Time: 110 min
- Yield: 8 servings
- Category: Dessert
- Method: Baking
- Cuisine: American
- Diet: Vegetarian
Ingredients
- 2 1/2 cups all-purpose flour
- 1 teaspoon salt
- 1 cup (2 sticks) cold unsalted butter, cut into small cubes
- 1/2 cup ice water, plus more if needed
- 6 cups mixed berries (strawberries, blueberries, raspberries), hulled and halved if large
- 1 1/2 cups granulated sugar
- 1/4 cup cornstarch
- 1 tablespoon lemon juice
- 1/4 teaspoon ground cinnamon
- 1 large egg, beaten (for egg wash)
- 1 tablespoon coarse sugar (for topping)
Instructions
- Prepare the crust: In a large bowl, whisk together the flour and salt. Cut in the cold butter using a pastry blender or your fingers until the mixture resembles coarse crumbs with some pea-sized pieces of butter remaining.
- Gradually add the ice water, one tablespoon at a time, mixing until the dough just comes together. Do not overmix. Divide the dough in half, flatten each half into a disk, wrap in plastic, and chill for at least 1 hour.
- Prepare the filling: In a separate bowl, gently toss the mixed berries with the granulated sugar, cornstarch, lemon juice, and cinnamon until the berries are evenly coated. Set aside.
- Assemble the bottom crust: On a lightly floured surface, roll out one disk of dough into a 12-inch circle. Carefully transfer the dough to a 9-inch pie plate. Trim the edges, leaving a 1-inch overhang.
- Pour the berry filling into the crust. Dot the top of the filling with a few small pieces of leftover butter if desired.
- Assemble the top crust: Roll out the second disk of dough. You can cut strips for a lattice top or place the whole circle over the filling. If using a full top, cut several slits in the center for steam to escape. Crimp the edges of the top and bottom crusts together to seal.
- Brush the top crust with the beaten egg wash and sprinkle with coarse sugar.
- Bake: Preheat your oven to 425 degrees F (220 degrees C). Place the pie on a baking sheet to catch drips. Bake for 15 minutes at 425 degrees F.
- Reduce the oven temperature to 375 degrees F (190 degrees C) and continue baking for 40 to 50 minutes, or until the crust is golden brown and the filling is bubbly. If the edges brown too quickly, cover them loosely with foil.
- Cool: Let the pie cool completely on a wire rack for at least 4 hours before slicing. This allows the cornstarch to fully set the filling.
Notes
- If using frozen berries, do not thaw them first. You may need to add 5 to 10 minutes to the total baking time.
- For a sweeter crust flavor, substitute 1 tablespoon of the flour with powdered sugar in the crust recipe.
- If you prefer a crumble topping instead of a full crust, use 1 1/2 cups flour, 1 cup brown sugar, 1/2 cup rolled oats, and 1/2 cup cold butter mixed until crumbly.
Nutrition
- Serving Size: 1 slice
- Calories: 420
- Sugar: 35g
- Sodium: 210mg
- Fat: 24g
- Saturated Fat: 15g
- Unsaturated Fat: 9g
- Trans Fat: 0g
- Carbohydrates: 52g
- Fiber: 3g
- Protein: 5g
- Cholesterol: 60mg