

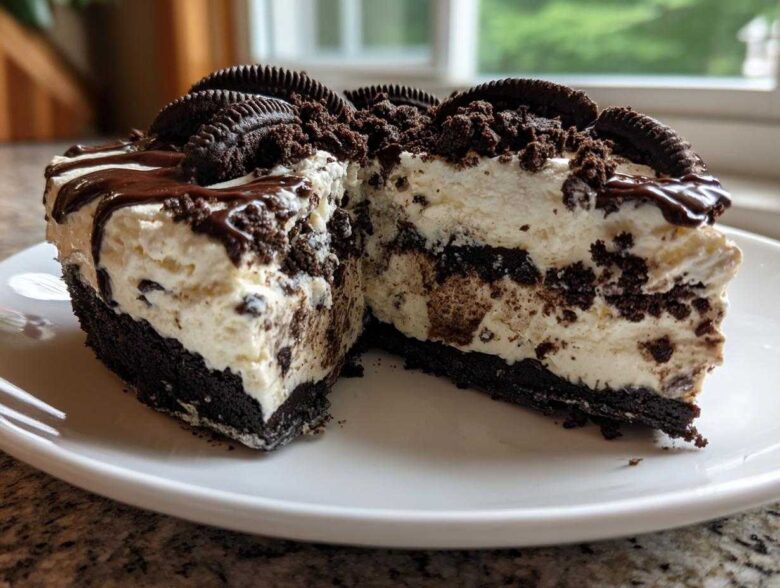
When the summer heat cranks up, the absolute last thing I want to do is turn on my oven. Seriously, who wants a hot kitchen when there’s a perfectly good popsicle waiting? That’s why I make this ice cream pie recipe on repeat all season long. It’s the ultimate crowd-pleaser, and the best part? It’s completely no-bake! I’m talking about less than twenty minutes of actual mixing before this beauty heads to the freezer. If you’re looking for incredible party food inspiration, you should definitely check out my usual recipe ideas over at the blog right here. Trust me, if you need a show-stopping, make-ahead treat for a birthday or just a Tuesday, this easy recipe is your new best friend.
Why This Easy No-Bake Ice Cream Pie Recipe Works (Expert Tips)
I honestly don’t know how I survived summer parties before I perfected this easy ice cream pie recipe. It’s my lifeline! When you’re juggling grilling and salads, knowing you have a stunning, creamy frozen dessert ready to go is a lifesaver. This is truly the ultimate make ahead frozen dessert because nobody likes last-minute scrambling. If you’re ever looking for other speedy meal ideas, check out my recipe for amazing beans and rice over here!
I’ve served this at everything from backyard BBQs to my nephew’s seventh birthday party (he demanded chocolate, naturally!), and it always gets devoured. It never fails, and clean-up is a breeze since there’s no sticky, hot baking sheet involved.
Quick Prep Time for Your Ice Cream Pie
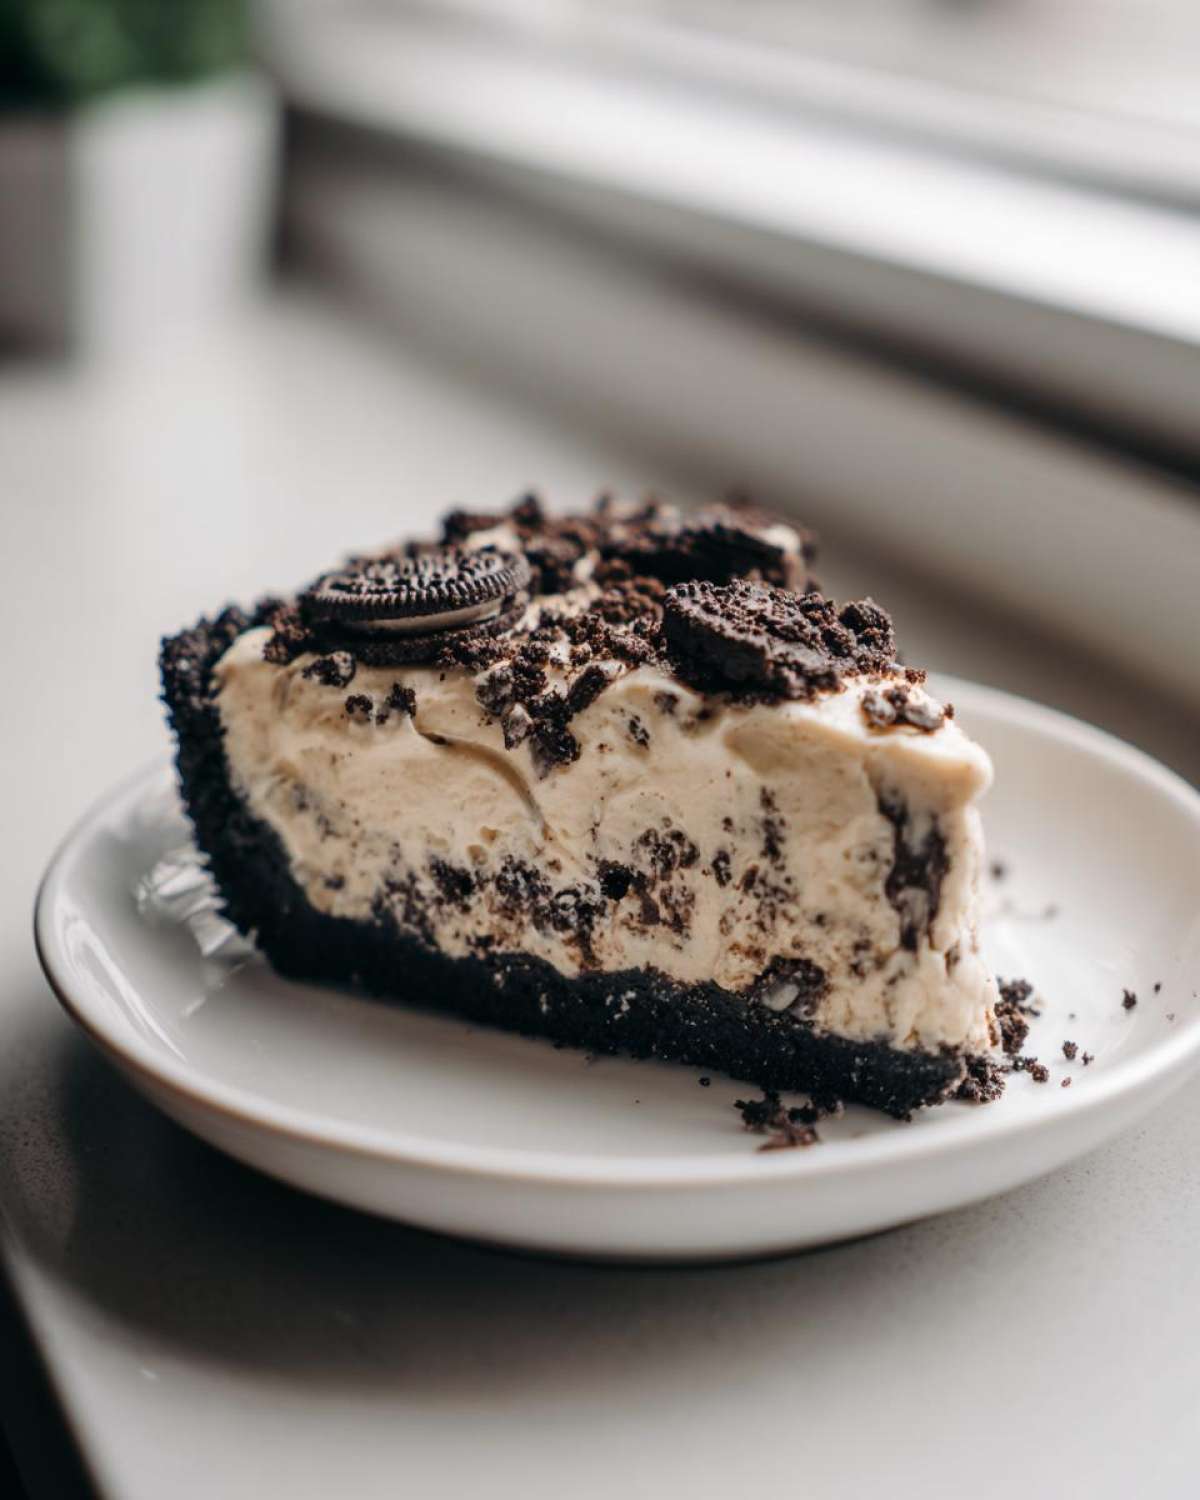
Seriously, you rush through the mixing stage in about 15 minutes flat. I’m not even kidding! You crush some cookies, melt some butter, press it in the pan, and boom—that’s the hard part done. That quick prep time is why this has become my go-to summer pie recipe when I need something impressive fast.
The Ultimate Oreo Crust Ice Cream Pie Base
The crust sets the whole stage, and nobody argues with Oreos, right? Crushed Oreos mixed with melted butter create the most amazing, chocolatey, sturdy base for your ice cream pie. It bakes up beautifully cold and firm in the freezer and gives you that perfect textural contrast against the creamy filling. We’re setting ourselves up for success right here!
Gathering Ingredients for Your Homemade Ice Cream Pie
Okay, now that we know how fast this is, let’s talk about what you need! Don’t panic staring at the list—it’s super short. The real trick here isn’t fancy ingredients; it’s making sure your main component is in the right state. If you need a fantastic frosting recipe for later, by the way, I have a great sugar cookie icing one that you can check out. But first, gather these basics for our homemade ice cream pie!
Crust Components for the Ice Cream Pie
For the base of this amazing ice cream pie, you really only need these two things. Make sure your butter is melted, obviously! You’ll need about 1 1/2 cups of crushed Oreo cookies—which usually shakes out to about 30 whole cookies, give or take a couple if you sneak a few while crushing them. Then, mix that with exactly 6 tablespoons of good old unsalted butter, melted down nice and smooth.
Filling and Topping for the Creamy Ice Cream Dessert
The star of the show is the ice cream! You need 1 1/2 quarts of whatever flavor makes your heart sing. But listen closely: it *must* be slightly softened when you put it in the crust. I usually leave it on the counter for about ten minutes until it’s spreadable—not melted soup! For topping this creamy ice cream dessert, I love using 1/2 cup of whipped topping, and then maybe a drizzle of chocolate syrup or some chopped nuts if I’m feeling fancy.
Step-by-Step Instructions for the No Bake Ice Cream Pie
Okay, so we have our ingredients ready, and this is where the magic—which requires absolutely zero heat—happens! Remember, following the timing in these steps is crucial if you want that perfect, sliceable ice cream pie texture. We want everything cold, but not rock solid when we start layering. If you’re looking for another great frozen treat to try later, I have a wonderful eggnog pie recipe that’s also a winner!
Preparing and Setting the Oreo Crust
First, you mix those crushed Oreos and melted butter together until every crumb looks evenly moistened—it should look like wet sand, you know? Then, scoop that mixture right into your 9-inch pie plate. You have to press it down really firmly! Use the bottom of a measuring cup to compact it evenly along the bottom and push it nicely up the sides. Once that’s done, pop the whole thing straight into the freezer for at least 15 minutes. This gives the butter a brief moment to firm up so your crust doesn’t just crumble later.
Assembling the Ice Cream Filling for Your Frozen Dessert Pie
While the crust is chilling, take your ice cream out. This step is so important! You need to let it soften on the counter for maybe 5 to 10 minutes. It should still be stiff, but soft enough that you can spread it around easily with a spatula without dragging up the crust. Spoon all that softened deliciousness into your chilled crust and smooth the top out so it looks nice and picture-perfect. If you decide to layer flavors, this is when you’d add your second scoop on top and pop it back in the freezer for about an hour before adding anything else!
Final Freeze and Serving the Ultimate Ice Cream Pie
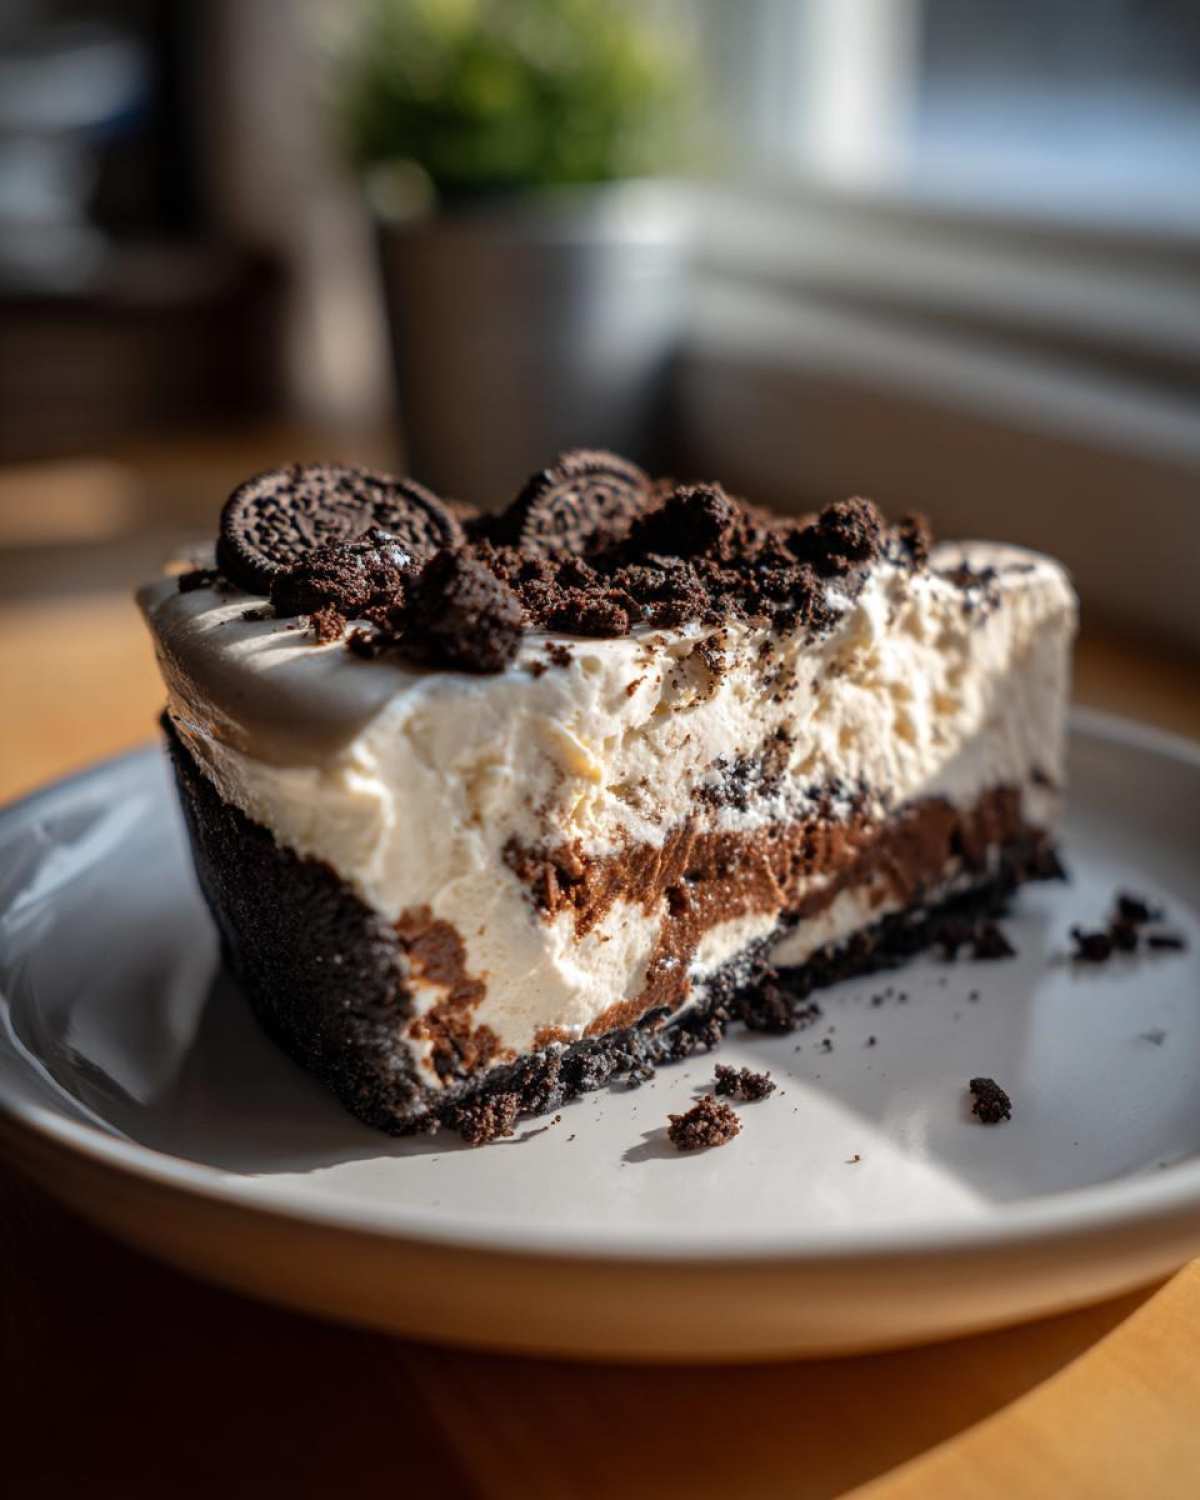
Once the filling is spread, cover the pie loosely with plastic wrap. It needs a long nap now—a serious freeze time of at least 4 hours, but honestly, overnight is best if you can wait! When it’s time to serve your ultimate ice cream pie, take it out of the freezer about 5 minutes before you plan to slice. This little bit of temper time makes cutting so much easier. When you go to slice it, use a sharp knife and wipe it clean between each cut; that keeps your slices looking sharp and gorgeous!
Ingredient Notes and Substitutions for Your Ice Cream Pie
I always get questions when people see this recipe pop up, especially about tweaking it. That’s what I love about a good base recipe like this; it’s so flexible! We’re using Oreos because, well, they’re the best, but I want you to feel good about making substitutions if you need to. If you’re planning ahead for something fun like these amazing ice cream cone cupcakes you can find here, you might need to adjust the crust!
Crust Swaps: Graham Cracker Crust for Your Ice Cream Pie
My original notes mention that you can absolutely swap out the chocolatey goodness if graham cracker crumbs are more your style, or maybe you just ran out of Oreos! It’s super easy. Just use the same 6 tablespoons of melted butter, but substitute the crushed Oreos with crushed graham crackers instead. You might need just a tiny bit less butter, maybe start with 5 tablespoons, but the ratio is basically the same. It gives the finished **ice cream pie** a totally different, slightly warmer flavor profile, which is wonderful if you’re doing something like a cinnamon or vanilla bean ice cream.
Creating Layered Ice Cream Pie Variations
This is where you can really let your creativity run wild, especially if you’re making a huge **birthday ice cream pie** or something that needs a bit more drama! The key to layering two different ice cream flavors successfully is patience—even though it’s technically no-bake, we need structural support! Scoop your first layer into the chilled crust, smooth it out, and then pop the whole thing back into the freezer for a solid hour.
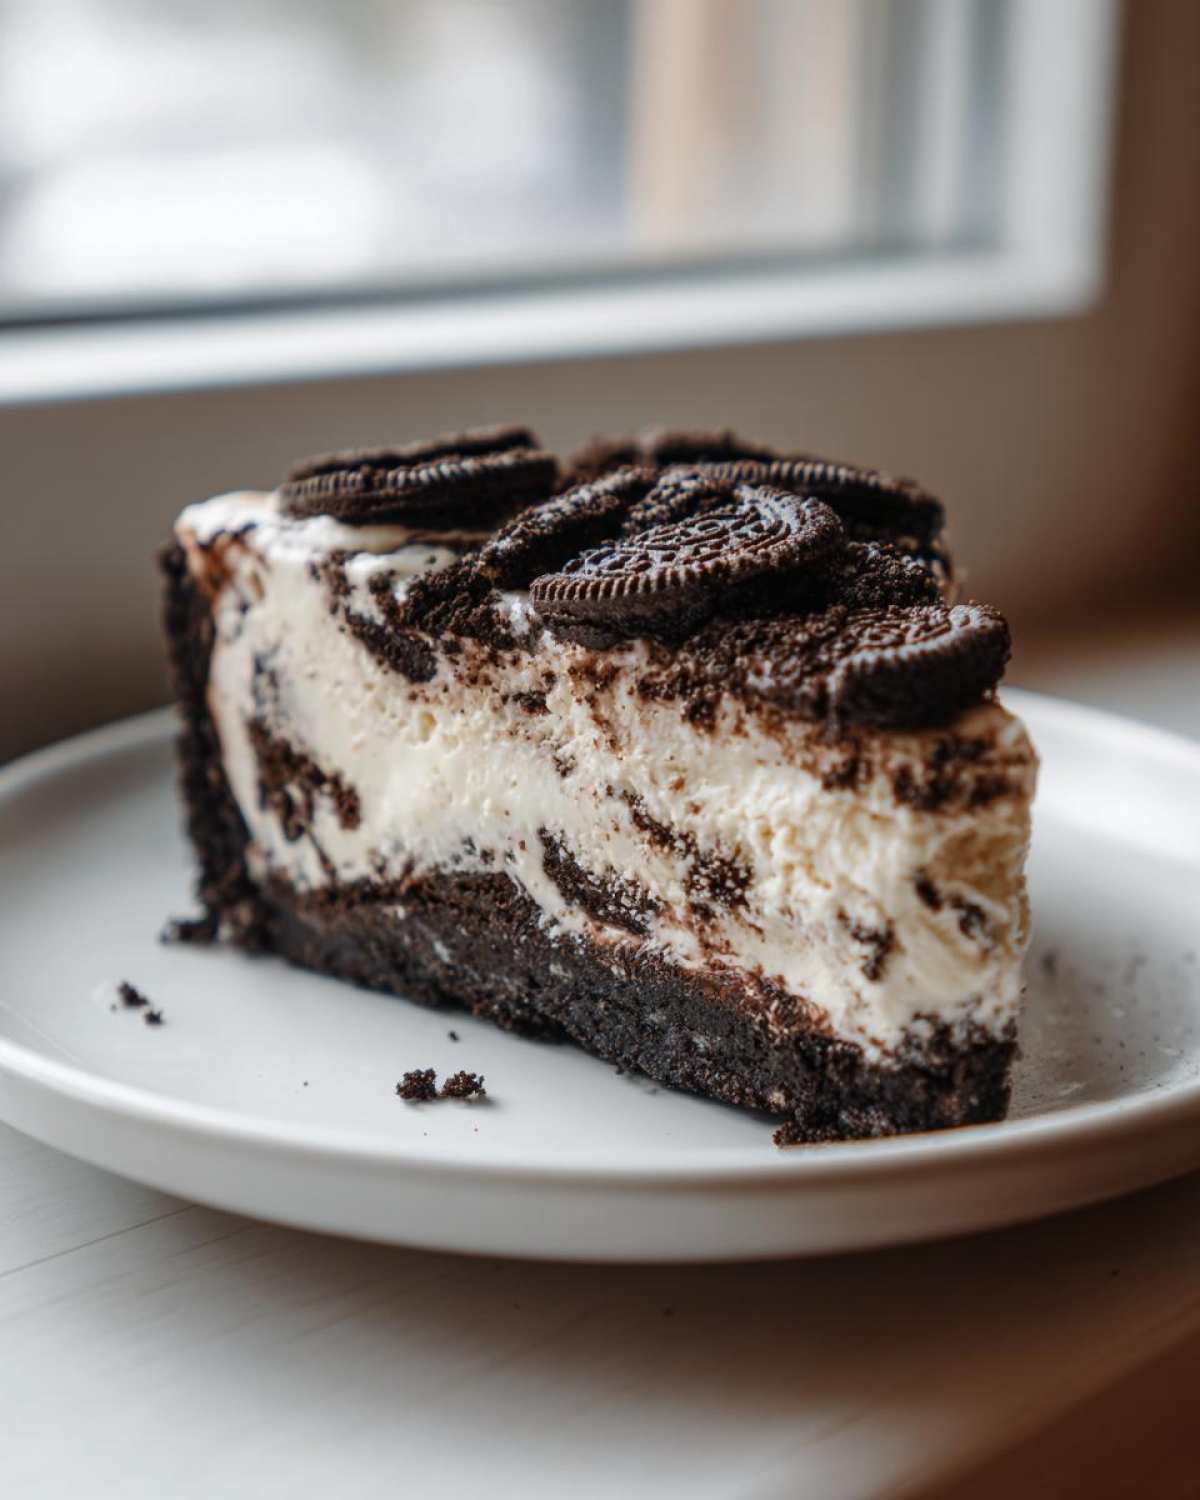
Once that first flavor is completely firm, *then* you add your second flavor on top. If you skip that one-hour freeze step for the bottom layer, the second layer just melts right into the first, and you end up with one giant swirl instead of distinct layers. We want layers, people! It just makes the final slice look so much more impressive.
Tips for Serving the Best Ice Cream Pie
Successfully serving this frozen masterpiece is almost as satisfying as making it, I tell ya! Getting those gorgeous, clean slices out of a rock-solid dessert can be intimidating, but I learned a few tricks over the years that save the day. Speaking of saving the day, I once had a huge blowout party where my planned dessert got completely derailed by a sudden heat wave that melted everything in sight! I was sweating bullets until I remembered this ice cream pie was safely chilling in my deep freezer. It was the hero dessert, and everyone thought I planned it that way!
The absolute number one tip for pristine slices is the tempering time we discussed earlier—pull it out about five minutes before you need to cut. If you wait too long, the crust starts getting soft and messy when you slice. If you cut it straight from the deep freeze, you’ll likely crack the crust or squash the sides.
But here’s my secret weapon for clean cuts: the hot knife trick. Heat up a sharp knife under very hot tap water for about 30 seconds. Wipe it completely dry with a paper towel—water and ice cream do *not* mix well on the plate! Then, slice through your pie. That little bit of heat melts just enough of the ice cream layer for a smooth cut. Wipe the knife clean and reheat it for every single slice. It takes a second longer, but it makes your ice cream pie look professional!
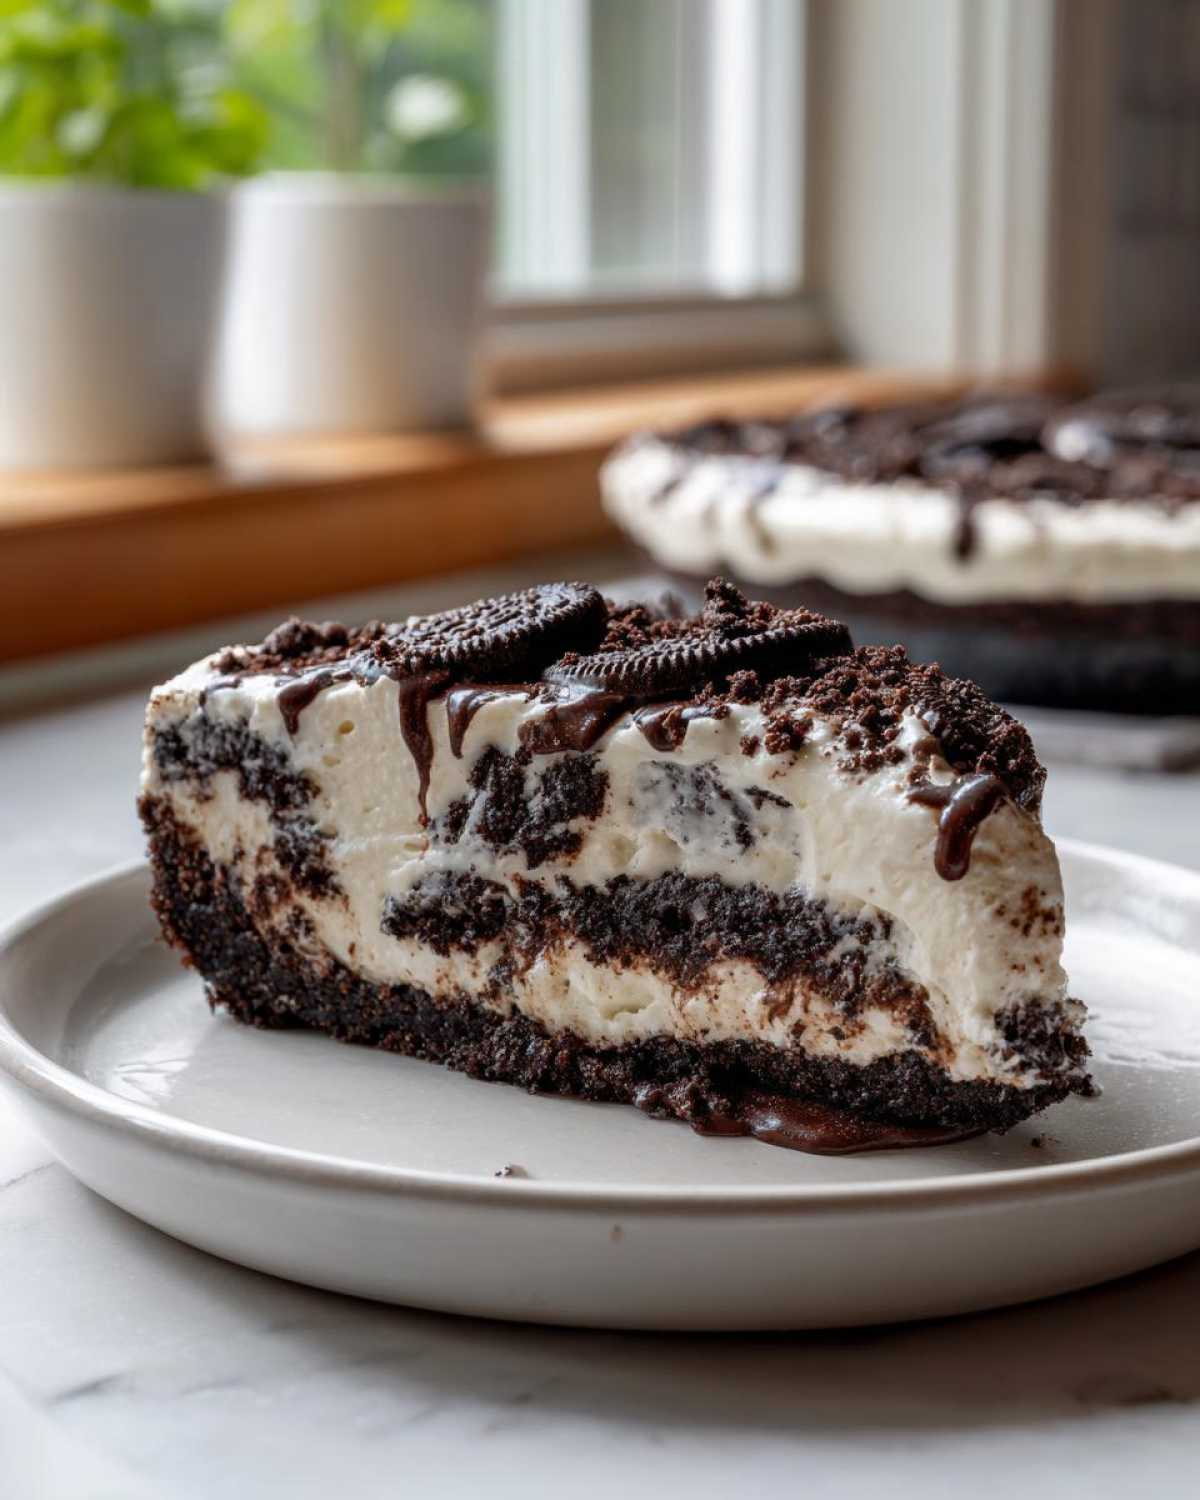
If you’re going for a decorated look, wait until the pie has set firmly with toppings like fudgy sauce or maybe even some fluffy vanilla buttercream, which you can find a quick recipe for if you’re interested, before you put it out on the serving table. Otherwise, the toppings melt fast under the summer sun!
Storage and Make Ahead Frozen Dessert Instructions for Ice Cream Pie
This is honestly where this ice cream pie earns its superstar status. Because it’s a perfect make ahead frozen dessert, I often make one on Thursday night for a big BBQ on Saturday! Planning ahead makes hosting so much less stressful, right? You just need to be smart about how you wrap it up so the cold doesn’t suck all the flavor out of that gorgeous crust.
If you’re prepping this for a special occasion, like a big birthday ice cream pie where you want everything perfect, leave off any delicate toppings—like whipped cream or fresh berries—until about 30 minutes before you serve it. Those things don’t freeze well long-term!
To wrap it tight, first cover the surface directly with a layer of plastic wrap, making sure it touches the edge of the filling—this stops icy air from getting to your smooth top. Then, you want a good layer of aluminum foil wrapped tightly around the whole plate. I usually even use a dab of tape to seal the foil seam slightly around the edges of the plate so no odors sneak in. You can totally freeze this pie for up to two weeks, honestly! I’ve never kept one that long, but it stays perfect for at least ten days tucked away in the back of the freezer.
If you were making those yummy maple cookies with brown butter glaze that I shared a while back, I’d keep those stored separately in an airtight container at room temperature, but the pie itself? Double-wrapped and deep-frozen is the way to go for the best results!
Frequently Asked Questions About This Ice Cream Pie Recipe
I know when you’re making a no bake ice cream pie for the first time, you always have a few little questions popping up in your head! Nothing is worse than putting in the effort only to have it turn out like soup instead of a perfect slice of a frozen dessert pie. I tried to cover everything in the recipe itself, but here are a few extra bits of advice I usually pass along to friends who are trying this out for the first time. If you’re interested in another amazing no-bake dessert that always wows people, my classic Tiramisu recipe is over here!
Can I use a different cookie for the ice cream pie crust?
Yes, absolutely! Honestly, if you’re out of Oreos, don’t even sweat it for a second. We talked about the graham cracker crust substitution in the previous section, but shortbread cookies work beautifully too if you want a less intense chocolate flavor. Just make sure whatever you use—be it graham crackers, vanilla wafers, or Oreos—you crush them finely, and then make sure you get those 6 tablespoons of melted butter mixed in completely. You want that moist, sandy consistency so it holds together when you press it into the pan and freezes!
How do I get clean slices when cutting this frozen dessert pie?
This is the million-dollar question for any ice cream pie! You can’t just hack at it straight from the deep freeze, or you’ll end up with crumbs everywhere and a squished crust. Remember that crucial tempering step? Let the whole thing sit out on the counter for about five minutes before you even attempt to cut it. That slightly softens the ice cream layer just enough. Then, grab your sharpest knife and run it under very hot water—like, nearly boiling hot—for about 30 seconds. Wipe it totally dry, and make your slice. Wipe and reheat the knife for every single slice. It makes cutting through that creamy, frozen filling look like magic!
What are the best ice cream flavors for an ice cream pie?
Because this is such a simple base recipe, you can really go wild! Vanilla and chocolate are the superstars for a reason; they taste incredible with that rich Oreo crust. But if you want to lean into specific cravings, vanilla mixed with a swirl of caramel or Fudge is amazing! I’ve also seen people do a fantastic Peanut Butter ice cream pie by mixing some creamy peanut butter right into softened vanilla ice cream before spreading it. If you are doing a layered version, try a chocolate bottom layer and a mint chocolate chip top layer—you won’t regret it!
Nutritional Estimates for One Slice of Ice Cream Pie
Now, I’m not a nutritionist, and trust me, if you’re making a dessert this glorious, you probably shouldn’t be obsessing over the details too much! But I know some of you like to keep track, so I pulled together the rough estimates for what one slice of this ice cream pie looks like based on the standard ingredients listed. Keep in mind that this data can swing wildly depending on what exact ice cream you pick—a rich chocolate flavor is going to look different than a light vanilla bean!
If you’re ever curious about how to bake something from scratch while keeping things reasonable, I shared my favorite incredibly moist carrot cake recipe over here, which is surprisingly wholesome! For this frozen dessert pie, here are the approximations for one generous serving:
- Serving Size: 1 slice
- Calories: Around 350 per slice
- Fat: Approximately 20 grams (Watch that saturated fat content, which is about 12g)
- Carbohydrates: About 40 grams total
- Sugar: This one clocks in around 35 grams, mostly from the ice cream and cookies!
- Protein: Roughly 4 grams
- Cholesterol: About 45mg
Again, these are just estimates—your homemade version might shift things slightly. The important thing is that it tastes amazing and makes everyone at your party happy!
Share Your Perfect Ice Cream Pie Creations
I truly hope this recipe becomes a regular in your house, just like it is here for us! Making this ice cream pie is super satisfying because it’s so easy, but the payoff is huge. I always feel like a rockstar when I bring this out after dinner.
When you make it—whether you stick to plain vanilla or go wild with three layers of flavor—I absolutely want to see what you come up with! Seriously, tag me in your photos if you post them online. I love seeing everyone putting their own spin on the crust or the toppings!
If you try this recipe out this weekend and it saves your dinner party, please come back and leave me a star rating down below, would you? It really helps other people know that this easy-peasy, no-bake wonder is the real deal. And if you’re looking for another great homemade option that’s baked (just in case you feel like turning on the oven next time), you should see my go-to moist chocolate cake recipe!
PrintEasy No-Bake Oreo Crust Ice Cream Pie

Make this simple, creamy frozen dessert using a crushed cookie crust and your favorite ice cream flavor. This no-bake pie is perfect for parties.
- Prep Time: 15 min
- Cook Time: 0 min
- Total Time: 4 hr 15 min
- Yield: 8 servings
- Category: Dessert
- Method: No Bake/Freezing
- Cuisine: American
- Diet: Vegetarian
Ingredients
- 1 1/2 cups crushed Oreo cookies (about 30 cookies)
- 6 tablespoons unsalted butter, melted
- 1 1/2 quarts softened ice cream (any flavor)
- 1/2 cup whipped topping (optional, for topping)
- 1/4 cup chocolate syrup or chopped nuts (optional, for garnish)
Instructions
- Prepare the crust: Combine the crushed Oreo cookies and melted butter in a medium bowl. Mix until the crumbs are evenly moistened.
- Press the crumb mixture firmly and evenly into the bottom and up the sides of a 9-inch pie plate.
- Place the crust in the freezer for at least 15 minutes to set while you prepare the filling.
- Soften the ice cream slightly at room temperature for about 5 to 10 minutes until it is spreadable but not melted.
- Spoon the softened ice cream into the chilled crust, spreading it into an even layer. Smooth the top with a spatula.
- Cover the pie loosely with plastic wrap and freeze for at least 4 hours, or until completely firm.
- Before serving, remove the pie from the freezer. Top with whipped topping and drizzle with chocolate syrup or sprinkle with nuts, if desired.
- Slice and serve immediately.
Notes
- You can substitute the Oreo crust with graham cracker crumbs mixed with melted butter for a different flavor base.
- If you want a layered pie, use two different flavors of ice cream, freezing the first layer for 1 hour before adding the second.
- Allow the pie to sit at room temperature for 5 minutes before slicing for easier cutting.
Nutrition
- Serving Size: 1 slice
- Calories: 350
- Sugar: 35
- Sodium: 280
- Fat: 20
- Saturated Fat: 12
- Unsaturated Fat: 8
- Trans Fat: 0.5
- Carbohydrates: 40
- Fiber: 1
- Protein: 4
- Cholesterol: 45