

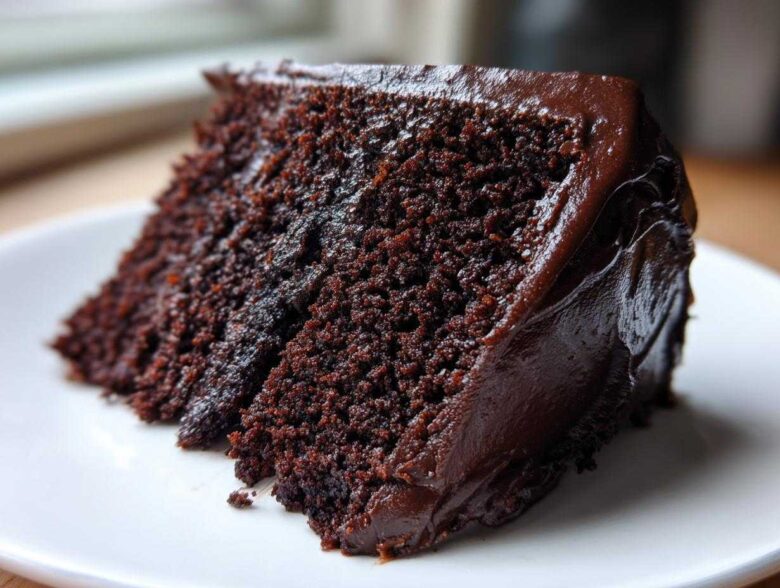
Oh, you know the drill, right? You get that craving—a deep, dark, decadent chocolate fix—but then reality sinks in. You reach for the gluten-free flour, and you already brace yourself for the inevitable: a slightly gritty, dry cake that crumbles if you look at it wrong. Don’t even get me started on the sad, pale imitations out there! I’ve thrown out sponges that deserved a funeral. But listen to me closely, because that era is over!
I finally cracked the code. This isn’t just *a* recipe; this is The Ultimate Moist Gluten-Free Dark Chocolate Layer Cake, and honestly, people won’t believe it’s gluten-free. Forget everything you thought you knew about the texture of a perfect Gluten-Free Chocolate Cake. I have a few tricks up my sleeve, relying heavily on hot liquids and specific ratios that help ditch the dryness for good. Trust me, after years of slightly disappointing results, this one is a winner for birthdays and any time you need real chocolate satisfaction.
When you’re ready to mix up the batter, you should check out my guide on how to make a fantastic classic homemade chocolate cake if you ever decide to bake with gluten again—it shares some of the same texture secrets!
Why This Gluten-Free Chocolate Cake Recipe Works So Well
It’s all about fighting that sad, crumbly texture that haunts so many gluten-free bakes. This recipe doesn’t just use a good flour blend; it uses liquids in a way that forces richness into every bite. We are aiming for fudgy, deep, and moist—just like a regular cake should be.
Why this Gluten-Free Chocolate Cake is different:
- It relies on heat and acid to bloom the cocoa and tenderize everything beautifully.
- We use a surprisingly thin batter that locks in moisture during the bake.
- The combination of fats creates an incredibly tender crumb that doesn’t fall apart when stacked.
Achieving the Perfect Moist Texture in Your Gluten-Free Chocolate Cake
The secret sauce, honestly, comes down to two heavy hitters that I always include when making a spectacular Gluten-Free Chocolate Cake. First, we use buttermilk. That slight acidity tenderizes the proteins in the flour and eggs, giving us incredible softness. Second, and this is the big one? Hot coffee! Pouring that piping hot liquid right into the batter right at the end does something magical to the cocoa powder. It ‘blooms’ the flavor, making the chocolate taste impossibly deep and rich, while the steam keeps the entire structure super moist.
Essential Equipment for Baking This Gluten-Free Chocolate Cake
You don’t need complicated gadgets, but you do need the right setup so the batter mixes evenly and the cakes bake correctly. Make sure you have:
- Two 8-inch round cake pans. If they are older, give them a very thorough greasing!
- A decent hand mixer or stand mixer. You need strong creaming action.
- Parchment paper! We are lining the bottoms, no exceptions.
- A sturdy wire rack for cooling everything down properly after baking.
Ingredients for the Ultimate Moist Gluten-Free Chocolate Cake
Okay, this is the serious part—the shopping list! Getting these ingredients right is half the battle when you’re baking without gluten, because tolerances are much lower. If your flour blend doesn’t say it has xanthan gum, you absolutely must pick some up, or you’ll regret it later! Don’t worry about sourcing the other bits; most great grocery stores carry them now. We keep things super clear by separating the cake dry/wet from the frosting components.
Before you head out, if you’re curious about another recipe that prioritizes moisture, I happened to perfect a super moist carrot cake recipe recently that uses similar tenderizing techniques!
Cake Batter Ingredients
These need to be measured precisely, especially the flour and cocoa powder. I always whisk the dry ingredients together really well first, just like I did with Grandma’s spice cakes.
- 1 3/4 cups gluten-free all-purpose flour blend (make sure it includes xanthan gum!)
- 3/4 cup unsweetened cocoa powder (use the darkest one you can find!)
- 2 teaspoons baking soda
- 1 teaspoon baking powder
- 1 teaspoon salt
- 2 cups granulated sugar
- 1 cup buttermilk (If you don’t have buttermilk, mix 1 cup of regular milk with 1 tablespoon of lemon juice and let it sit for 10 minutes.)
- 1/2 cup vegetable oil (neutral flavor is what we want here)
- 2 large eggs (room temperature is always best!)
- 2 teaspoons vanilla extract
- 1 cup hot brewed coffee (must be hot when you add it!)
Fudgy Ganache Frosting Ingredients
This frosting is so simple, yet so deep and luxurious. You only need two things going in, but the quality matters, especially for the chocolate!
- 8 ounces dark chocolate, finely chopped (use a good baking bar, not chips, if possible)
- 1 cup heavy cream (it needs to be cold before heating)
Step-by-Step Instructions for Your Gluten-Free Chocolate Cake
Alright, let’s get this beautiful Gluten-Free Chocolate Cake into the oven! Since we’re dealing with gluten-free flours, precision in mixing and temperature is non-negotiable. These instructions follow the steps exactly, ensuring you get that rich, fudgy crumb we’re aiming for. Don’t rush the cooling part; it’s crucial before frosting!
If you are ever looking for a simpler frosting option, check out how I do my incredibly easy vanilla buttercream sometime!
Preparing the Pans and Mixing the Dry Ingredients for the Gluten-Free Chocolate Cake
First things first: get your oven warmed up to 350°F (175°C). Then, take those two 8-inch pans and treat them well! Grease them generously, then dust them with extra gluten-free flour—this double defense prevents sticking. Don’t forget to cut out parchment paper rounds for the bottoms! Once that’s done, move to the bowls. In your biggest one, you need to combine every single dry ingredient. You’ve got your GF flour blend, cocoa, leaveners, salt, and the sugar. Whisk it like you mean it! We want everything completely integrated so there are no pockets of baking powder hiding anywhere in your amazing Gluten-Free Chocolate Cake.
Combining Wet Ingredients and Finishing the Batter
Now, switch bowls. Whisk up your buttermilk, oil, eggs, and vanilla until they look nicely combined. Pour this wet mixture into the massive bowl of dry stuff. Mix it on low speed—just long enough until you see no more streaks of flour. Seriously, *stop* mixing there! This is where GF batters go wrong if you overwork them. The final shock comes when you slowly stream in that cup of hot coffee. Keep mixing on low; the batter will get very thin, almost watery. That thin texture is exactly what you want for this rich Gluten-Free Chocolate Cake!
Baking and Cooling the Gluten-Free Chocolate Cake Layers
Divide that thin batter evenly between your prepared pans. Pop them straight into that hot oven. These layers usually take about 30 to 35 minutes. You’ll know they’re done when a wooden pick inserted right in the center comes out clean—no wet goo hanging on it! Let them sit in those pans for about 10 minutes to firm up slightly. Then, gently flip them out onto a wire cooling rack. They must be completely, totally cool before you even think about frosting them. Patience here makes for a perfect final Gluten-Free Chocolate Cake stack!
Making and Applying the Fudgy Ganache Frosting
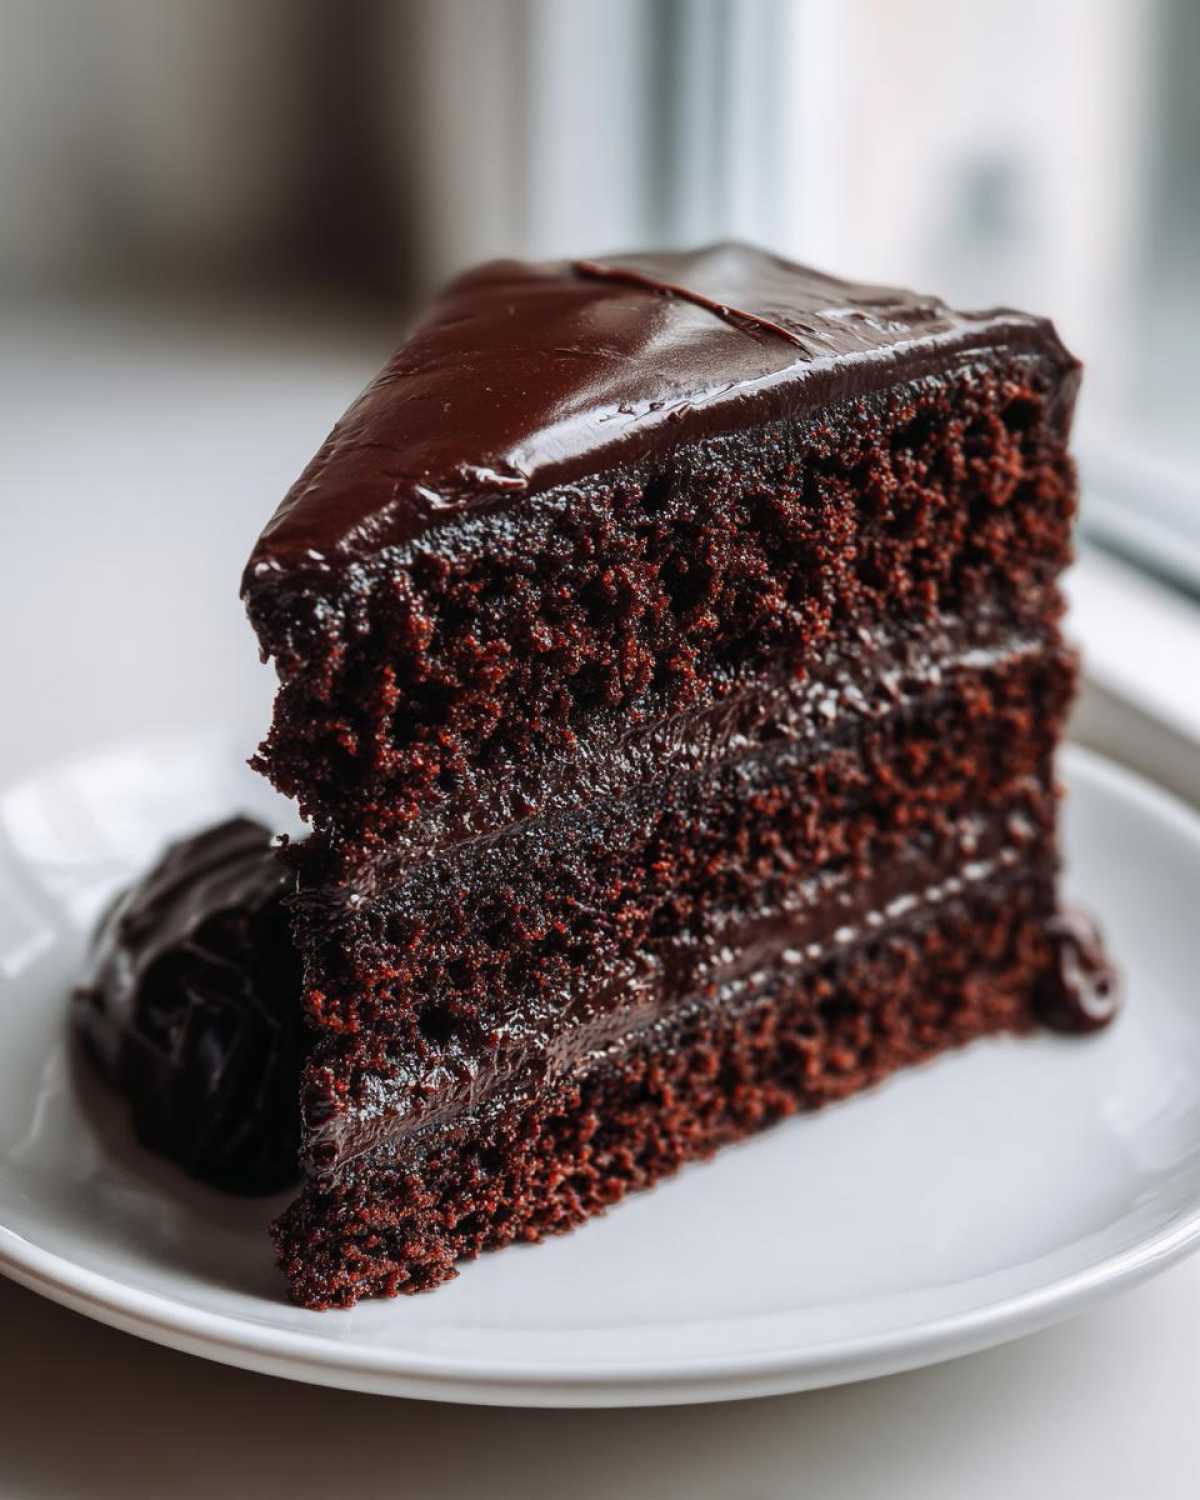
While the layers chill out, we make that amazing ganache. Chop up your dark chocolate finely (this helps it melt fast!) and put it in a heatproof bowl. Heat your heavy cream in a small saucepan until it just barely starts to simmer around the edges—don’t let it boil hard! Pour that hot cream over the chopped chocolate. Now, step away for five full minutes. Don’t touch it! After that, whisk slowly from the center outwards until it’s smooth and glossy. You need to let this cool and thicken up until it’s spreadable—maybe 30-45 minutes on the counter, stirring occasionally. Once the cakes are cool and the ganache is thick, you can frost and layer away!
Tips for Baking the Best Gluten-Free Chocolate Cake
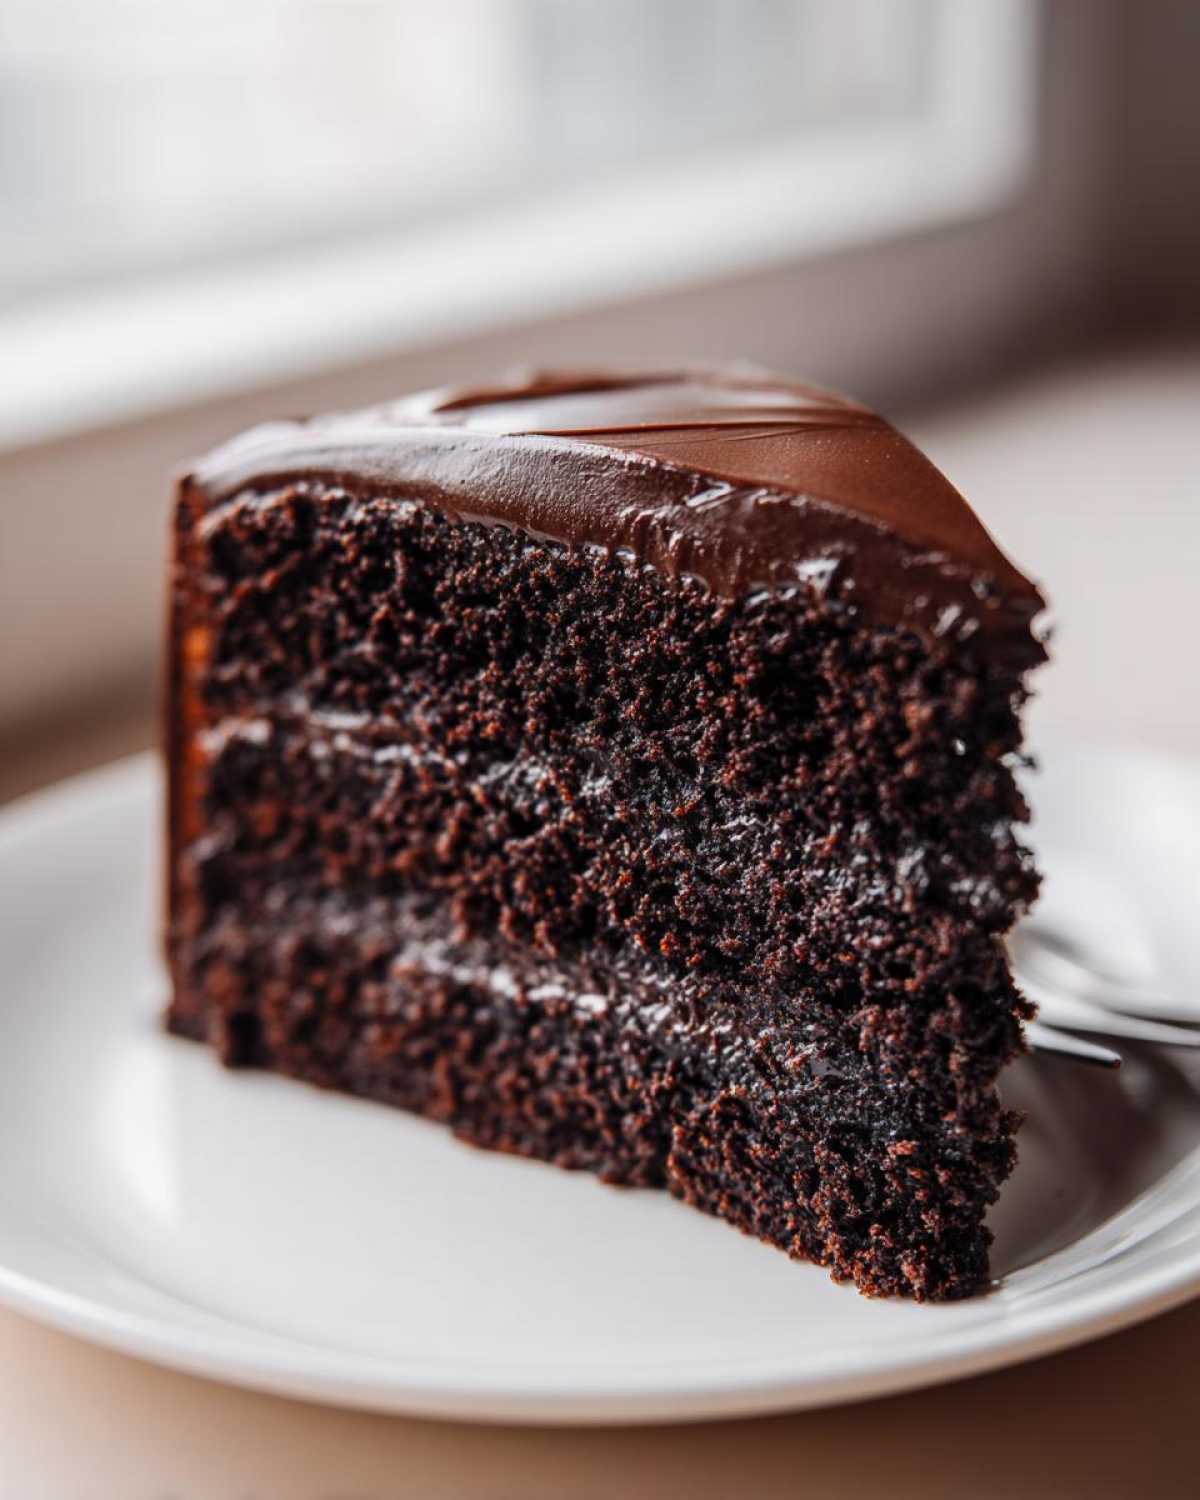
Look, baking without gluten requires a few tiny adjustments. It’s not just about swapping flour; it’s changing your mindset a little bit to accept structure from stabilizers instead of traditional wheat proteins. If you follow these tips strictly, you will completely avoid that sad, dry cake scenario. We want rich, satisfying results every single time we tackle a Gluten-Free Chocolate Cake!
Feel free to check out my guide on sugar cookie icing if you ever try decorating something differently; the techniques for getting a smooth finish there actually help with ganache smoothness too!
Xanthan Gum Importance in Your Gluten-Free Chocolate Cake
This is my number one piece of advice for anyone tackling a Gluten-Free Chocolate Cake: check your flour bag! Most good gluten-free all-purpose blends already have xanthan gum mixed in, and that gum is doing the heavy lifting that gluten usually does—it’s the glue holding your delicious cake together.
If your blend doesn’t list it, you absolutely must add it yourself. We called for 1 teaspoon in the main ingredients, and that’s vital. Not enough xanthan gum, and your cake will become a pile of very tasty crumbs the second you try to slice it. It’s an easy fix, but you have to remember to check!
Flavor Depth: The Coffee Secret
I’ve mentioned this before, but it’s worth bringing up again because it makes such a massive difference, and it is totally safe for everyone—it doesn’t make the cake taste like a mocha!
Using hot liquid in the final mix is crucial for moisture, but using *hot coffee* takes the intense dark chocolate flavor to an unbelievable level. The heat blooms the cocoa, making it richer and deeper than you could ever imagine. Don’t skip the coffee, and definitely make sure it is hot right before you pour it in. It’s the simplest way to elevate a gluten-free bake!
Variations and Substitutions for Your Gluten-Free Chocolate Cake
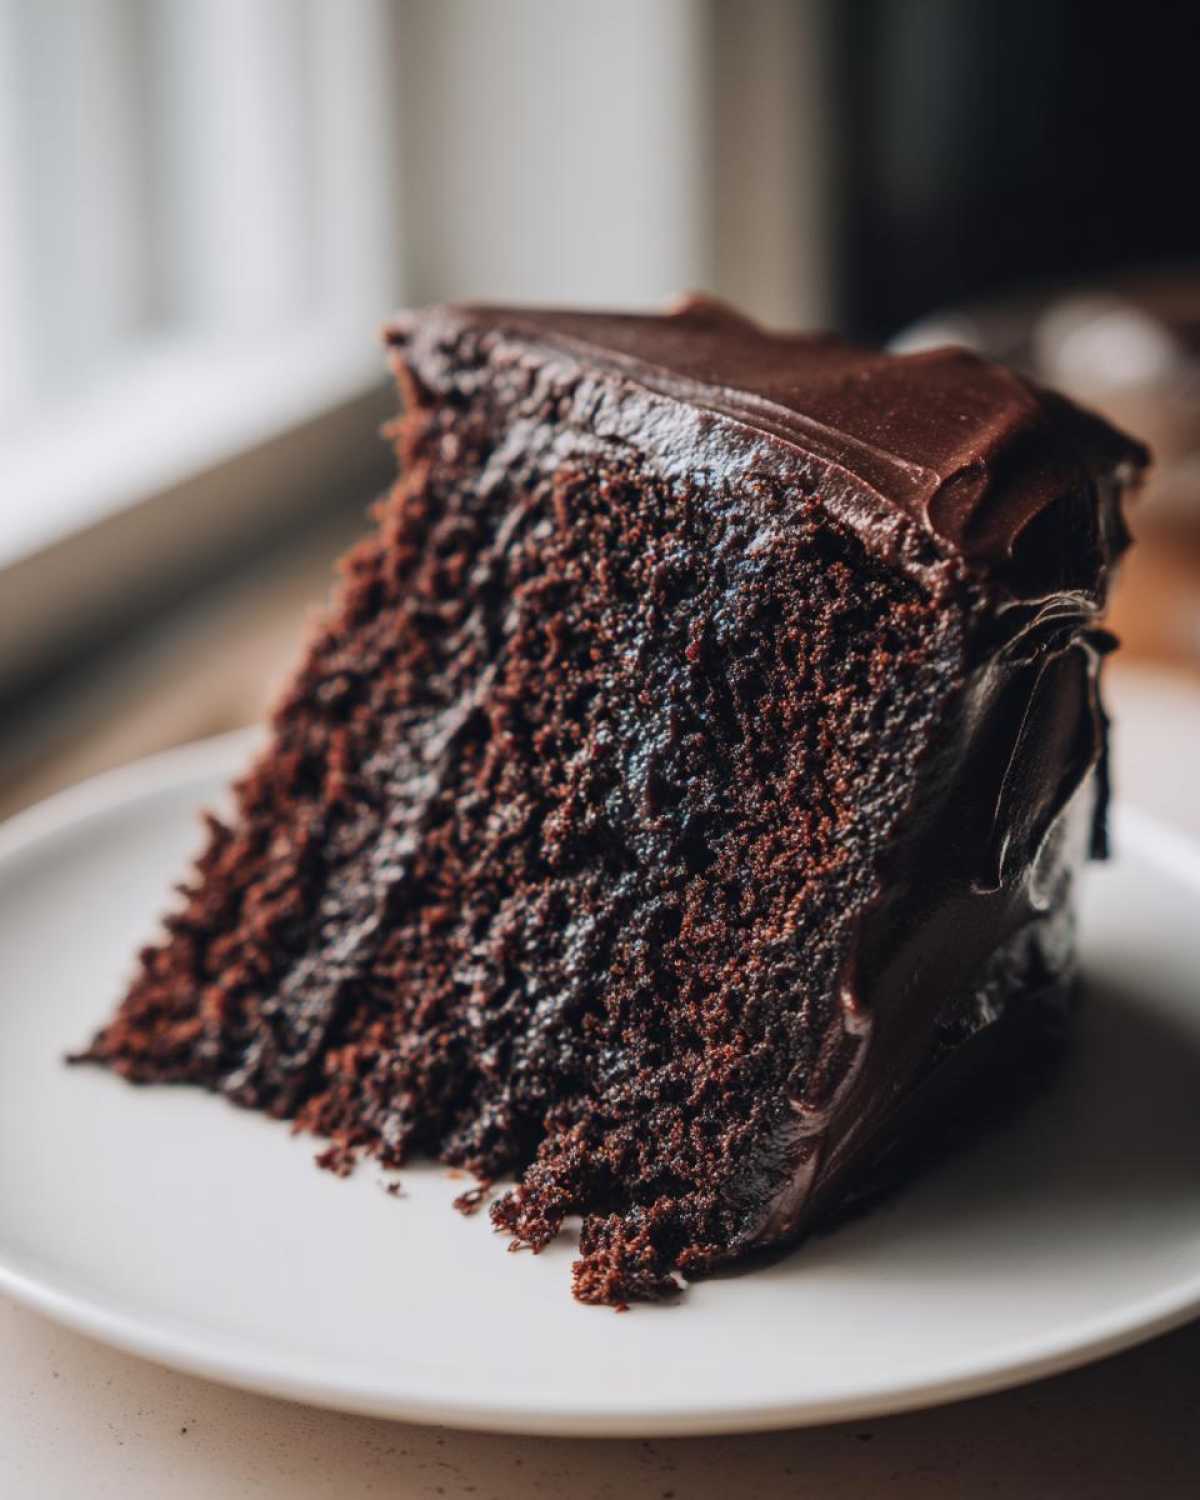
One of the best things about this recipe is how surprisingly flexible it is, even though we are working with gluten-free flour. I love that it can adapt when I have friends who need different things! It’s built on such a solid, moist foundation that changing small flavors or addressing dairy issues is pretty straightforward. This recipe stands up really well to swaps, which is rare for a complex Gluten-Free Chocolate Cake project.
If you are looking for other desserts that adapt well for dietary needs, you absolutely have to try my recipe for fudgy date brownies; they are vegan *and* gluten-free and just as rich!
Here are a few ways I often tweak this amazing Gluten-Free Chocolate Cake for special occasions:
- Dairy-Free Delight: This is an easy switch, though you need to be careful with your chocolate choice. For the buttermilk swirl, just use soy or oat milk mixed with lemon juice. The biggest step is using full-fat coconut cream instead of heavy cream for the ganache, and making absolutely sure your dark chocolate bar is free from milk solids. It works perfectly!
- Boozy Kick: If this is for an adult party—and why wouldn’t it be?—you can swap out about half of the hot coffee for a splash of good bourbon or dark rum. It really enhances the molasses flavor from the sugar. Just make sure you only substitute half the liquid, or you might mess with that perfect thin batter we worked so hard to achieve for our Gluten-Free Chocolate Cake.
- Extract Swap: While vanilla is classic, sometimes I like adding a tiny splash of almond extract along with the vanilla in the wet ingredients. It gives the cake a subtle, almost marzipan-like background note that pairs exceptionally well with dark chocolate. Just a teaspoon is plenty, though!
Serving Suggestions for This Rich Gluten-Free Chocolate Cake
When you pull off a cake this decadent—and one that’s also gluten-free!—you’ve earned the right to treat it right with the perfect accompaniments. This dark chocolate layer cake stands beautifully on its own, honestly, but why stop there when you can make the whole dessert experience next-level?
I usually keep the focus tight so the deep, rich chocolate flavor really shines. If you ever make my famous brown butter chocolate chip cookies, you know I believe in simple pairings that maximize flavor. Here are my favorite ways to serve this layer cake:
- A Scoop of Vanilla Contrast: You absolutely need something cold and creamy to cut through that dense ganache. High-quality vanilla bean ice cream is the classic choice for a reason! The temperature difference is just heavenly.
- Fresh Berries for Brightness: Since the cake is so dark and rich, a pop of tartness is fantastic. I scatter fresh raspberries or sliced strawberries around the plate. If you want them a little fancier, macerate them briefly with a tiny bit of sugar and maybe a splash of balsamic vinegar—it amps up the fruit flavor beautifully.
- The Coffee Connection: If you used coffee in the batter, it makes perfect sense to serve this with a strong cup of coffee or an espresso on the side. It deepens that roasted chocolate note. If you’re feeling extra fancy, a little dusting of cocoa powder right on top of the plated slice looks professional!
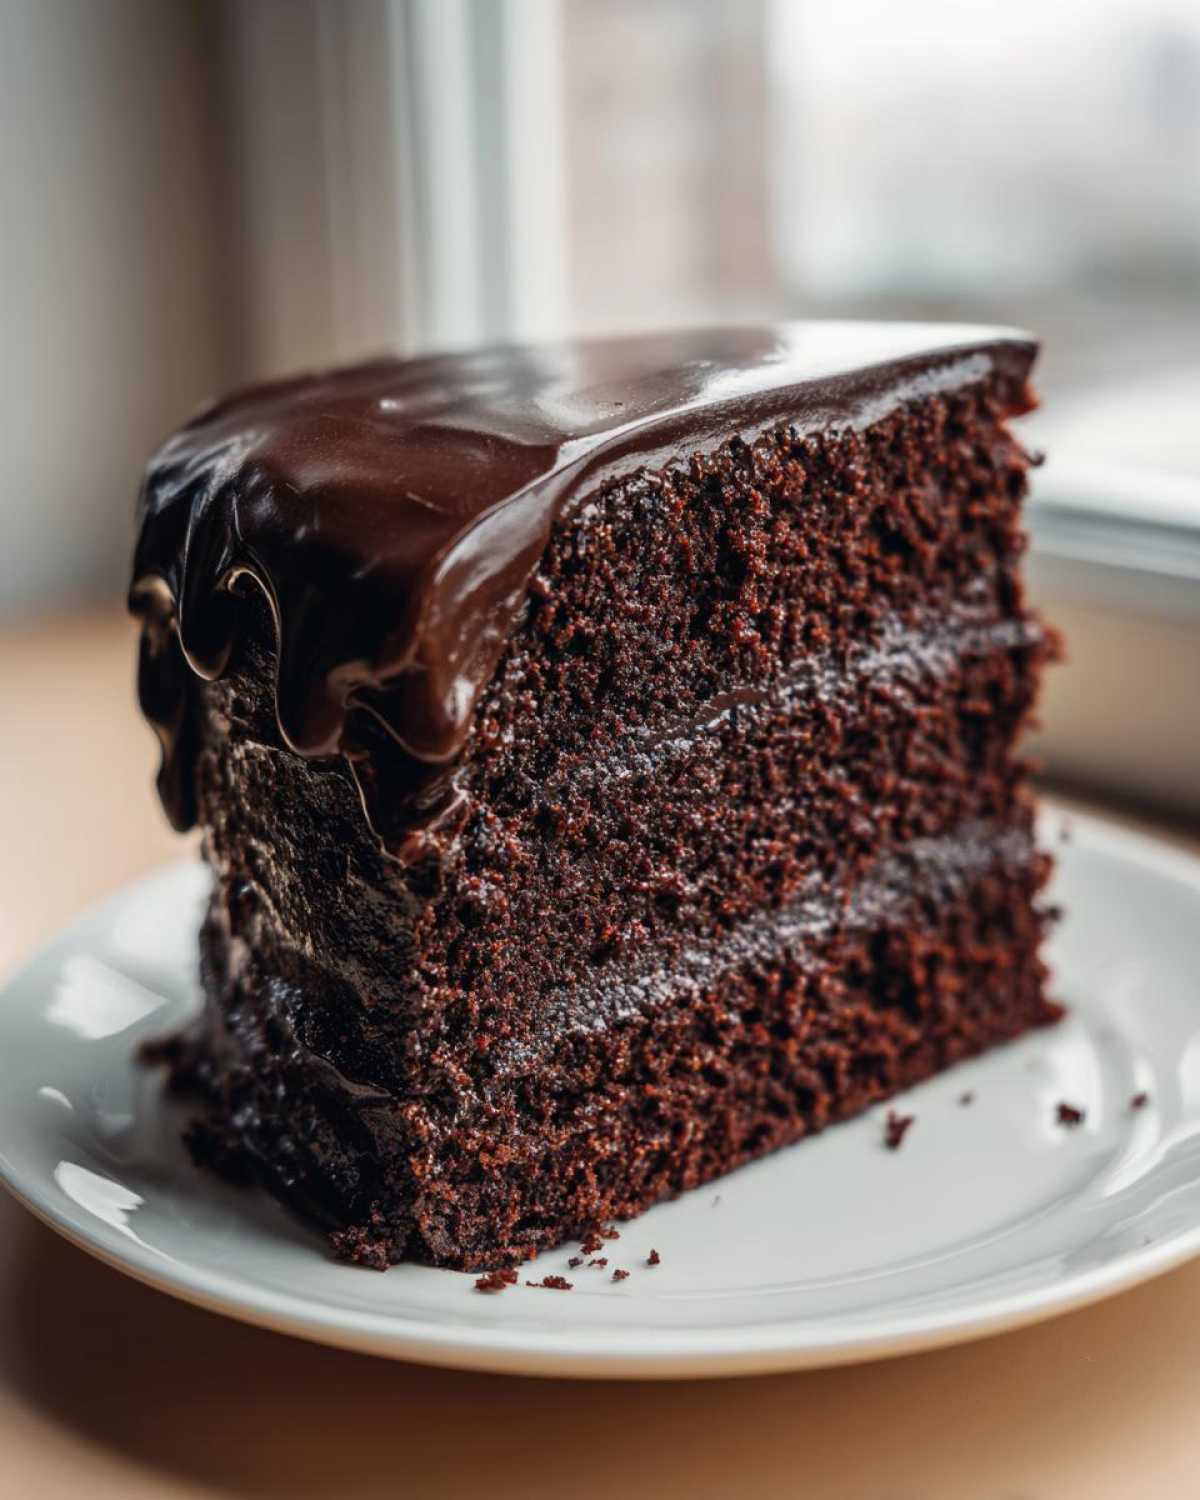
Keep the toppings simple so they complement the cake, not compete with it. You worked too hard on that fudgy ganache to hide it under too much fluff!
Storage and Reheating for Your Gluten-Free Chocolate Cake
We went through all that trouble to make the absolute best, most moist Gluten-Free Chocolate Cake, so the last thing we want to do is dry it out during storage! Luckily, because we used that heavy, fudgy ganache and kept the batter moist with coffee and buttermilk, this cake is quite resilient. But there are definitely best practices to follow so that your leftovers are just as good the next day.
Never, ever store a frosted cake uncovered. That is a recipe for a hard, crusty layer forming on top, and we can’t have that!
Keeping it Fresh: Refrigeration vs. Countertop
For this specific cake, because we have that ganache frosting, refrigeration is the safest bet if you plan on keeping it longer than one day, especially if your kitchen is warm. The ganache will firm up quite a bit in the cold, but don’t worry about that—it’s an easy fix!
If you are only keeping the Gluten-Free Chocolate Cake for a day or maybe two, you can often get away with leaving it tightly covered (plastic wrap pressed gently against the frosting) on the counter. It stays a little softer that way.
- For Refrigeration: Cover the entire cake tightly with plastic wrap, pressing it gently against the frosting. This locks in that crucial moisture. It will last beautifully for 4 to 5 days this way.
- For Countertop (1-2 days): Use an airtight cake dome or cover the plate securely with plastic wrap. Make sure the room temperature isn’t too high, or the ganache might get messy.
Bringing Chilled Gluten-Free Chocolate Cake Back to Perfection
This is the most important step if you refrigerated your layers! Cold cake, no matter how moist it started, will taste dense and firm right out of the fridge. We need to wake it up.
Take the whole cake—still wrapped if possible—out onto the counter about 1 to 2 hours before you plan to serve it. Letting it warm up naturally to room temperature allows the fats (the butter in the ganache and the oil in the cake) to soften back up. When that happens, the cake magically restores that tender, moist feel we fought so hard for in our amazing Gluten-Free Chocolate Cake!
If you’re in a huge rush, you can carefully slice off a piece you want to eat immediately and microwave that small slice for about 10 seconds. It gets gloriously soft, but I always prefer letting the whole cake come to room temp for the best overall texture.
Frequently Asked Questions About Gluten-Free Chocolate Cake
I know you’ve got questions, especially if this is your first time tackling a big, beautiful layer cake without any gluten! That’s totally normal. When you’re baking something this rich, I want to make sure you feel confident. I’ve gathered the questions I get asked most often about getting that perfect crumb on this Gluten-Free Chocolate Cake.
If you are ever tinkering with substituting flours for something else, you might like seeing how I handle swaps in my almond flour pancakes, but for this cake, stick to the plan!
Can I substitute the gluten-free flour blend in this Gluten-Free Chocolate Cake?
This is tough, but my answer is usually no, unless you’re experienced! The blend we use is specifically balanced with a mix of rice flours, starches, and binders to mimic wheat structure. If you swap it out entirely for something like straight almond flour or coconut flour, you are changing all the liquid ratios, the fat absorption, and the structure completely. It won’t bake up like this rich Gluten-Free Chocolate Cake. Stick to a high-quality, pre-mixed 1-to-1 GF all-purpose baking blend for guaranteed success here.
How do I prevent my Gluten-Free Chocolate Cake from becoming dry?
Oh, avoiding dryness is the main goal, right before achieving that amazing rich flavor! You need to remember the three main moisture boosters we added to this recipe. First, the buttermilk helps tenderize the crumb while mixing. Second, always use hot coffee in the final step to bloom the cocoa and steam-moisten the batter as it bakes. And finally, don’t ever, ever rush the cooling process! Letting the cake cool slowly, still partially in the pan, traps steam and prevents that immediate drying out you get when removing a hot Gluten-Free Chocolate Cake from the oven.
Nutritional Estimates for This Gluten-Free Chocolate Cake
I always put this disclaimer right up front: these numbers are just estimates! I used standard amounts for high-quality ingredients, so your actual count might wobble a bit depending on the brand of chocolate or the exact sugar in your GF flour blend. But this gives you a good idea of what you’re looking at per slice of this decadent dessert.
When baking something this incredible, it’s good to know what you’re dealing with, just like when I perfected my moist chocolate banana bread recipe!
- Serving Size: 1 slice
- Calories: 450
- Sugar: 45g
- Fat: 28g
- Saturated Fat: 15g
- Carbohydrates: 50g
- Protein: 5g
Nutritional Estimates for This Gluten-Free Chocolate Cake
I always put this disclaimer right up front: these numbers are just estimates! I used standard amounts for high-quality ingredients, so your actual count might wobble a bit depending on the brand of chocolate or the exact sugar in your GF flour blend. But this gives you a good idea of what you’re looking at per slice of this decadent dessert.
When baking something this incredible, it’s good to know what you’re dealing with, just like when I perfected my moist chocolate banana bread recipe!
- Serving Size: 1 slice
- Calories: 450
- Sugar: 45g
- Fat: 28g
- Saturated Fat: 15g
- Carbohydrates: 50g
- Protein: 5g
Ultimate Moist Gluten-Free Dark Chocolate Layer Cake
A rich, dark chocolate layer cake made entirely without gluten, resulting in a moist texture comparable to traditional cakes, topped with a fudgy ganache frosting.
- Prep Time: 20 min
- Cook Time: 35 min
- Total Time: 55 min
- Yield: 12 servings
- Category: Dessert
- Method: Baking
- Cuisine: American
- Diet: Gluten Free
Ingredients
- 1 3/4 cups gluten-free all-purpose flour blend (with xanthan gum)
- 3/4 cup unsweetened cocoa powder
- 2 teaspoons baking soda
- 1 teaspoon baking powder
- 1 teaspoon salt
- 2 cups granulated sugar
- 1 cup buttermilk (or milk mixed with 1 tablespoon lemon juice)
- 1/2 cup vegetable oil
- 2 large eggs
- 2 teaspoons vanilla extract
- 1 cup hot brewed coffee
- 8 ounces dark chocolate, chopped (for ganache)
- 1 cup heavy cream (for ganache)
Instructions
- Preheat your oven to 350°F (175°C). Grease and flour (using gluten-free flour) two 8-inch round cake pans. Line the bottoms with parchment paper.
- In a large bowl, whisk together the gluten-free flour blend, cocoa powder, baking soda, baking powder, and salt. Add the sugar and whisk until combined.
- In a separate medium bowl, whisk together the buttermilk, oil, eggs, and vanilla extract.
- Pour the wet ingredients into the dry ingredients and mix on low speed until just combined. Do not overmix.
- Carefully pour the hot coffee into the batter and mix on low speed until smooth. The batter will be thin.
- Divide the batter evenly between the prepared cake pans.
- Bake for 30 to 35 minutes, or until a wooden pick inserted into the center comes out clean.
- Let the cakes cool in the pans for 10 minutes before inverting them onto a wire rack to cool completely.
- Prepare the ganache: Place the chopped dark chocolate in a heatproof bowl. Heat the heavy cream in a small saucepan until it just simmers. Pour the hot cream over the chocolate. Let it sit for 5 minutes, then whisk until smooth and glossy. Let the ganache cool and thicken slightly before frosting.
- Once the cakes are completely cool, frost and stack the layers with the ganache.
Notes
- If your gluten-free flour blend does not contain xanthan gum, add 1 teaspoon to the dry ingredients to help with structure.
- Using hot coffee deepens the chocolate flavor without making the cake taste like coffee.
- For a dairy-free option, substitute the buttermilk with a dairy-free milk mixed with lemon juice, and use a high-quality dairy-free dark chocolate and full-fat coconut cream for the ganache.
Nutrition
- Serving Size: 1 slice
- Calories: 450
- Sugar: 45
- Sodium: 280
- Fat: 28
- Saturated Fat: 15
- Unsaturated Fat: 10
- Trans Fat: 0.5
- Carbohydrates: 50
- Fiber: 3
- Protein: 5
- Cholesterol: 75