

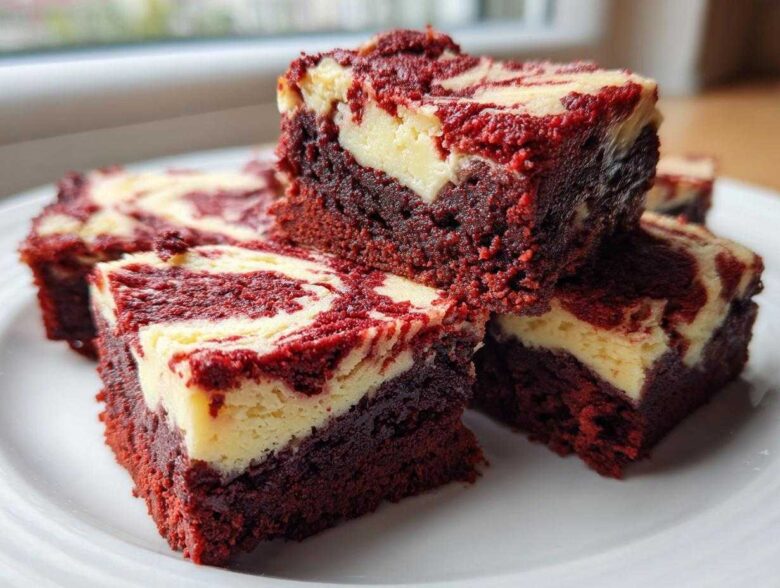
If you’re like me, sometimes you just need a dessert that screams pure, unapologetic indulgence. Forget subtle; we are going straight for showstopping! That’s exactly what happens when you cross a rich, fudgy brownie with the tangy, smooth luxury of cheesecake. That glorious meeting point is where we find the ultimate red velvet cheesecake brownies.
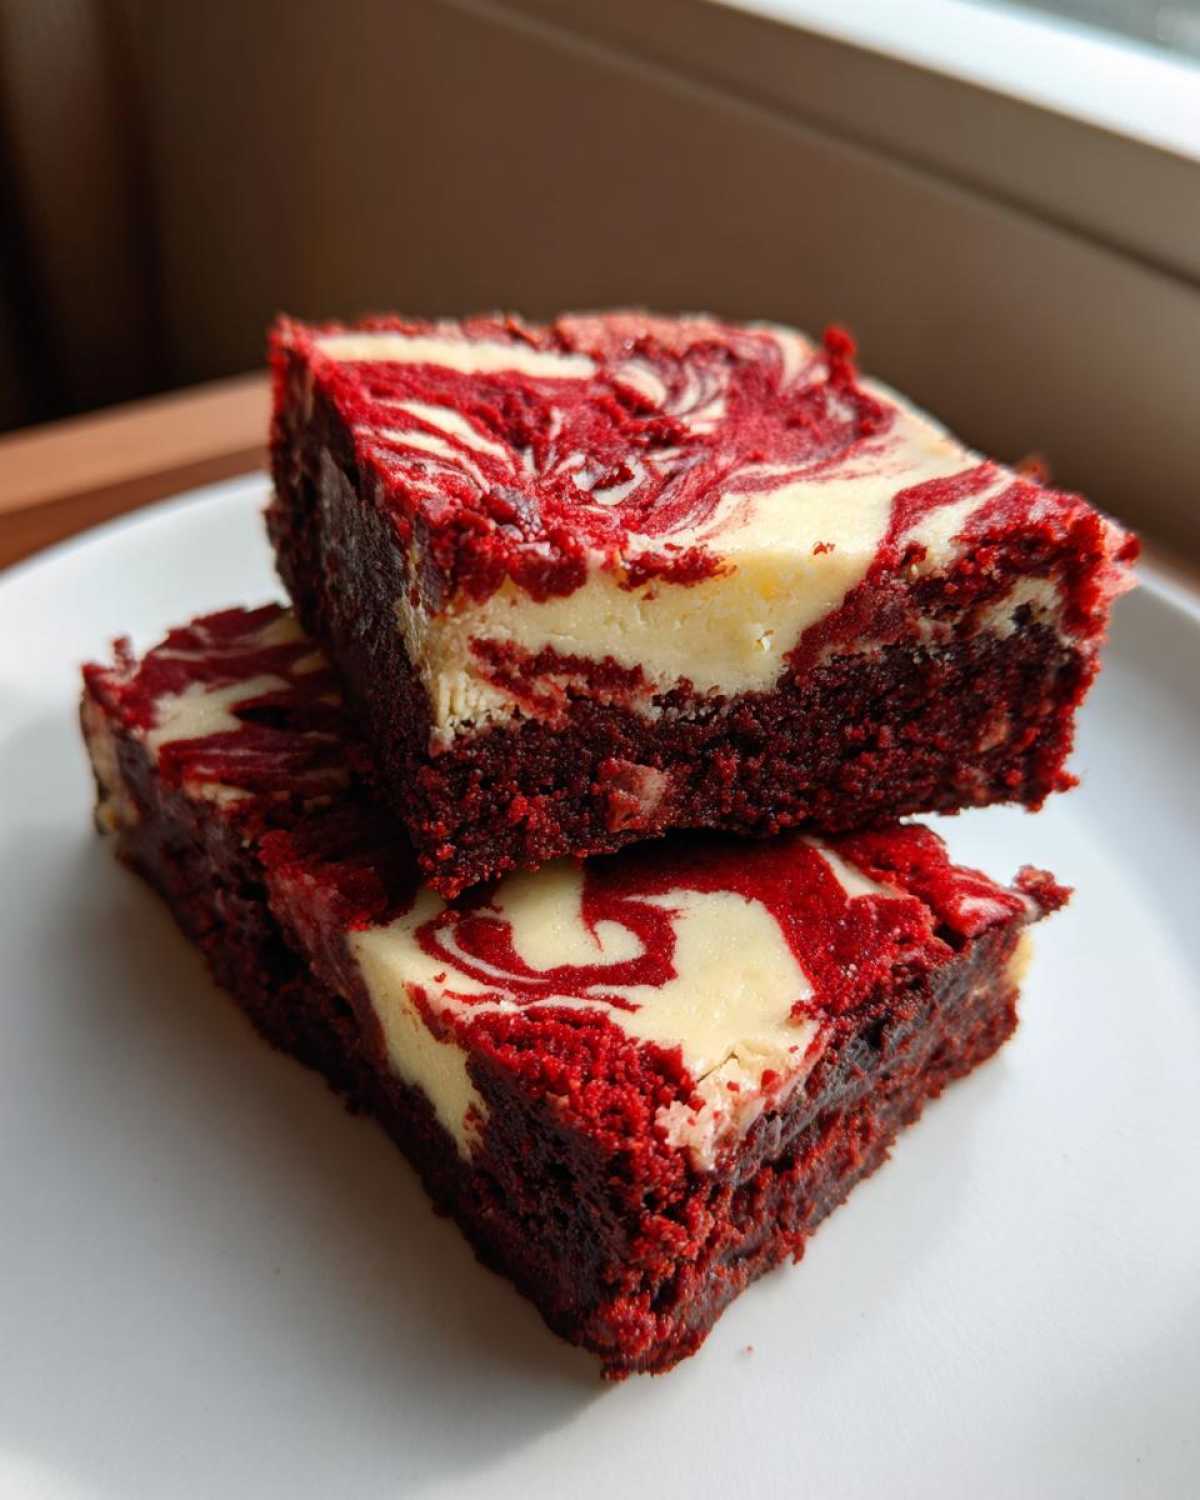
I’ve worked on this recipe for years, trying to master that elusive balance. You want a base that’s dense and chocolatey—a true brownie, not a cake!—and then that gorgeous, slightly tart cream cheese layer swirled right on top. When you slice into these, that vibrant red velvet color pops against the white swirl, and honestly, it’s just culinary magic. Trust me, these are the decadent baked goods you’ll keep coming back to.
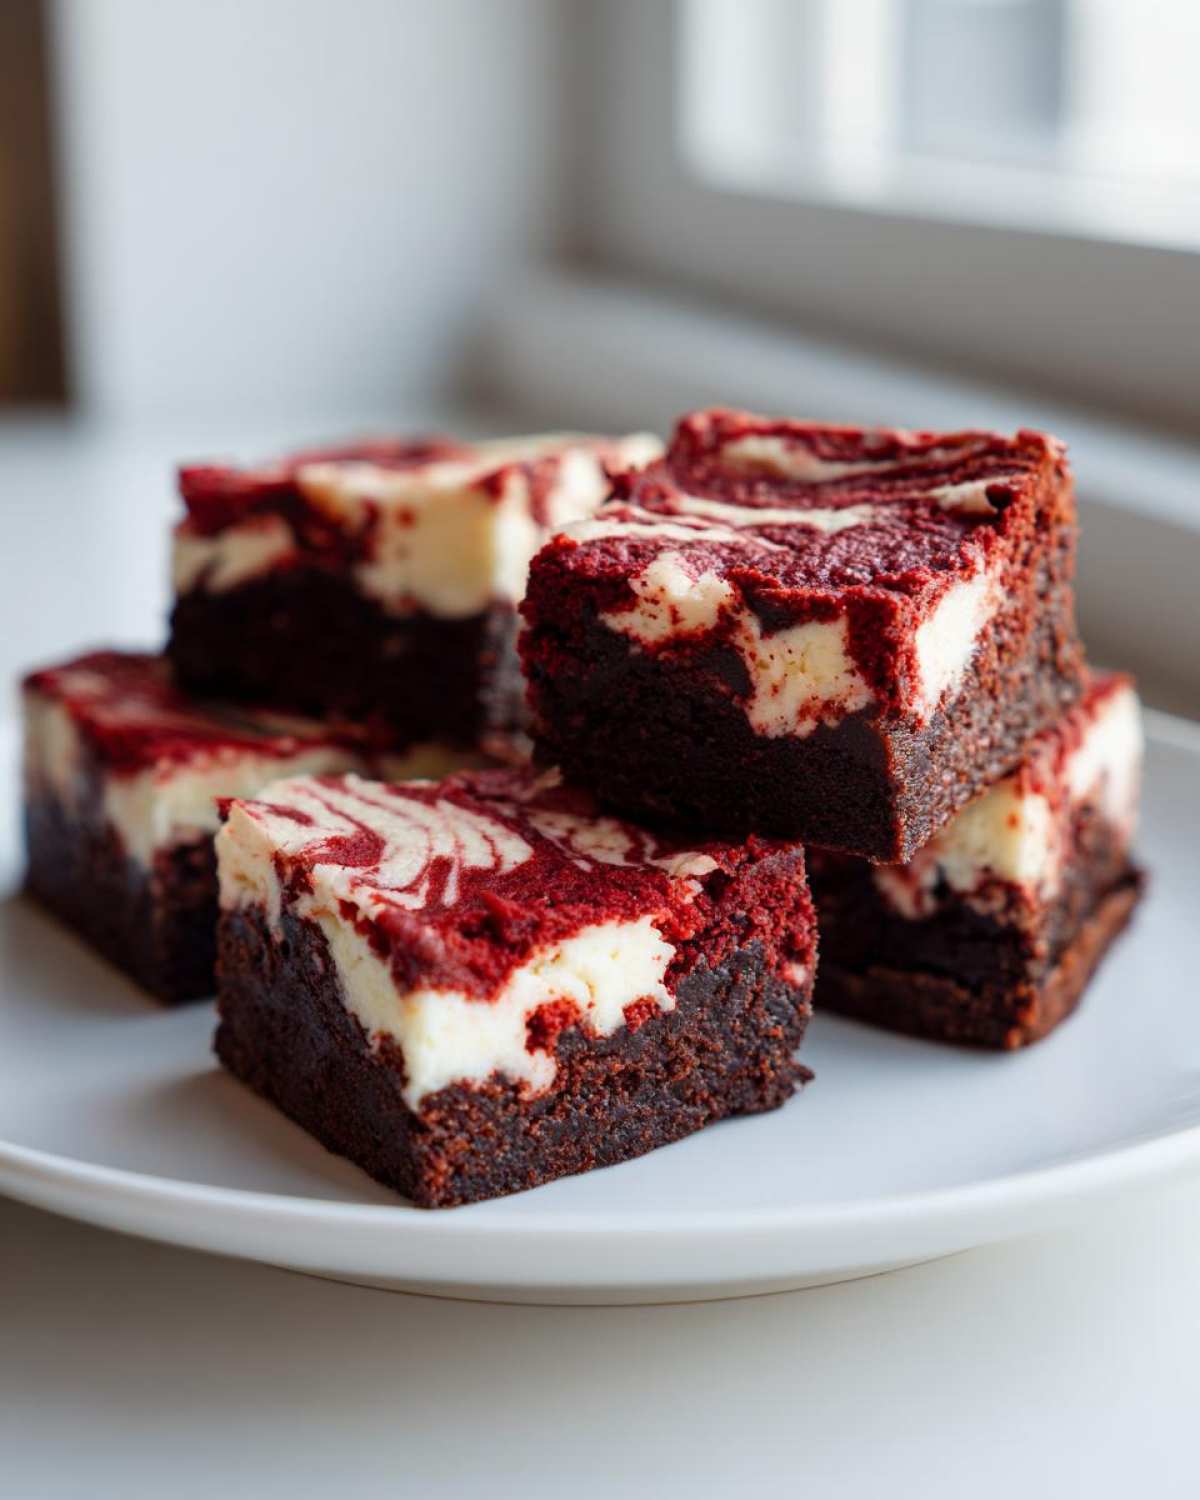
Why This is the Best Recipe for Red Velvet Cheesecake Brownies
I absolutely stand by this formula for the ultimate red velvet cheesecake brownies because it solves all the common problems. We nail that fudgy base and the cheesecake layer stays perfectly defined—no soggy messes here! These bars are truly showstopping.
- Incredible contrast between rich brownie and creamy filling.
- Visually stunning marbled effect guaranteed.
- They are surprisingly easy for such a gourmet result.
- Perfectly portioned rich dessert bars for parties!
Texture Perfection in Every Red Velvet Cheesecake Brownies Bite
Achieving that great contrast is all about the ratio of fat to flour in the brownie base. We use melted butter and just enough cocoa powder to keep things incredibly dense, almost truffle-like. That richness keeps the brownie from steaming the cheesecake layer above it. When you bite in, you get that satisfying, fudgy resistance followed by the smooth, cool filling. It’s what makes these bars so addictive!
Gathering Ingredients for Your Red Velvet Cheesecake Brownies
Okay, let’s talk about the goodies we need to make these amazing red velvet cheesecake brownies. You need two main groups of ingredients here: one for that deep, fudgy base, and one for the creamy topping. I always tell folks that quality matters—especially getting a good, vivid red food coloring!
Don’t shortcut on making sure your cream cheese is truly ready to go. Cold cream cheese means lumpy filling, and we want silky smooth swirls, right? Keep reading; I’ve laid out everything exactly as I use it.
For the Fudgy Red Velvet Brownie Batter
- 1 cup (2 sticks) unsalted butter, melted
- 2 cups granulated sugar
- 4 large eggs
- 1 teaspoon vanilla extract
- 1 teaspoon white vinegar
- 1 teaspoon red food coloring (gel preferred—it makes a difference!)
- 1 1/4 cups all-purpose flour
- 1/2 cup unsweetened cocoa powder
- 1/2 teaspoon salt
For the Cream Cheese Swirl Filling
- 8 ounces cream cheese, softened (this is key!)
- 1/2 cup granulated sugar
- 1 large egg
- 1/2 teaspoon vanilla extract
Step-by-Step Guide to Making Red Velvet Cheesecake Brownies
Alright, let’s get these showstopping red velvet cheesecake brownies into the pan! Baking these is actually super straightforward once you get the layers ready. Just follow my lead exactly, and you’ll have bakery-style bars in no time. First things first: get your oven warmed up to 350°F (175°C) and line that 9×13 inch pan with parchment paper. Make sure you leave some overhang—that’s your built-in handle for lifting them out later!
Mixing the Brownie Base and Preparing the Pan
Start by whisking your melted butter and the main pile of sugar until they look happy together. Then we add the eggs one by one, followed by that vanilla, the vinegar, and the vibrant red food coloring—whisk until it’s a uniform, gorgeous red. Separately, whisk your flour, cocoa powder, and salt. Now, here’s important: gently fold the dry mix into the wet ingredients. Seriously, stop mixing the second you don’t see any more white streaks! Overmixing flour equals tough brownies, and we want fudgy!
Creating the Cheesecake Layer and Achieving a Perfect Swirl
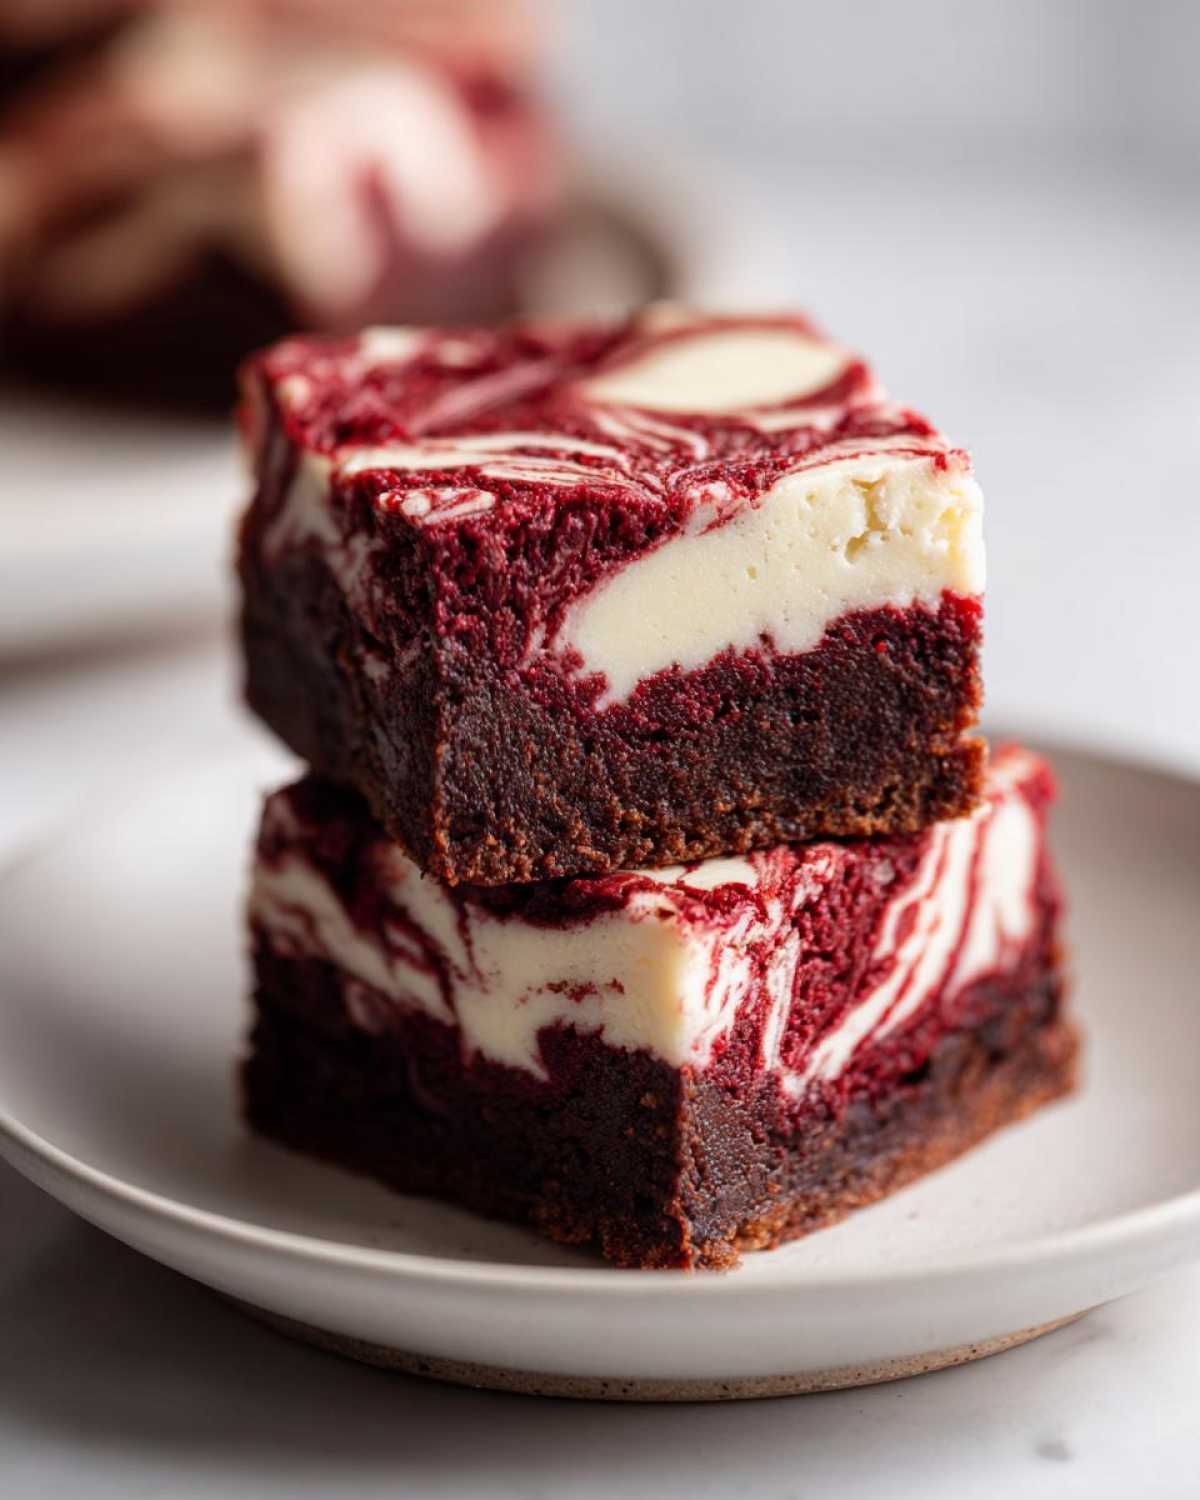
Next up, the cheesecake filling. Use your mixer to beat that softened cream cheese with its sugar until it’s perfectly smooth—no lumps allowed! Mix in the last egg and vanilla until creamy. Now, spread that beautiful red velvet batter into your prepared pan. Dollop spoonfuls of the cheesecake mixture all over the top. Don’t just drag your knife through it! Use a skewer or thin knife and make gentle figure-eights—just a few passes. We want a beautiful marble, not a muddy mess, okay?
Baking and Cooling the Red Velvet Cheesecake Brownies
Time for the oven! These usually take between 30 to 35 minutes. You’re looking for moist crumbs on a toothpick inserted near the center—never wet batter, but don’t let it come out totally clean either, or you’ve overbaked them. Once they’re out, you absolutely cannot touch them! Let them cool completely on a wire rack. I actually chill mine for a couple of hours before slicing because cold cheesecake bars slice so much cleaner. That’s the final secret to those perfect, showstopping bar edges!
Tips for Success with Cream Cheese Swirl Desserts
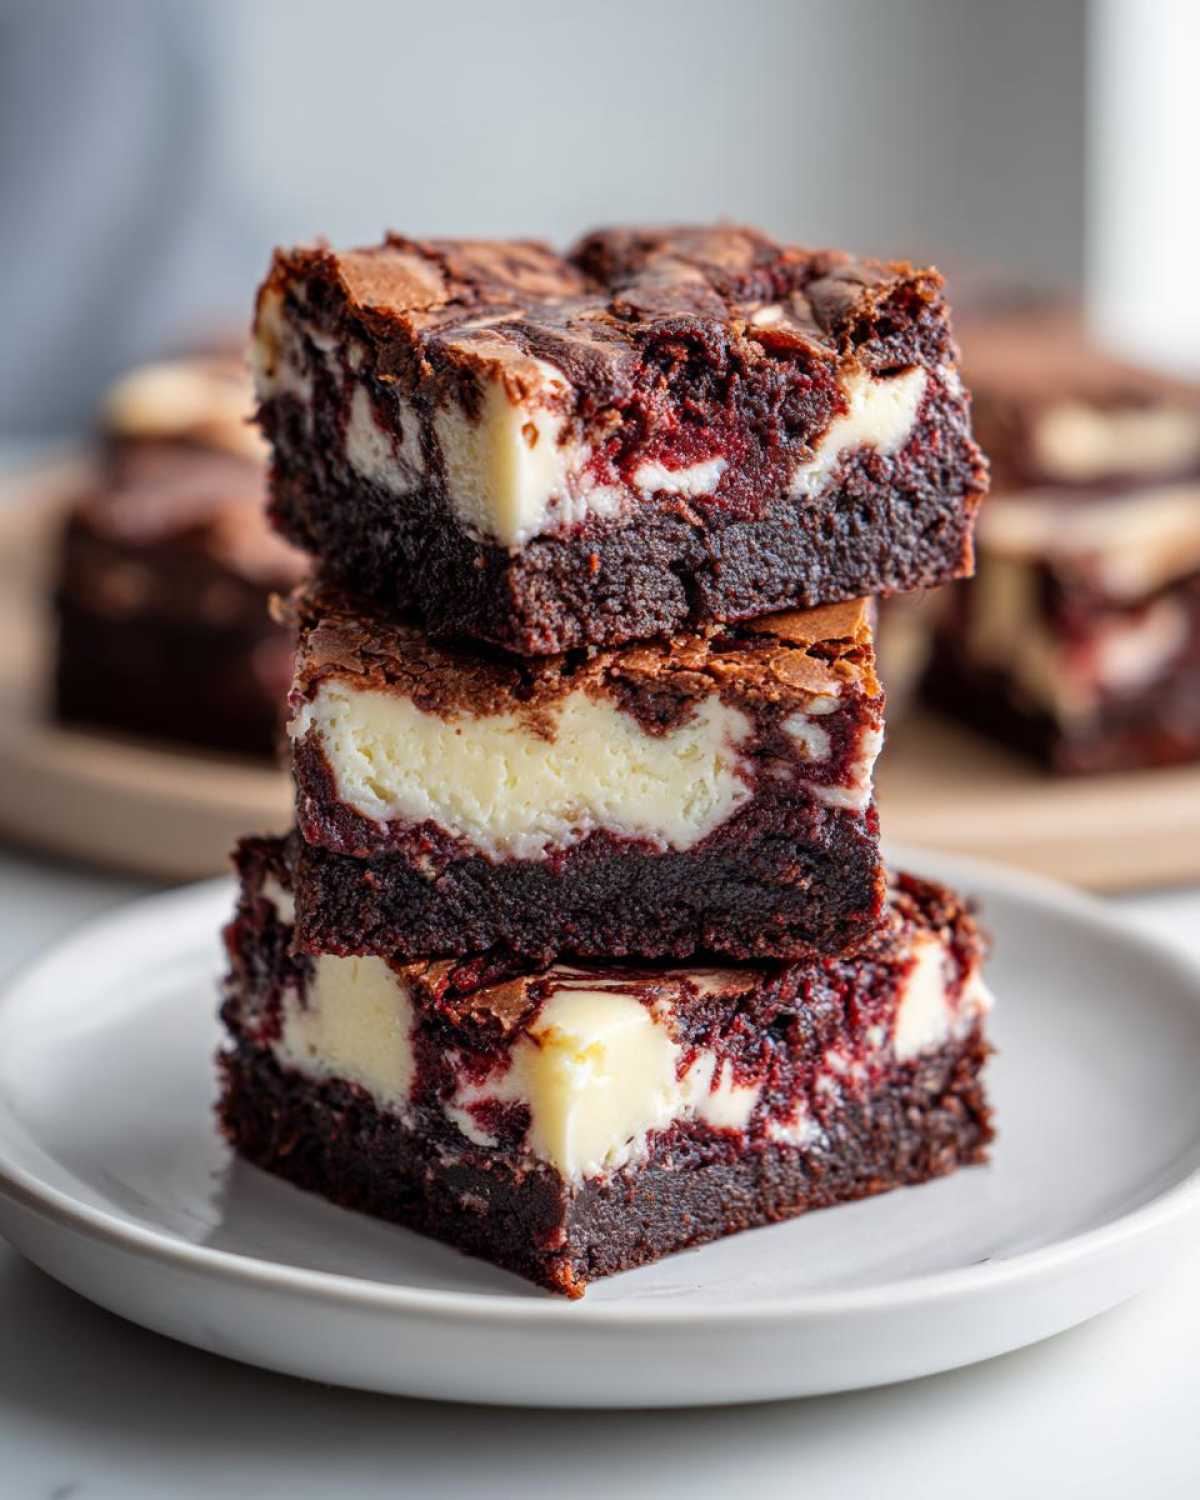
When you’re dealing with any kind of cream cheese swirl dessert, the temperature of your ingredients is everything. If your cream cheese is too cold, you’ll get those annoying little clumps in your filling—and those clumps won’t melt away beautifully when they bake. Seriously, let that cream cheese sit out for a solid hour!
Another thing I learned the hard way is using gel food coloring instead of the liquid kind. Liquid coloring adds too much moisture, which can thin out your brownie batter, making it cakey instead of fudgy. A tiny dab of gel gives you that dramatic color without ruining the texture balance we worked so hard for.
And remember, when you’re swirling, less is definitely more! If you stir too much, the red and the white dyes mix completely, and you end up with a mediocre pink bar instead of that gorgeous marbled look. Just a quick flick of the knife, and you let the baking process finish the marble pattern for you.
Variations on Your Favorite Red Velvet Cheesecake Brownies
Even though these red velvet cheesecake brownies are perfect as they are, sometimes I like to mix things up slightly! They are so fun to customize because the base flavors handle mix-ins so well. Here are three super easy tweaks you can try next time you feel adventurous.
- For an extra layer of buttery sweetness, fold one cup of white chocolate chips right into the red velvet batter before you layer it over the pan. They melt beautifully!
- If you want to amp up the romance factor, try swapping the vanilla extract in your cheesecake filling for almond extract. It gives the cream cheese layer such a lovely, subtle floral hint.
- For a simpler presentation after chilling, skip the frosting entirely! Just let them cool completely, then dust the top lightly with powdered sugar right before serving. It looks so elegant.
Serving Suggestions for Decadent Baked Goods
These rich bars are so decadent you really don’t need much else, but if you want to make them a real event, I have a few tricks up my sleeve. They are fantastic served slightly warm alongside a really strong cup of coffee—the bitterness cuts through the richness perfectly.
For an even more over-the-top dessert experience, grab a scoop of good quality vanilla ice cream. The temperature contrast is just heavenly. Or, if you want to add a little brightness, top a slice with a few fresh, tart raspberries. That little pop of fruit cuts the sweetness beautifully!
Honestly, I think they look amazing with just a little dusting of powdered sugar, which makes them look extra professional from the bakery case. If you happen to have some of my fluffy vanilla buttercream frosting, a tiny dollop on the side is never a bad idea either!
Storage and Reheating for Perfect Red Velvet Cheesecake Brownies
Keeping your gorgeous red velvet cheesecake brownies fresh is easy, but they need a little planning! Remember that chilling tip? If you refrigerate them for at least two hours after they cool, those clean slices happen automatically. For storage, keep them tightly covered in the fridge for up to five days—the cream cheese layer loves the cold.
If you need to freeze them, wrap the already-cut bars tightly in plastic wrap and foil. They freeze beautifully for a couple of months! I usually let them thaw overnight in the fridge before serving. Honestly, I almost always eat them cold, straight from the fridge, but if you really want to warm one up, just microwave a single bar for 10 seconds max!
Frequently Asked Questions About Red Velvet Cheesecake Brownies
I know when you tackle a bake like these red velvet cheesecake brownies, you might have a few little worries. That’s totally normal! Here are the things I hear most often from folks making them for the first time.
Why did my cream cheese swirl disappear into the brownie layer?
Oh, that’s frustrating! Usually, this happens when the brownie batter is too wet, or you stirred the swirl too much. Remember how I said not to overmix the flour? If your brownie base is too loose, it lets the heavy cheesecake mix sink right down during baking. Also, if you swirl vigorously, you just blend the colors instead of marbling. Gentle figure-eights are your friend here!
Can I skip the red food coloring in these Red Velvet Cheesecake Brownies?
Technically, yes, you can skip it, but then you just have a chocolate cheesecake swirl brownie, right? The beauty of red velvet—even in these rich dessert bars—is that vibrant color against the white swirl! I highly recommend using the gel coloring mentioned in the ingredients list; it gives you that deep crimson without watering down your fudgy batter.
I want thicker bars! What pan should I use?
The recipe is written for a 9×13 inch pan to give you those nice, slightly thinner but still moist bars. If you want the ultimate indulgence, switch to an 8×8 inch pan. You’ll need to increase the baking time by about 10 to 15 minutes, so keep checking that toothpick! That thicker version makes for truly impressive, decadent baked goods.
Do I need to use vinegar in the brownie batter?
Yes, don’t skip it! The vinegar reacts chemically with the cocoa powder and the baking soda (even though we don’t add commercial baking soda, cocoa often contains some rising agents, and vinegar reacts with the red dye too). It helps bring out the traditional slight tang and brightens up that red color. It’s a tiny bit, but it really makes a difference in the “velvet” flavor profile!
Estimated Nutritional Data for These Rich Dessert Bars
I always feel a little guilty looking at these numbers, but hey, these rich dessert bars are worth every bite! Since we are dealing with both brownie and cheesecake elements, these are definitely built for indulgence rather than a light snack. Based on standard ingredient measurements for a serving size of one bar, here’s the rough breakdown:
- Calories: Approximately 350
- Total Fat: Around 20g
- Carbohydrates: About 40g
- Protein: Roughly 4g
Just a quick heads up: these figures are just estimates, you know how it goes! Your final numbers will change slightly depending on the brand of cream cheese or the type of sugar you use. This information is for general guidance only, so don’t stress too much while enjoying these amazing dessert bars.
Share Your Perfect Red Velvet Cheesecake Brownies Creation
Now you have everything you need to make what I think might be the best red velvet cheesecake brownies known to humankind! But honestly, the fun isn’t over until I hear from you.
When you finally pull these out of the oven, please come back here and drop a comment below. Tell me how the swirl looked! Did you stick to my plan, or did you add one of those fun variations we discussed? I absolutely love seeing your baking triumphs.
If you share photos of your gorgeous, marbled bars on social media—and you totally should, because these are incredibly photogenic—make sure you tag me! I want to see those perfect, fudgy edges. Happy baking, and enjoy every single decadent bite of those incredible red velvet cheesecake brownies!
PrintThe Ultimate Decadent Red Velvet Cheesecake Brownies with Perfect Cream Cheese Swirl
Make rich, fudgy red velvet brownies topped with a creamy, perfectly marbled cheesecake layer. This recipe delivers a showstopping dessert bar ideal for any gathering.
- Prep Time: 20 min
- Cook Time: 35 min
- Total Time: 55 min
- Yield: 16 bars
- Category: Dessert
- Method: Baking
- Cuisine: American
- Diet: Vegetarian
Ingredients
- 1 cup (2 sticks) unsalted butter, melted
- 2 cups granulated sugar
- 4 large eggs
- 1 teaspoon vanilla extract
- 1 teaspoon white vinegar
- 1 teaspoon red food coloring (gel preferred)
- 1 1/4 cups all-purpose flour
- 1/2 cup unsweetened cocoa powder
- 1/2 teaspoon salt
- 8 ounces cream cheese, softened
- 1/2 cup granulated sugar
- 1 large egg
- 1/2 teaspoon vanilla extract
Instructions
- Preheat your oven to 350°F (175°C). Line a 9×13 inch baking pan with parchment paper, leaving an overhang for easy removal.
- Prepare the brownie batter: In a large bowl, whisk together the melted butter and 2 cups of sugar until combined.
- Whisk in the 4 eggs one at a time until fully incorporated. Stir in 1 teaspoon vanilla extract, white vinegar, and red food coloring until the mixture is uniformly red.
- In a separate bowl, whisk together the flour, cocoa powder, and salt. Gradually add the dry ingredients to the wet ingredients, mixing only until just combined. Do not overmix.
- Prepare the cheesecake layer: In a medium bowl, beat the softened cream cheese and 1/2 cup sugar with an electric mixer until smooth. Beat in 1 egg and 1/2 teaspoon vanilla extract until the mixture is creamy.
- Spread the red velvet brownie batter evenly into the prepared pan.
- Dollop spoonfuls of the cheesecake mixture over the brownie batter.
- Use a knife or skewer to gently swirl the cheesecake layer into the brownie batter to create a marbled effect. Do not over-swirl.
- Bake for 30 to 35 minutes, or until a toothpick inserted near the center comes out with moist crumbs attached, but not wet batter.
- Let the brownies cool completely in the pan on a wire rack before lifting them out using the parchment overhang. Cut into bars.
Notes
- Use gel food coloring for the most intense red color without thinning the batter.
- For cleaner cuts, chill the cooled brownies for at least 2 hours before slicing.
- If you prefer a thicker brownie, use an 8×8 inch pan instead and adjust the baking time accordingly.
Nutrition
- Serving Size: 1 bar
- Calories: 350
- Sugar: 35
- Sodium: 150
- Fat: 20
- Saturated Fat: 12
- Unsaturated Fat: 8
- Trans Fat: 0
- Carbohydrates: 40
- Fiber: 1
- Protein: 4
- Cholesterol: 75